- Live CD
- UBCD
- 17 February 2013 at 16:51 UTC
-

Ultimate Boot CD is a Live CD, a CD on which you can boot a computer and run programs without touching the hard drive spinning. All this happens entirely in RAM (random access memory). This Live CD allows you to use all kinds of programs and starting all kinds of media bootable CD / DVD images, disk images, ...
Ultimate Boot CD also allows you to start your own bootable images via the "User-defined" menu. You will be able to start Hiren Boot CD or any other Live CD from "Ultimate Boot CD".
- Extract the contents of the image
- Update Antivirus bases
- Rebuilding CD / DVD image formats to ISO
- Create a bootable USB UBCD
- Test the USB key or custom CD
1. Extract the contents of the image
To add our bootable images, it will have to modify the "custom.cfg" file in the "ubcd\custom" folder of the CD/DVD ".iso" image format.
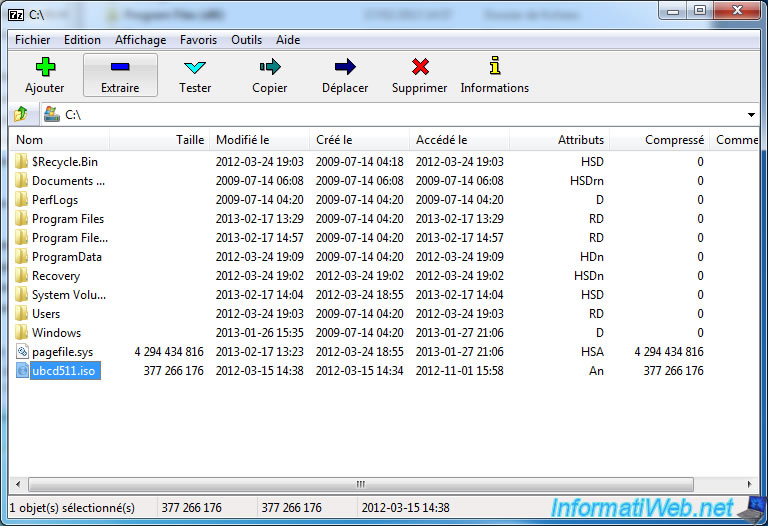
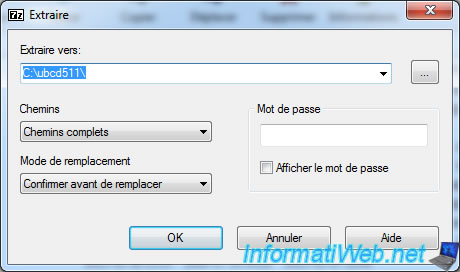
Download and install "7-Zip" or other similar software like Winzip or WinRAR are paid. Copy CD/DVD image to the root of "C" and extract CD / DVD image with 7-Zip (or equivalent).
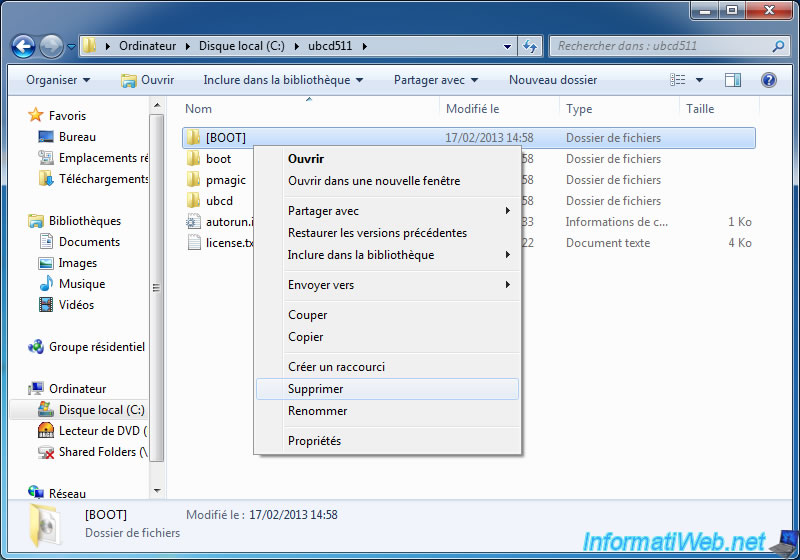
If you use 7-Zip, you will see that it creates a [BOOT] folder. This folder actually contains the boot sector of the iso UBCD which allows it to be bootable. Bootable means that we can start a computer on the media. In our case, we do not need as Ultimate Boot CD has provided a small utility that will handle the rewrite automatically when we recreate the custom iso.
So you can delete this folder.
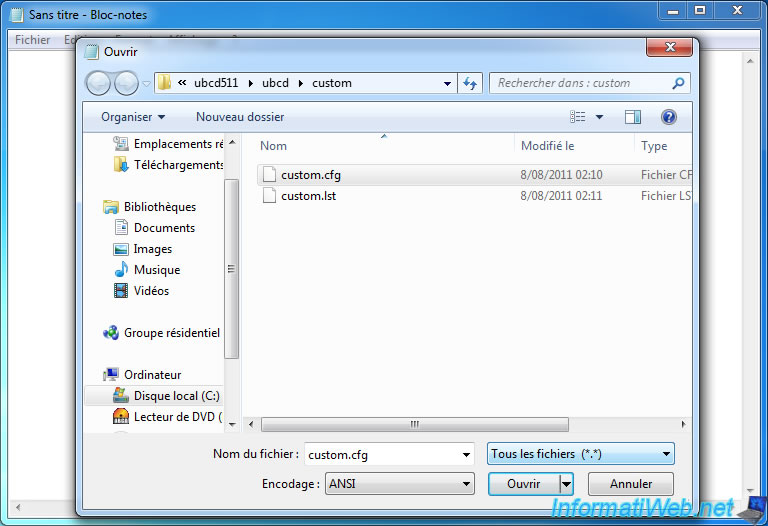
Then start the "Notepad" (in Start menu -> All Programs -> Accessories -> Notepad) and open the file located (in our case) in the folder C:\ubcd511\ubcd\custom
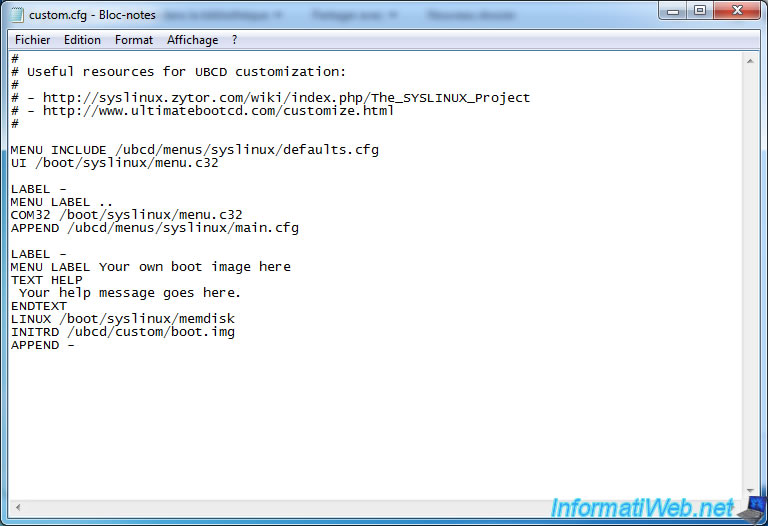
Default here is its content :
- # ... : Comments lines
- MENU INCLUDE ... : Manage the basic appearance of UBCD
- UI ... : C32 program to create a simple menu.
- The first group LABEL, MENU LABEL ... : Displays the line ".." to return to the previous menu of UBCD (in this case, the Home).
- The second group LABEL ... : Displays the line "Your own boot image here", which means your own bootable images here. It is in this file we are going to add Hiren Boot CD ...
You can also remove this group that does not serve us
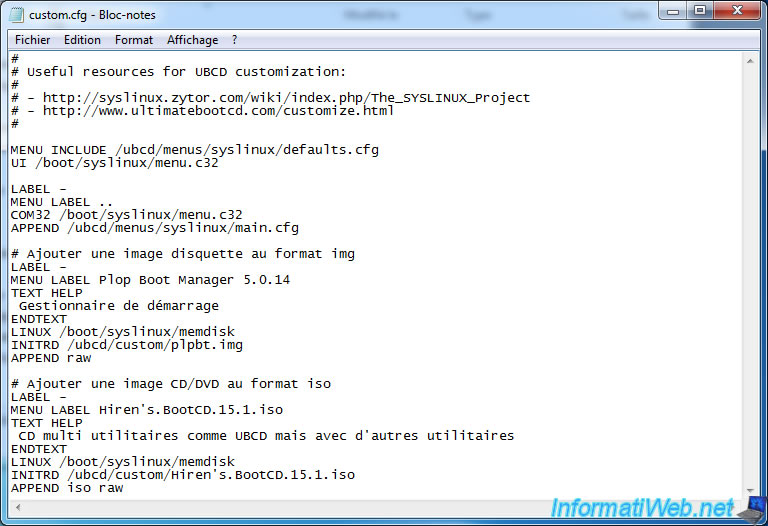
Now following image formats bootable, you should add differently. In this tutorial, we'll add the bootable "CD Hiren Boot" CD and the floppy image boot manager named "Plop Boot Manager."
Here is the configuration to add to this file :
Plain Text
# Add a floppy image to img size
LABEL -
# Specify the name of the bootable CD or program in question
MENU LABEL Plop Boot Manager 5.0.14
# Then enter a description between "TEXT HELP" and "ENDTEXT".
TEXT HELP
Boot Manager
ENDTEXT
# MEMDISK allow the start of existing operating systems. Memdisk can boot floppy images, images of hard disks and ISO images.
LINUX /boot/syslinux/memdisk
# Path to the floppy image to start
INITRD /ubcd/custom/plpbt.img
APPEND raw
Plain Text
# Add a CD / DVD image formats to ISO
LABEL -
MENU LABEL Hiren's.BootCD.15.1.iso
TEXT HELP
Multi-utilities CD similar to UBCD but with other utilities
ENDTEXT
LINUX /boot/syslinux/memdisk
INITRD /ubcd/custom/Hiren's.BootCD.15.1.iso
APPEND iso raw
For more information about MEMDISK, see the syslinux site.
3. Update Antivirus bases
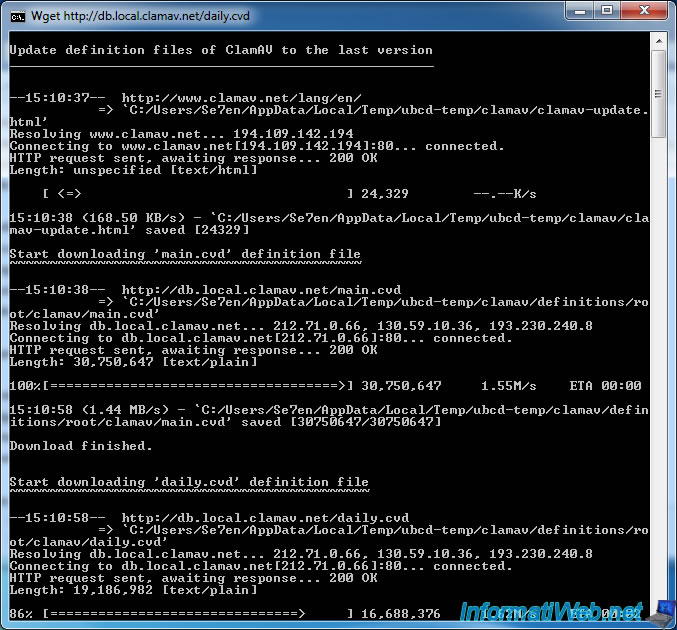
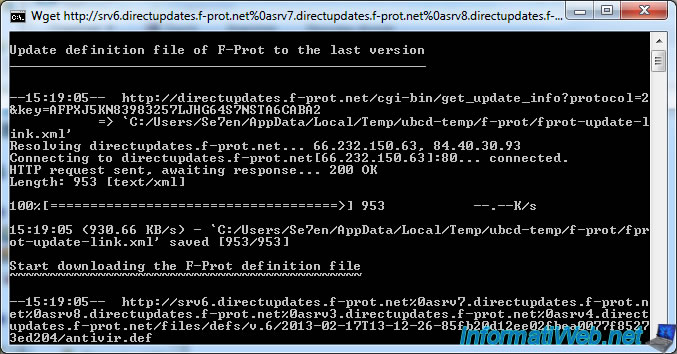
To update the antivirus databases ClamAV and F-Prot, you just run these two scripts on a computer connected to the Internet.
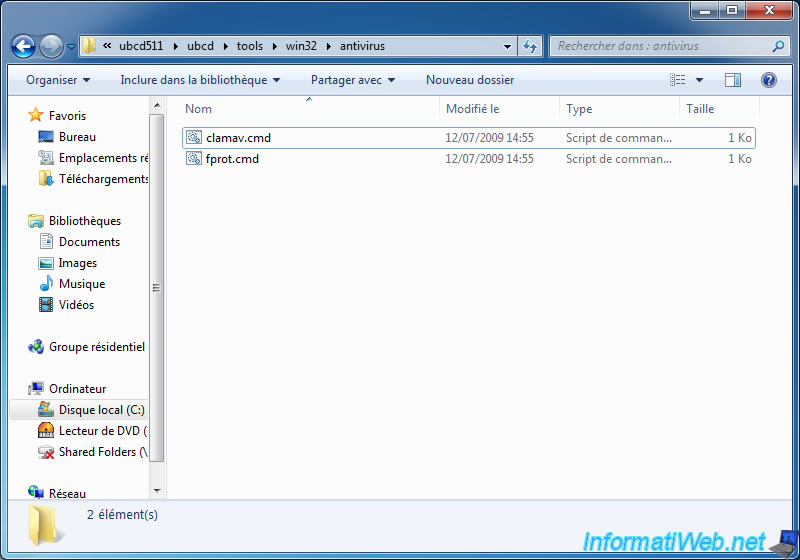
ClamAV updates.
F-Prot updates.
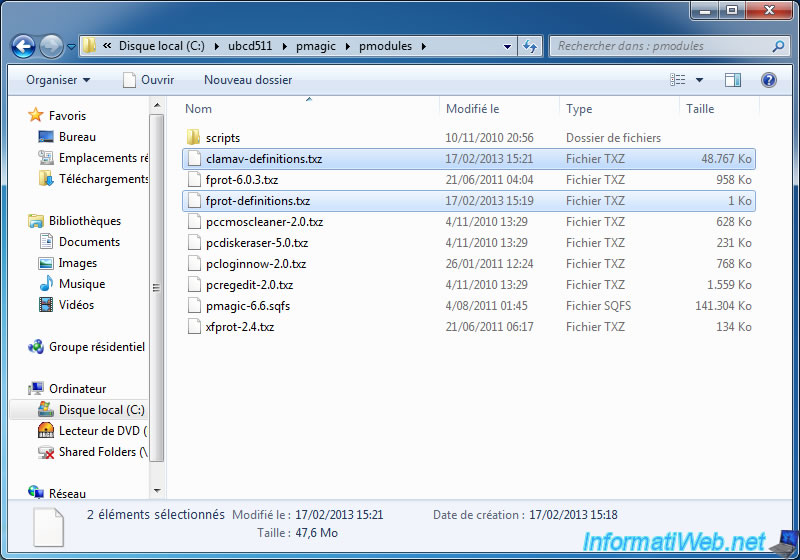
If you are looking for antivirus definitions of these, they are in the "C:\ubcd511\pmagic\pmodules" folder. These are files : "clamav-definitions.txz" and "Fprot-definitions.txz".
4. Rebuilding CD / DVD image formats to ISO
Once we have completed our customizations, we can now reconstruct the UBCD CD / DVD image to ISO format.
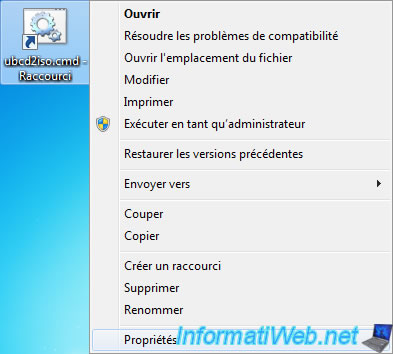
To do this, go to "C:\ubcd511\ubcd\tools\win32\ubcd2iso" folder and create a shortcut of "ubcd2iso.cmd program on your desktop.
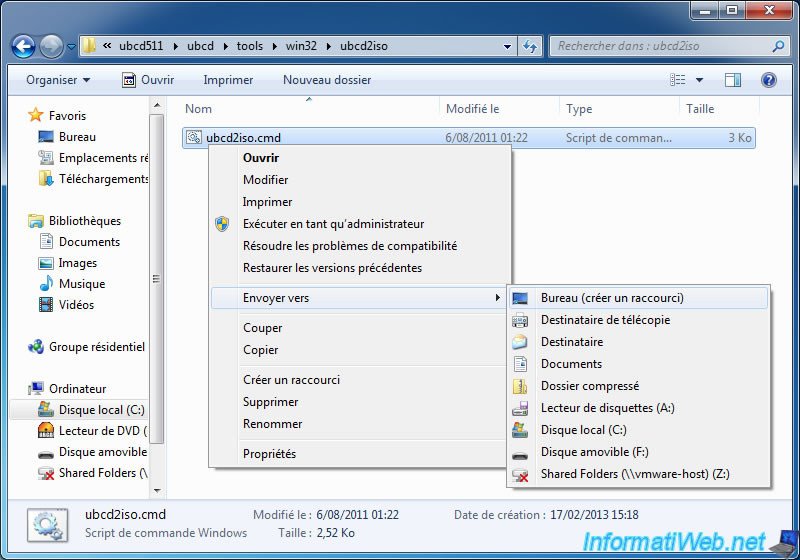
Then, right click on the shortcut and click "Properties".
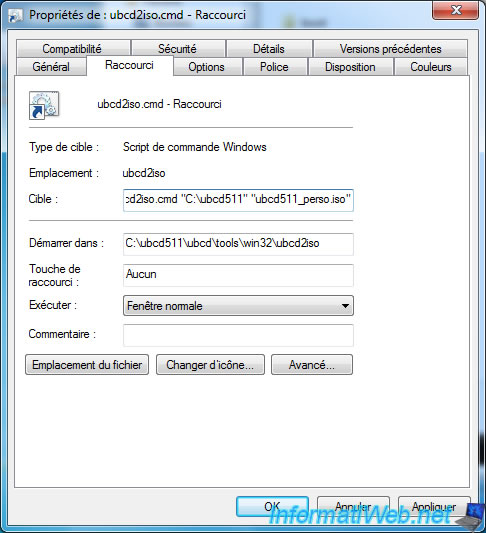
Then, add the path to the extracted folder UBCD and a name to save the new iso file.
The target will be amended as follows :
- Before : C:\ubcd511\ubcd\tools\win32\ubcd2iso\ubcd2iso.cmd
- After : C:\ubcd511\ubcd\tools\win32\ubcd2iso\ubcd2iso.cmd "C:\ubcd511" "ubcd511_perso.iso"
If the path to the iso file is relative, as in the example above, the file will be created in the folder passed as a parameter (in this case, the folder : C:\ubcd511).
Then click OK.
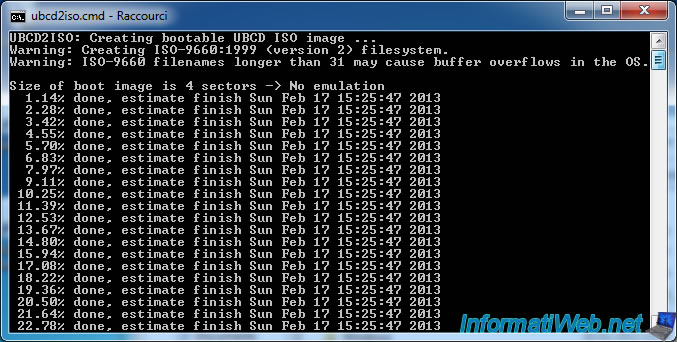
Now run the program by double clicking the shortcut. As you can see, it automatically recreates the boot sector (boot image is 4 Sectors) whose / DVD CD image needs to be bootable.
Note : If you're running Windows Vista, Win. 7 or Win. 8, it may be necessary to run this program as administrator. To do this, right-click the shortcut and click "Run as administrator".
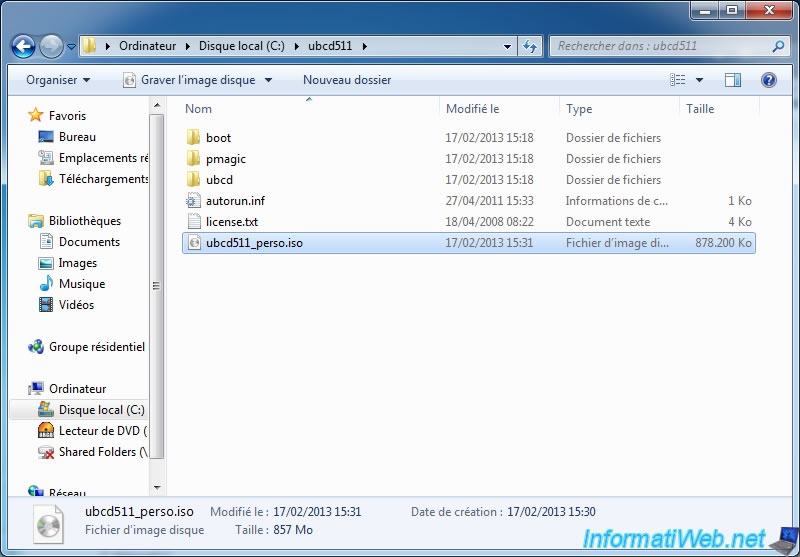
As indicate above, your file has been created in the folder C:\ubcd511
5. Create a bootable USB UBCD
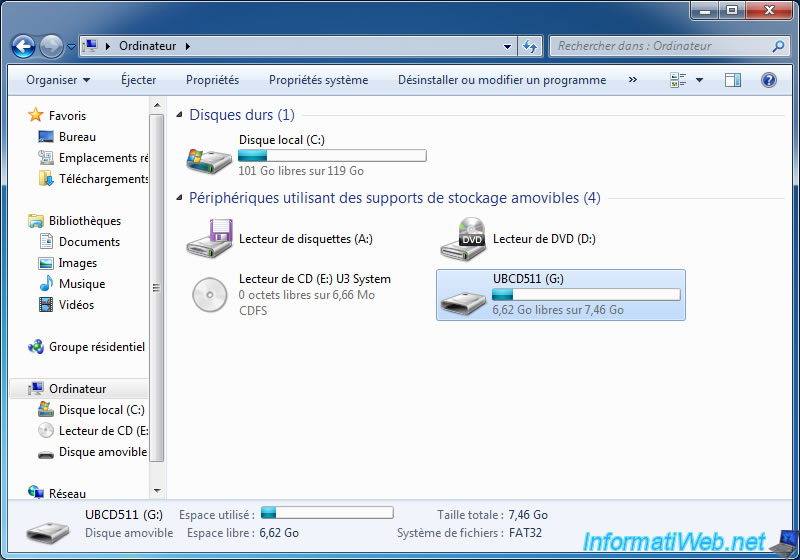
Plug your USB key and then locate the letter. In our case, it bears the letter "G". USB drives are recognized as a removable disk.

Now go to the start menu -> All Programs -> Accessories -> Command Prompt. If you're running Windows Vista, Win. 7 or Win. 8, right click on "Command Prompt" and click "Run as administrator".
In the command prompt , type these two commands, pressing ENTER after each command :
Batch
cd C:\ubcd511\ubcd\tools\win32\ubcd2usb
ubcd2usb C:\ubcd511 g: /f
Explanations :
- The first command, you enter the "C:\ubcd511\ubcd\tools\win32\ubcd2usb" folder where the program to create a bootable USB UBCD.
- The second command starts the program ubcd2usb.cmd with 3 parameters :
1) the path to the folder containing the extracted files from the image of UBCD
2) the letter of the USB key
3) the /f parameter that tells the program must first format the USB key before creating the bootable USB drive . This parameter is optional but recommended.
Warning : DO NOT WRONG ABOVE LETTER for the selected drive will be formatted. This means that all data will be permanently deleted.
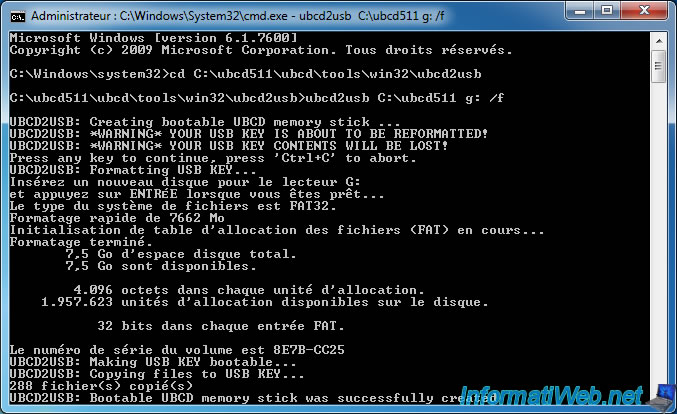
Once created and formatted, the name of your USB key will be changed to "UBCD511" and the size used depends on the size of the file "C:\ubcd511" containing the UBCD and customizations files.
In the case of our tutorial, the final size is : 857 MB
6. Test the USB key or custom CD
There remains only you test your custom bootable CD or bootable USB drive you by starting your computer or on the latter. For this you need to change the boot order in the BIOS.
Your images can be found in the menu : User-defined.
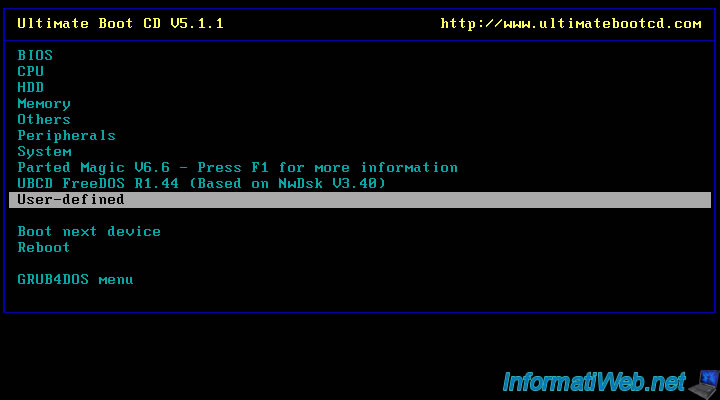
Here are our 2 images that we added during this tutorial.
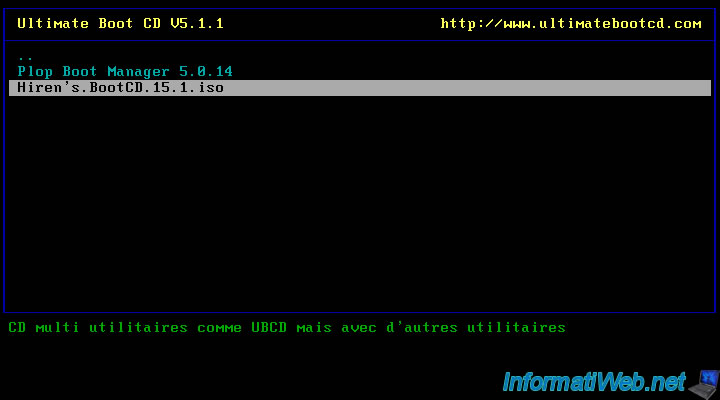
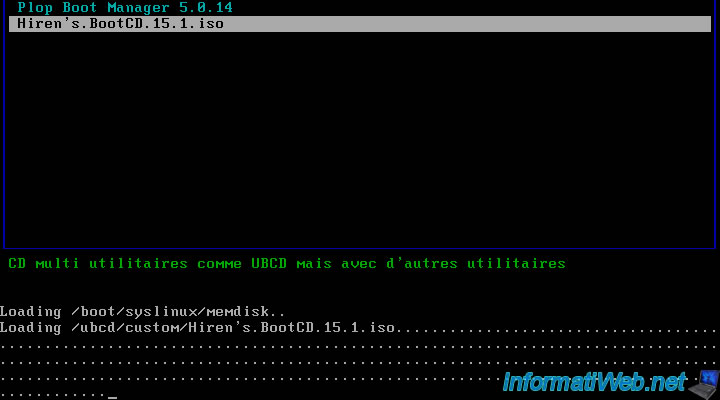
When you start a CD / DVD, floppy disk or other image, UBCD (or rather the system used by UBCD ie syslinux and isolinux) will display "." representing the charging status of the image in memory (RAM). The charging time depends on the performance of your computer and the size of the loaded image.
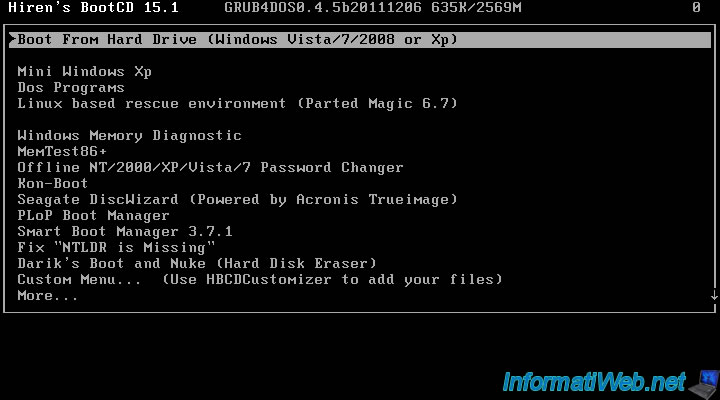
And here our Hiren Boot CD that started from Ultimate Boot CD. You can save CD / DVD or USB key, integrating these images into the UBCD.
Share this tutorial
To see also
-
Live CD 6/14/2022
UBCD - Create a bootable Ultimate Boot CD USB key
-

Live CD 2/17/2013
UBCD - Presentation of the live CD features
-
Live CD 4/18/2016
UBCD - Test your hard disk with HDAT2
-
Live CD 1/27/2013
UBCD - Test your hardware
You must be logged in to post a comment