- Backup
- Norton Ghost
- 09 July 2012 at 15:49 UTC
-

- 1/2
First install "Norton Ghost" normally. If you want you can read the tutorial "Install, configure and use Norton Ghost".
If you want to backup / restore by the network, you will have to enable file sharing on the PC used to store Ghost backups and create a Live CD of Norton Ghost that includes the drivers for your network card (if the live CD Symantec doesn't support it).
Support for Norton Ghost has been discontinued
Symantec support for Norton Ghost ended in June 2014.
To back up your computer, choose reliable, up-to-date software like "Acronis True Image," which is highly professional and extensively documented on our site with tutorials.
For more information about Acronis True Image, see our dedicated article : Presentation of Acronis True Image (Cyber Protect Home Office) backup software features.
- Enable File Sharing (Windows 7 SP1 - 64 Bits)
- Creation of the Live CD to integrate the network driver
- Boot on the Live CD
- Mapping the Network Drive
- Computer backup
- PC restore
1. Enable File Sharing (Windows 7 SP1 - 64 Bits)
Windows 7, create a folder where you want but preferably outside user files and therefore the office as these files can be made ​​private when the user set a password for the session so sharing would be more accessible via the network.
Right-click it and click "Properties".
Go to the "Sharing" tab and click the "Share ...".

Select "Everyone" from the list and click the "Add" button.
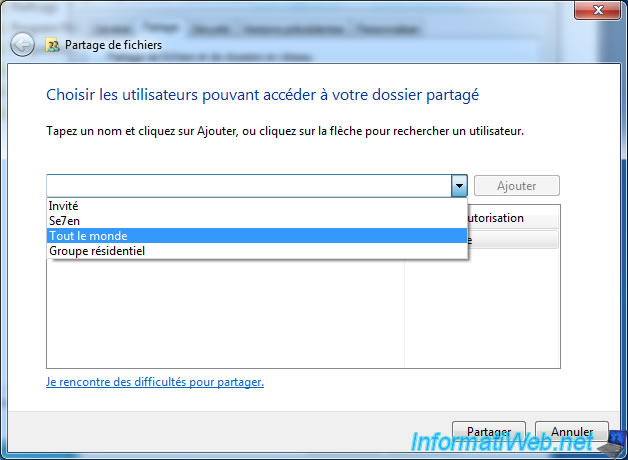
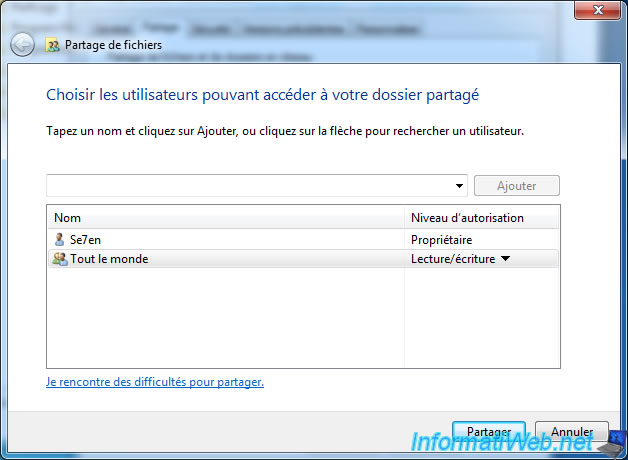
Then, set the access permissions for the share. If you want to make your backup over the network to save it in this folder, select "Read / Write". In the case of this folder is used only for restoration by the network you can put "Read".

Click on "Share".
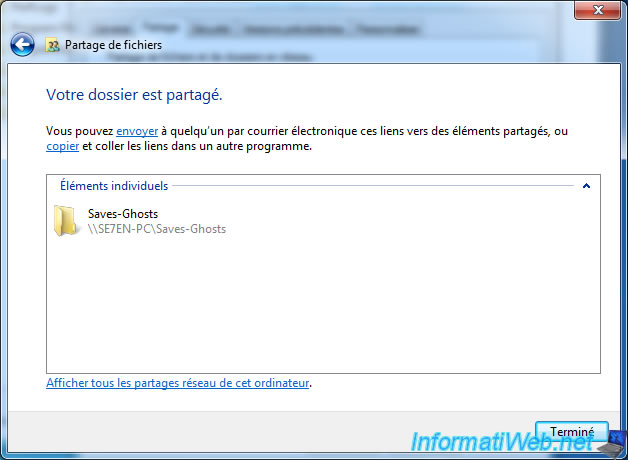
Your folder is now shared but to ensure that the folder will be visible on the network you will have to check the network discovery options (these options are present only since Windows Vista).
Check the box "Enable network discovery" and "Enable sharing of files and printers" are selected.
Attention the following settings are different depending on the network profile that you selected to install Windows 7. (Home network, office network, public network)

And finally, to access a share from Windows 7, it's mandatory to define a password for a user as the guest access doesn't work with Windows 7.
2. Creation of the Live CD to integrate the network driver
Go to "Tasks" and click "Create Custom Recovery Disk CD ...".
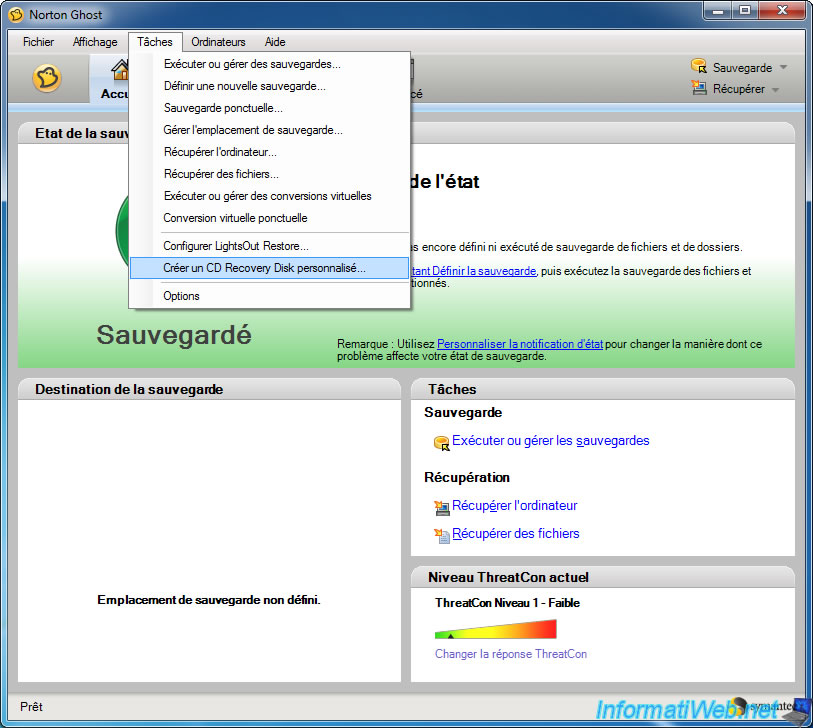
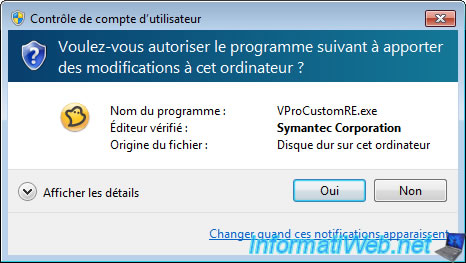
If you are under "Windows Vista" or "Windows 7", the UAC will show you a warning. Click "Yes".
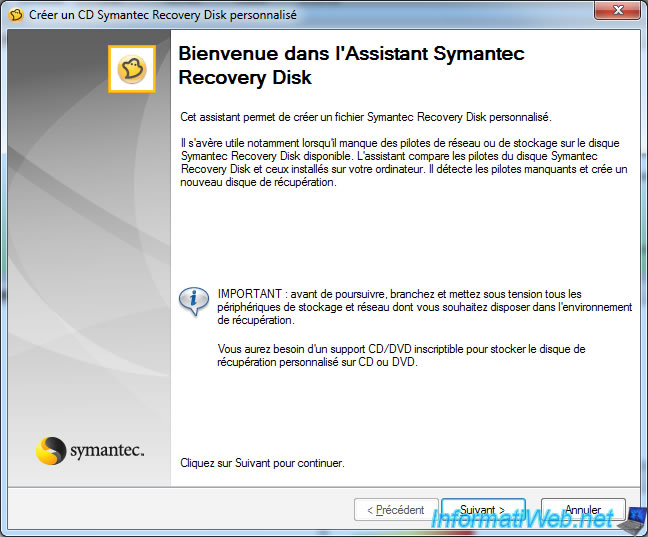
Click "Next".
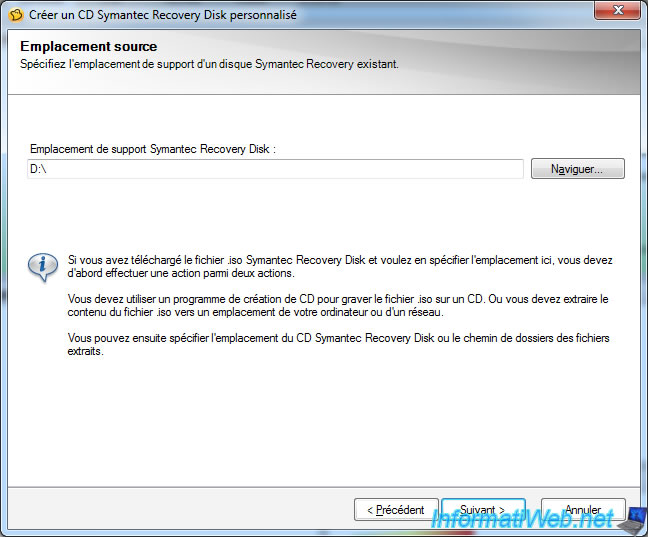
Select the folder containing the files "Symantec Recovery Disk" by clicking "Browse".
If the CD is already in your drive, normally the wizard will automatically detect it.
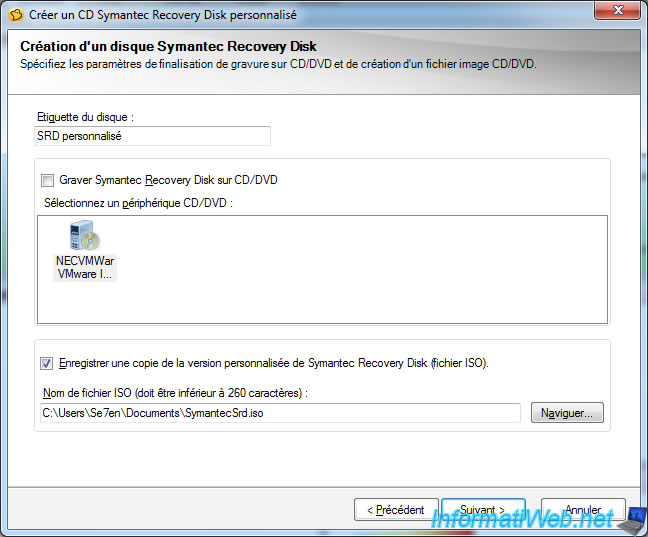
Check the boxes that interest you.
Now we need to integrate the driver 32 bits of your network card.
Two cases arise.
- Either you have a Windows 32-bit and 32-bit drivers so installed : Theoretically wizard will detect the driver automatically.
- Either you have a Windows 64-bit and 64-bit drivers so installed : Then download the driver 32 bits of your network card. To do this, you either have the driver CD or you will find the name of your network card on the Internet. (On the manufacturer website preference).
Under 32 Bits.
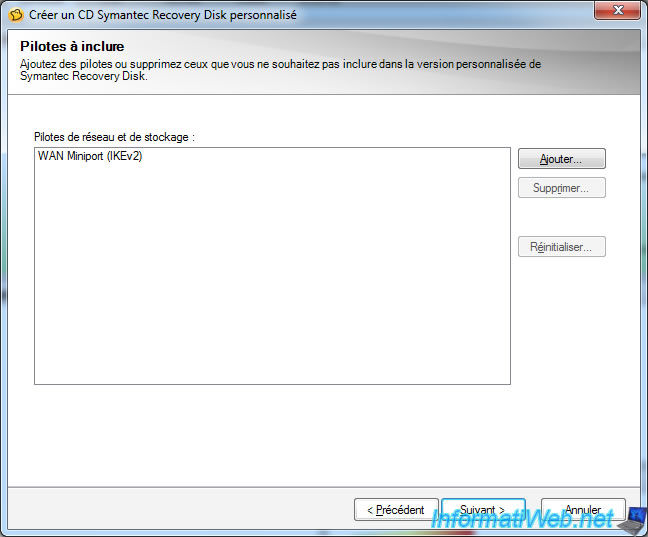
Under 64 Bits.
If you have the same driver as below, the 32-bit driver is actually on your computer in the "C:\Windows\inf" folder.
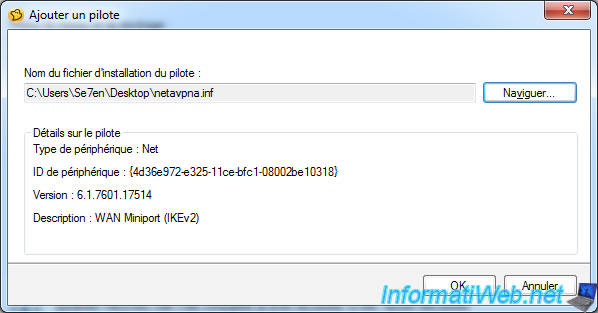
It is imperative to copy "netavpna.inf" and "netavpna.PNF" files to another folder (for example : on your desktop).
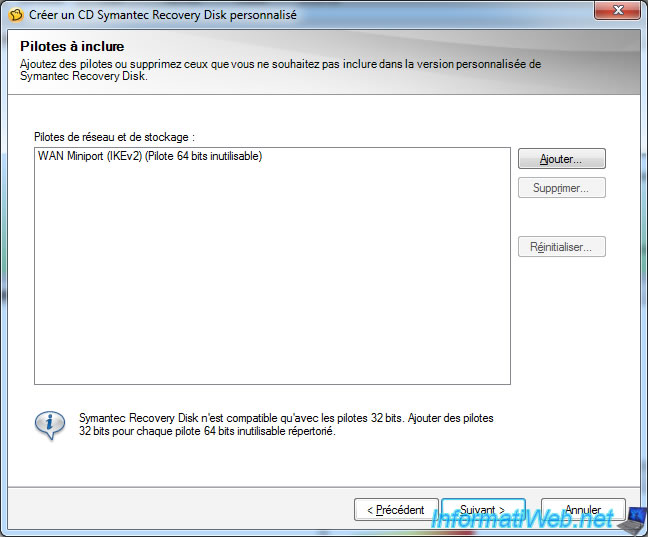
Then, select the "netavpna.inf" file or the ".inf" of the driver for your network card if it's another driver.
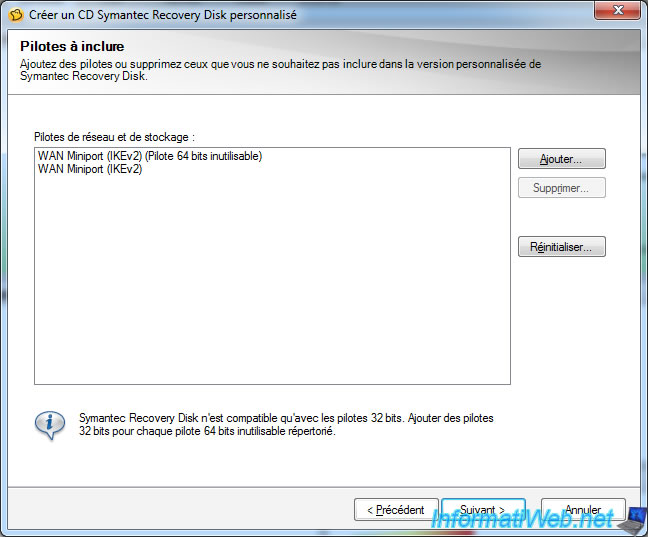
Once the driver you will see in the list without an error message next to him.
Click "Next".
Click "Next".
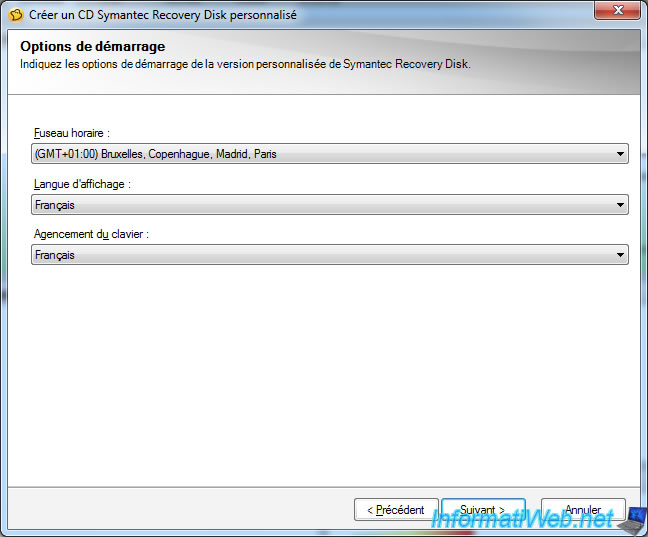
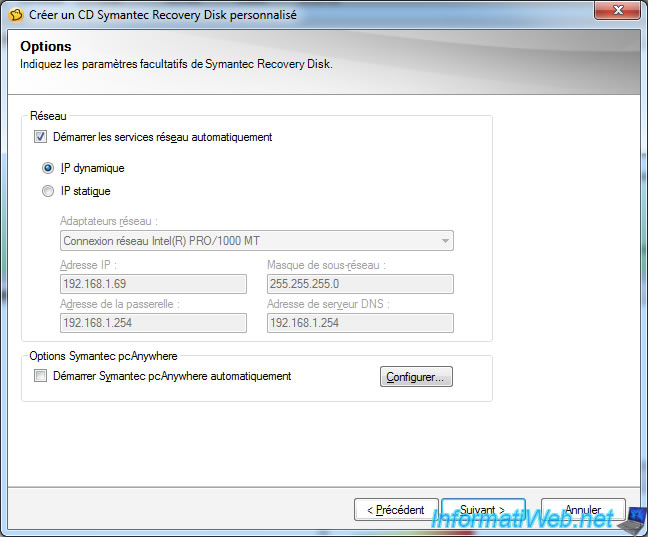
Check the "Automatically start network services" for the software connects automatically to the network and requests an IP address from the DHCP server on your network when you start your computer from the Live CD.
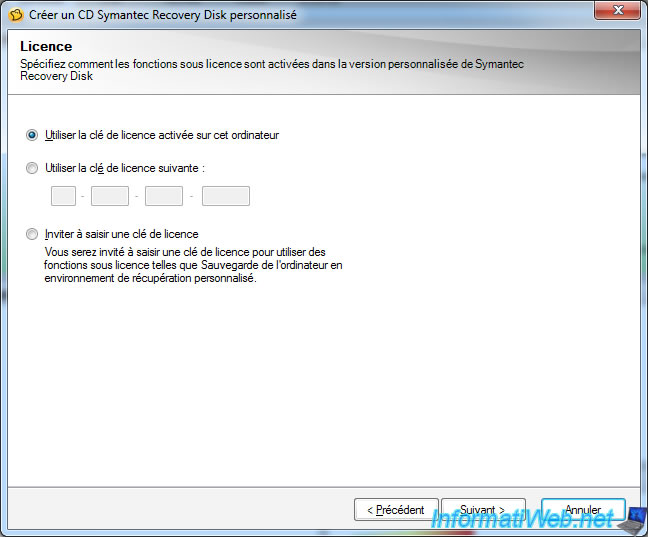
Select "Use the license key enabled on this computer" to avoid having to re-enter your serial number to each use of the Live CD.
Click "Finish" to create your own Live CD.
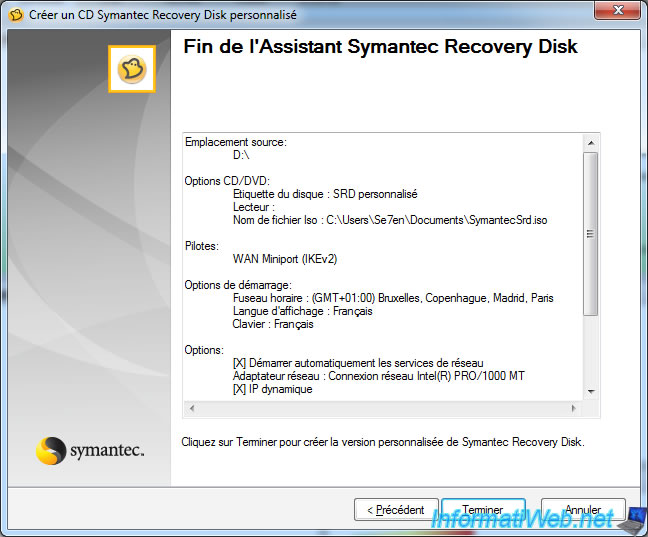
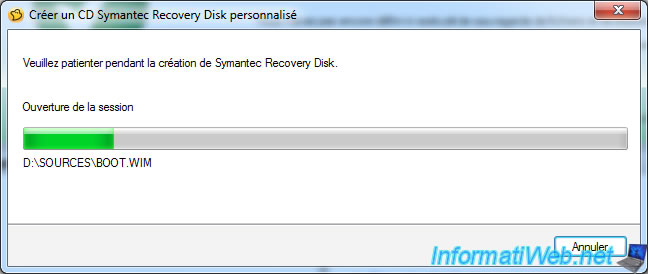
Live CD creation.
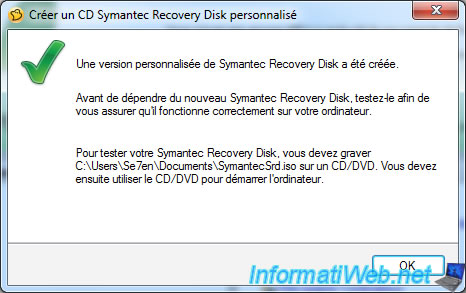
The Live CD is burned.
You must be logged in to post a comment