- Live CD
- HBCD
- 27 April 2012 at 16:23 UTC
-

Important : Be aware that this method can allow your PC to boot properly, however it requires to restore the system after manual recovery registry which wastes system changes (not your documents or personal data) and changes that were made between now and the restore date you selected.
To manually restore the registry, you must use a Live CD of Ubuntu or Windows XP Mini which is on Hiren BOOT CD.
- Boot from the "Hiren Boot CD" live CD
- Manually restore the Windows XP registry from the live CD
- Launch system restore from Windows XP
1. Boot from the "Hiren Boot CD" live CD
To boot to Hiren Boot CD, configure your motherboard BIOS to boot to your CD/DVD drive.
Then, when starting your computer, select the "Mini Windows Xp" option in the "Hiren's BootCD 15.1" boot menu that will appear.

2. Manually restore the Windows XP registry from the live CD
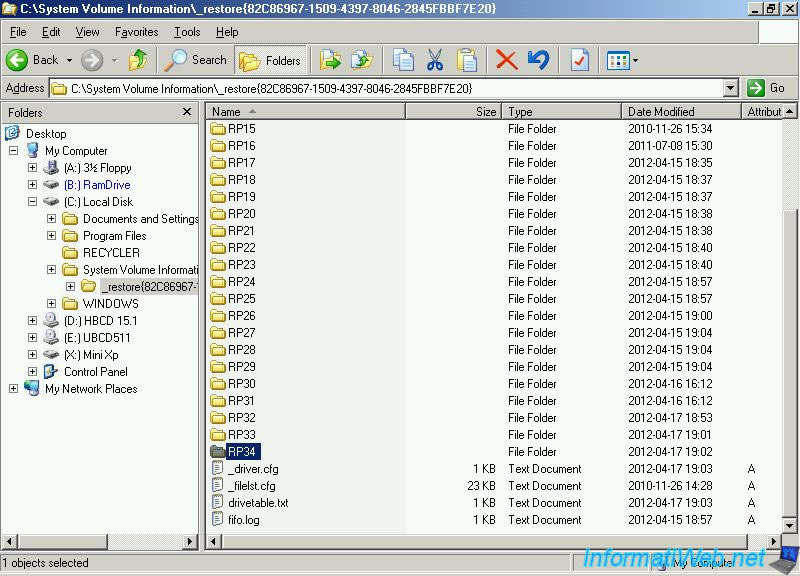
From the live CD file explorer, go to : "C:\System Volume Information\_restore{.....Sequence of numbers and letters....}.
In this folder you will find several files ... RP followed by a number. The highest number is the most recent restore point. We advise you to return to the last folder before "RP ..." because the more recent contains can be your corrupted while the penultimate contains uncorrupted registry registry.
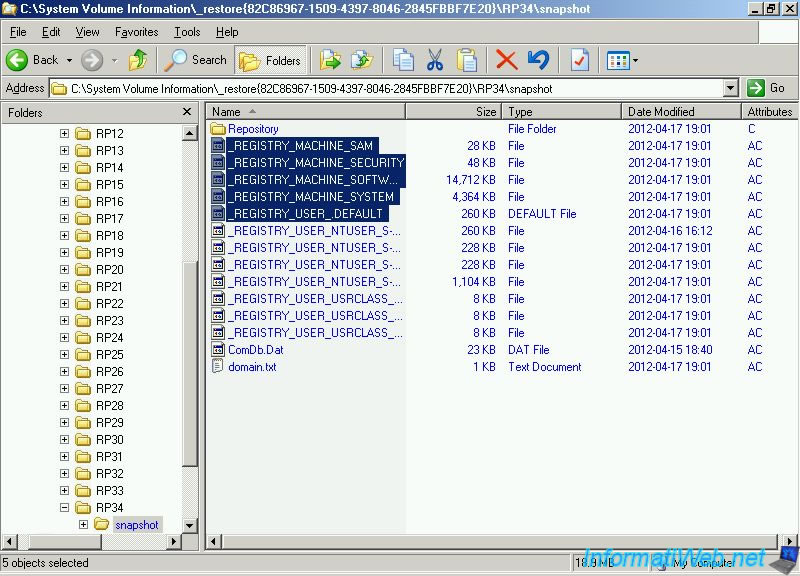
Once inside the folder go to the "snapshot" folder.
In this folder you can find a backup of your files (containing the registry).
Warning : if you don't have these files, don't continue this tutorial because you will not able to restore the registry thereafter.
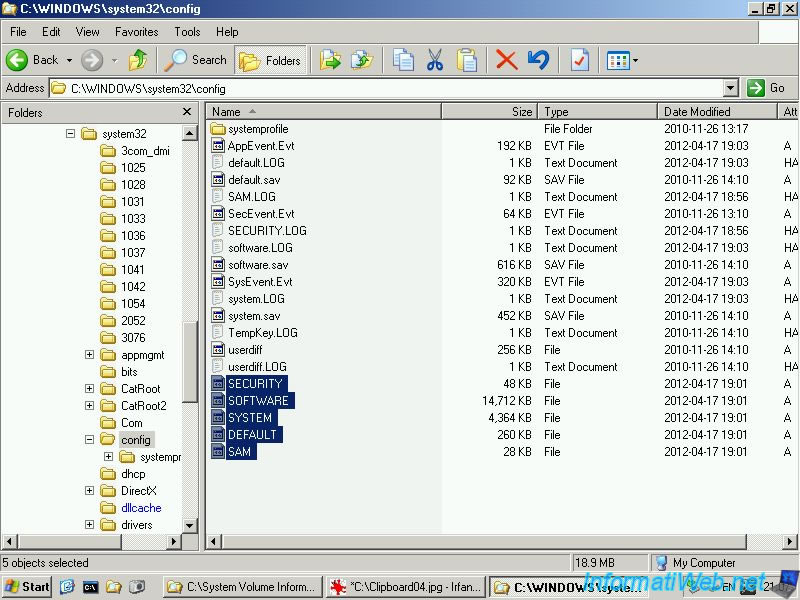
These 5 selected files (on the image below) should be copied to "C:\WINDOWS\System32\Config".
Then go to : "C:\WINDOWS\System32\Config" and delete the following 5 files : DEFAULT, SAM, SECURITY, SOFTWARE, SYSTEM.
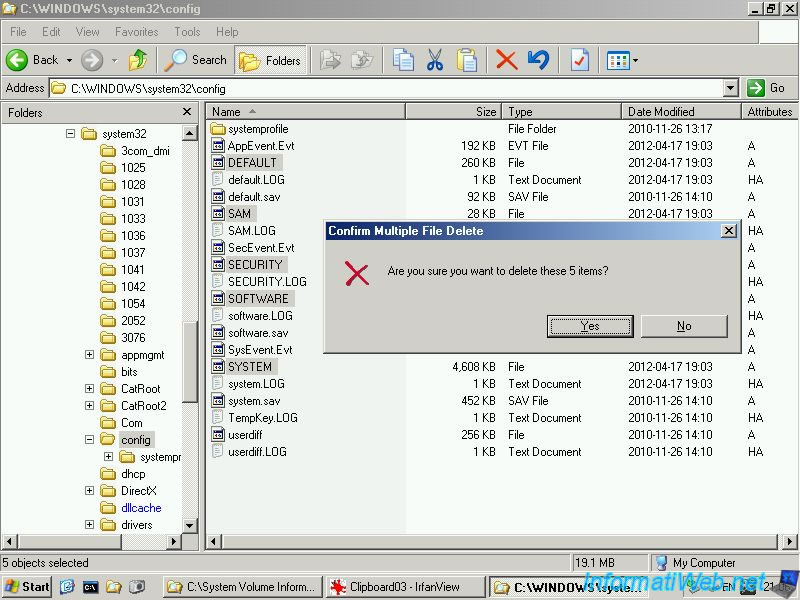
Then copy the files : _REGISTRY_MACHINE_SAM, _REGISTRY_MACHINE_SECURITY, _REGISTRY_MACHINE_SOFTWARE, _REGISTRY_MACHINE_SYSTEM, _REGISTRY_USER_.DEFAULT in "C:\WINDOWS\System32\Config".

And then rename the 5 files like this :
"_REGISTRY_MACHINE_SAM" to "SAM"
"_REGISTRY_MACHINE_SECURITY" to "SECURITY"
"_REGISTRY_MACHINE_SOFTWARE" to "SOFTWARE"
"_REGISTRY_MACHINE_SYSTEM" to "SYSTEM"
"_REGISTRY_USER_.DEFAULT" to "DEFAULT"
Once done, you can turn off the "Mini Windows XP" by clicking the "Start" button (to access the start menu) -> Shutdown.
Then reboot and if everything went well you should be able to access your normal Windows.
3. Launch system restore from Windows XP
Now that you have access to your Windows, it'll have to do a system restore to the registry matches the file system at the same time. If you don't do this or that System Restore fails your computer will continue to operate, but it's preferable to do so because such software that you have installed between now and the date on which the registry was saved would be partially lost. Why? Simply because the software files are still present but the registry keys that it was created at installation were lost due to manual recovery that we just made.
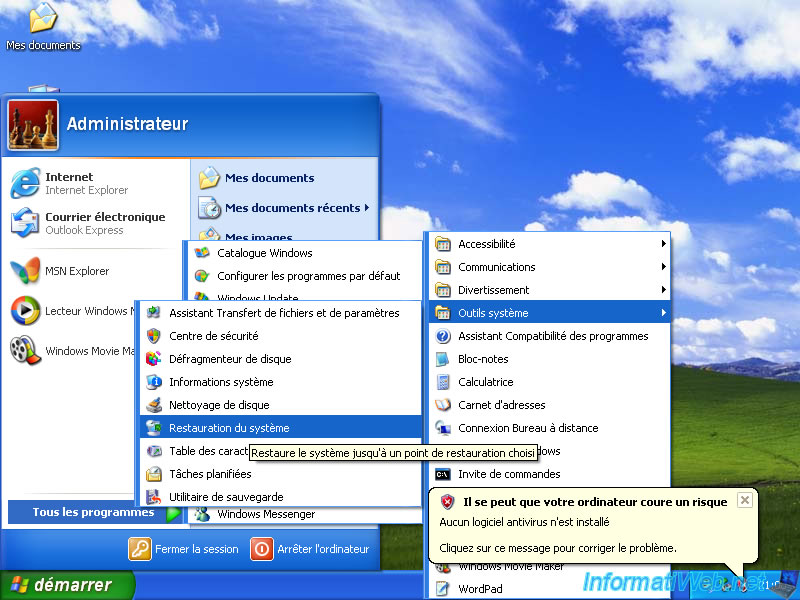
To perform a system restore, go to Start Menu -> Accessories -> System Tools -> System Restore.
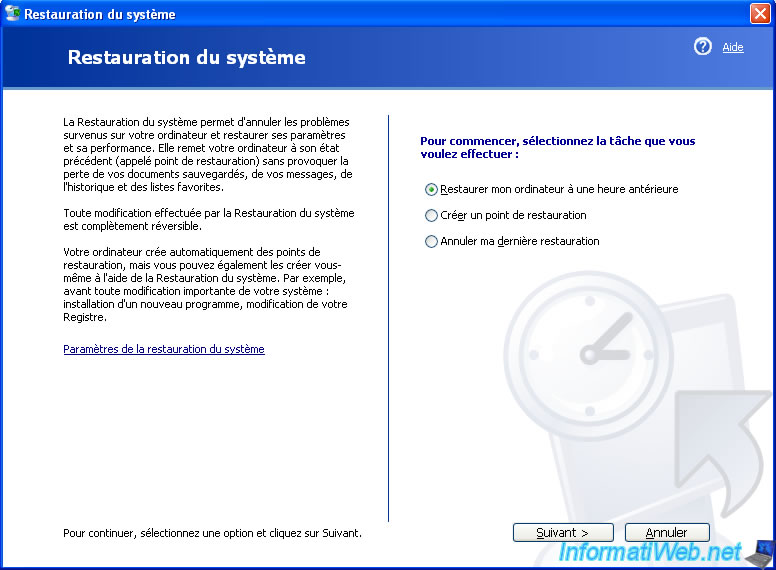
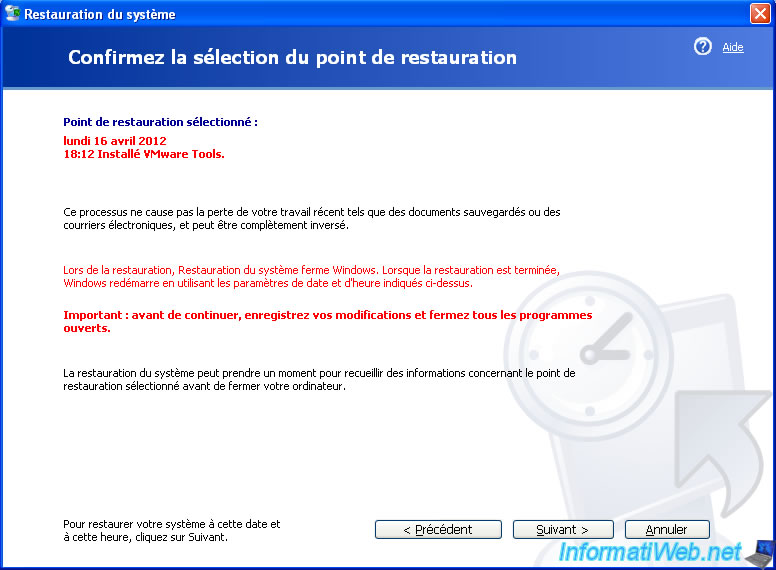
Select the "Restore my computer to an earlier time" and click "Next".
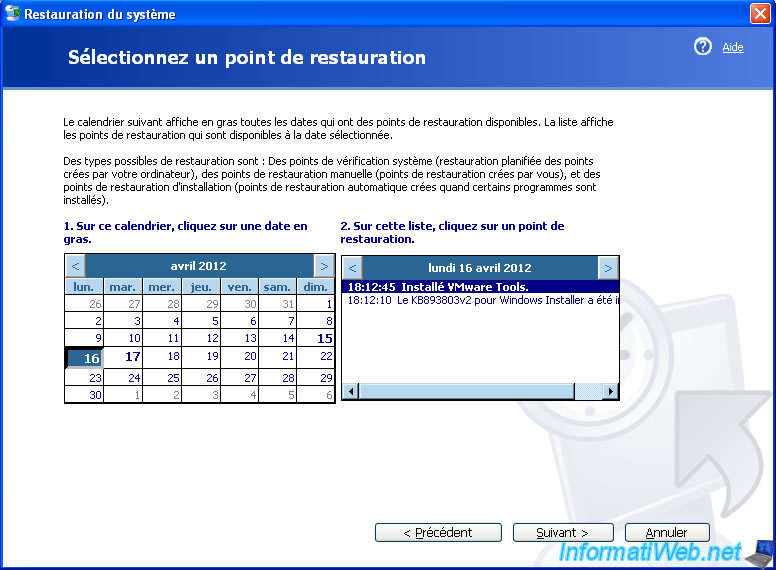
Select the nearest preferably to avoid losing too much time parameters.
Note : Your documents, images, personal, ... will not be erased. The "System Restore" refers only to the registry and system files as its name suggests.
Close all your programs (after saving your changes) that you open if this is the case and click "Next".
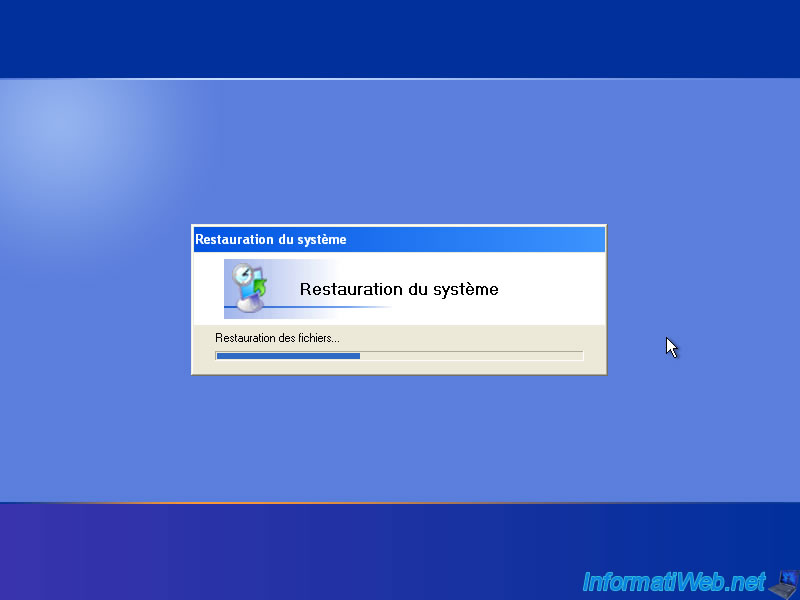
Your computer restarts and recovery occurs during the restart.
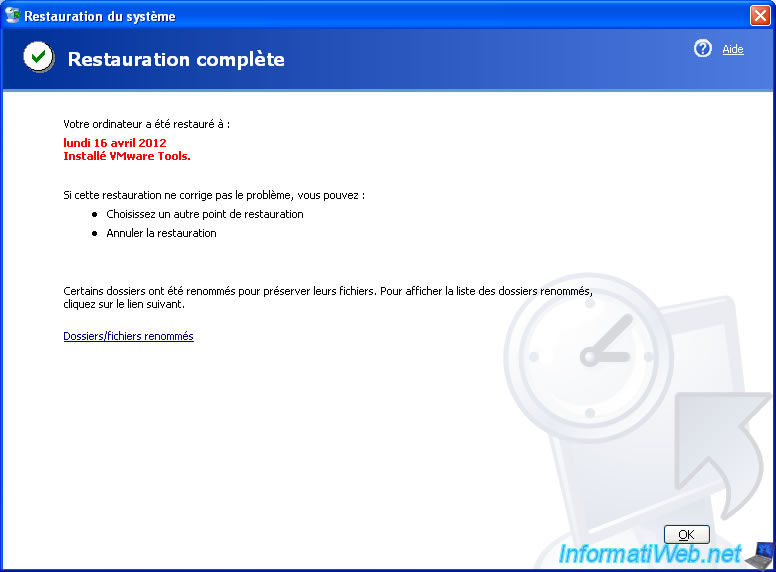
Once the restoration is complete, return to Windows and open your Windows session, this window will appear.
Share this tutorial
To see also
-

Live CD 6/21/2022
Hiren Boot CD - Change the default keyboard language
-

Live CD 4/27/2012
Hiren Boot CD - Edit the local registry of Windows
-

Live CD 10/1/2012
Hiren Boot CD - Mini Windows XP
-

Live CD 7/5/2022
Hiren Boot CD - Presentation of useful DOS programs
You must be logged in to post a comment