- Virtualization
- Windows 8 / 8.1, Windows 10, Windows 11
- 29 January 2024 at 14:22 UTC
-

Since Windows 8, you can easily virtualize machines thanks to the "Hyper-V" feature available in the client versions of Windows.
That said, officially, Hyper-V is not available in the "Home" edition of Windows.
Nevertheless, it is technically possible to manually install Hyper-V on the "Home" edition of Windows 8 to 11 with a few commands.
Warning : the prerequisites will not be checked when you manually install and enable Hyper-V.
To check these prerequisites, refer to our tutorial: Enable the Hyper-V feature on Windows 8, 8.1, 10 and 11.
- Hyper-V feature not available in Home edition
- Manually install Hyper-V with Home edition of Windows
- Virtualize a machine on Hyper-V with the Windows Home edition
- Preview of Hyper-V on other versions of Windows
1. Hyper-V feature not available in Home edition
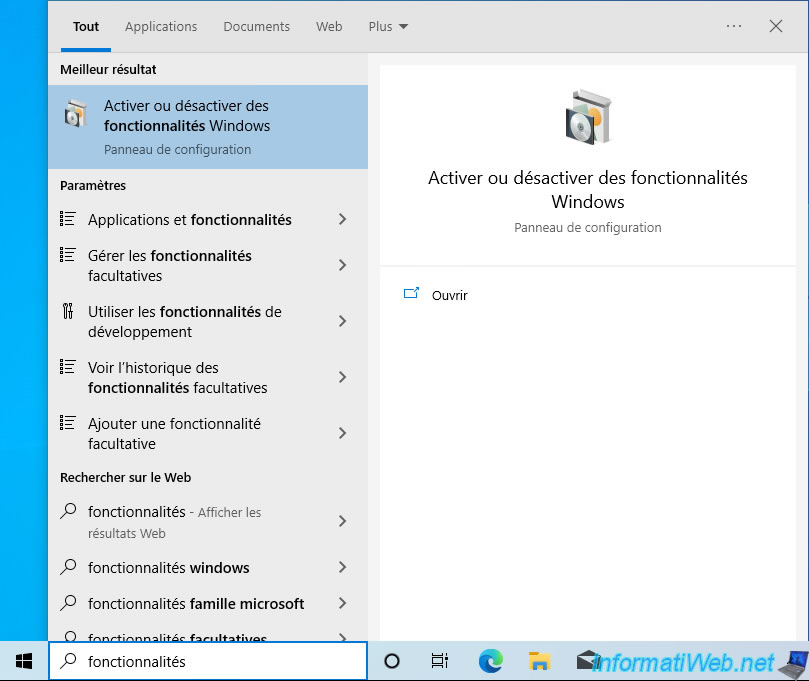
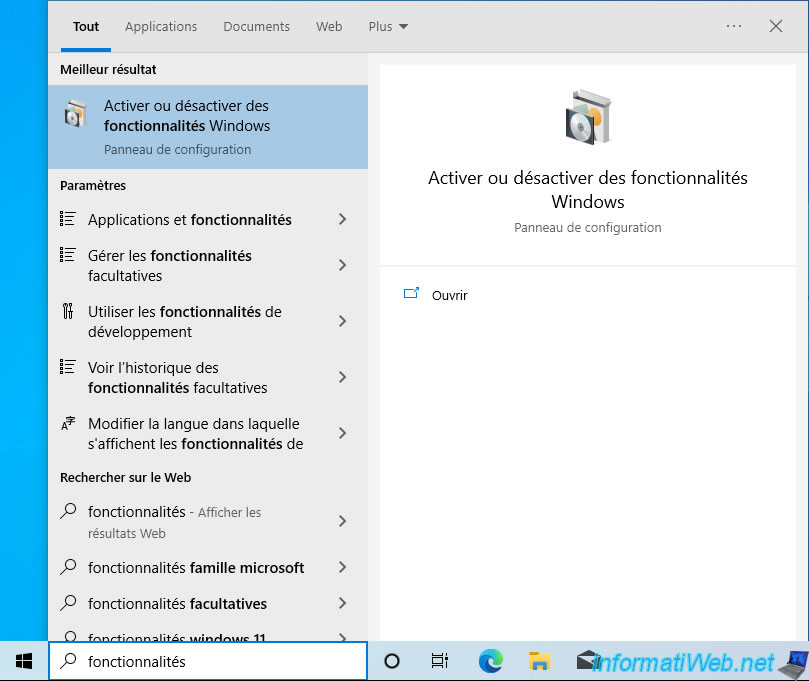
To get started, search for "features" and click: Turn Windows features on or off.
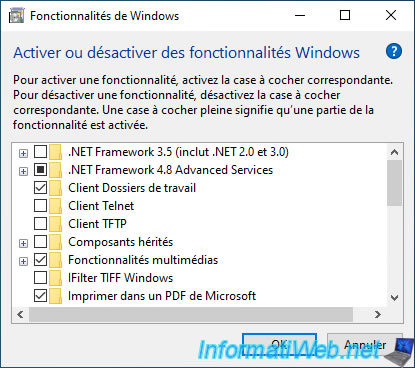
As you can see, with the "Family" edition of Windows, the Hyper-V feature does not appear in the list of Windows features.
Source : Windows 10 Hyper-V System Requirements.
2. Manually install Hyper-V with Home edition of Windows
To manually install and enable Hyper-V on Windows 8 to 11, open notepad and paste this inside.
Batch
pushd "%~dp0"
dir /b %SystemRoot%\servicing\Packages\*Hyper-V*.mum >hyper-v.txt
for /f %%i in ('findstr /i . hyper-v.txt 2^>nul') do dism /online /norestart /add-package:"%SystemRoot%\servicing\Packages\%%i"
del hyper-v.txt
Dism /online /enable-feature /featurename:Microsoft-Hyper-V -All /LimitAccess /ALL
pause

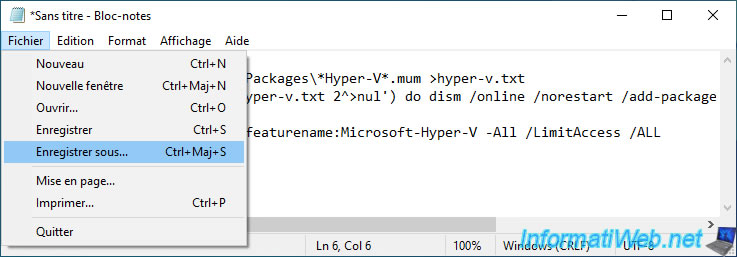
Then, click: File -> Save As.
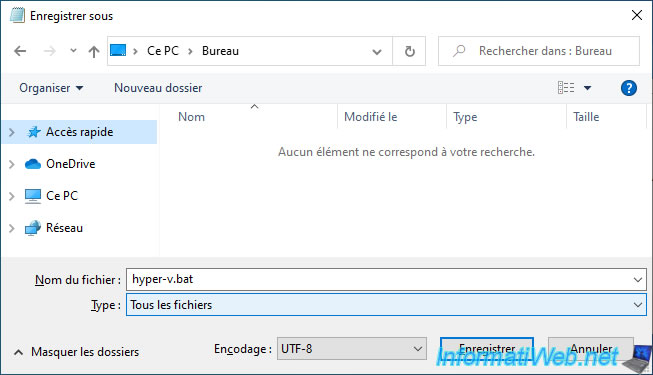
Select "Type: All Files (*.*)", then specify "hyper-v.bat" for the file name.
Then, click on: Save.
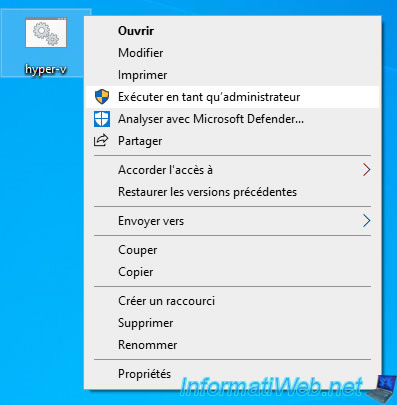
Now, right click "Run as administrator" on this "hyper-v.bat" script.
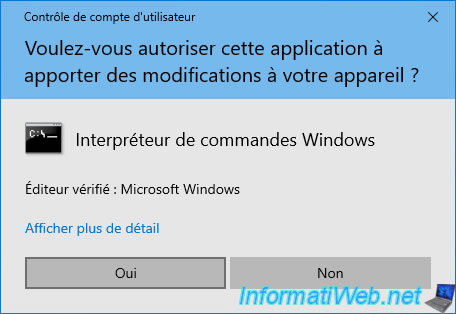
Click "Yes" when the "User Account Control" window appears.
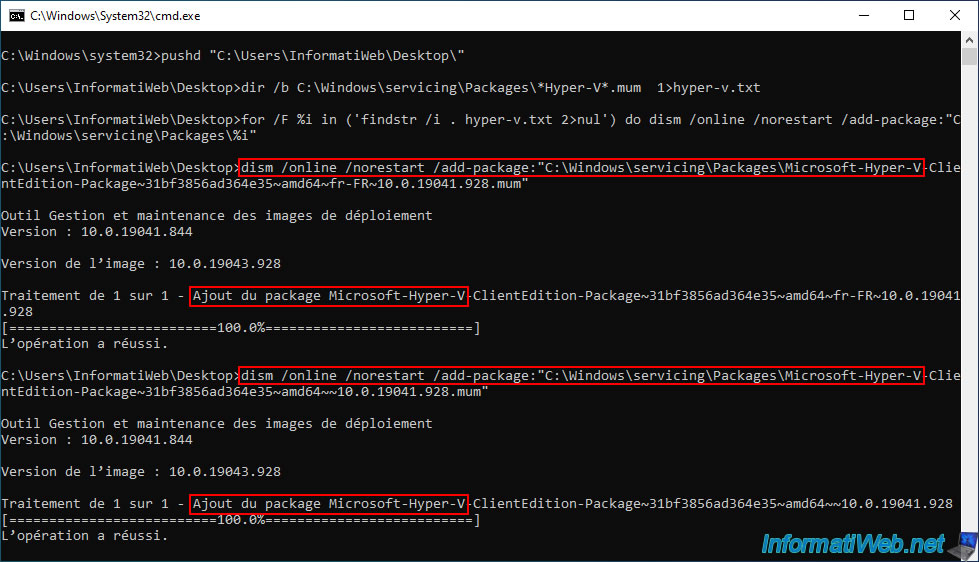
The script will first add several packages whose name starts with "Hyper-V":
- Microsoft-Hyper-V-ClientEdition
- Microsoft-Hyper-V-ClientEdition-WOW64
- Microsoft-Hyper-V-Hypervisor-merged
- Microsoft-Hyper-V-Hypervisor
- and more
Note that the list of packages changes from one version of Windows to another, but the script is designed to install the packages needed for your version of Windows.
Batch
dism /online /norestart /add-package:"C:\Windows\servicing\Packages\Microsoft-Hyper-V-...mum"
Plain Text
Deployment Image Servicing and Management tool
Version : 10.0.19041.844

Image Version : 10.0.19043.928

Processing 1 of 1 - Adding package Microsoft-Hyper-V-...
[==========================100.0%==========================]
The operation completed successfully.
Next, it will enable the added "Hyper-V" feature, along with its sub-features:
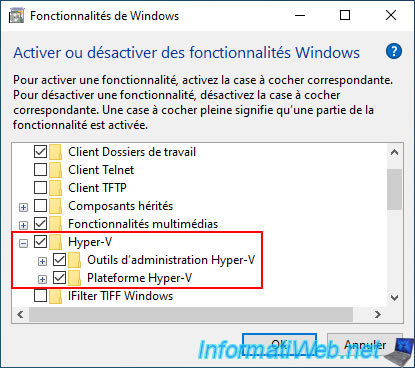
- Hyper-V Management Tools
- Hyper-V Platform
Finally, you will need to restart your computer for the changes to take effect.
To do this, simply press the "Y" key.

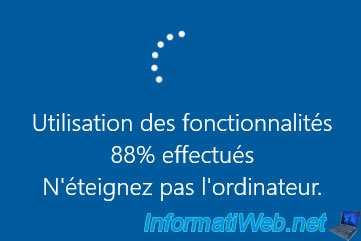
During the restart, you will see several messages appear:
- Installing updates.
- Use of features.
Note that these messages may change from one version of Windows to another.

Once your computer restarts, search for "Hyper-V" and you will see that the Hyper-V Manager will appear.
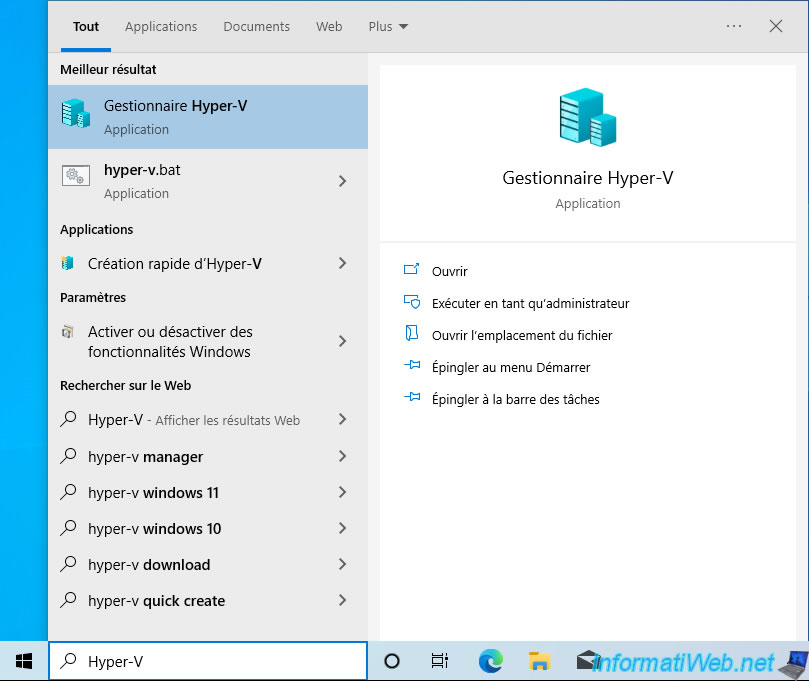
Search for "features" and click on: Turn Windows features on or off.
As you can see, the "Hyper-V" feature is now present and enabled, along with its sub-features.
3. Virtualize a machine on Hyper-V with the Windows Home edition
Open the Hyper-V Manager and it appears without problem.
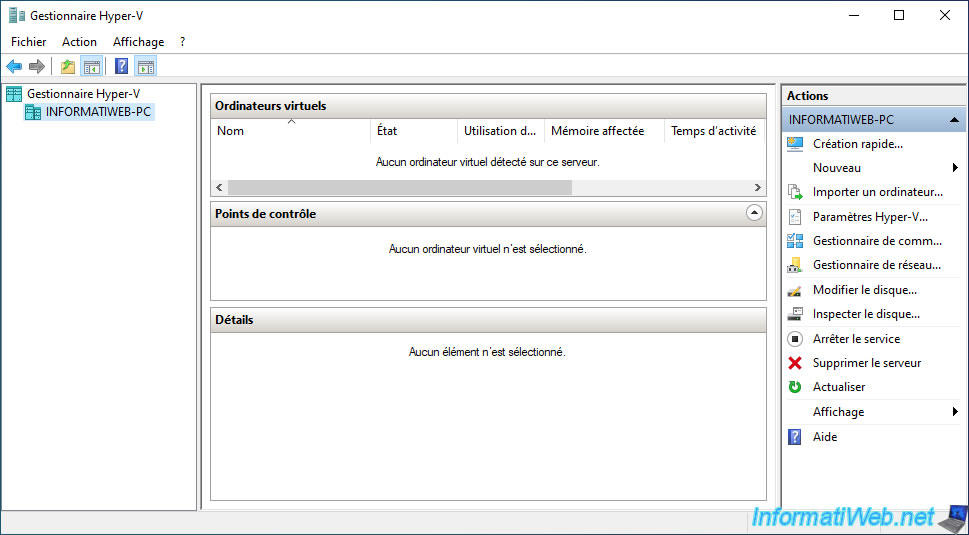
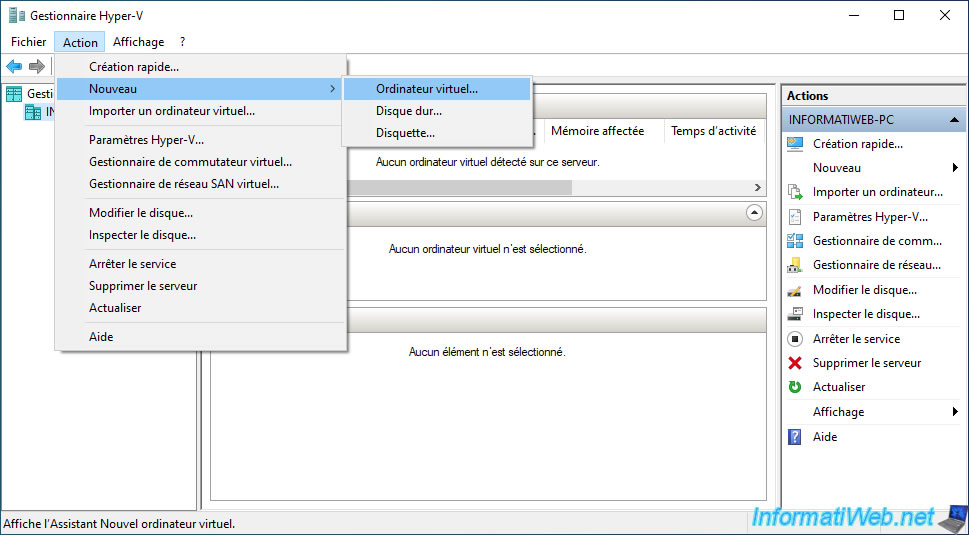
Click: Action -> New -> Virtual Machine.
Note: to find out how to create a virtual machine under Hyper-V, refer to our complete course "Learn how to create virtual machines with Hyper-V on WS 2012 R2 and WS 2016" available on our "InformatiWeb Pro" website.
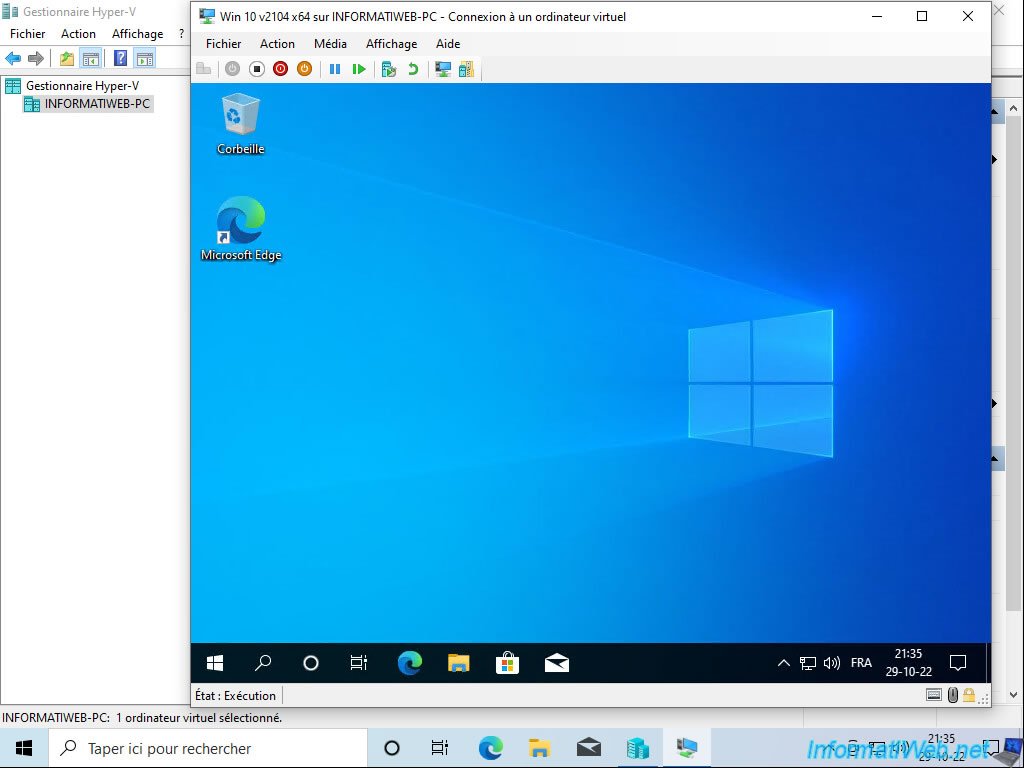
As you can see, our virtual machine is working fine on our computer.
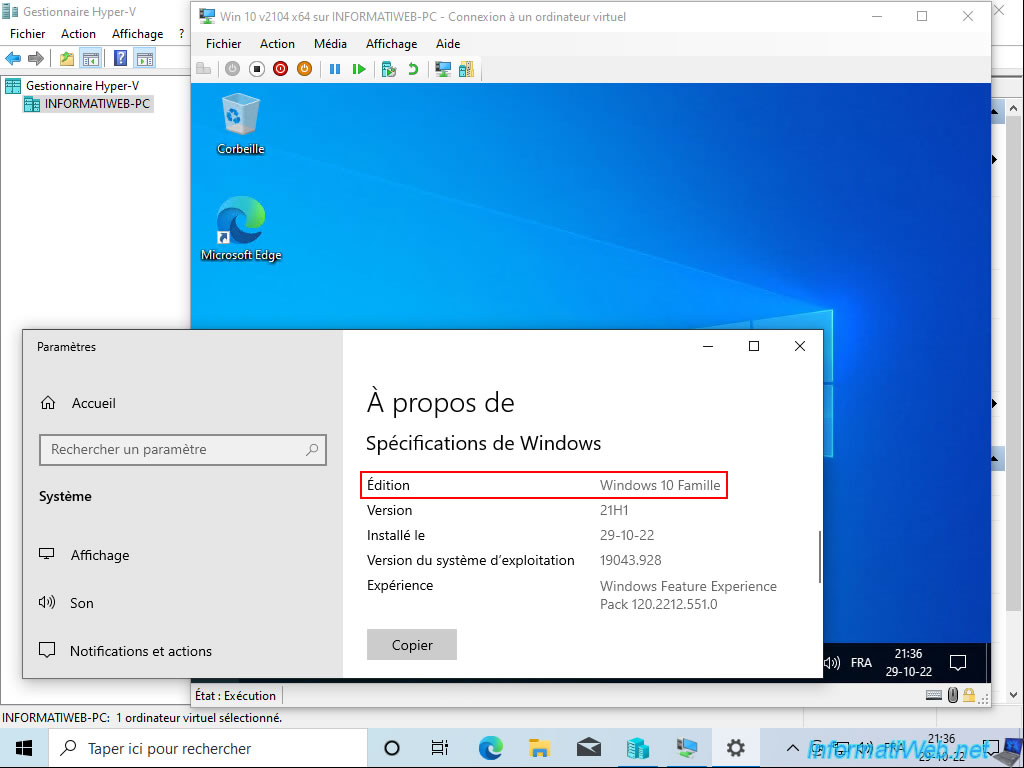
As expected, Hyper-V runs smoothly on Windows 10 Home.
4. Preview of Hyper-V on other versions of Windows
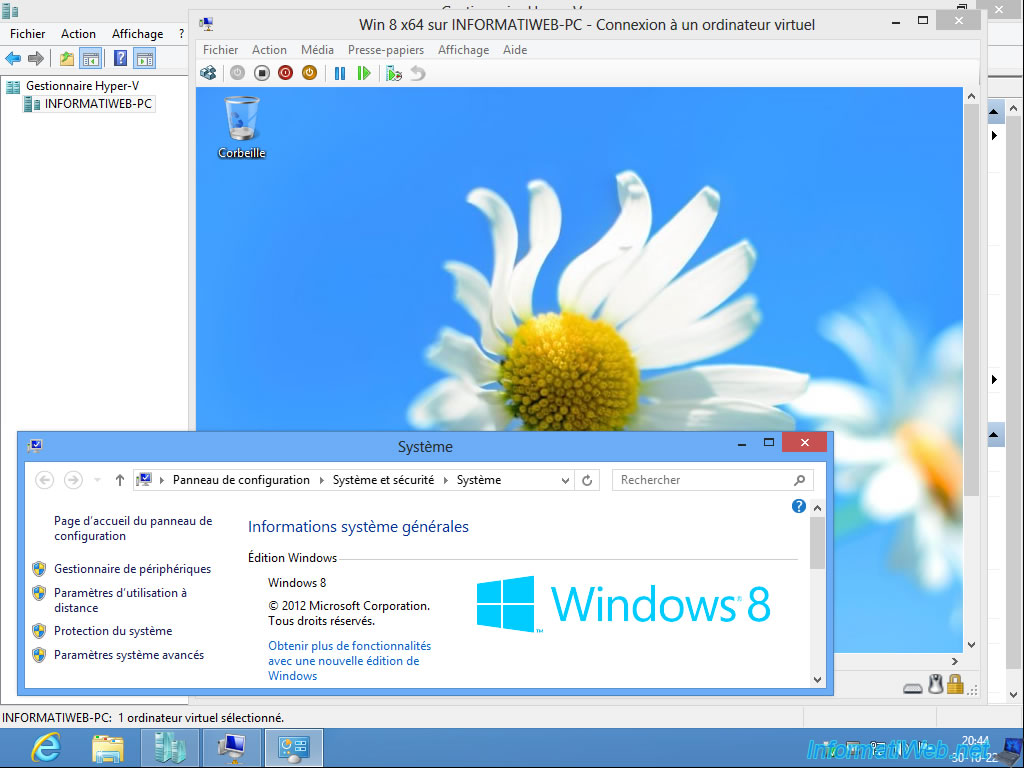
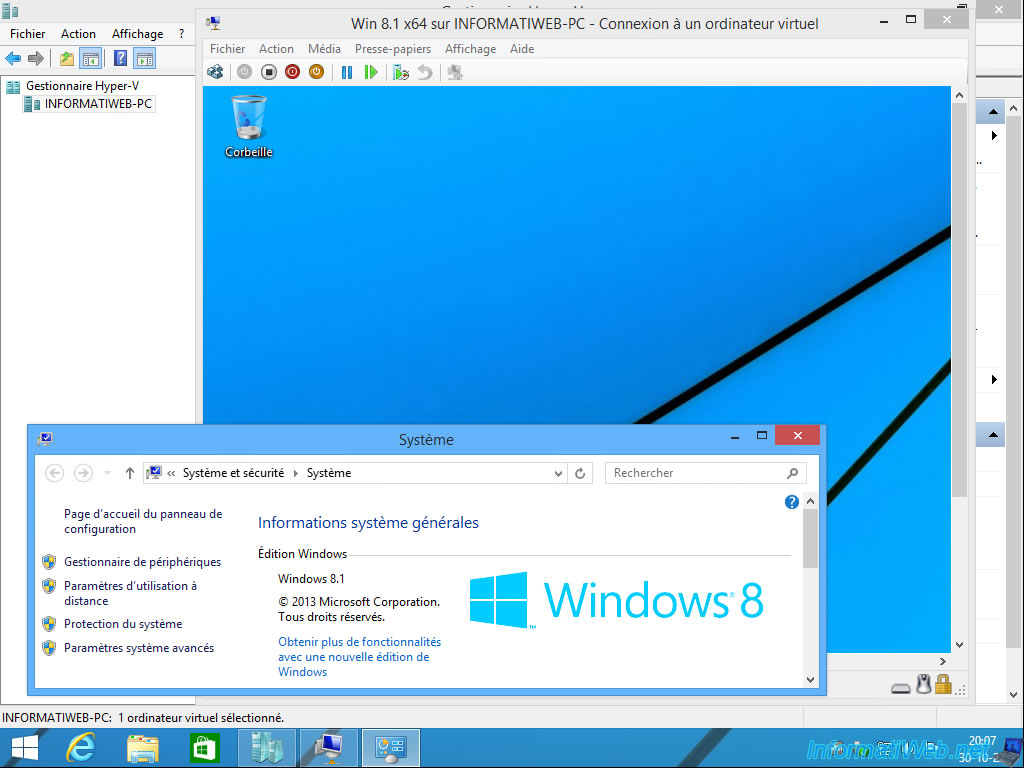
As expected, Hyper-V works fine on Windows 8 (Home).
It also works on the Home edition of Windows 8.1.
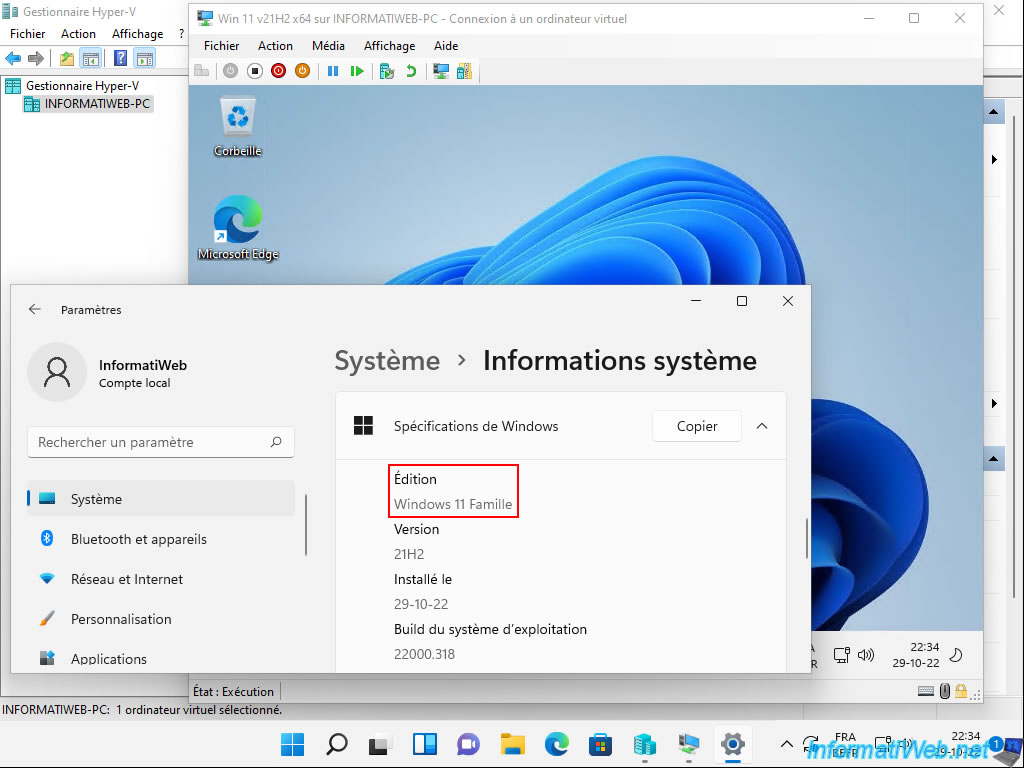
And it works fine on Windows 11 Home edition as well.
Share this tutorial
To see also
-
Windows 3/28/2022
Windows 10 - Change a user's password
-
Windows 1/16/2021
Windows 10 - Downgrade to Windows 7 after an upgrade
-
Windows 10/28/2024
Windows 10 - Use a Bluetooth headset
-
Windows 3/20/2025
Windows 11 / 10 / 8.1 / 8 - Expand a two-way mirror storage space (software RAID 1)
You must be logged in to post a comment