- MultiBoot
- Windows 8 / 8.1, Windows 7
- 03 June 2024 at 14:51 UTC
-

- 1/5
Rather than creating a multiboot by installing Windows 7 and 8.1 on separate partitions, you can install them on VHD virtual hard disks and boot on them using native VHD boot.
- Limitations of native VHD boot on Windows 7
- Create boot files for multiboot (from Windows 7 DVD)
- Create a virtual hard disk (VHD) to install Windows 7 on it
- Install Windows 7 on virtual hard drive (VHD)
- Renaming your partitions
- Partition your 2nd hard drive
- Create a virtual hard disk for Windows 8.1
- Install Windows 8.1 on virtual hard drive
- Add boot entry for Windows 8.1
- Installing Windows 8.1
- Manage the boot menu on Windows 8.1 (to change the default OS)
- Manage the boot menu on Windows 7 (to change the default OS)
1. Limitations of native VHD boot on Windows 7
To find out how the native VHD boot works, the advantages, the limits, etc., refer to our article: Windows 7 / 8 / 8.1 / 10 / 11 - Native boot to VHD/VHDX.
On Windows 7, everything is almost identical.
Indeed, there are still some additional limitations compared to the native VHDX boot available on newer versions of Windows.
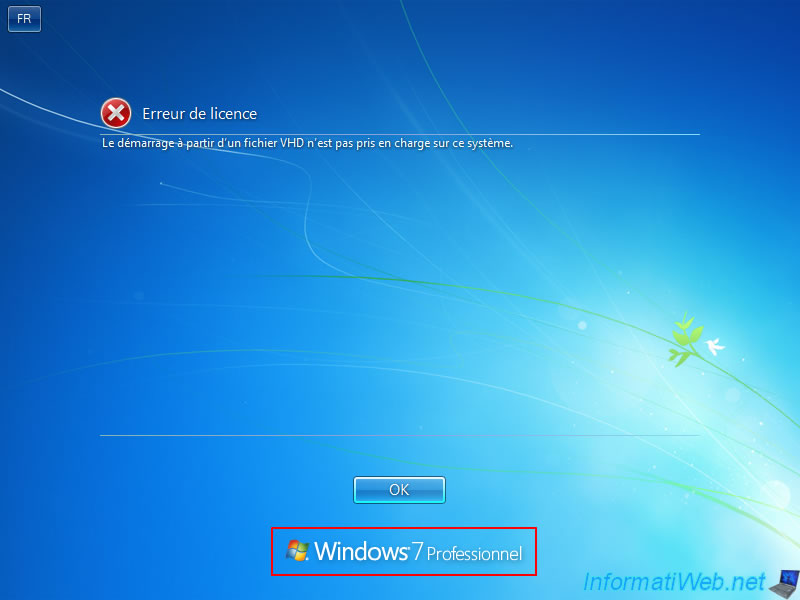
To begin with, Windows 7 can be installed on a VHD virtual hard disk only if you have an Enterprise or Ultimate edition of Windows 7.
Native VHD boot is also supported by Windows Server 2008 R2.
Otherwise, when your computer attempts to boot into your Windows 7 installation present on a VHD virtual hard disk, a license error will be displayed and the computer will restart automatically.
Plain Text
License Error.
Booting from a VHD is not supported on this system.
Source : Understanding Virtual Hard Disks with Native Boot | Microsoft Learn.
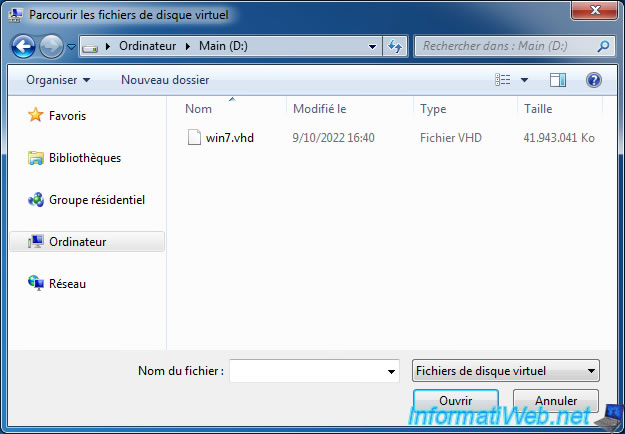
Then, Windows 7 only supports VHD format for virtual hard disks.
If you try to attach a VHDX virtual hard disk via the Windows 7 "Disk Management" console, you will see that it will not appear.
Only virtual hard disks in VHD format will appear.
Source : Virtual Disk (Windows) | Microsoft Learn.
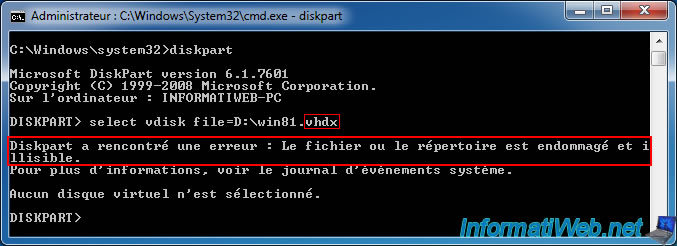
By the way, if you use the "DiskPart" command line tool in Windows 7 and try to select a virtual hard disk in VHDX format, an error will occur.
Plain Text
Diskpart has encountered an error: The file or directory is corrupted and unreadable.
For more information, see the System Event Log.

No virtual disk is selected.
Plain Text
Finally, be aware that you can boot into Windows 7 in LEGACY BIOS mode (old BIOS) or in EFI mode.
However, secure boot is not supported by Windows 7.
2. Create boot files for multiboot (from Windows 7 DVD)
To create the boot files for multiboot from the Windows 7 DVD, you will have to use a little trick which consists of using the Windows 7 installation wizard.
Indeed, if you attempt to manually create the system partitions and then create the required boot files using the "bcdboot" command, you will most likely receive the error "BFSVC: Failed to create a new system store. Status = [c000003a]".
Insert the Windows 7 installation DVD and configure your computer's BIOS to boot to your CD/DVD drive first.
Press the "Enter" key when this message appears.

Several loading screens will appear, then the Windows 7 installer will appear.
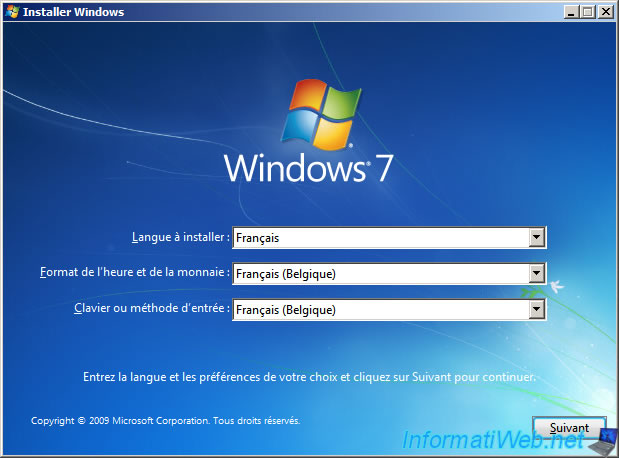
Select your language and country and click Next.
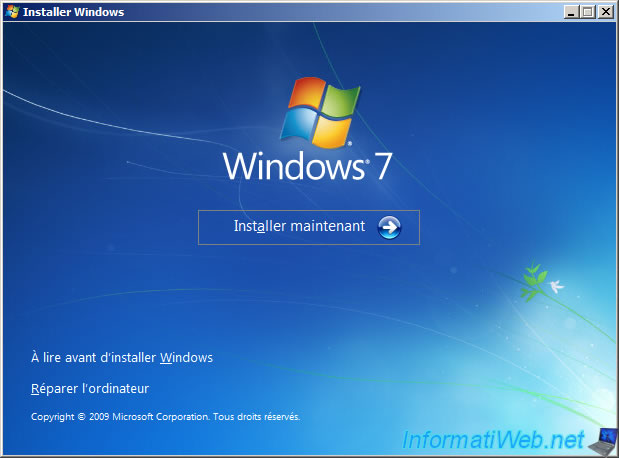
Click: Install now.
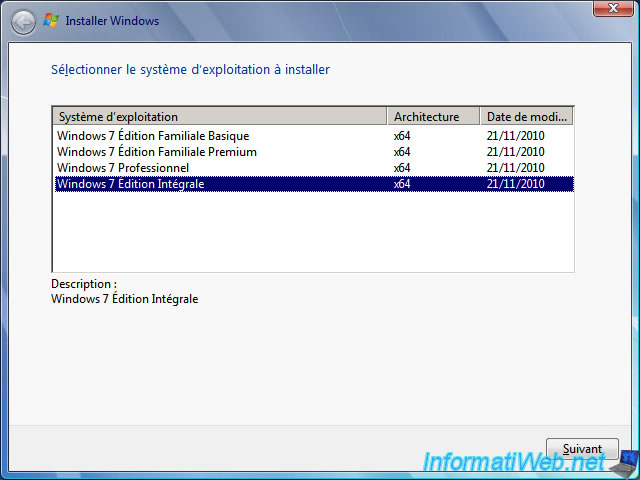
Important : As previously explained, installing Windows 7 on a VHD virtual hard disk is only supported with Enterprise and Ultimate editions.
Note: if this step does not appear in your case, make sure you have used the installation DVD of a supported edition. If so, then you can continue this tutorial.
Otherwise, create an universal Windows 7 DVD from the one you have by referring to our tutorial: Create an universal installation DVD of Windows 7.
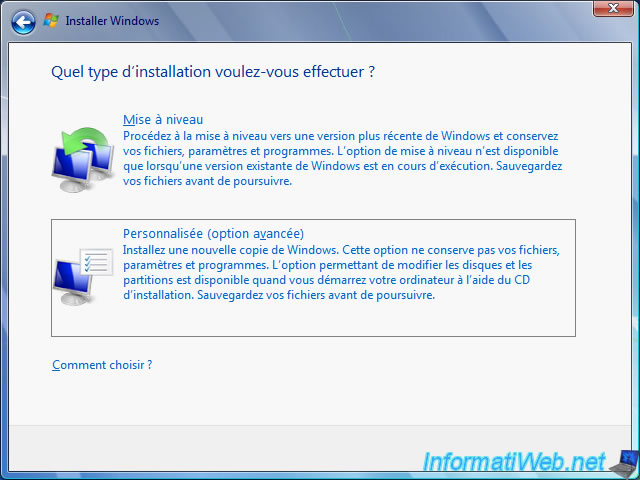
Click on: Custom (advanced).
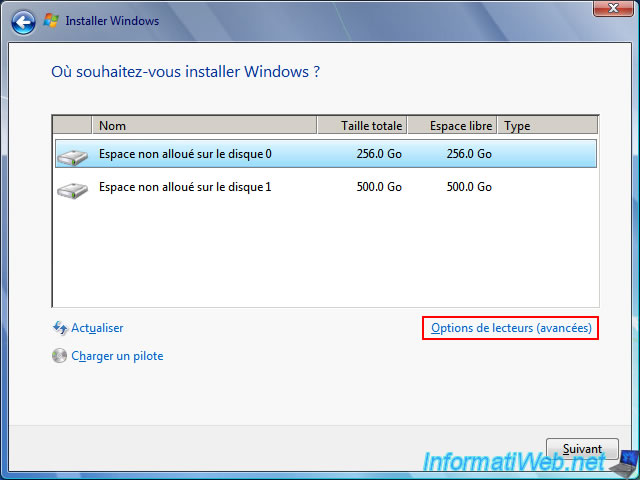
In our case, we have 2 physical disks:
- a 256 GB SSD (or a hard disk if you wish) on which you will create the system partitions, the boot files and the virtual hard disks.
- a 500 GB hard drive which will be used to store your data (documents, images, ...).
This disk is only present as an example, but nothing special will be done on it.
Select the unallocated space of your disk 0 and click "Drive options (advanced)".
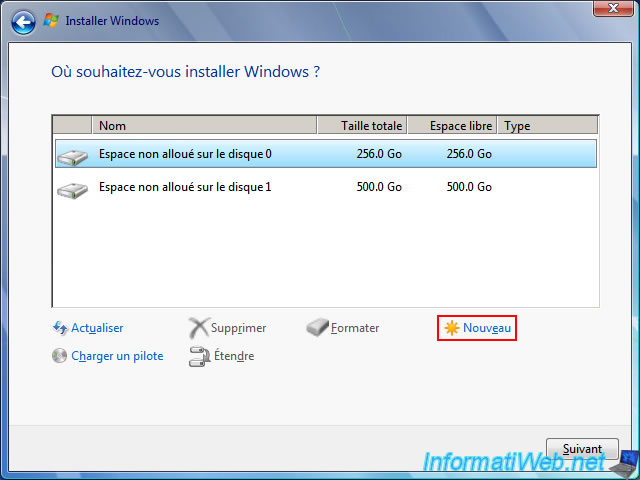
Click on: New.
Leave the default size so that the primary partition takes almost all the remaining space.
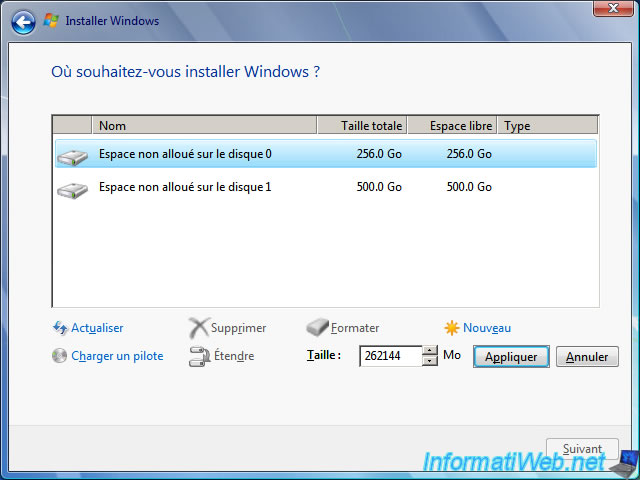
Creating a partition on the unallocated space of your disk 0 will cause the system partitions needed to start Windows 7 to be created.
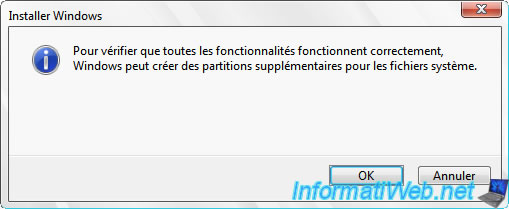
Click OK.
Plain Text
To ensure that all Windows features work correctly, Windows may create additional partitions for system files.
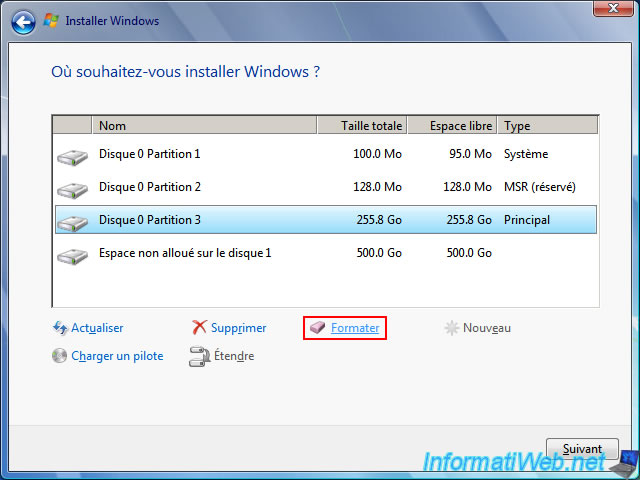
If your computer's BIOS is configured to boot in UEFI mode, your disk 0 will have 3 partitions:
- Disk 0 Partition 1: a 100MB system partition needed to start Windows 7 and on which system files have already been created automatically (as you can see by looking at the total size and free space of this partition).
- Disk 0 Partition 2: an MSR system partition (reserved for Microsoft).
- Disk 0 Partition 3: a main partition (which is not yet formatted) on which you will store your VHDs virtual hard disks.
Select the primary partition "Disk 0 Partition 3" and click "Format" to create the NTFS file system on it.
This will then allow you to create your virtual hard disks VHDs on it.
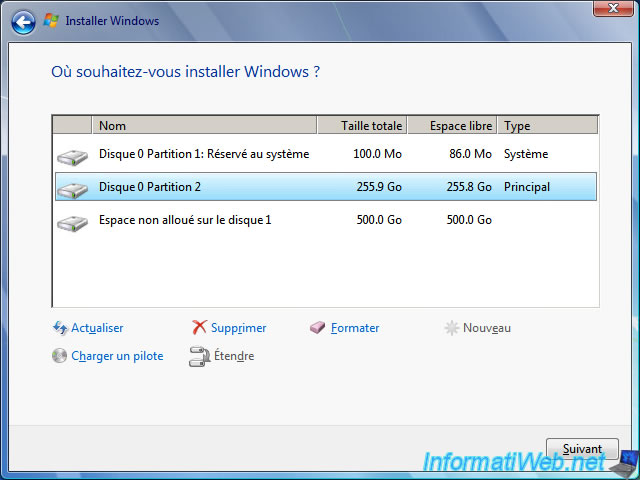
If your computer's BIOS is configured to boot in BIOS LEGACY (MBR) mode, your disk 0 will have 2 partitions:
- Disk 0 Partition 1 - System Reserved: a 100 MB system partition required to boot Windows 7 and on which system files related to booting in EFI mode have already been automatically created.
- Disk 0 Partition 2: a main partition that you must format on which you can store your virtual hard disks VHDs.
Select the main partition "Disk 0 Partition 2" and click "Format" to create the NTFS file system in it.
This will then allow you to create your virtual hard disks VHDs on it.

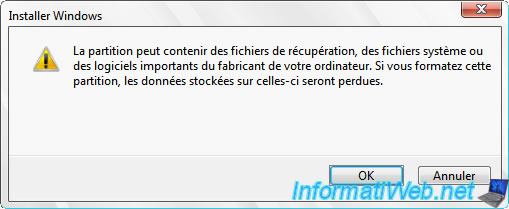
Confirm the formatting of this partition by clicking OK.
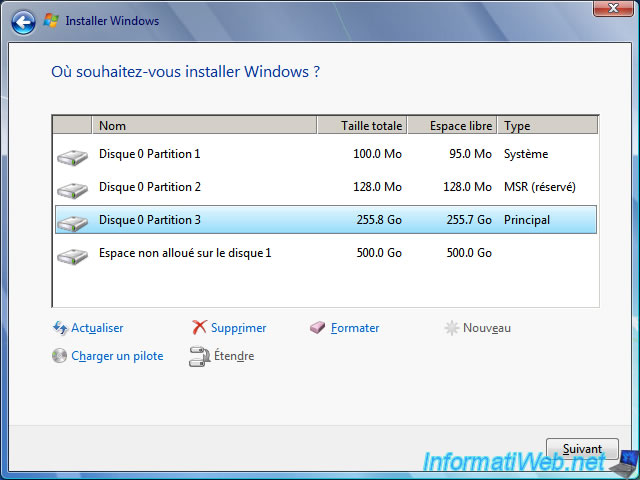
The partition has been formatted.
Note that there is now a slight difference between its total size and the free space available on it. Which is due to the file system created on it.
Warning : DO NOT click Next at this time.
In the case of booting in BIOS LEGACY (MBR) mode, you will get this.
3. Create a virtual hard disk (VHD) to install Windows 7 on it
To install Windows 7 in a virtual hard disk (VHD), you must first create this virtual hard disk (VHD).
To do this, press the "SHIFT + F10" keys to open a command prompt (cmd.exe) as an administrator.
In this command prompt that appears, launch DiskPart:
Batch
diskpart
Display the list of volumes available on your hard disks, as well as their letters:
Batch
list volume
Which, in our case, displays this in EFI mode:
Plain Text
  Volume ###  Ltr  Label        Fs     Type        Size     Status     Info
  ----------  ---  -----------  -----  ----------  -------  ---------  --------
  Volume 0     D   GSP1RMCULXF  UDF    DVD-ROM     3120 MB  Healthy
  Volume 1     E                NTFS   Partition    255 GB  Healthy
  Volume 2     C                FAT32  Partition    100 MB  Healthy    Hidden
But this in BIOS LEGACY (MBR) mode:
  N° volume   Ltr  Nom          Fs     Type        Taille   Statut     Info
  ----------  ---  -----------  -----  ----------  -------  ---------  --------
  Volume 0     D   GSP1RMCULXF  UDF    DVD-ROM     3120 M   Sain
  Volume 1     C   Réservé au   NTFS   Partition    100 M   Sain
  Volume 2     E                NTFS   Partition    255 G   Sain
Create a 40 GB virtual hard disk in VHD format for Windows 7 with a fixed size (to improve performance and prevent data corruption).
Note: the maximum possible capacity of a VHD virtual hard disk is 2040 GB (about 2 TB).
Source: Manually create a virtual hard disk - InformatiWeb Pro.
Batch
create vdisk file=E:\win7.vhd maximum=40960 type=fixed
Plain Text
5 percent completed
Once the VHD virtual hard disk is created, this will be displayed.
Plain Text
   100 percent completed

DiskPart successfully created the virtual disk file.
Attach the virtual hard disk so that the installation wizard can detect and use it.
Batch
attach vdisk
Quit DiskPart.
Batch
exit
Share this tutorial
To see also
-
Windows 1/29/2021
Enable God mode on Windows
-
Windows 3/17/2025
Windows 11 / 10 / 8.1 / 8 - Expand a simple storage space (software RAID 0)
-
Windows 6/23/2021
Windows 8 / 8.1 - Create a local account
-
Windows 4/29/2016
Windows 8 / 8.1 / 10 / 11 - Startup repair
You must be logged in to post a comment