VHD/VHDX multiboot (native boot) with Windows 7 and Windows 8.1
- MultiBoot
- Windows 8 / 8.1, Windows 7
- 03 June 2024 at 14:51 UTC
-

- 4/5
9. Add boot entry for Windows 8.1
Close the command prompt by simply clicking on the cross at the top right of the window.

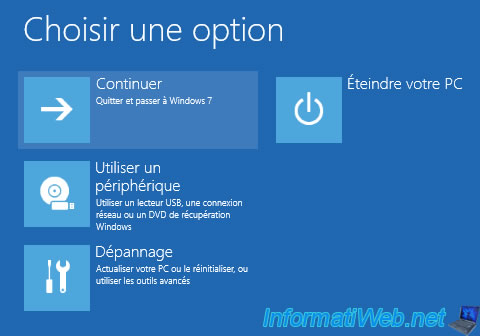
In the "Choose an option" menu that reappears, click "Continue" to return to Windows 7.
The Windows 7 loading screen appears.

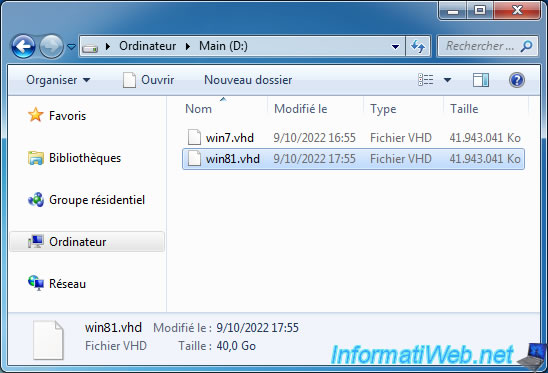
On your "Main (D:)" partition, you will see the "win81.vhd" file corresponding to your new virtual hard disk appear.
Open a command prompt as an administrator and run the DiskPart tool.
Batch
diskpart
Select your virtual hard disk (VHD).
Batch
select vdisk file=D:\win81.vhd
Attach your virtual hard disk (VHD) to be able to access it.
Batch
attach vdisk
List the volumes available on your computer and locate the "Windows 8.1 (VHD)" volume which corresponds to the partition of your new virtual hard disk (win81.vhd).
Batch
list volume
Plain Text
  Volume ###  Ltr  Label        Fs     Type        Size     Status     Info
  ----------  ---  -----------  -----  ----------  -------  ---------  --------
  Volume 0     F   ESD-ISO      UDF    DVD-ROM     3370 M   Healthy
  Volume 1     D   Main         NTFS   Partition    255 G   Healthy    Pagefile
  Volume 2                      FAT32  Partition    100 M   Healthy    System
  Volume 3     E   DATA         NTFS   Partition    499 G   Healthy
  Volume 4     C   Windows 7 (  NTFS   Partition     39 G   Healthy    Boot
  Volume 5     G   Windows 8.1  NTFS   Partition     39 G   Healthy
In our case, it is volume 5.
Batch
select volume 5
Assign the letter "V" to this volume.
Batch
assign letter=V
Quit DiskPart.
Batch
exit
To add a boot entry for Windows 8.1, use the Windows 7 "bcdboot" program specifying the Windows 8.1 folder as a parameter.
Batch
bcdboot V:\Windows

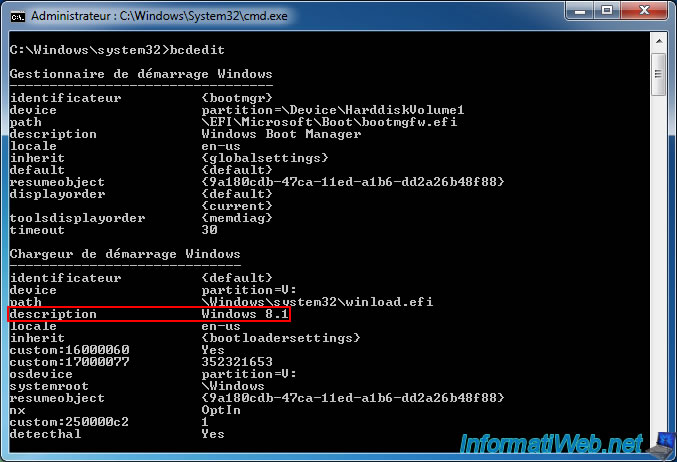
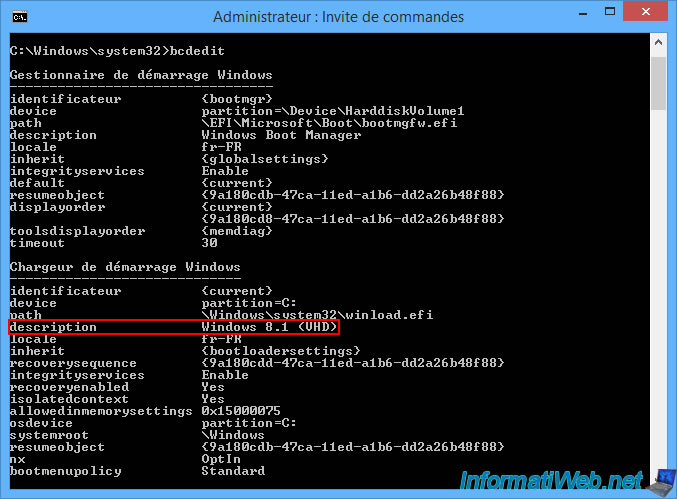
Next, verify that the "Windows 8.1" boot entry was added using the command:
Batch
bcdedit
You can also check the addition of this boot entry from Windows 7 settings.
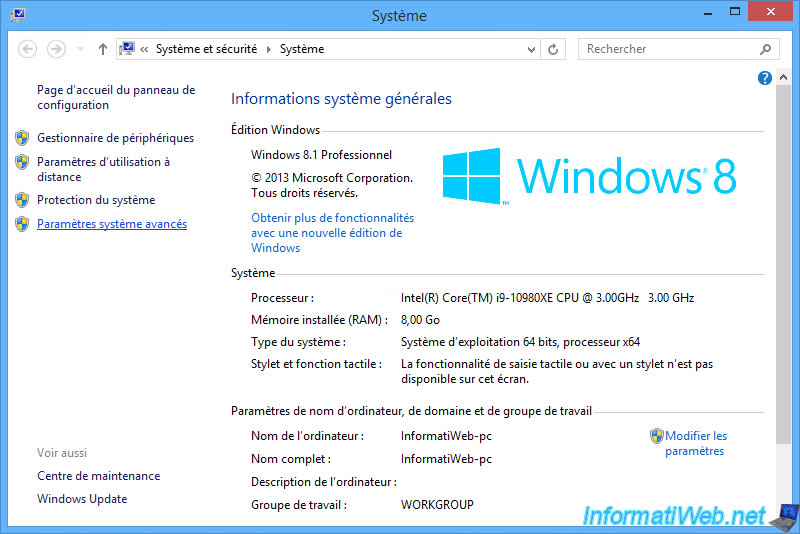
To do this, open the file explorer and right-click "Properties" on "Computer".
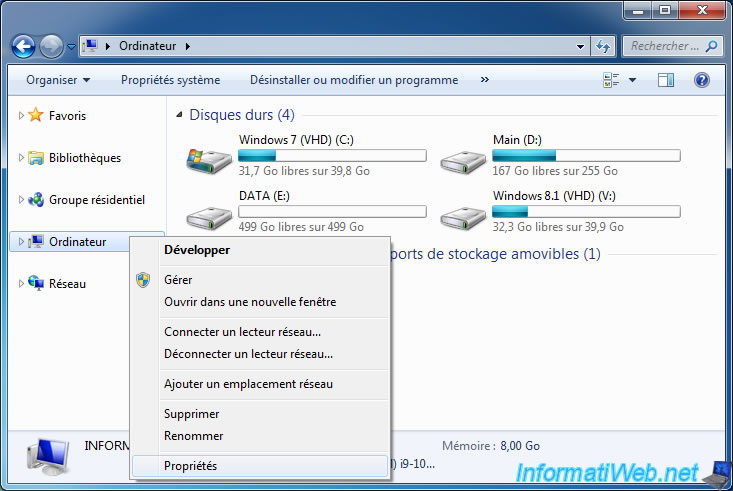
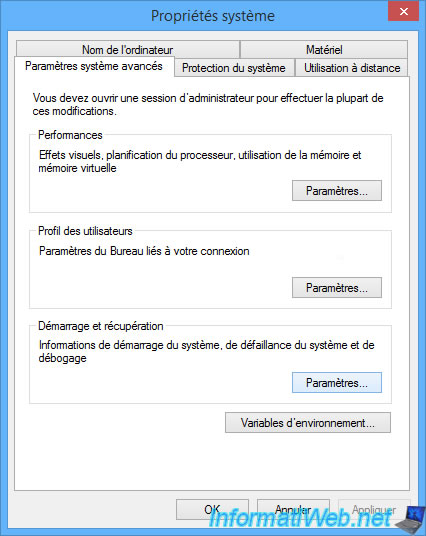
Click: Advanced system settings.
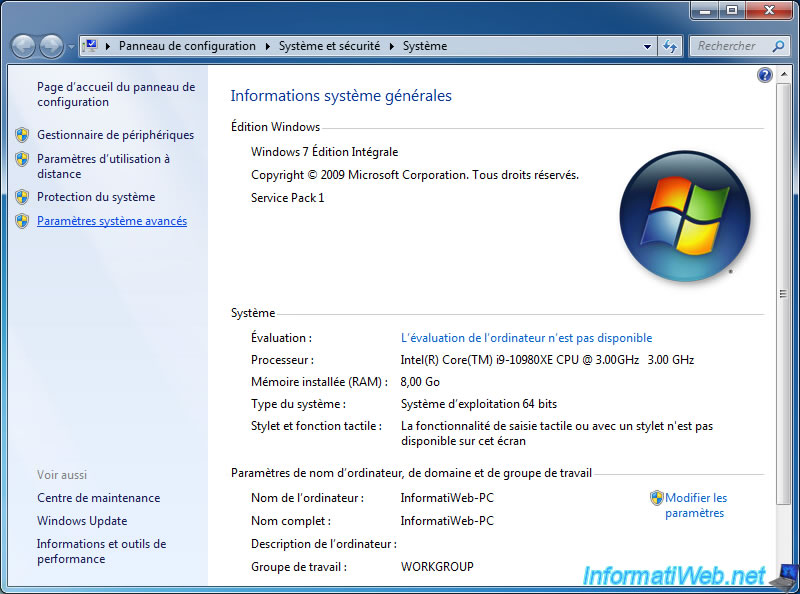
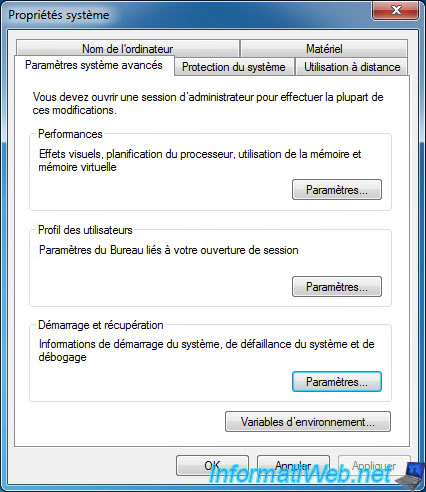
In the "System Properties" window that appears, click on the "Settings" button in the "Startup and Recovery" section.
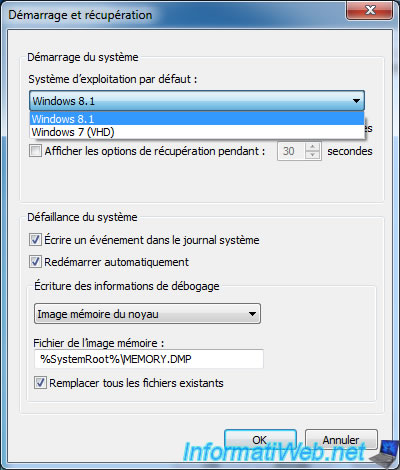
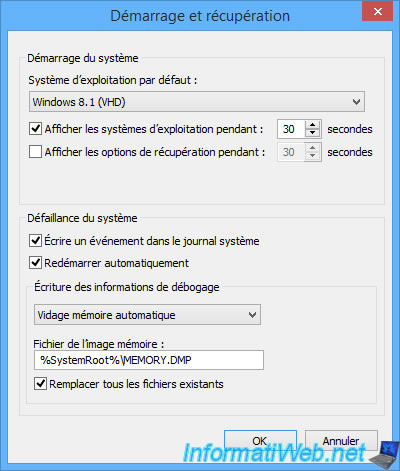
As you can see, you will have the choice between "Windows 8.1" and "Windows 7 (VHD)".
Note that the default choice was set to "Windows 8.1" following the use of the "bcdboot" command.
This will allow you to continue installing Windows 8.1 later in this tutorial.
10. Installing Windows 8.1
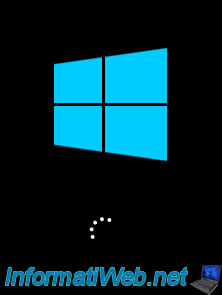
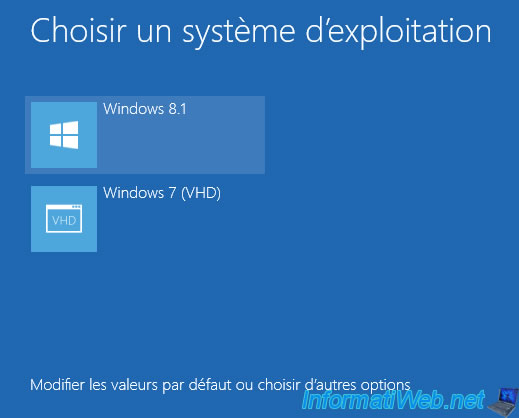
Restart your computer and the Windows 8.1 logo appears.
When the "Choose an operating system" menu appears, choose "Windows 8.1" each time until its installation is complete.
Several messages related to the installation and configuration of Windows 8.1 appear.


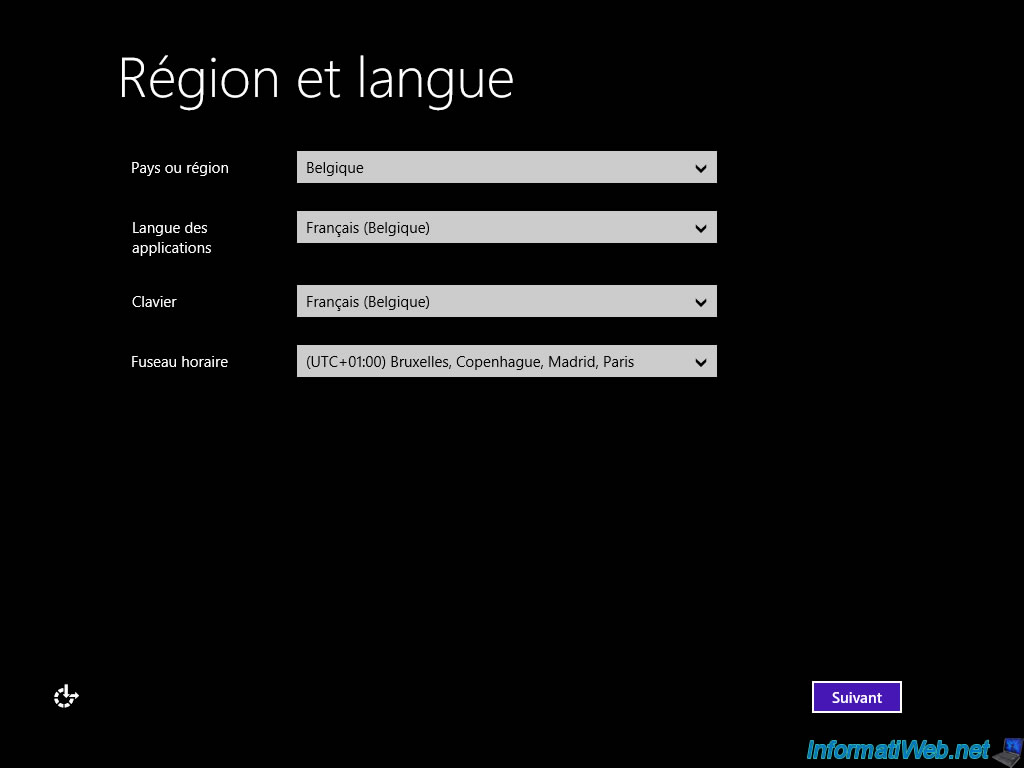
Choose your country, your language, ... and click on Next.
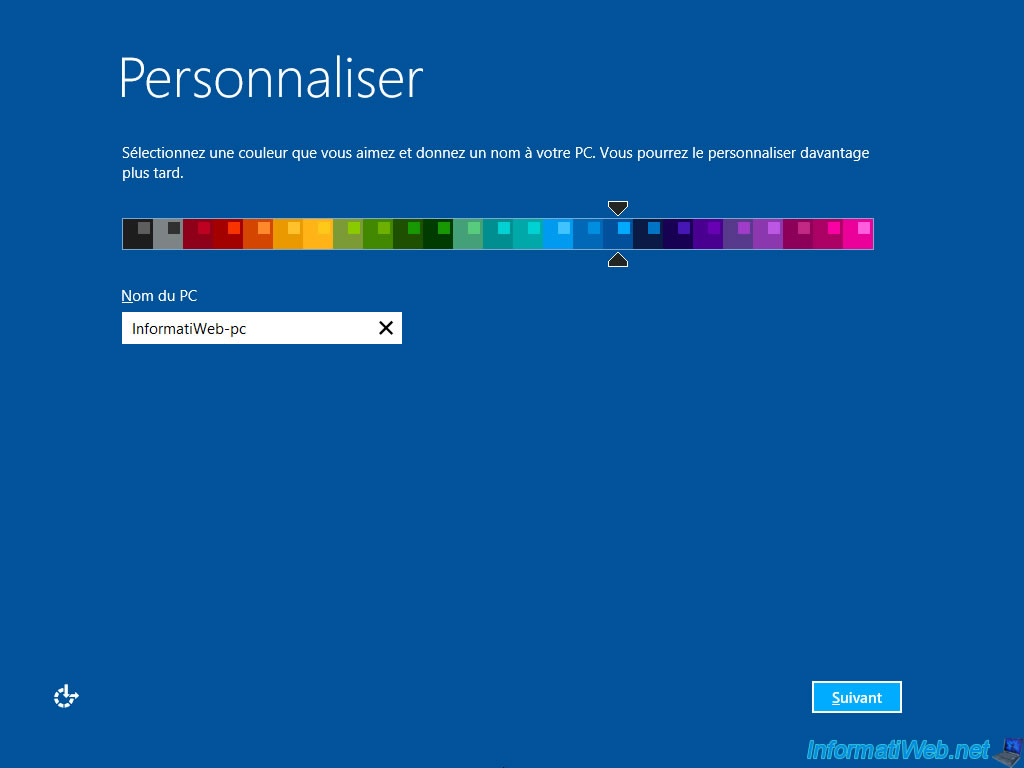
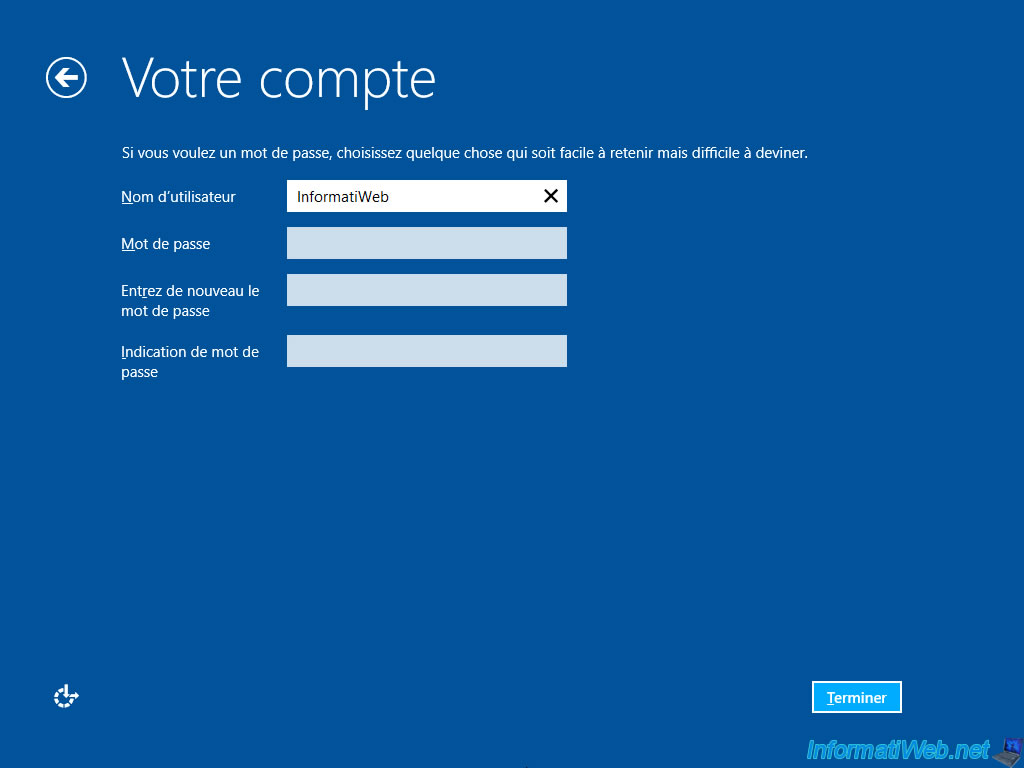
Several Windows 8.1 configuration steps will appear.
If necessary, refer to our tutorial: Format your computer and reinstall Windows 8 or 8.1.
Windows 8.1 automatic configuration continues.

Windows 8.1 is installed.

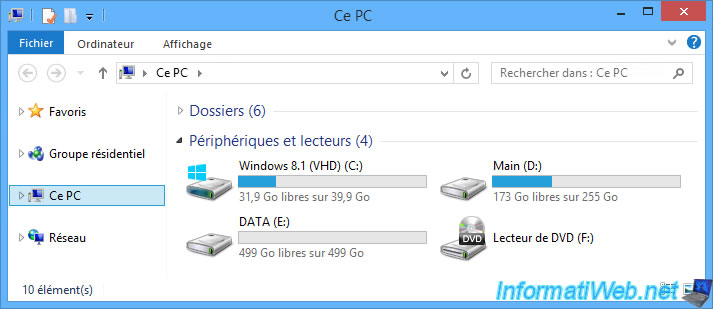
If you open File Explorer and click on "This PC", you will see 3 partitions:
- Windows 8.1 (VHD) (C:): the partition where Windows 8.1 is installed and which is actually on your virtual hard disk "win81.vhd".
- Main (D:): the partition where the VHD files of your virtual hard disks are located.
- DATA (E:): the data partition created only as an example for storing your data (documents, images, ...).
Install the drivers for Windows 8.1 from your computer.
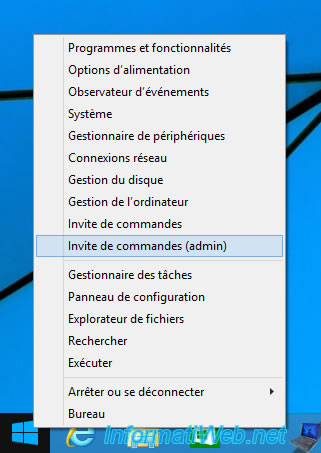
Open a command prompt as an administrator.
To do this, in Windows 8.1, you can right-click "Command Prompt (admin)" on the Windows logo in the taskbar.
If you want, you can rename the Windows 8.1 boot option to "Windows 8.1 (VHD)" by running the command:
Batch
bcdedit /set {current} description "Windows 8.1 (VHD)"
To verify this change, you can use this command:
Batch
bcdedit
You can also verify this change from the Windows GUI.
To do this, right-click "Properties" on "This PC".
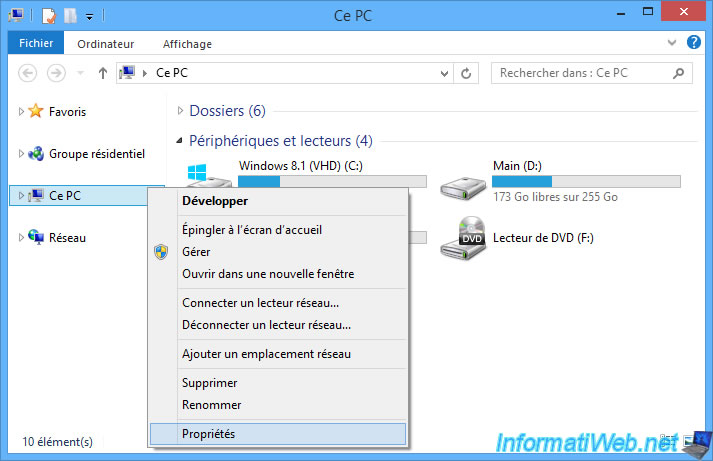
Click: Advanced system settings.
Click on the "Settings" button in the "Startup and Recovery" section.
As you can see, the current boot option has been renamed: Windows 8.1 (VHD).
Share this tutorial
To see also
-

Windows 1/28/2017
Speed up your computer (ReadyBoost)
-
Windows 2/6/2023
Windows 11 / 10 / 8.1 / 8 / 7 - Disable User Account Control (UAC)
-
Windows 12/4/2015
Windows Vista / 7 - System restore
-
Windows 2/27/2017
WTG - Windows workspace on USB key
No comment