VHD/VHDX multiboot (native boot) with Windows 7 and Windows 8.1
- MultiBoot
- Windows 8 / 8.1, Windows 7
- 03 June 2024 at 14:51 UTC
-

- 2/5
4. Install Windows 7 on virtual hard drive (VHD)
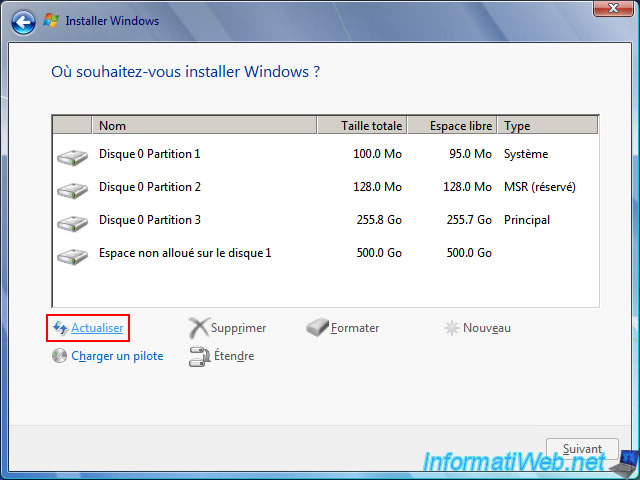
In the Windows 7 installation wizard, click: Refresh.
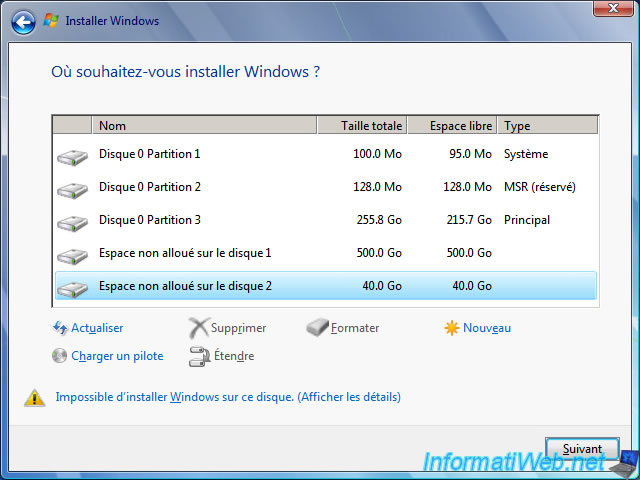
As expected, an unallocated space on disk 2 appears.
As you will have understood, this 40 GB disk 2 corresponds to the virtual hard disk (VHD) created and attached previously via DiskPart.
Select this unallocated space and click "Next" ignoring the warning "Windows cannot be installed to this disk. (Show details)" displayed at the bottom of the window.
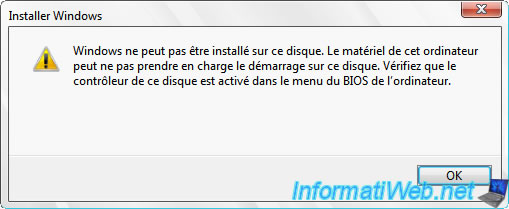
If you click on this warning "Windows cannot be installed to this disk. (Show details)", you will see this displayed.
Plain Text
Windows cannot be installed to this disk. This computer's hardware may not support booting to this disk. Ensure that the disk's controller is enabled in the computer's BIOS menu.
Click OK, then click Next.
As you can see, the installation of Windows 7 begins without any problems.
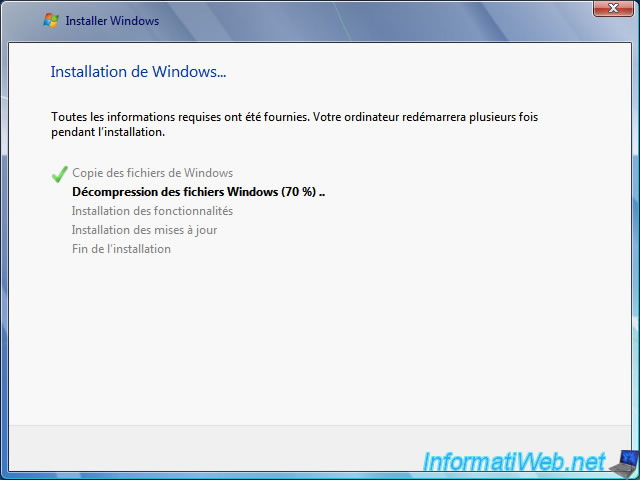
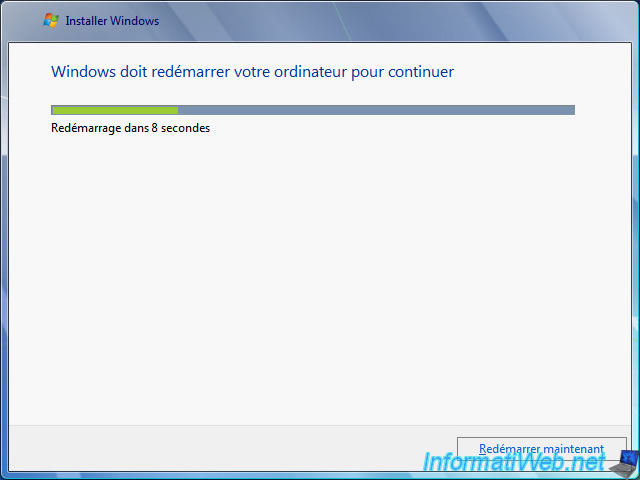
As expected, the installation wizard will automatically restart at some point.
The Windows 7 loading logo appears.

The "Setup is updating registry settings" message appears.

Then, the installer will restart automatically.

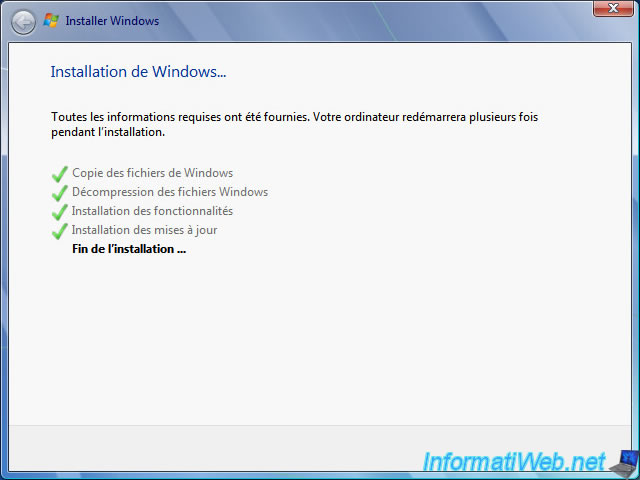
Windows 7 installation will continue.
As expected, we installed the "Ultimate" edition of Windows 7.
Note: the "Enterprise" edition is also supported.
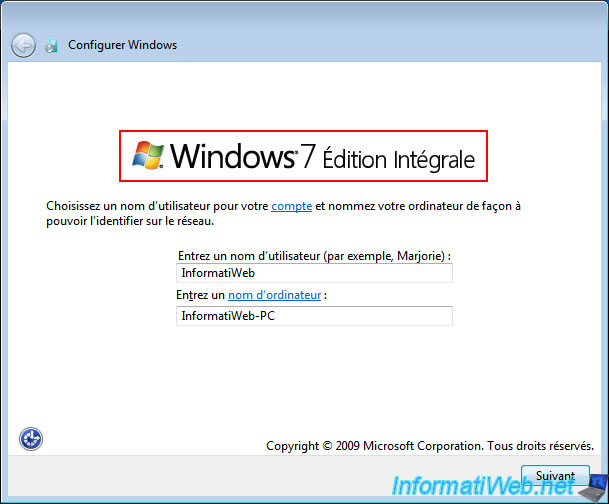
Configure your Windows 7 installation by following the instructions.
If necessary, refer to our tutorial: Format your PC, reinstall Windows 7 and update it.
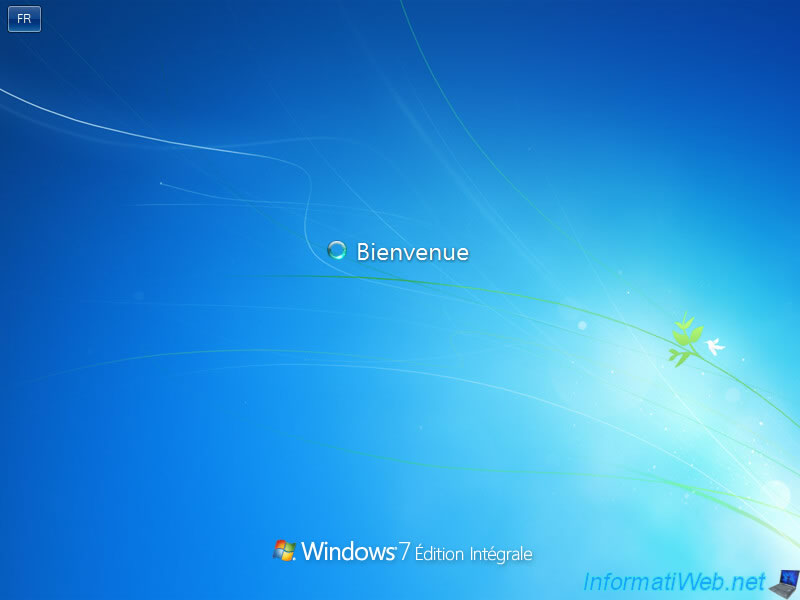
The "Welcome" message appears.
Note: the edition of Windows 7 appears again at the bottom of the screen each time you open a session.
Windows 7 is installed.
Install drivers for Windows 7 on your computer.
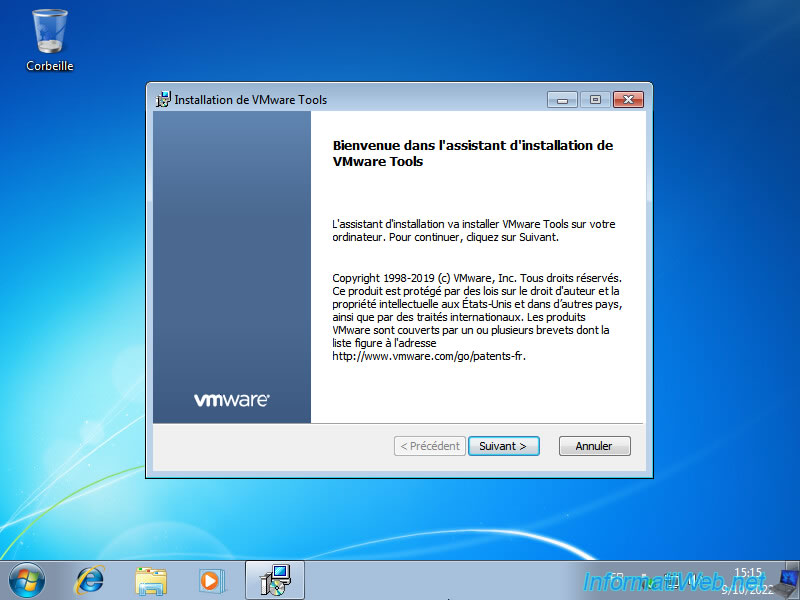
The drivers have been installed.
Now that Windows 7 is installed, you can rename the Windows 7 boot option that will appear in the boot menu when your computer starts.
Note that this startup menu will only appear when at least 2 Windows installations are present on your computer.
To do this, open a command prompt (cmd.exe) as an administrator.
Batch
bcdedit /set {current} description "Windows 7 (VHD)"
Then, verify that the option has been renamed by simply typing the "bcdedit" command.
Batch
bcdedit
You will see that the description has changed.
Plain Text
***

Windows Boot Manager
-----------------------------
identifier              {current}
device                  partition=C:
path                    \Windows\system32\winload.efi (OR winload.exe in LEGACY BIOS mode)
description             Windows 7 (VHD)
locale                  en-US
inherit                 {bootloadersettings}
recoverysequence        {9a180cd9-47ca-11ed-a1b6-dd2a26b48f88}
recoveryenabled         Yes
osdevice                partition=C:
systemroot              \Windows
resumeobject            {9a180cd7-47ca-11ed-a1b6-dd2a26b48f88}
nx                      OptIn
5. Renaming your partitions
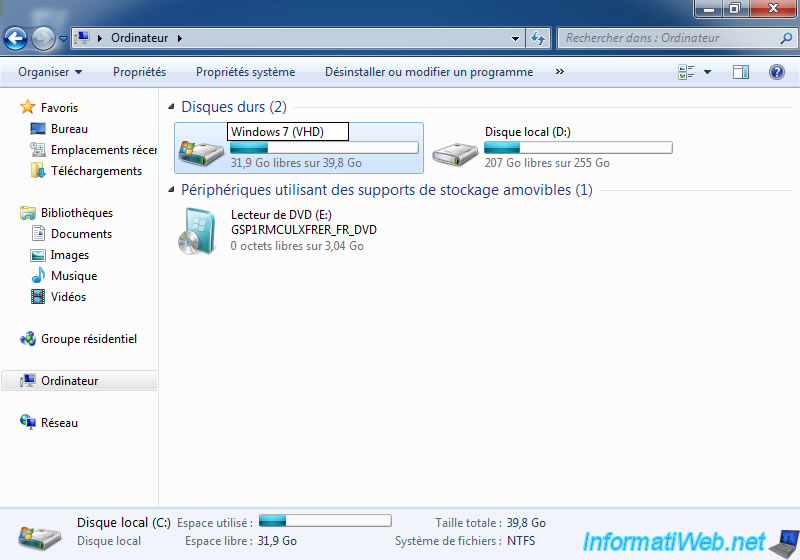
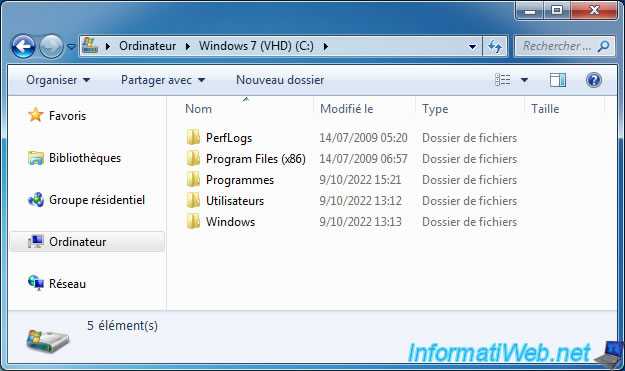
Right-click "Rename" on the "Local Disk (C:)" partition (which has a "Windows" icon) and provide "Windows 7 (VHD)" as the name.
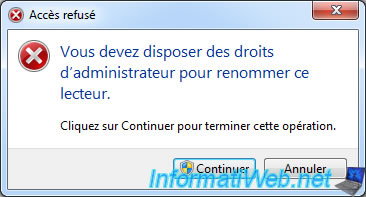
An error "Access Denied. You will need administrator permission to rename this drive." will appear.
Simply click on: Continue.
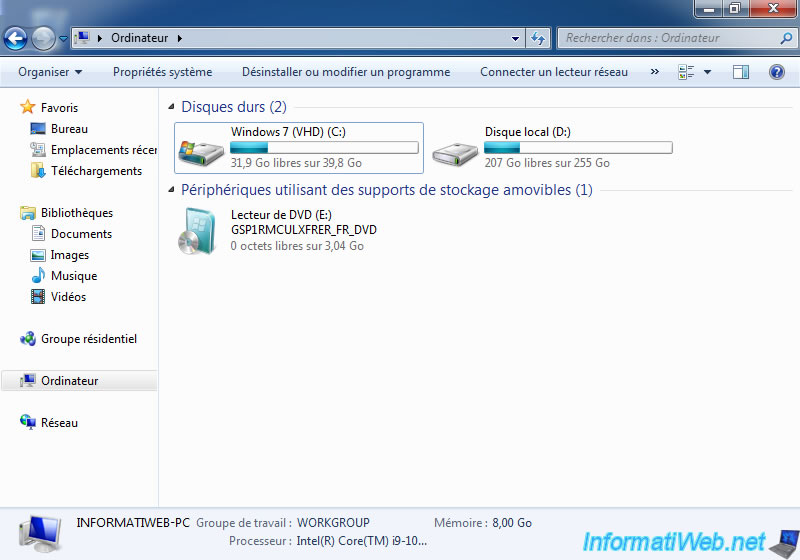
As expected, the score has been renamed.
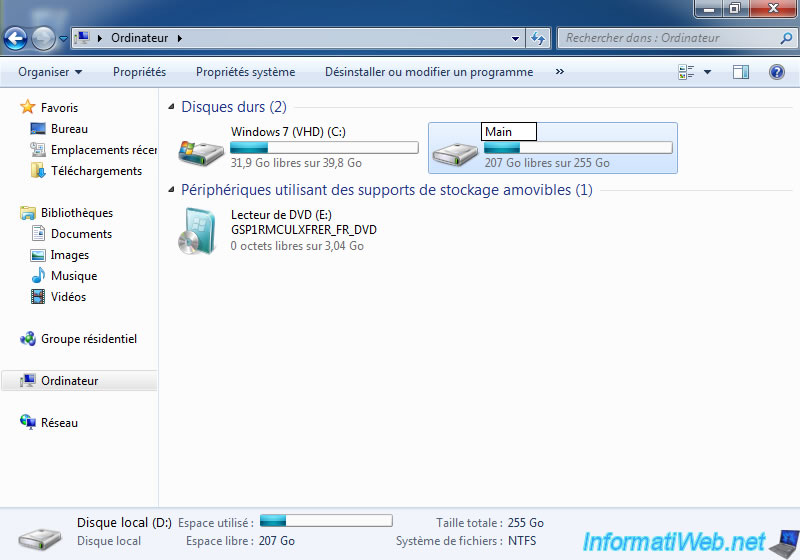
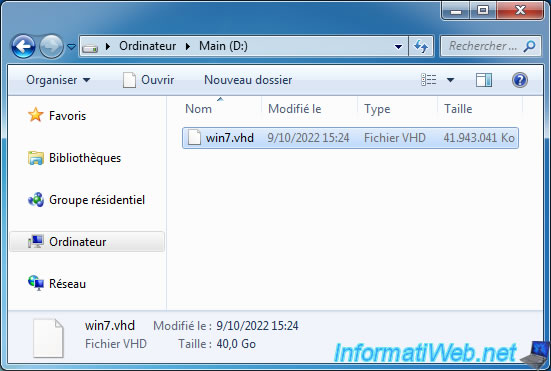
Also rename your 2nd partition (located on your disk 0) to "Main" (which stands for "Main").
In the "Windows 7 (VHD) (C:)" partition, you will see that the folders are those of a classic installation of Windows 7.
In the "Main (D:)" partition, you will find the "win7.vhd" virtual hard disk (VHD), the contents of which are those of the "C" partition above.
Share this tutorial
To see also
-
Windows 12/17/2012
Clean Windows safely
-
Windows 3/6/2023
Windows 8 / 8.1 / 10 / 11 - Disable lock screen
-
Windows 4/29/2016
Windows 8 / 8.1 / 10 / 11 - Startup repair
-
Windows 3/26/2022
Windows 8.1 - Change a user's password
No comment