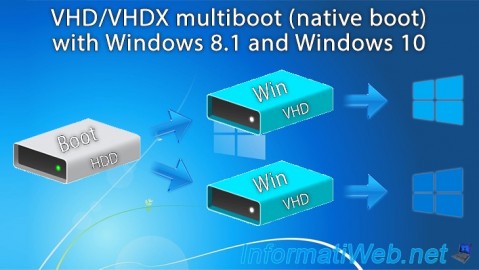
- MultiBoot
- Windows 8 / 8.1, Windows 10
- 17 June 2024 at 13:08 UTC
-

- 1/8
Usually, when you multiboot a computer, you install one version of Windows per partition, preferably on the same hard drive.
Nevertheless, in this tutorial, you will see how to create a multiboot by installing Windows 8.1 and 10 in virtual hard disks (VHDX).
Note that Windows will access the physical hardware as if it had been installed in a standard partition on your hard drive. This has nothing to do with virtualization.
To learn about the operation, advantages and limitations of native Windows boot, refer to our article: Windows 7 / 8 / 8.1 / 10 / 11 - Native boot to VHD/VHDX.
Note: tutorial made with Windows 8.1 and 10 v2104.
But, also tested with Windows 8 and 10 v2009.
- Configuration used
- Create a virtual hard disk (VHDX) to install Windows 8.1 on it
- Copy Windows 8.1 installation files to VHDX virtual hard disk
- Partition disk 0 of your computer
- Create boot files and boot entry for Windows 8.1
- Installing Windows 8.1
- Create a virtual hard disk for Windows 10
- Install Windows 10 on virtual hard drive
- Add boot entry for Windows 10
- Installing Windows 10
- Manage the boot menu on Windows 10 (to change the default OS)
- Manage the boot menu on Windows 8.1 (to change the default OS)
1. Configuration used
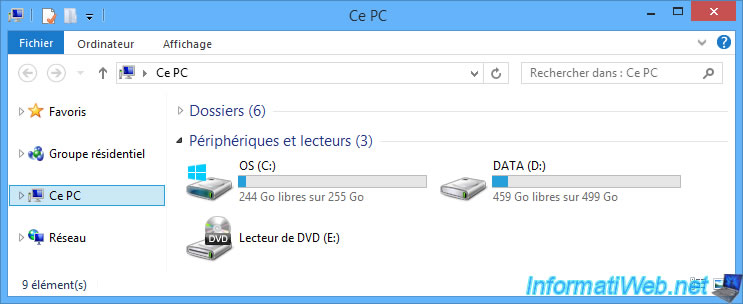
For this tutorial, we used with a 256 GB SSD and a 500 GB hard drive.
Currently Windows 8.1 is installed on the C partition of our SSD and the "D" partition is a blank partition at the moment which is on our 500GB hard drive.
In addition, our computer is configured to boot in EFI mode to be able to benefit from the secure boot supported since Windows 8.
However, it is also possible to boot in "old BIOS" mode (LEGACY BIOS), as you will also see in this tutorial.
Note: the version of Windows currently installed on your computer doesn't really matter since your disk 0 (where it is) will be erased entirely in this tutorial.
However, you need Windows 8 or newer for Windows to support the creation and use of virtual hard disks in VHDX format and to benefit from the necessary options in the pre-installed Dism tool.
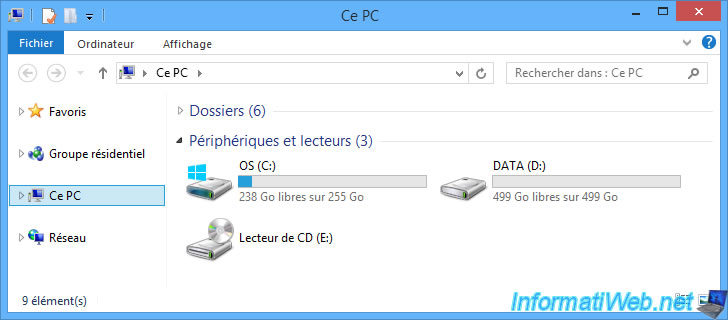
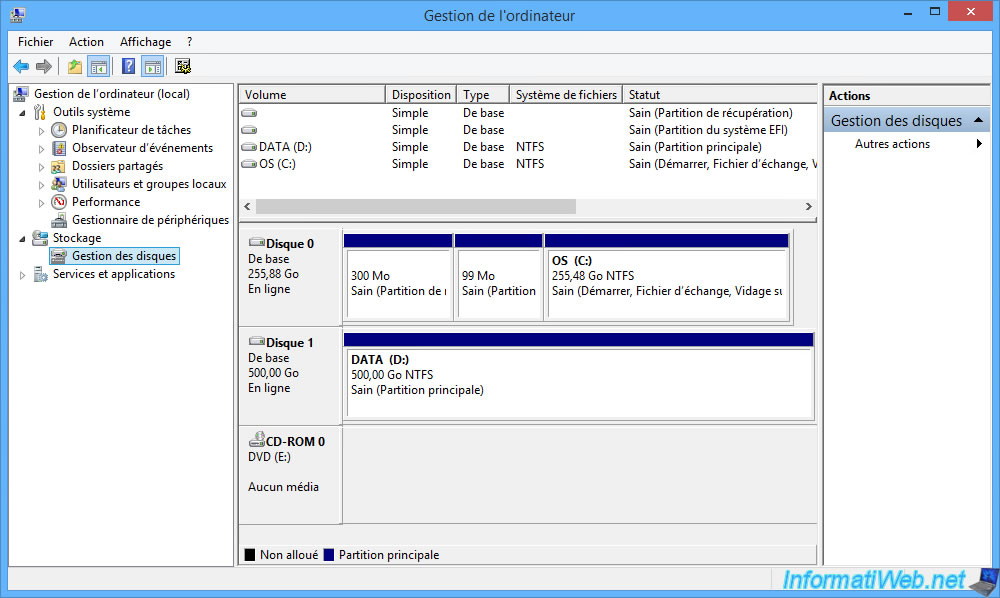
We right click "Manage" on "This PC".

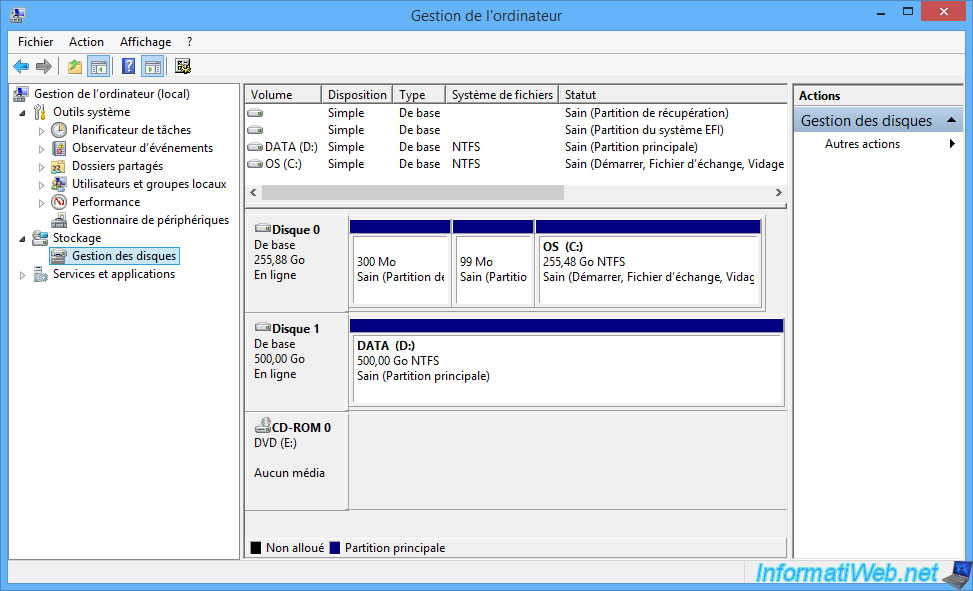
As you can see in Windows Disk Management, our 2 partitions are on different hard drives.
Important : In this tutorial, disk 0 (where Windows is usually located) will be erased.
It is therefore important NOT to leave any data on the partitions that are on this disk 0.
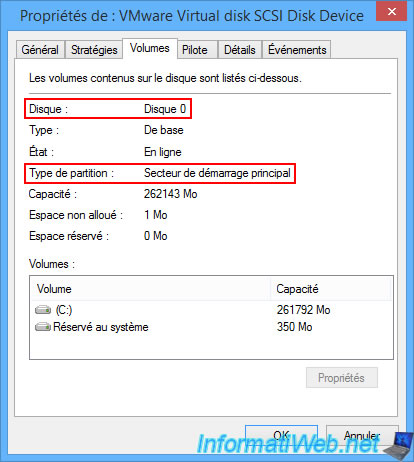
If we right-click "Properties" on our disk 0 and go to the "Volumes" tab, we can see that the type of partition used in our case is: GUID Partition Table (GPT).
Which means that Windows was installed to boot in EFI mode in our case.
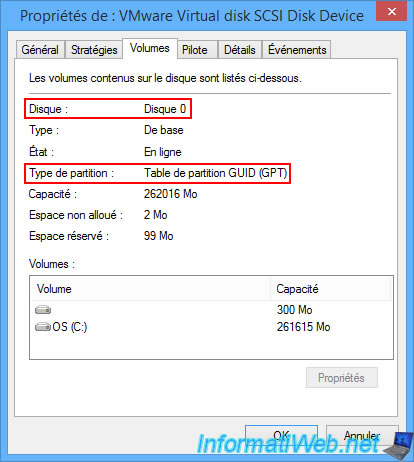
Otherwise, Windows was installed to boot in LEGACY BIOS mode.
2. Create a virtual hard disk (VHDX) to install Windows 8.1 on it
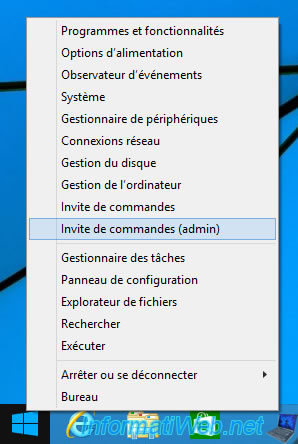
To get started, open a command prompt (cmd.exe) as an administrator.
In the command prompt launched as administrator that appears, launch DiskPart by typing:
Batch
diskpart
Plain Text
Microsoft DiskPart version 6.3.9600

Copyright (C) 1999-2013 Microsoft Corporation.
On computer : INFORMATIWEB-PC

DISKPART>
Next, create a 40 GB virtual hard disk (40 x 1024 MB = 40960 MB) in VHDX format of fixed size (preferred).
When you use a fixed size, the space is preallocated on the hard disk. This prevents data corruption.
Note: in the case of tests, you could use a dynamic size by using the keyword "expandable" instead of "fixed".
To learn more about the different types of VHDX virtual hard disks, refer to the article cited at the beginning of this tutorial.
Batch
create vdisk file=D:\win81.vhdx maximum=40960 type=fixed
Wait while your VHDX virtual hard disk is created.
Plain Text
85 percent completed
Plain Text
   100 percent completed

DiskPart successfully created the virtual disk file.
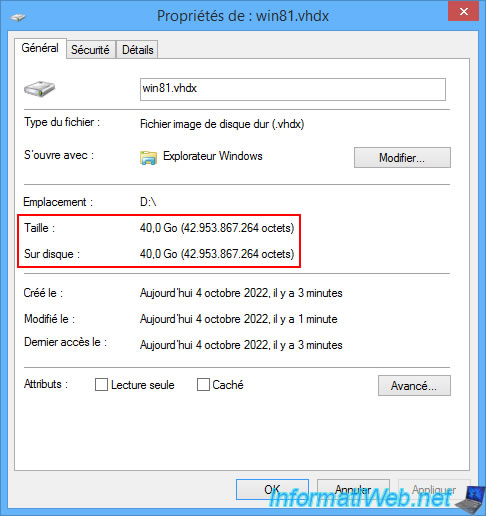
Since we used a fixed size, the VHDX file already has a size of 40 GB.
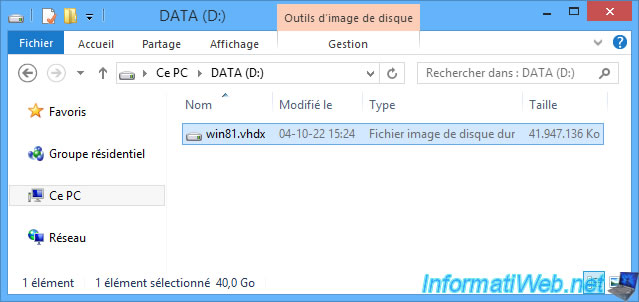
If you right-click "Properties" on this VHDX file, you will see that it actually takes up a size of 40 GB.
Attach the virtual hard disk so that you can perform operations on it.
Batch
attach vdisk
Plain Text
   100 percent completed

DiskPart successfully attached the virtual disk file.
Create a primary partition on the entire available space on this virtual hard disk.
Batch
create partition primary
Plain Text
DiskPart succeeded in creating the specified partition.
Quick format to NTFS (default) this partition to create this file system there and name this partition "Windows 8.1 (VHD)".
Note: the partition you just created was automatically selected by DiskPart when it was created.
Batch
format quick label="Windows 8.1 (VHD)"
Plain Text
   100 percent completed

DiskPart successfully formatted the volume.
Assign the letter "V" to the partition you just formatted.
Batch
assign letter=V
Plain Text
DiskPart successfully assigned the drive letter or mount point.
Exit the DiskPart utility (to return to the command prompt) by typing:
Batch
exit
Plain Text
Leaving DiskPart...
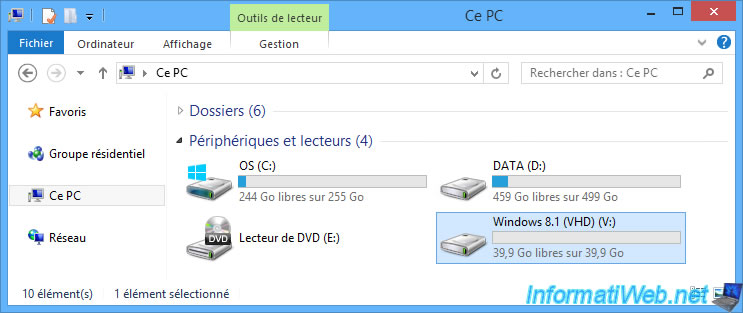
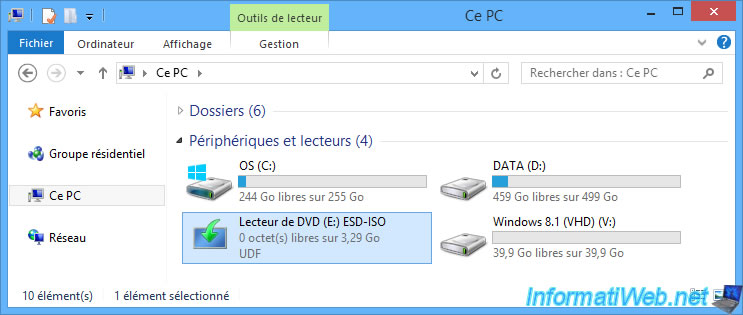
In File Explorer, go to "This PC" and you will see a new "Windows 8.1 (VHD) (V:)" partition appear.
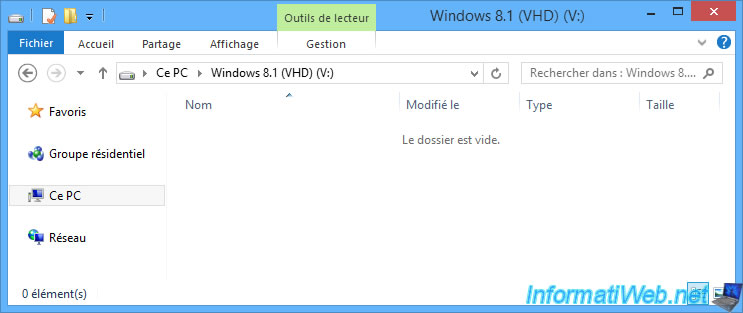
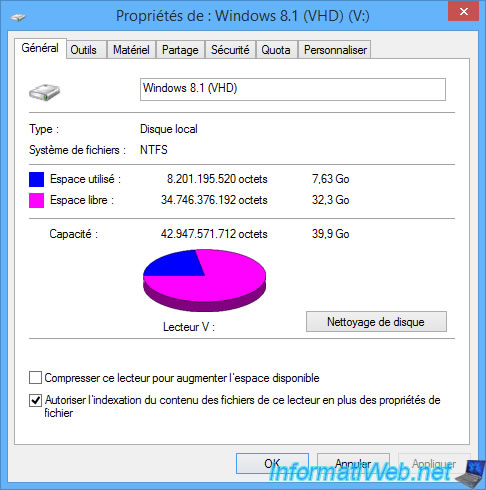
If you enter this partition, you will see that it is empty for the moment although the VHDX file already has a size of 40 GB.
Which is normal, since we created a fixed-size 40 GB virtual hard disk. The space necessary for its maximum size has therefore been preallocated to avoid problems (including potential data corruption in the future).
To better understand what's going on in the background, right click "Manage" on "This PC".
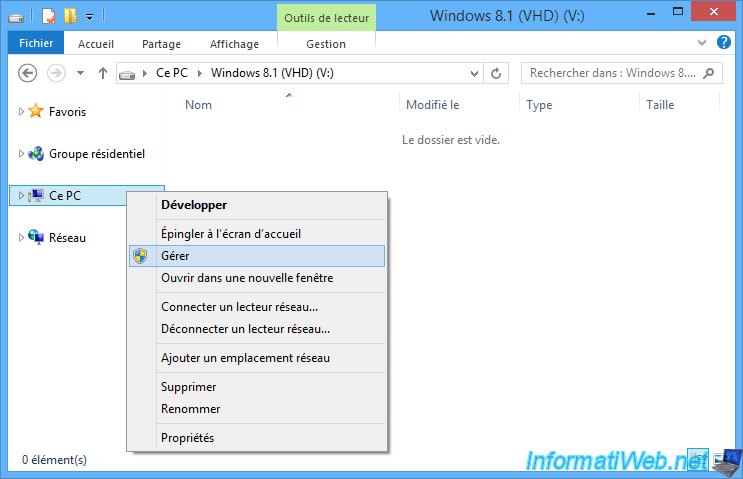
In the "Computer Management" console that appears, go to "Disk Management".
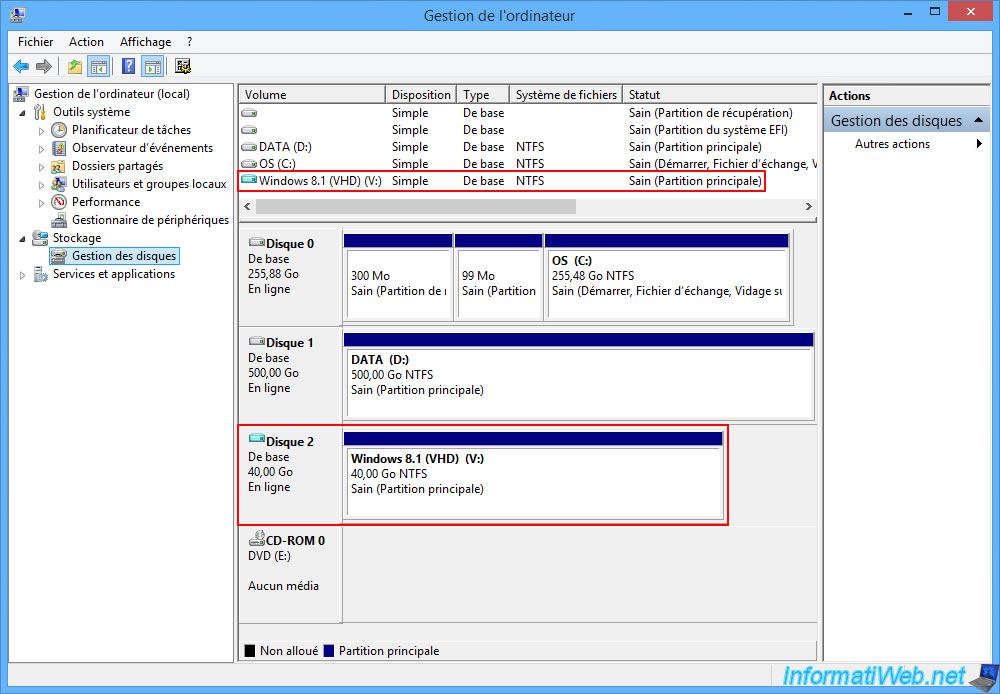
As you can see, your VHDX virtual hard disk "win81.vhdx" is currently attached to Windows and appears as a local disk with one difference.
A VHDX virtual hard disk has a turquoise icon unlike physical hard disks which have a gray icon.
As you can see, your VHDX virtual hard disk (Disk 2 below) is 40 GB in size and it has a single NTFS-formatted 40 GB partition named "Windows 8.1 (VHD)".
3. Copy Windows 8.1 installation files to VHDX virtual hard disk
To install Windows 8.1 on your virtual hard disk, you must first launch the 1st installation step (which is usually done from the Windows PE environment of your Windows installation DVD).
To do this, insert the Windows 8.1 installation DVD into your CD/DVD drive.
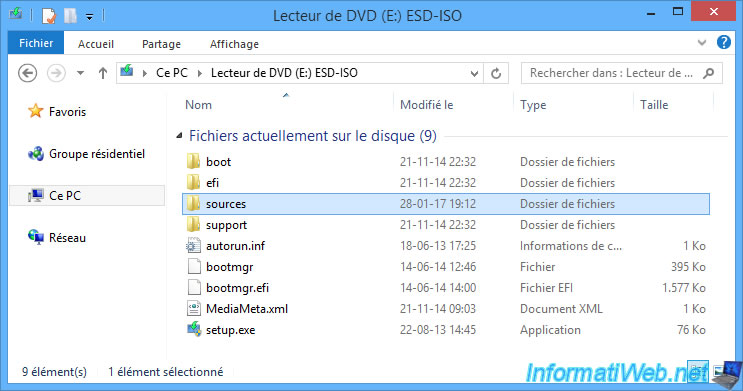
Right-click "Open" on your CD/DVD drive to see its contents.
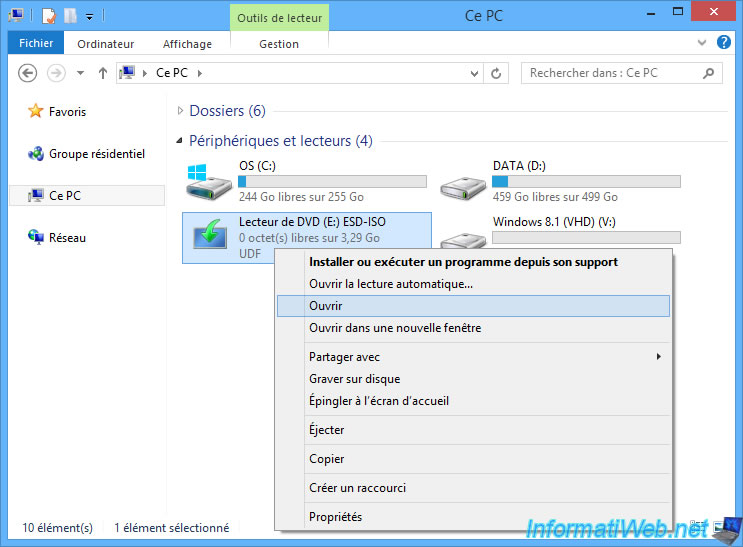
Go to the "sources" folder.
In this folder, you will find an "install.esd" file (compressed format) or an "install.wim" file (normal format).
The format used does not matter. Only the size of this file varies. The content remains the same.
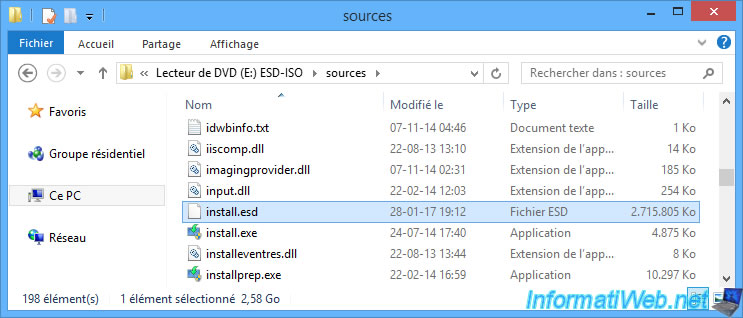
The "install.esd" or "install.wim" file may contain one or more Windows images.
In this case, one image per edition.
To know the list of editions and to know the index of the desired one, use the command below in a command prompt launched as an administrator.
Note: change the path of the "install.esd" or "install.wim" file so that the letter of your CD/DVD drive ("E" in our case) and the format of the ".esd" file correspond in your case.
Batch
Dism /Get-WimInfo /WimFile:E:\sources\install.esd
Note: change the path of the "install.esd" or "install.wim" file so that the letter of your CD/DVD drive ("E" in our case) and the format of the ".esd" file corresponds in your box.
Plain Text
Deployment Image Servicing and Management tool
Version : 6.3.9600.17031

Details for image : E:\sources\install.esd

Index : 1
Nom : Windows 8.1 Pro
Description : Windows 8.1 Pro
Size : 13,293,080,436 bytes

The operation completed successfully.
To perform the 1st step of installing Windows 8.1, use the command below specifying:
- E:\sources\install.esd : the path to the "install.wim" or "install.esd" file of your Windows 8.1 installation DVD.
- /Index:1 : the index (retrieved above) corresponding to the edition of Windows that you wish to install.
- /ApplyDir:V:\ : "V" corresponds to the letter you assigned to the "Windows 8.1 (VHD) (V:)" partition created earlier on your VHDX virtual hard disk.
Batch
Dism /Apply-Image /ImageFile:E:\sources\install.esd /Index:1 /ApplyDir:V:\
Wait while the desired image is applied to your "Windows 8.1 (VHD) (V:)" partition.
This may take some time depending on the size of the image, as well as the performance of your computer and the hard drive or SSD used.
Plain Text
Deployment Image Servicing and Management tool
Version : 6.3.9600.17031

Applying image.
[====================       36.0%                          ]
Once the image application is complete, this will be displayed:
Plain Text
Applying image.
[==========================100.0%==========================]
The operation completed successfully.
In File Explorer, you will see that part of the disk space of your virtual hard disk is used.

If you enter your virtual hard disk, you will see that the folders present are those of a normal Windows installation.
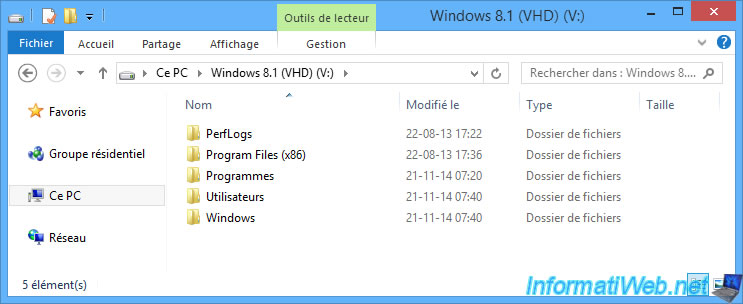
Currently, the disk space used by Windows 8.1 files is 7.63 GB.
However, this may vary from edition to edition, as well as from ISO to ISO (in case you have a newer ISO of that version of Windows).
Now that the image has been applied to your VHDX virtual hard disk, you need to unmount it so that it disappears from File Explorer.
To do this, in your command prompt launched as an administrator, launch the DiskPart utility.
Batch
diskpart
Select the currently mounted VHDX virtual hard disk by specifying the path to the relevant .vhdx file.
Batch
select vdisk file=D:\win81.vhdx
Plain Text
DiskPart successfully selected the virtual disk file.
Detach the VHDX virtual hard disk.
Batch
detach vdisk
Plain Text
DiskPart successfully detached the virtual disk file.
Close DiskPart.
Batch
exit
In File Explorer, you will notice that your virtual hard drive is gone.
Same in Windows Disk Management.
Share this tutorial
To see also
-
Windows 10/3/2022
Windows - Create a sandbox to isolate a process
-
Windows 4/11/2022
Windows 10 - Delete an old network profile
-
Windows 5/8/2023
Windows 10 - Recover the start menu
-

Windows 3/25/2022
Windows 8 - Change a user's password
You must be logged in to post a comment