VHD/VHDX multiboot (native boot) with Windows 8.1 and Windows 10
- MultiBoot
- Windows 8 / 8.1, Windows 10
- 17 June 2024 at 13:08 UTC
-

- 2/8
4. Partition disk 0 of your computer
4.1. Booting and configuring the live CD based on Win PE
As specified at the beginning of this tutorial, disk 0 of your computer will have to be erased to then create a system partition there (for the boot files) and another partition to store your VHDX virtual hard disks.
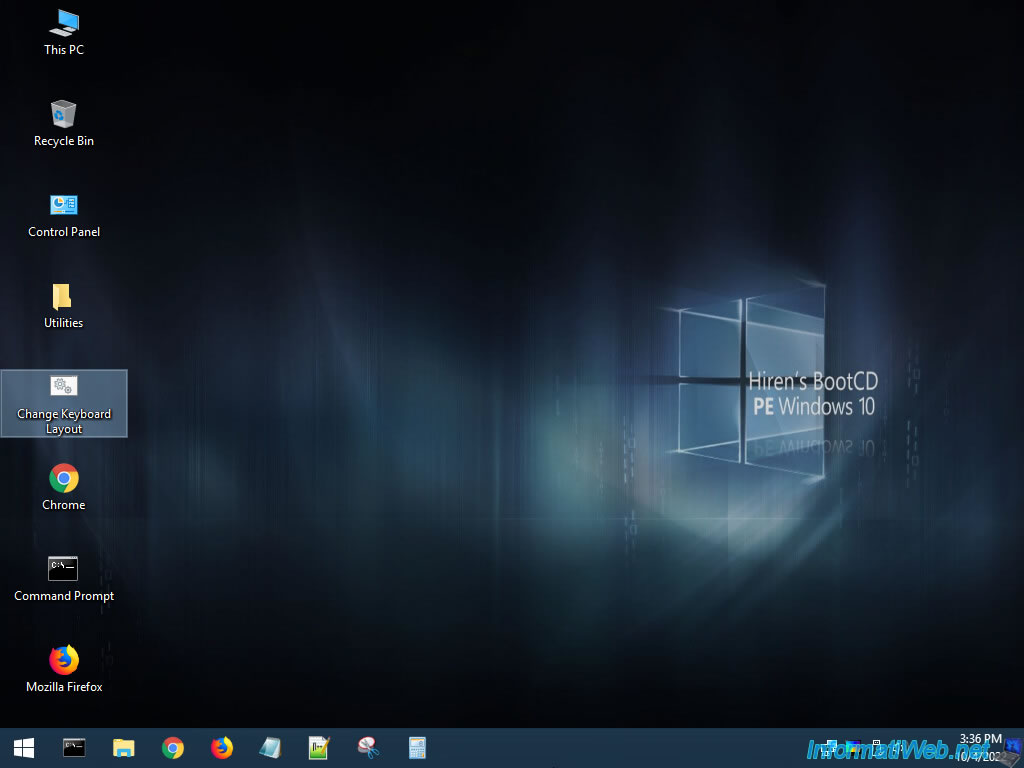
So you need to reboot your computer to a live CD, such as "Hiren's BootCD PE" (for example) so that disk 0 is not in use.
Insert this live CD into your CD/DVD drive and configure your computer's BIOS boot order to boot first to your CD/DVD drive, then to disk 0 (physical hard drive or SSD).
If you are booting your computer from the live CD shown above, press Enter when this message appears.
Plain Text
Press any key to boot from CD or DVD...

Then, this logo will appear.
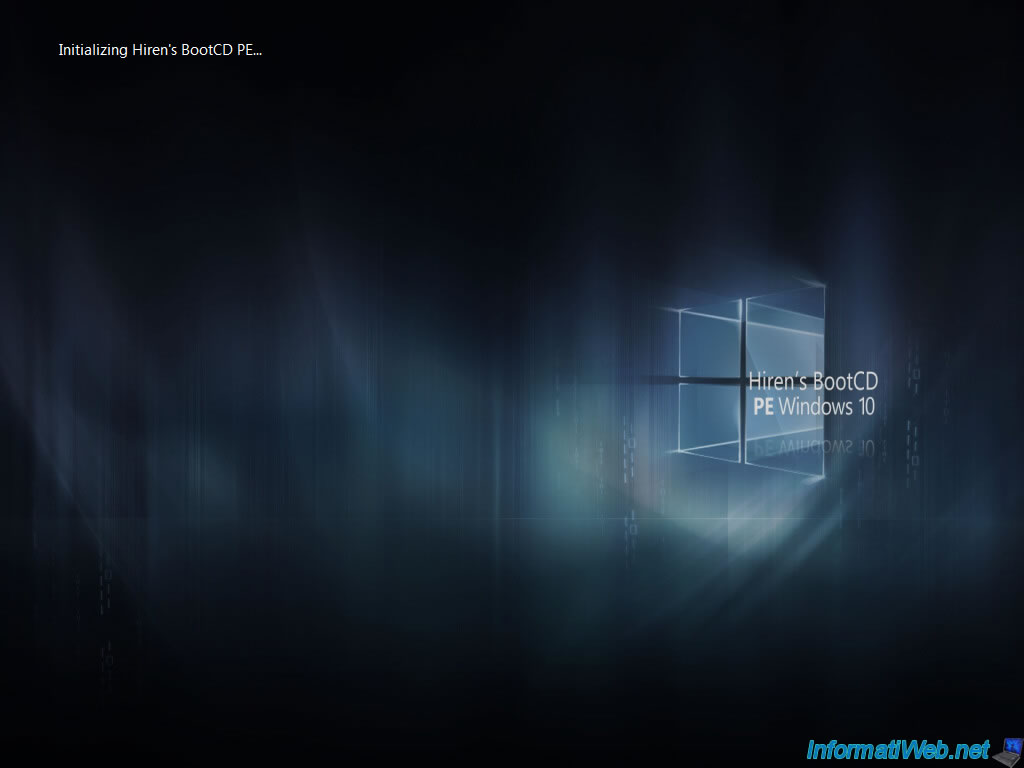
Then, you will see this wallpaper appear with the "Initializing Hiren's BootCD PE" message.
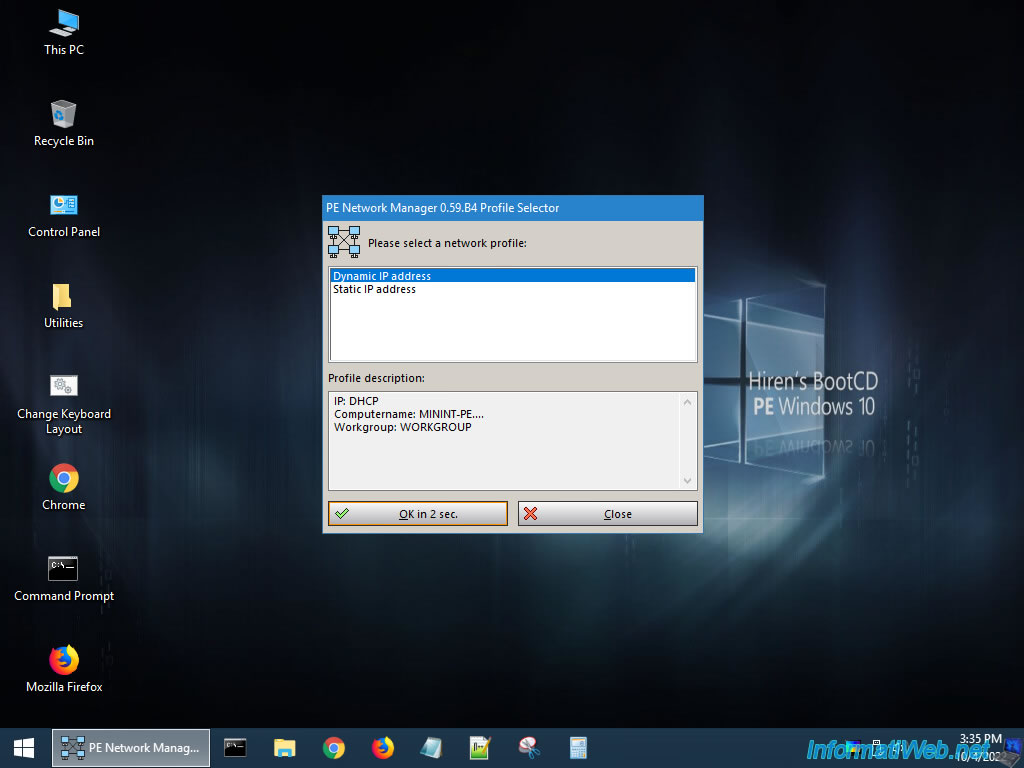
By default, this live CD will be able to provide you with network and Internet access if it recognizes your network card.
Which can be handy for copying/pasting commands or re-accessing our tutorial without needing a smartphone or tablet next to you.
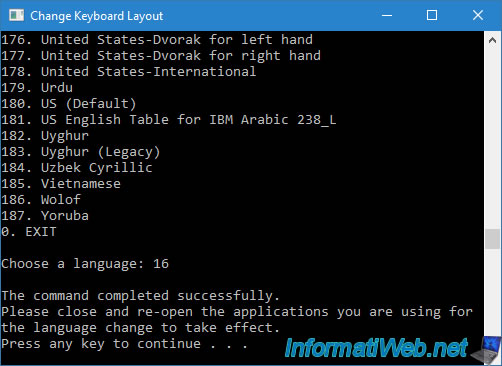
To start, run the "Change Keyboard Layout" script so that the selected keyboard layout matches your physical keyboard.
Otherwise, some special characters and some letters will not be in their place.
Note: by default, the keyboard of this live CD is configured in QWERTY.
Choose the keyboard layout corresponding to your physical keyboard by typing the corresponding number, then pressing Enter.
Examples: 50 for French (French - France) or 16 for Belgian French (French - Belgium).
The default keayboard is : 180 = US (Default).
Warning : if you have already opened other applications, you will have to close and reopen them for this change to take effect.
4.2. Clean disk 0
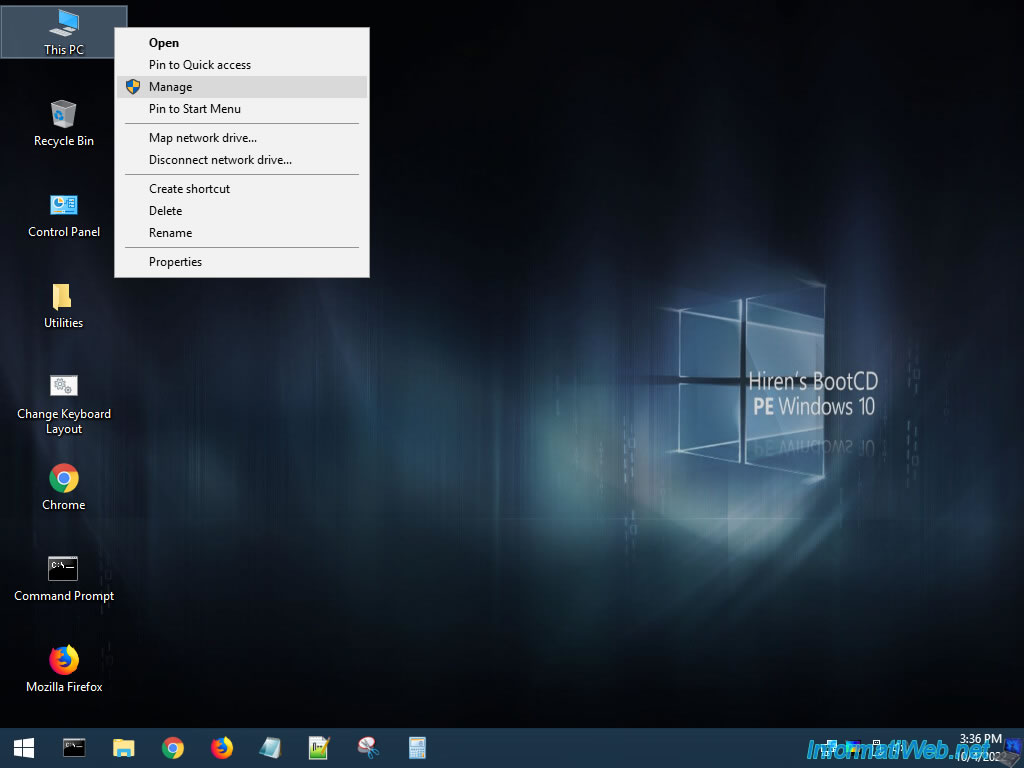
To erase disk 0 from your computer, right-click "Manage" on the "This PC" shortcut present on the desktop.
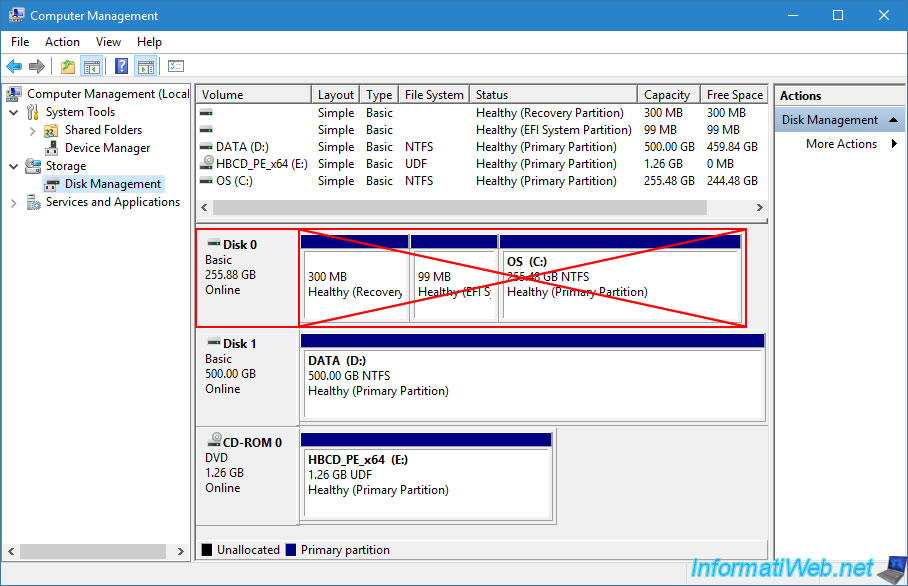
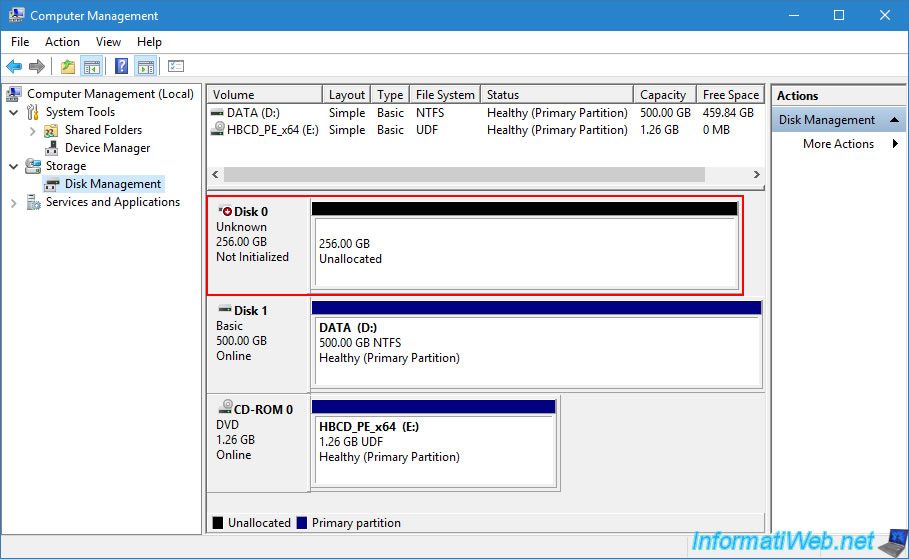
In the "Computer Management" console that appears, go to: Disk Management.
Warning : for the creation of multiboot, Disk 0 displayed here will be completely erased.
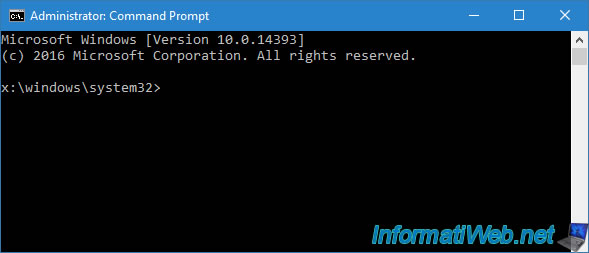
On the desktop, launch the "Command Prompt" program.
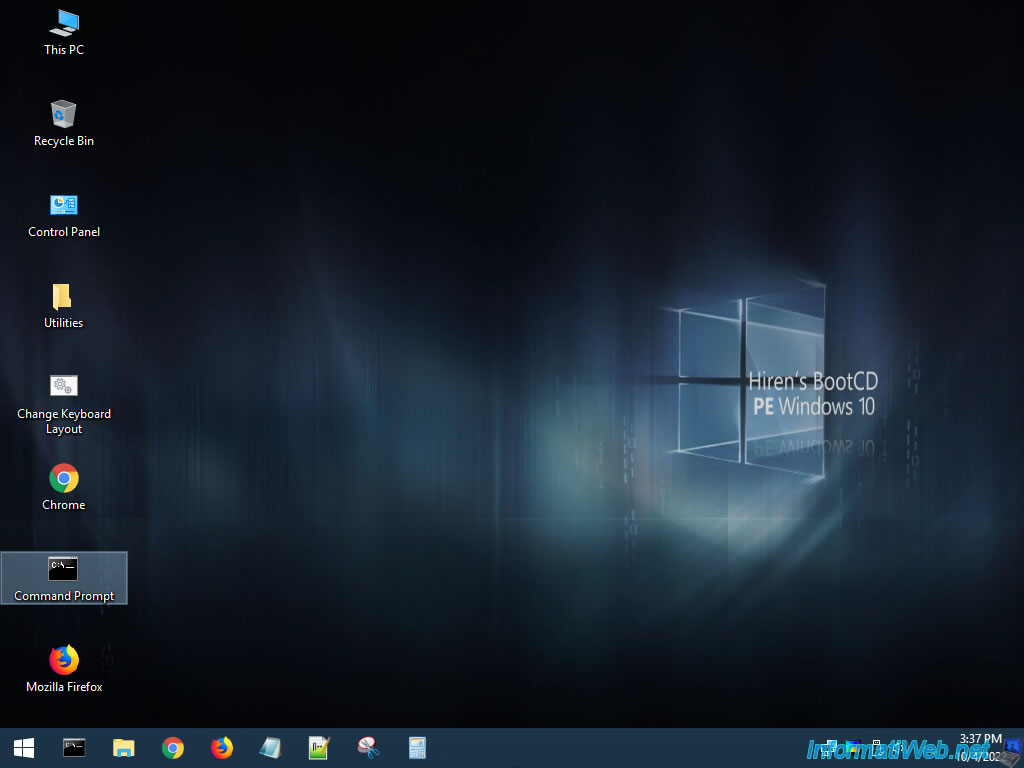
A command prompt running as an administrator will appear.
In this command prompt, launch DiskPart.
Batch
diskpart
Select disk 0 (framed in red in the images of this tutorial).
Batch
select disk 0
Plain Text
Disk 0 is now the selected disk
Erase Disk 0 entirely (which will erase the "C" partition where your original Windows installation was, but also the other partitions that were on that disk).
Warning : disk 0 will be completely erased.
The data present on this disk will therefore be permanently lost since even the partition table will be erased.
This makes data recovery much more difficult.
Batch
clean
Plain Text
DiskPart succeeded in cleaning the disk.
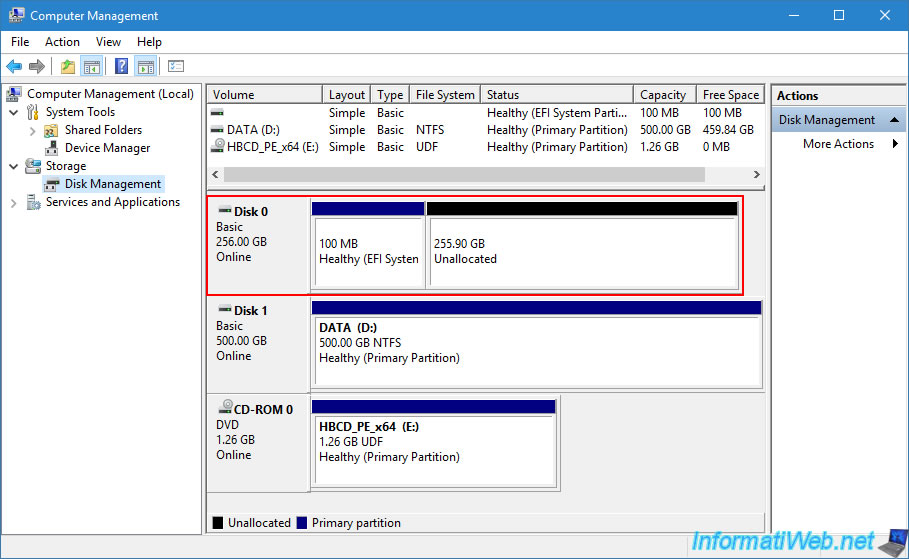
In the "Disk Management" section of the "Computer Management" console, you will see that disk 0 will appear as "Not Initialized" and only unallocated (unpartitioned) space will appear on it.
Warning : if you try to check this on your computer, a hard disk initialization window will appear.
Close this window without doing anything else so as not to alter the configuration that you will create using the following commands.
4.3. Use a GPT partition table to boot in EFI mode
In order for your computer to boot in EFI mode to take advantage of Secure Boot available from Windows 8, you must first initialize your hard drive with a GPT partition table.
Note: if you want to use a LEGACY BIOS (old BIOS) mode boot instead with a standard MBR, then skip this step and go to the next step (4.4. Use an MBR partition table to boot in LEGACY BIOS mode (old BIOS)) of this tutorial.
Batch
convert gpt
Plain Text
DiskPart successfully converted the selected disk to GPT format.
In Windows Disk Management, the drive will simply appear "Online".

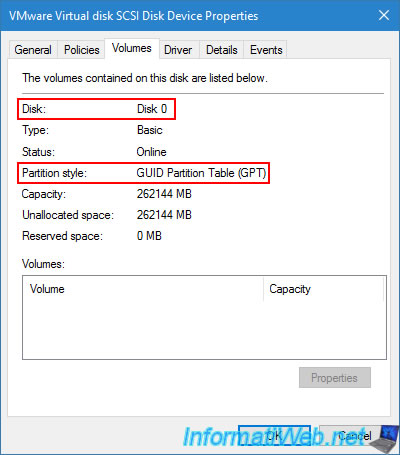
Right click "Properties" on this disk 0.
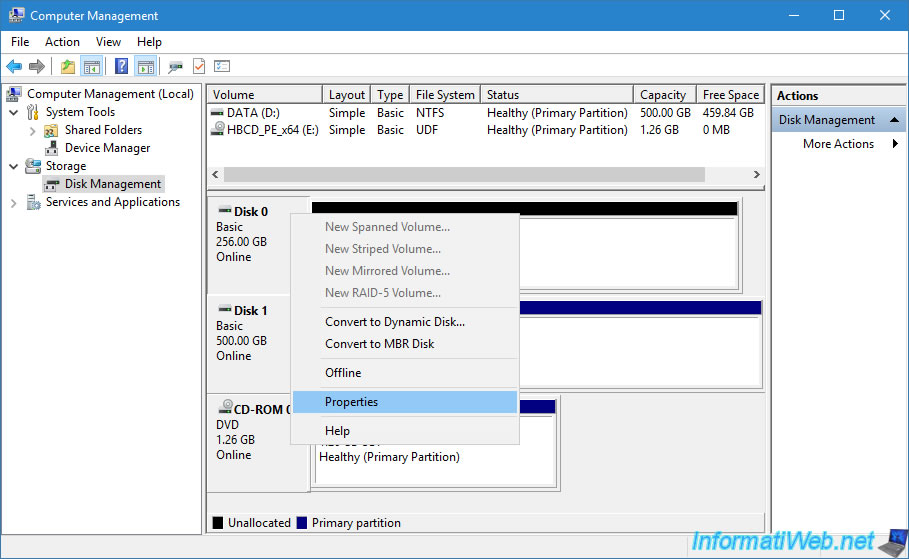
In the "Volumes" tab, you will see that Disk 0 (Disk 0) uses a "GUID Partition Table (GPT)" partition table.
In EFI mode, 2 partitions are needed (according to Microsoft documentation).
First, create a 100MB EFI system partition.
Batch
create partition efi size=100
Plain Text
DiskPart succeeded in creating the specified partition.
Format this partition in FAT32 and name it "System" (DO NOT CHANGE THIS NAME).
Batch
format quick fs=fat32 label="System"
Plain Text
DiskPart successfully formatted the volume.
Assign the letter "S" to this partition.
Batch
assign letter=S
Plain Text
DiskPart successfully assigned the drive letter or mount point.
Next, create the 2nd "Microsoft Reserved (MSR) partition" of 128 MB.
Batch
create partition msr size=128
Plain Text
DiskPart succeeded in creating the specified partition.
Finally, create a 3rd partition on the rest of the free space on disk 0.
It is in this partition that you will store your VHDX virtual hard disks.
Batch
create partition primary
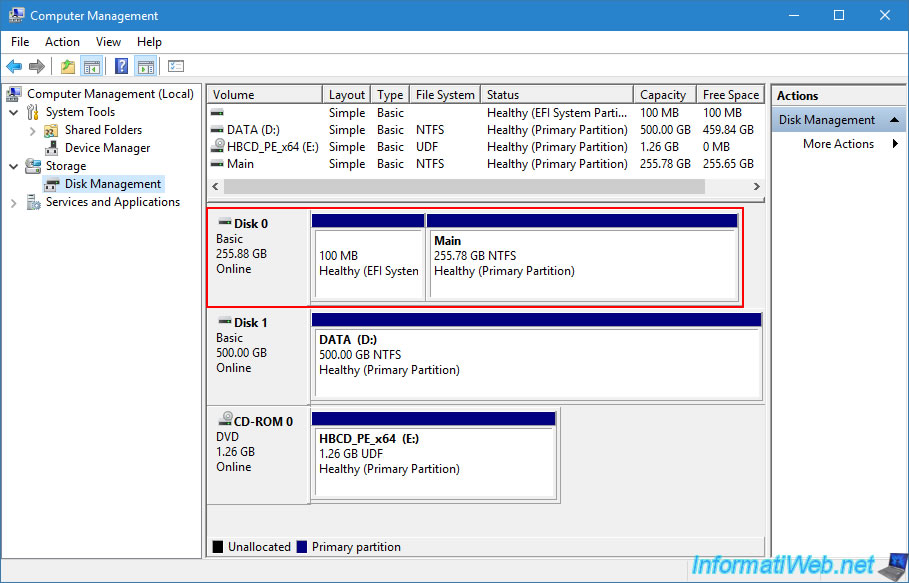
Format this partition in NTFS and name it "Main" (for "Principale").
Batch
format quick fs=ntfs label="Main"
Wait while formatting this partition.
This may take a few minutes depending on the size of your disk 0.
Plain Text
0 percent completed
Plain Text
   100 percent completed

DiskPart successfully formatted the volume.
Assign the letter "M" (for "Main") to this partition.
Batch
assign letter=M
Plain Text
DiskPart successfully assigned the driver letter or mount point.
Close DiskPart.
Batch
exit
Share this tutorial
To see also
-
Windows 5/8/2025
Windows 10 - Delete Windows.old folder
-
Windows 3/17/2025
Windows 11 / 10 / 8.1 / 8 - Expand a simple storage space (software RAID 0)
-
Windows 10/21/2024
Windows 8 - Use a Bluetooth headset
-
Windows 7/29/2021
Windows 8 / 8.1 - Reset your PC (format and reinstall Windows)
No comment