- Windows
- Windows 8 / 8.1, Windows 7, Windows 10, Windows 11
- 22 May 2025 at 15:35 UTC
-

On Windows 10, you can partition your hard drives from the "Disk Management" section available in the "Computer Management" console.
However, you can also protect your data against the loss (failure) of a hard drive by creating a mirror disk (RAID 1).
Warning : this mirrored volume system (which is equivalent to a software RAID 1) only protects you against the failure of a physical disk.
This is therefore not a real backup, because your data could also be corrupted by a virus or a problem in the file system.
Note: tutorial made on Windows 10 v2004 and also tested on Windows 11, 8.1, 8 and 7 SP1.
- Disk with partitions
- Add a mirror disk (RAID 1)
- Mirrored volume data available in case of disk failure
1. Disk with partitions
Most of the time, your hard drive has primary partitions or even logical drives in an extended partition beyond 4 partitions.
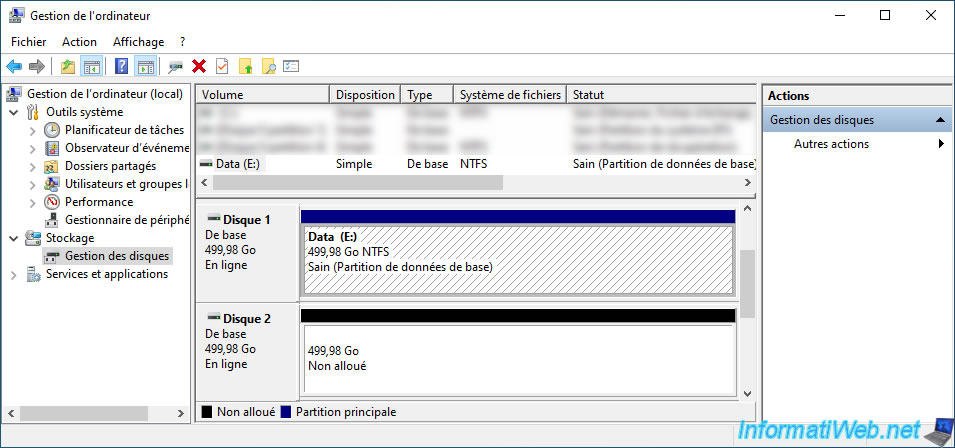
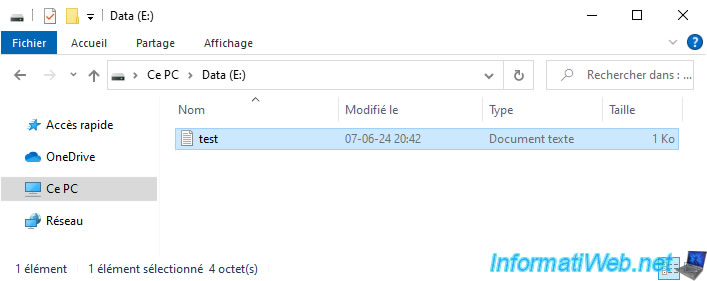
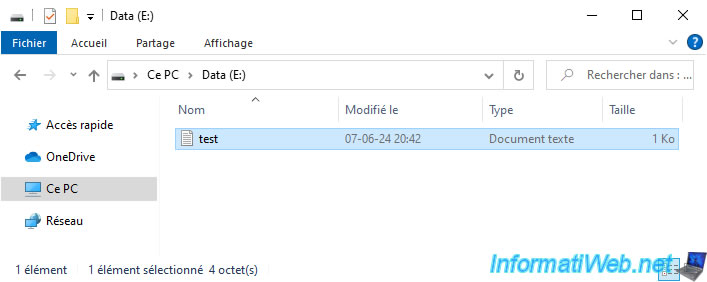
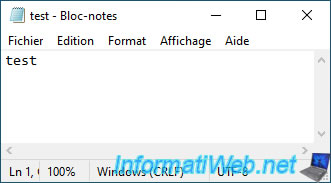
Each partition appears in file explorer.

As expected, you can store folders and files there.
In our case, we created a test file on this partition.
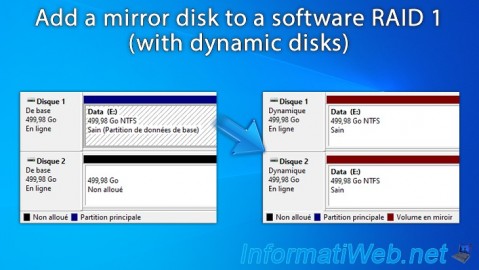
2. Add a mirror disk (RAID 1)
To protect the data on your physical disk against failures, you can add a mirror disk to it.
This is equivalent to creating a RAID 1 with 2 disks. The 2nd disk always contains an up-to-date copy of the data on the 1st disk and the partition (which will become a mirrored volume) will appear uniquely in the file explorer.
To do this, right-click "Add Mirror" on the partition containing the data you want to protect.
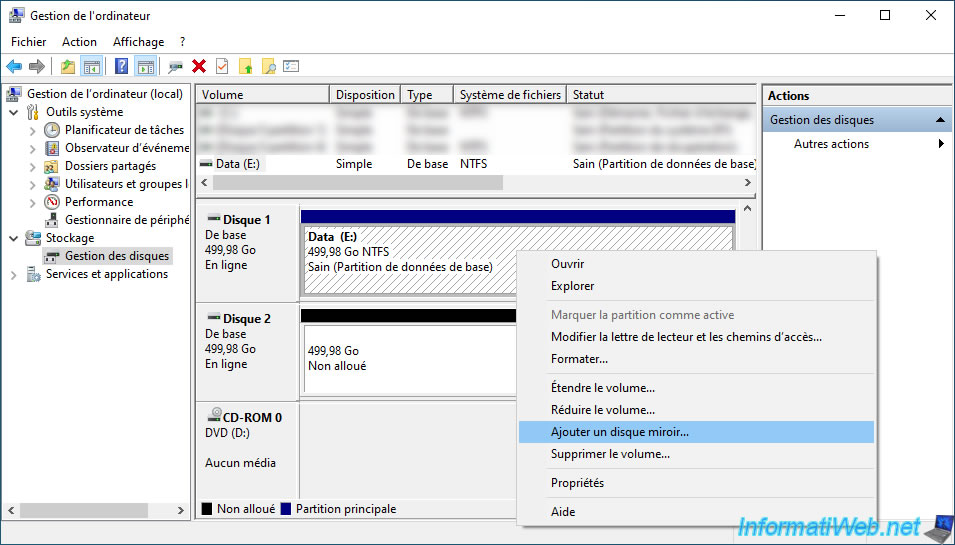
In the "Add Mirror" window that appears, select a blank disk on which you want to keep an up-to-date copy and click the "Add Mirror" button.

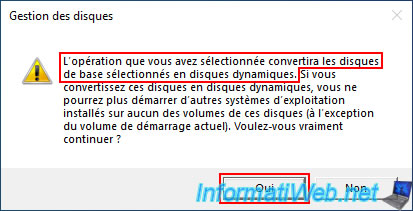
Warning : adding a mirror disk will convert the source disk (in our case: Disk 1) and the destination disk (in our case: Disk 2) to dynamic disks instead of basic disks (default disk type).
The main difference is that you cannot boot a computer from a dynamic disk.
Confirm the conversion of disks to dynamic disks by clicking: Yes.
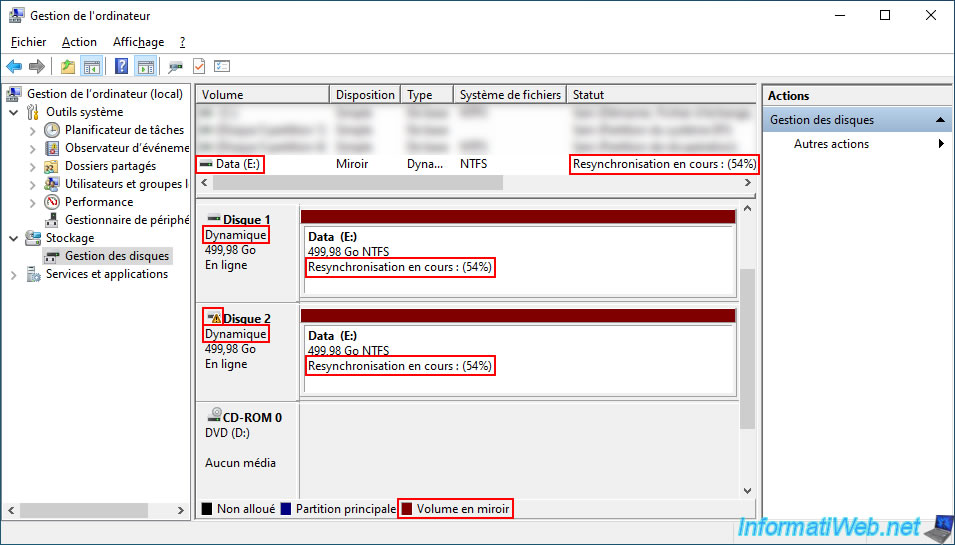
Once the mirror disk is added, you will see that:
- the primary partition of the source disk (in our case: Disk 1) has become a mirrored volume (hence the color change as well).
- your disks have become dynamic disks instead of basic disks.
- the destination disk (in our case: Disk 2) has an orange triangle.
- the status of the mirrored volume on your 2 disks is "Resynchronizing" until the data on the source disk has been copied to the destination disk.
Note that the time taken is due to the capacity (size) of the physical disks used, as well as the performance of your computer.
So this process can take some time, even if there is not much data on the source disk.
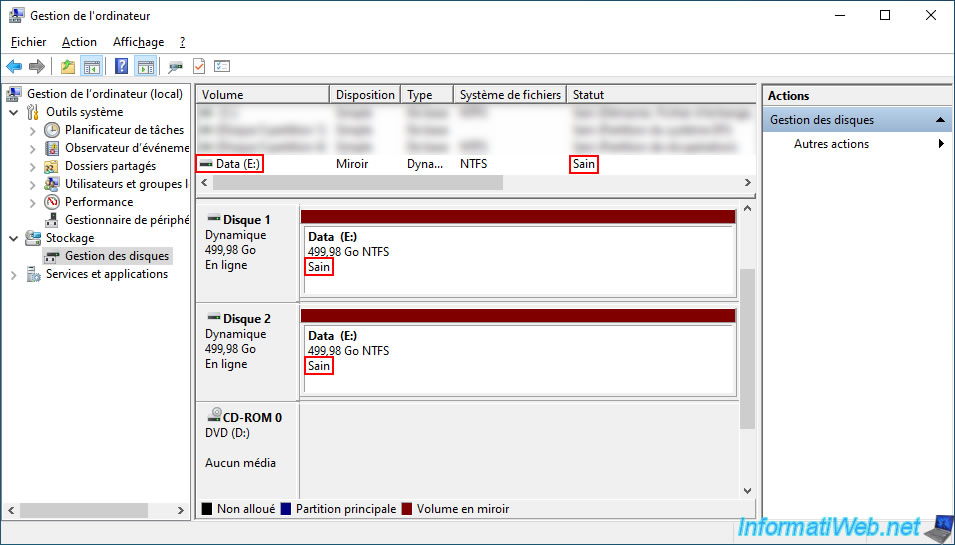
Once the data has been copied from the source disk (Disk 1) to the destination disk (Disk 2), the status of the mirrored volume on both your disks will become "Healthy".
Then, when you modify files on your mirrored volume, Windows will take care of reflecting these changes on both physical disks.
In file explorer, you will see only one volume and its size will be the size of the smallest physical disk used for this mirrored volume.
This is because each physical disk used for this mirrored volume contains exactly the same data.
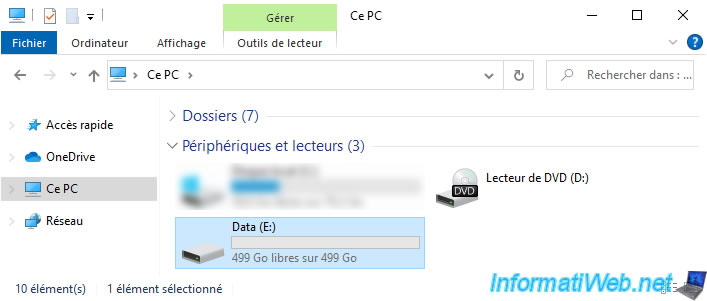
For storing data in a mirrored volume from file explorer, nothing changes.
3. Mirrored volume data available in case of disk failure
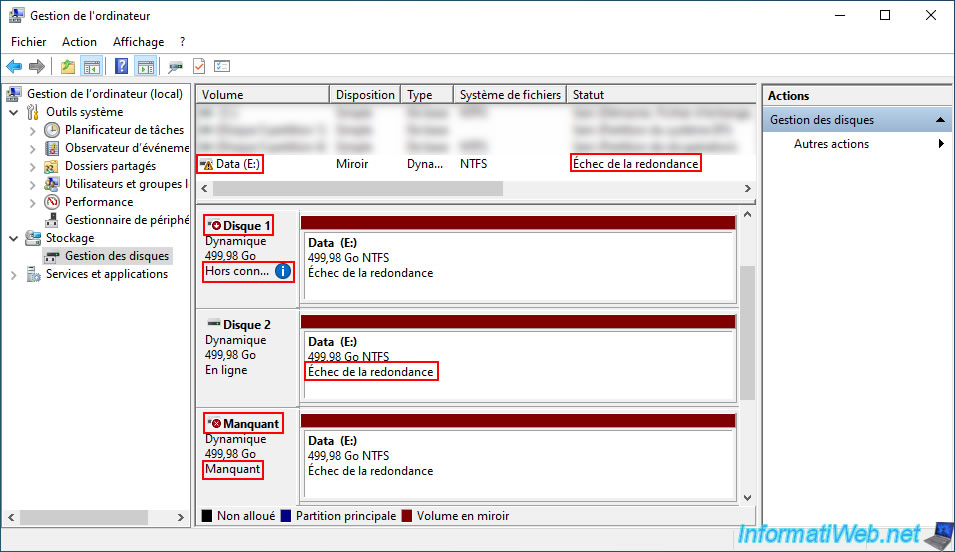
If a physical disk used for your mirrored volume fails, you will see that the corresponding disk appears as "Missing" in Windows Disk Management.
In addition, the status displayed will be "Failed Redundancy".
Note: for this tutorial, we have simply set one of the physical disks to "Offline" to simulate a failure of this disk.
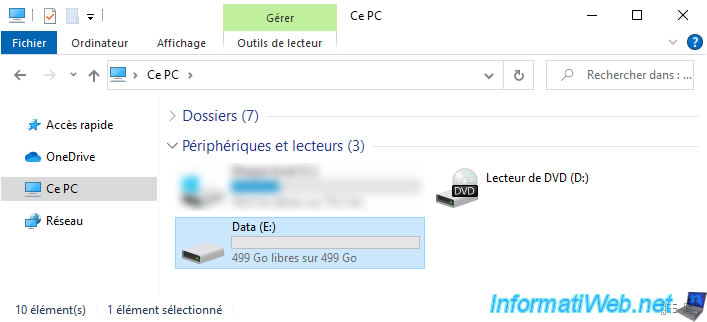
Although one of the physical disks in your mirrored volume has failed, the corresponding mirrored volume still appears in file explorer.
If you enter this mirrored volume in file explorer, you will see that the data is still there.
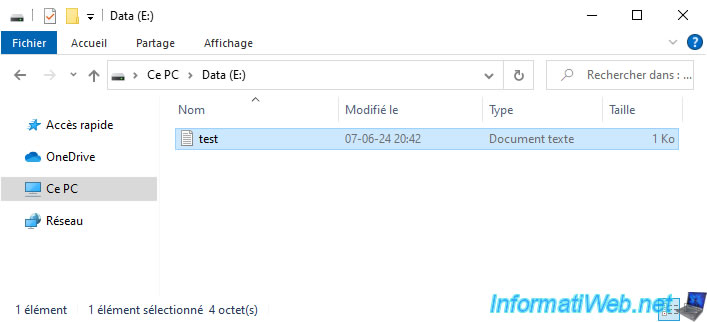
Additionally, the files on it are still accessible even if a disk fails.
Share this tutorial
To see also
-
Windows 2/3/2025
Windows 10 - Tabbed file explorer (via Files)
-
Windows 1/25/2022
Windows 11 - Download the official iso from Microsoft's server
-
Windows 3/31/2025
Windows 11 / 10 / 8.1 / 8 - Repair a three-way mirror storage space (software RAID 11)
-
Windows 12/25/2020
Windows 7 - Disable out of support warning
You must be logged in to post a comment