VHD/VHDX multiboot (native boot) with Windows 8.1 and Windows 10
- MultiBoot
- Windows 8 / 8.1, Windows 10
- 17 June 2024 at 13:08 UTC
-

- 3/8
4.4. Use an MBR partition table to boot in LEGACY BIOS mode (old BIOS)
If you want your computer to boot in LEGACY BIOS (old BIOS) mode instead, which can be useful if your motherboard doesn't support booting in EFI mode, you'll need to initialize your disk 0 with an MBR.
To do this, in DiskPart, type:
Batch
convert mbr
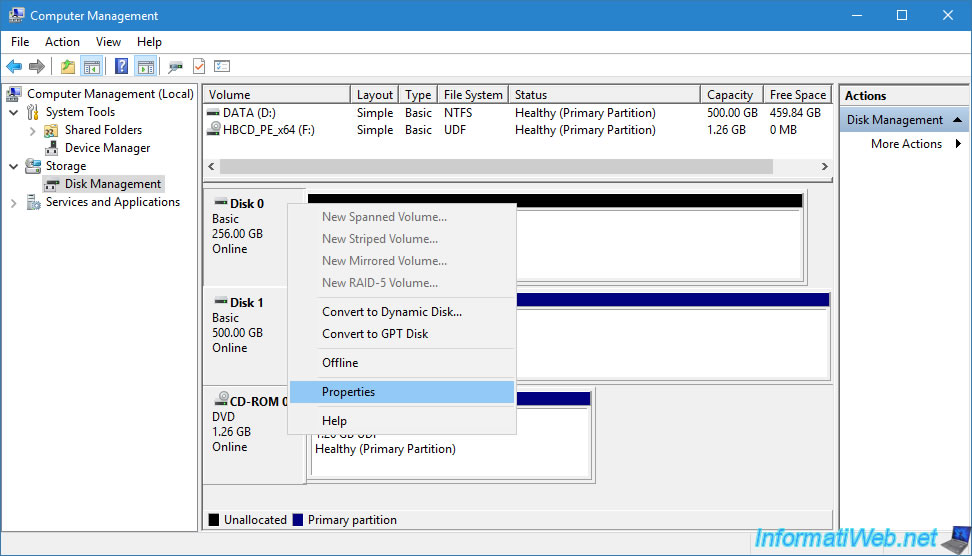
In Disk Management, you will see that your Disk 0 is Online.
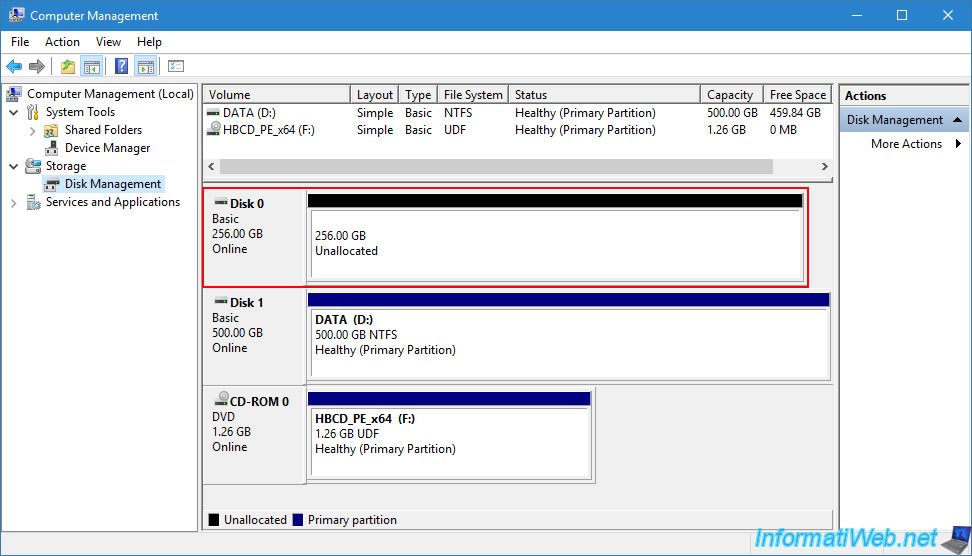
Right click "Properties" on it.
In the "Volumes" tab, you will see that the partition table used is: Master Boot Record (MBR).

In LEGACY BIOS mode, only 1 system partition is needed for booting (according to Microsoft documentation).
To create this system partition, in DiskPart, create a 100MB primary partition.
Batch
create partition primary size=100
Format this partition in NTFS and name it: System.
Batch
format quick fs=ntfs label="System"
Assign the letter "S" to this partition.
Batch
assign letter="S"
Mark this partition as "active" so your computer knows to boot from this small system partition.
Batch
active
Plain Text
DiskPart marked the current partition as active.
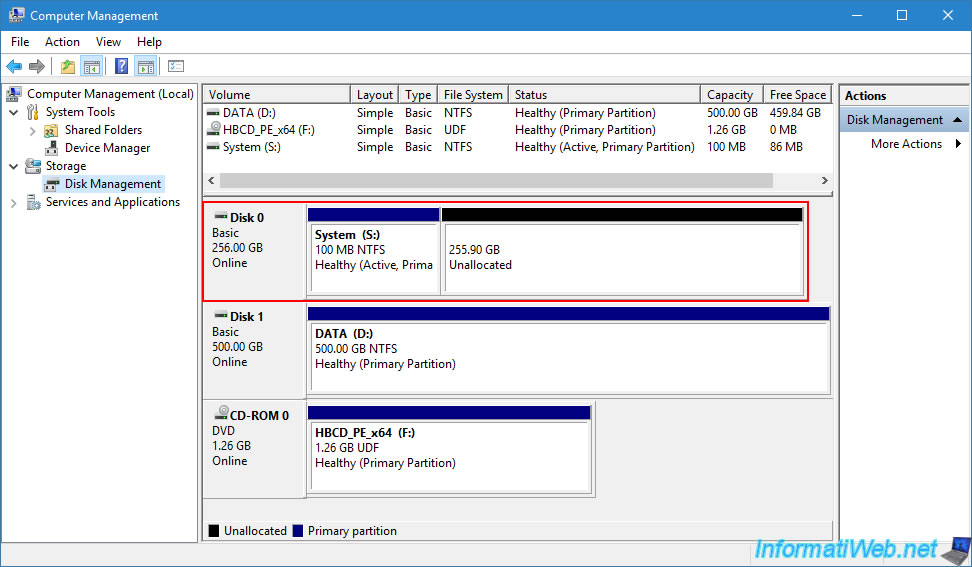
Next, create a primary partition on the rest of your disk's unallocated space.
This partition will be used to store your VHDX virtual hard disks.
Batch
create partition primary
Format this partition in NTFS and name it: Main.
Batch
format quick fs=ntfs label="Main"
Assign it the letter "M" (for "Main").
Batch
assign letter="M"
Close DiskPart.
Batch
exit

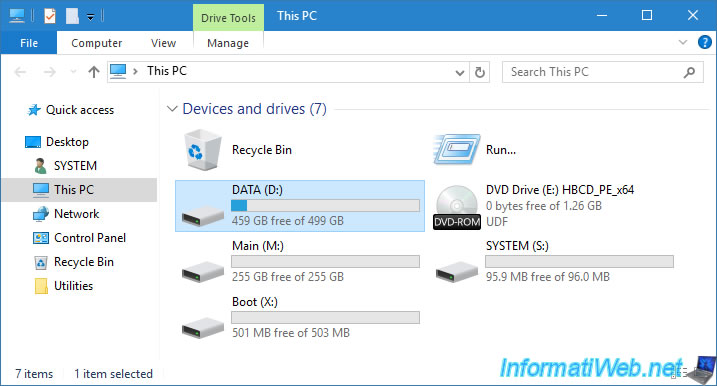
4.5. Partitions created
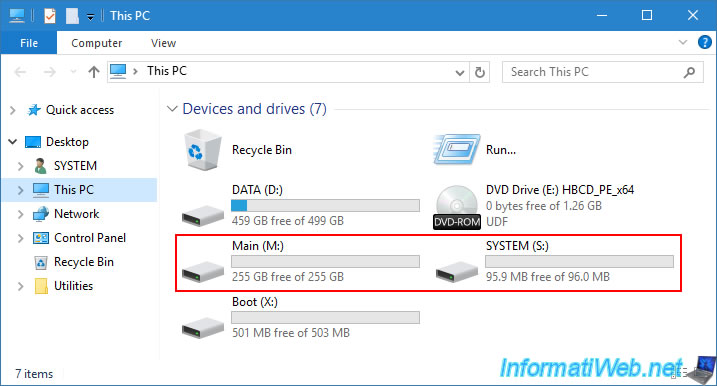
In the file explorer, you will see 2 new partitions appear:
- Main (M:): to store your VHDX virtual hard disks.
- SYSTEM (S:): for EFI boot files.
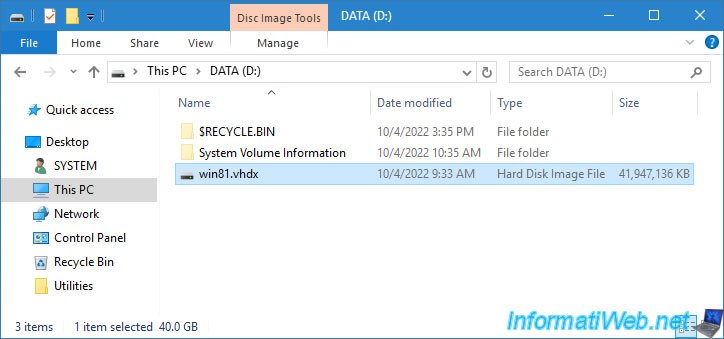
At the moment, the ".vhdx" file of your virtual hard disk is located in the "DATA (D:)" partition.
Move this "win81.vhdx" file to the "Main (M:)" partition of your disk 0.
To do this, use the file explorer or the command below.
Note that this move can take a long time given the maximum size of this ".vhdx" file.
Batch
move D:\win81.vhdx M:\
When the move is complete, this will be displayed in the command prompt:
Plain Text
1 file(s) moved.
The "win81.vhdx" file has been moved.

5. Create boot files and boot entry for Windows 8.1
To get started, you need to mount your virtual hard drive so you can grab the necessary boot files.
To do this, open a command prompt as an administrator (using the "Command Prompt" shortcut on the desktop).
In this command prompt, launch "DiskPart".
Batch
diskpart
Select your VHDX virtual hard disk by specifying the path to your "win81.vhdx" file.
Batch
select vdisk file=M:\win81.vhdx
Plain Text
DiskPart successfully selected the virtual disk file.
Attach your VHDX virtual hard disk.
Plain Text
attach vdisk
Plain Text
DiskPart successfully attached the virtual disk file.
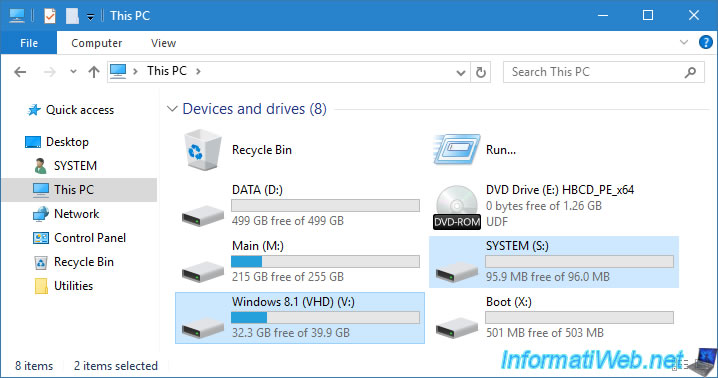
Once the VHDX virtual hard disk is mounted, list the volumes (partitions) available on your computer.
Batch
list volume
In our case, this gives:
Plain Text
  Volume ###  Ltr  Label        Fs     Type        Size     Status     Info
  ----------  ---  -----------  -----  ----------  -------  ---------  --------
  Volume 0     E   HBCD_PE_x64  UDF    DVD-ROM     1292 MB  Healthy
  Volume 1     M   Main         NTFS   Partition    127 GB  Healthy
  Volume 2     S   SYSTEM       FAT32  Partition    100 MB  Healthy    Hidden
  Volume 3     D   DATA         NTFS   Partition    499 GB  Healthy
  Volume 4     C   Windows 8.1  NTFS   Partition     39 GB  Healthy
Select volume 4 (whose size is 39 GB and the name is "Windows 8.1" in this case).
Batch
select volume 4
Plain Text
Volume 4 is the selected volume
Assign the letter "V" to this volume.
Batch
assign letter=V
Close DiskPart.
Batch
exit
Move to the system directory of the Windows 8.1 installation located on your VHDX virtual hard disk.
Batch
cd /d V:\Windows\System32
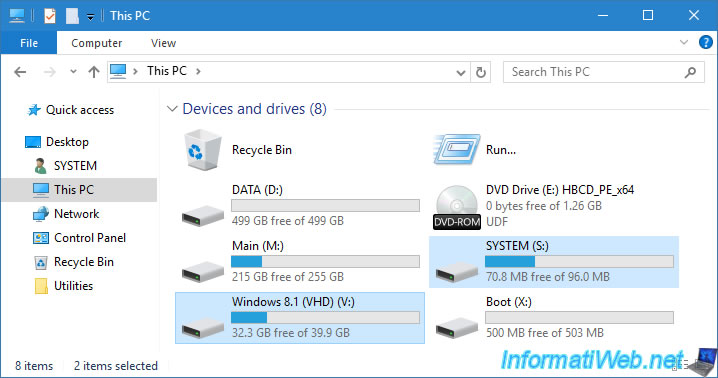
Create the boot files in the 100MB EFI system partition visible as "SYSTEM (S:)" in File Explorer.
The "/f" parameter is used to specify whether the boot should be in LEGACY BIOS mode or via EFI firmware.
If you previously used a GPT partition table to use an EFI mode boot, use the command:
Batch
bcdboot V:\Windows /s S: /f UEFI
Otherwise, if you previously used an MBR partition table to use a boot in LEGACY BIOS mode (old BIOS), use the command:
Batch
bcdboot V:\windows /s S: /f BIOS
In both cases, this message will be displayed if the command succeeds.
Plain Text
Boot files successfully created.
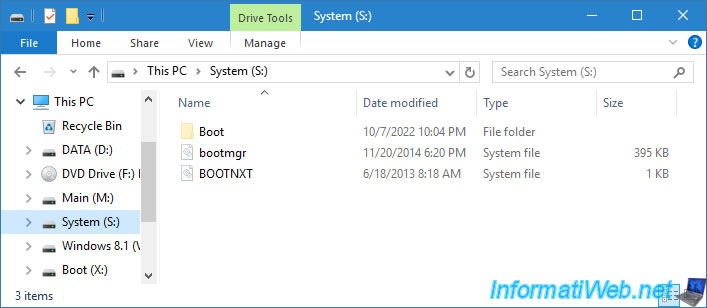
As you can see, part of the disk space of the "SYSTEM (S:)" partition is now used.
In the case of booting in EFI mode, you will find an "EFI" folder inside the "SYSTEM (S:)" partition.

In the case of a boot in LEGACY BIOS mode (old BIOS), you will find in particular the "bootmgr" system file inside the "SYSTEM (S:)" partition.
Note that these are hidden system files. Hence the fact that their icon is half transparent.
Restart your computer to boot to your SSD or hard drive (disk 0).

Share this tutorial
To see also
-
Windows 4/11/2022
Windows 10 - Delete an old network profile
-
Windows 6/23/2018
Windows 10 / 11 - File sharing
-

Windows 5/24/2022
Windows 7 / 8 / 8.1 / 10 / 11 - Disable automatic sleep
-

Virtualization 1/29/2024
Windows 8 / 8.1 / 10 / 11 - Install Hyper-V on Windows Home Edition
No comment