- Windows
- Windows 10
- 11 April 2022 at 14:20 UTC
-

If you have a laptop and travel a lot, you've probably connected to several different Wi-Fi networks.
However, each time you connect to a new network (whether wired or wireless), Windows 10 creates a new network profile.
If you want to delete all network profiles for these old networks, here's how.
- Forget a Wi-Fi network from the network icon on the taskbar
- Manage known Wi-Fi networks
- Delete the network profile of a Wi-Fi network from the command line
- Delete a network profile (wired or wireless) from the registry editor
1. Forget a Wi-Fi network from the network icon on the taskbar
If you have a wireless network card (Wi-Fi) in your computer, you can display the list of networks detected nearby by left-clicking on the "Network" (Wi-Fi) icon located in the toolbar tasks.
Then, click on the Wi-Fi network for which you want to delete the associated network profile, then right-click "Forget" on it.
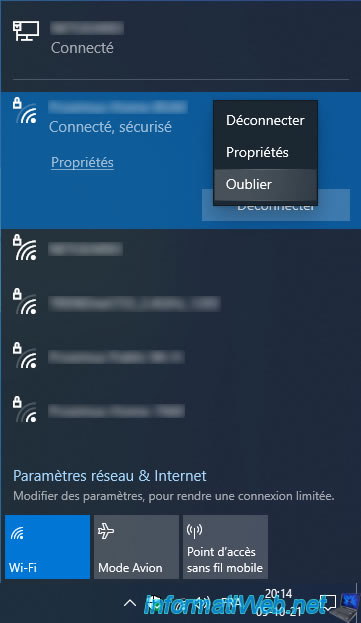
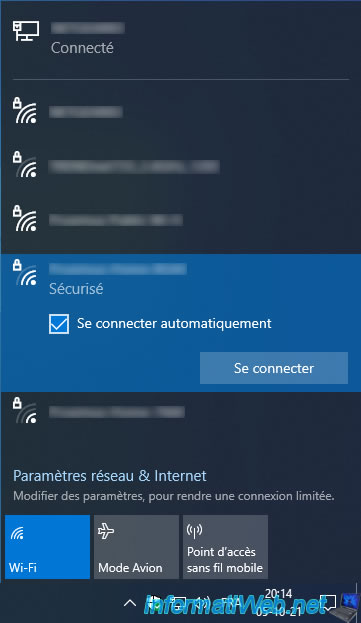
If you were currently connected to the Wi-Fi network you just forgot, you will be automatically disconnected as this also deletes the network key (password) you previously specified for this secure Wi-Fi network.
2. Manage known Wi-Fi networks
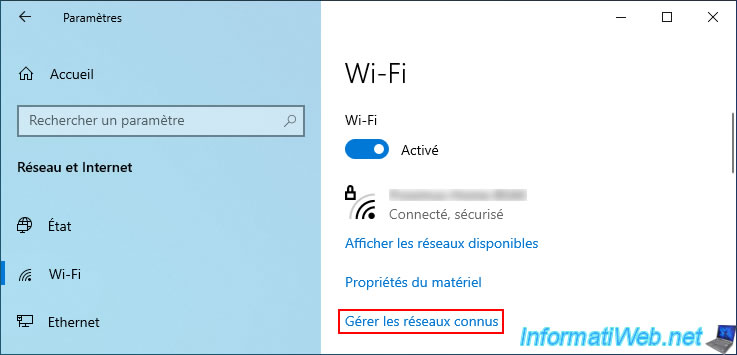
To manage known Wi-Fi networks and forget the ones you want, right-click on the "Network" icon and click : Open Network & Internet settings.

In the "Settings" window that appears, go to the "Wi-Fi" section, then click on the "Manage known networks" link.
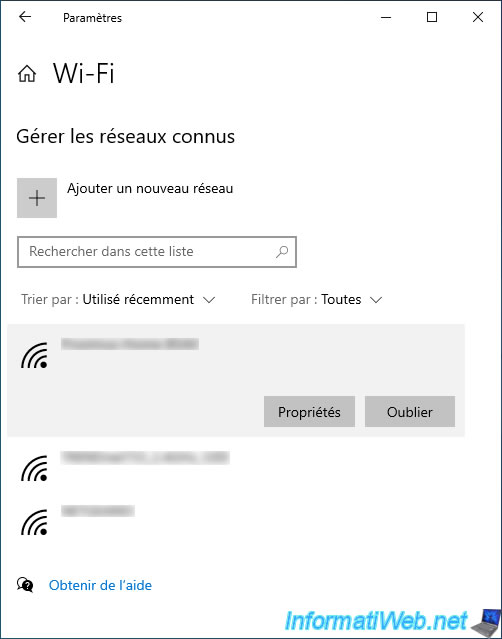
In the "Manage known networks" section that appears, you will see the list of Wi-Fi networks to which you have already connected at least once.
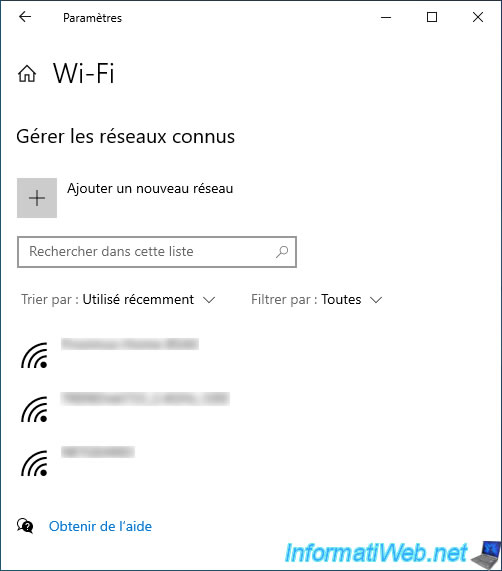
To forget one of these Wi-Fi networks, click on it, then on the "Forget" button.
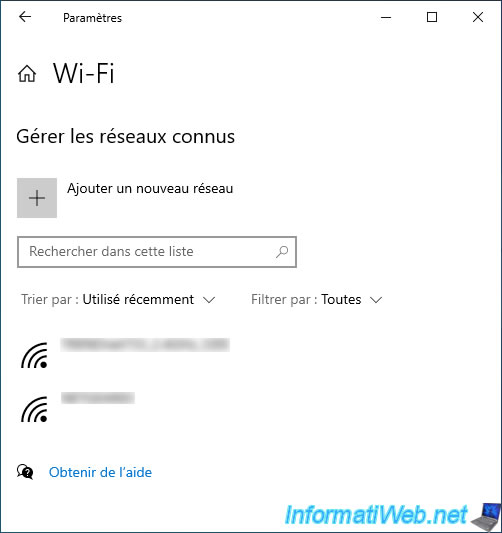
The desired Wi-Fi network disappears from the list.
3. Delete the network profile of a Wi-Fi network from the command line
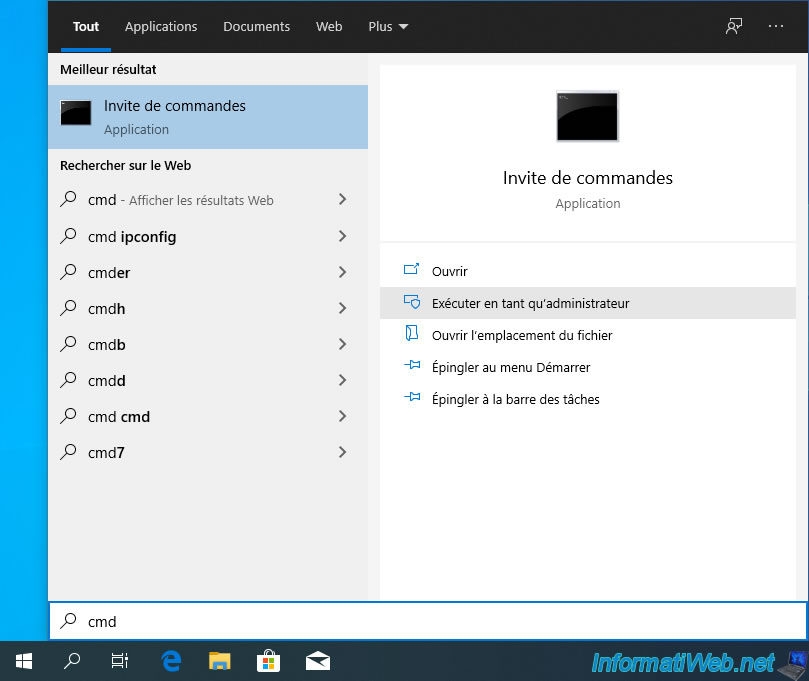
Launch a command prompt (cmd.exe) as an administrator.
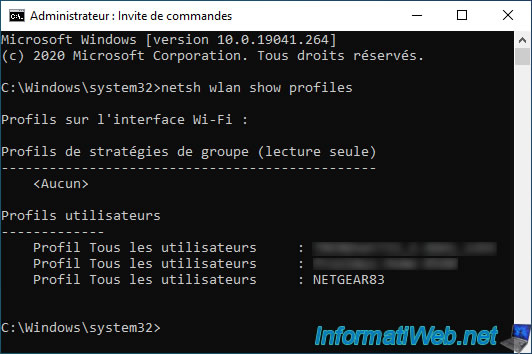
Display the list of network profiles present on your computer for the Wi-Fi networks to which you have connected at least once by typing the command :
Batch
netsh wlan show profiles
In our case, we have already connected to 3 Wi-Fi networks, including the "NETGEAR83" Wi-Fi network.
To delete the network profile associated with this Wi-Fi network, use the following command, specifying the name of the desired Wi-Fi network in quotes :
Batch
netsh wlan delete profile name="NETGEAR83"

The desired network profile (in our case : NETGEAR83) has been deleted.
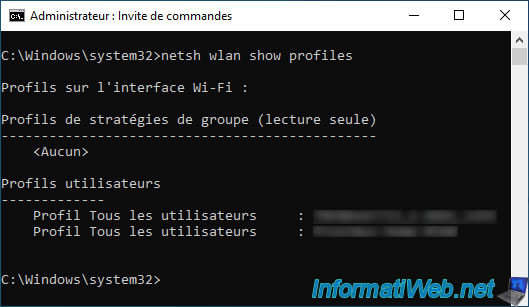
To verify this, reuse the command :
Batch
netsh wlan show profiles
4. Delete a network profile (wired or wireless) from the registry editor
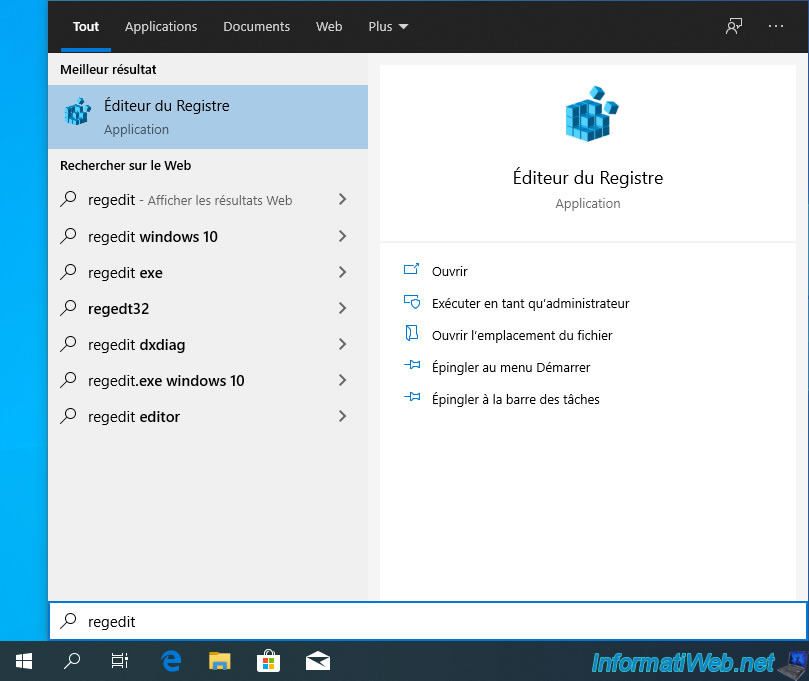
To begin, search for the "regedit" program from the Windows 10 start menu and launch the "Registry Editor" program that appears.
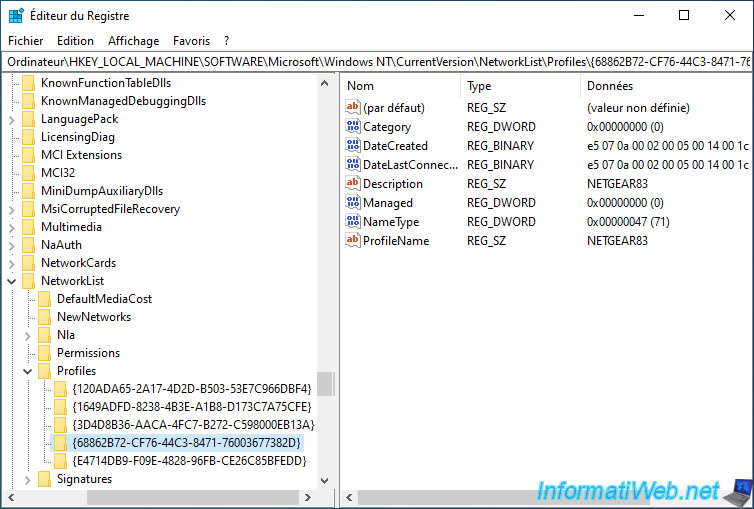
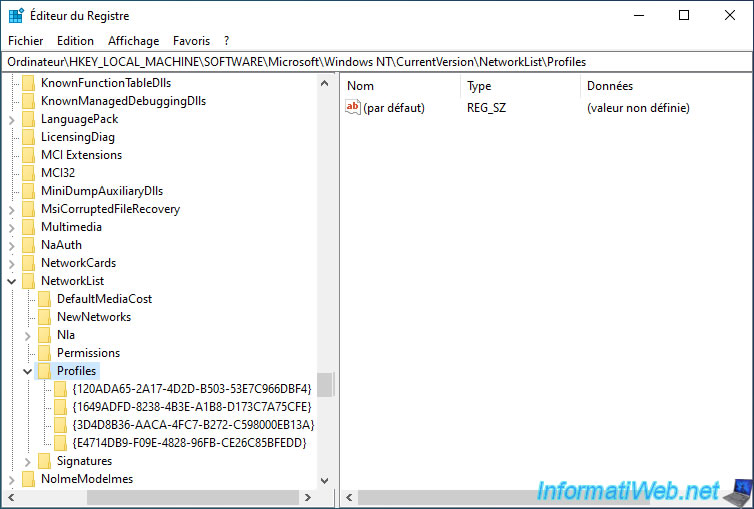
In the registry editor that appears, go to the "HKEY_LOCAL_MACHINE\SOFTWARE\Microsoft\Windows NT\CurrentVersion\NetworkList\Profiles" registry key.
As you can see, Windows 10 creates subfolders in the "Profiles" folder for each wired (Ethernet) network and each wireless (Wi-Fi) network you connect to at least once.
To find the network profile you want to delete, look at the value of the "ProfileName" data present in each of these folders.
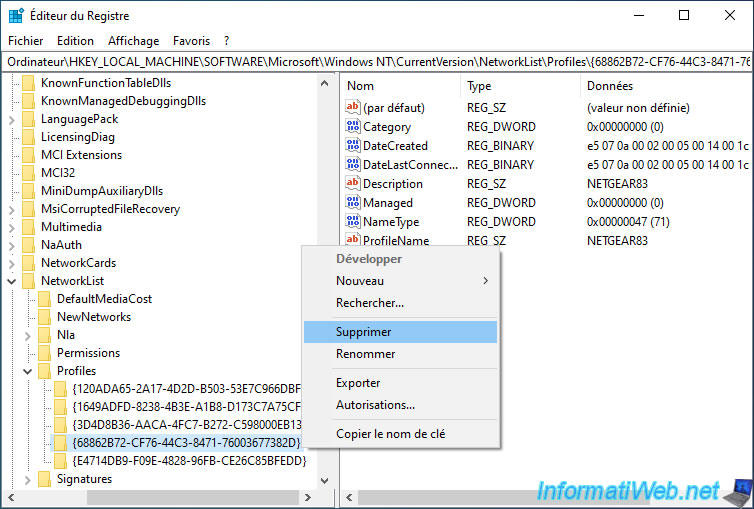
Once you have located the folder that corresponds to the network profile you want to delete, right click "Delete" on this folder.
Warning : before deleting this folder (network profile), make sure you are not connected to this network.
Confirm deletion of the key by clicking Yes.

The folder corresponding to the desired network profile has been deleted.
Share this tutorial
To see also
-
Windows 4/4/2022
Windows 10 - Change the network profile used
-
Windows 3/13/2025
Windows 11 / 10 / 8.1 / 8 - Create a storage space (software RAID)
-
Windows 5/24/2022
Windows 7 / 8 / 8.1 / 10 / 11 - Disable automatic sleep
-

MultiBoot 5/21/2024
Windows 7 / 8 / 8.1 / 10 / 11 - Native boot to VHD/VHDX

You must be logged in to post a comment