- Windows
- Windows 10
- 04 September 2023 at 13:54 UTC
-


Usually, when you upgrade Windows 10 to Windows 11 or Windows 10 to a newer version of Windows 10, you have the option to keep your applications and / or your documents if you wish.
However, in a particular case, it happens that this is not possible by default.
Fortunately, an update for Windows 10 easily fixes the problem.
- Encountered problem
- Download update KB4586853 for Windows 10 v20H1 (2004) and v20H2 (2009)
- Install update KB4586853 for Windows 10
- Windows 10 upgrade
1. Encountered problem
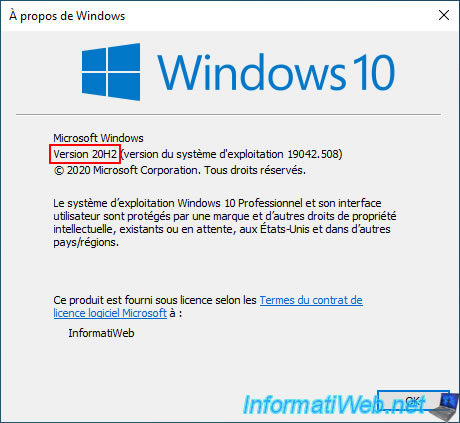
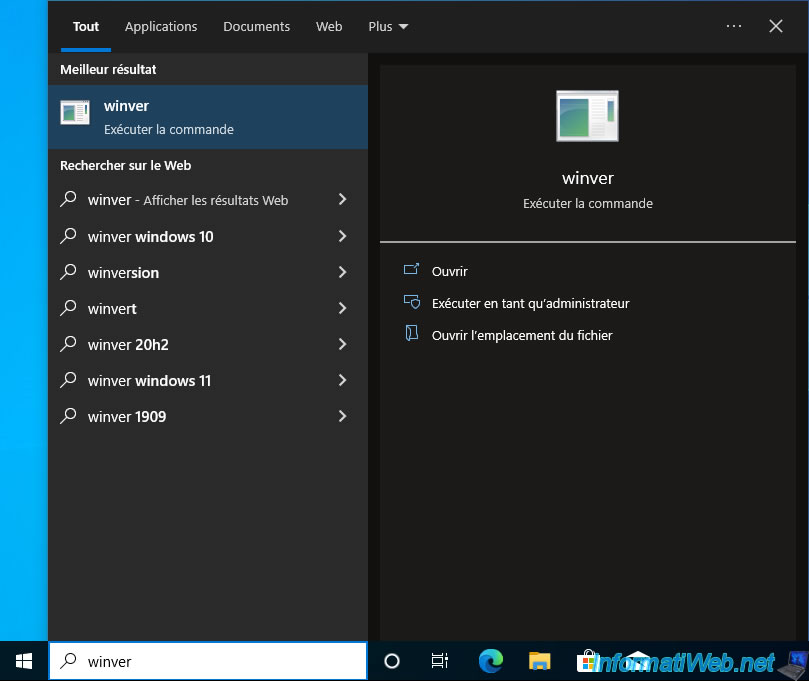
To know your version of Windows 10, launch the "winver.exe" program.

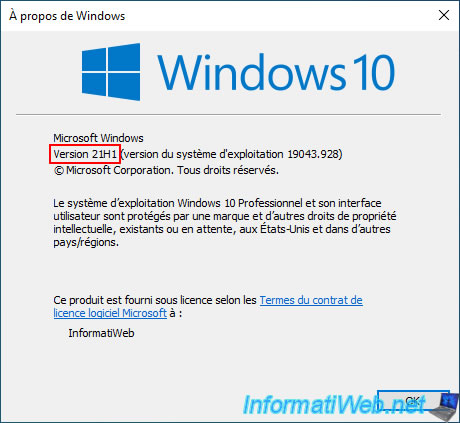
For this tutorial, we use version 20H2 (= 2009).
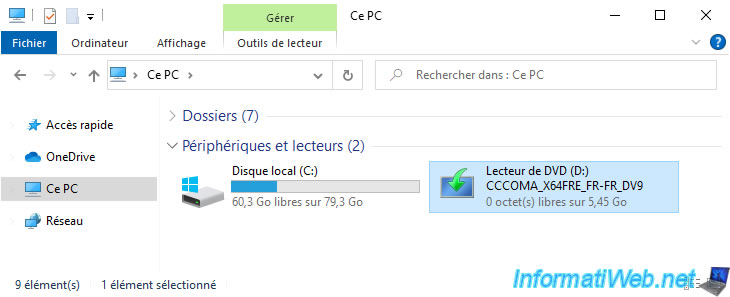
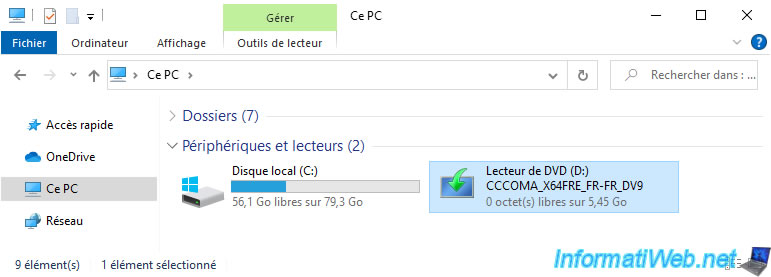
Insert the installation DVD for the next version of Windows 10.
Namely, the version: 21H1 (= 2104).
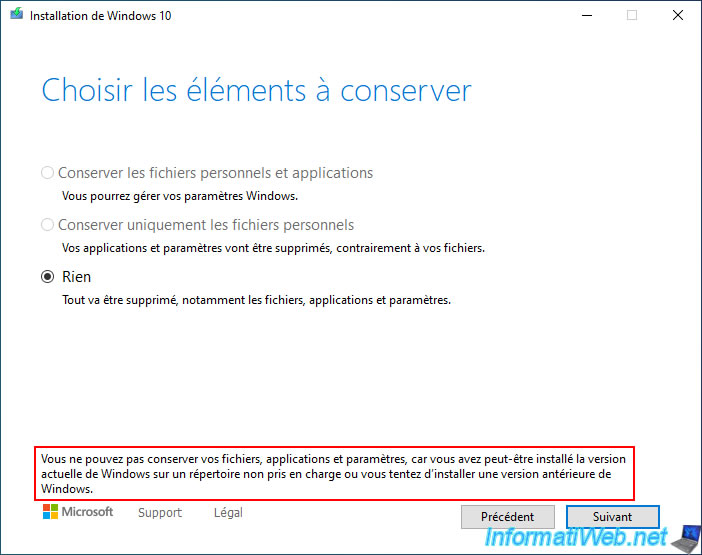
And you will see that the assistant will not allow you to keep your files and applications.
Indeed, the "Nothing" option will be selected by default. Which means "Everything will be deleted, including files, apps, and settings."
The reason given is the one below.
Plain Text
Your files, apps, and settings can't be kept because your current version of Windows might be installed on an unsupported directory or you're trying to install an older version of Windows.
Close the wizard by clicking on the cross at the top right.
2. Download update KB4586853 for Windows 10 v20H1 (2004) and v20H2 (2009)
To fix this bug, just download the KB4586853 update for your version of Windows 10.
Either you download this update via Windows Update, which requires you to download all the updates offered until this one downloads itself.
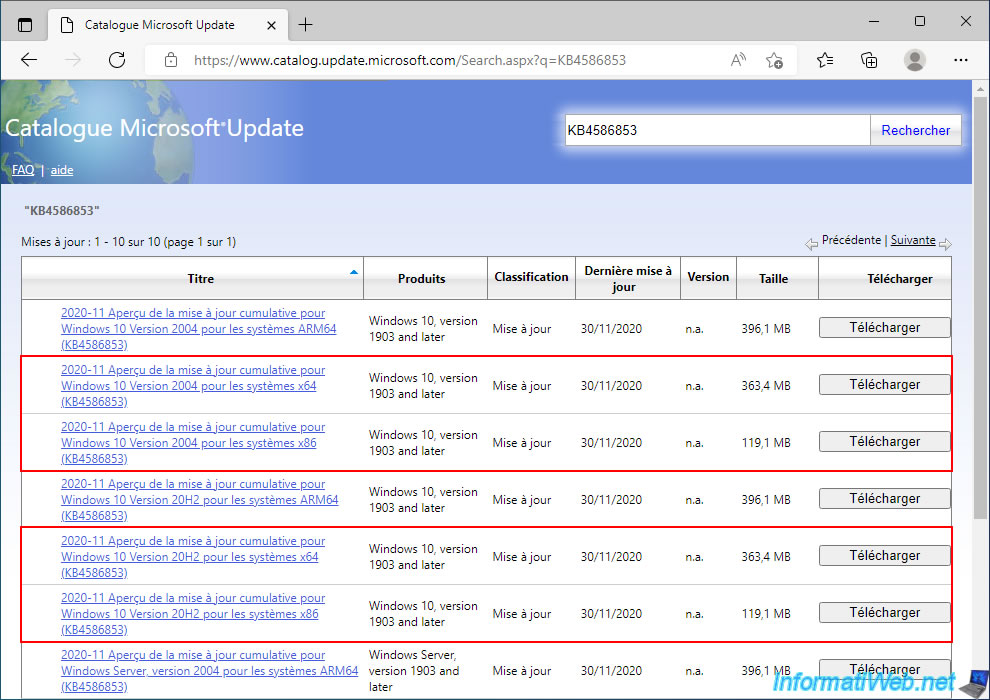
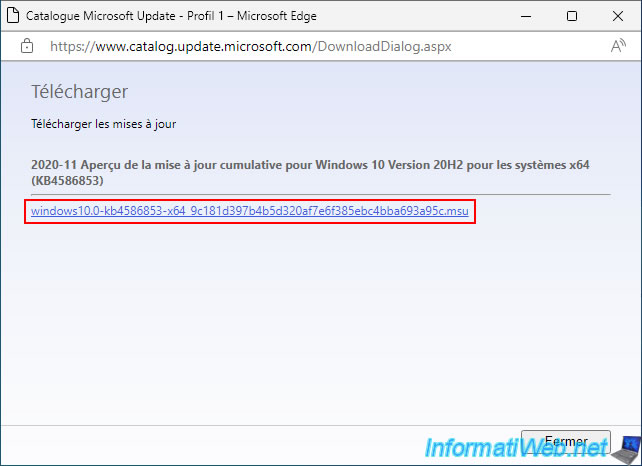
Either go to the official Microsoft Update catalog and look for the "KB4586853" update.
On this Microsoft Update catalog, locate the version adapted to your current version of Windows 10 and click on the "Download" button.
In our case, we downloaded the version for Windows 10 20H2 x64.
Then, click on the download link "windows10.0-kb4586853-xXX_..." displayed.
3. Install update KB4586853 for Windows 10
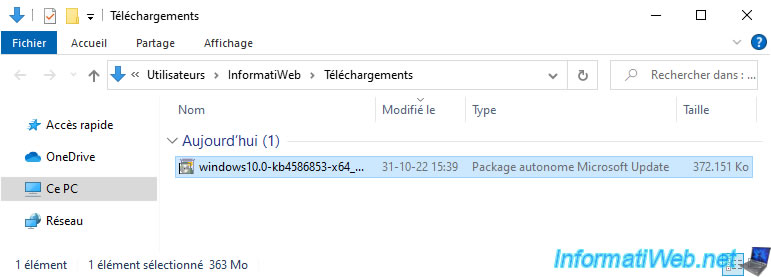
Double click on the downloaded update in MSU format.
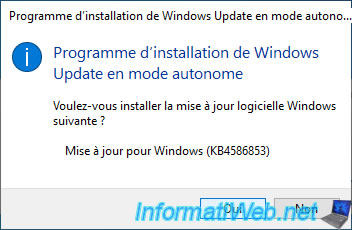
A "Windows Update Standalone Installer" window will appear.
Click Yes.
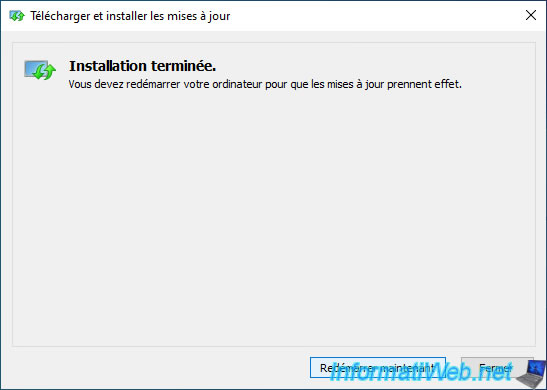
Please wait while this update installs.

Once this update KB4586853 is installed, click on: Restart now.
During the restart, several messages will appear one after the other:
- Preparing Windows. Do not turn off the computer.
- Update your system.
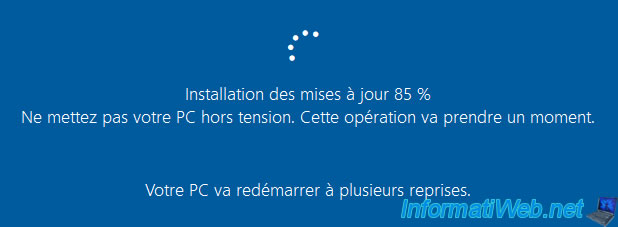
- Installing updates. XX% completed. Do not turn off the computer.


Once the update has finished installing, you will be back in Windows 10.
4. Windows 10 upgrade
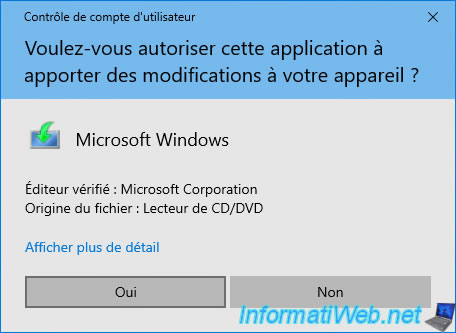
Now that the KB4586853 update is installed, run the installation wizard again from the Windows 10 installation DVD.
Click "Yes" when the "User Account Control" window appears.
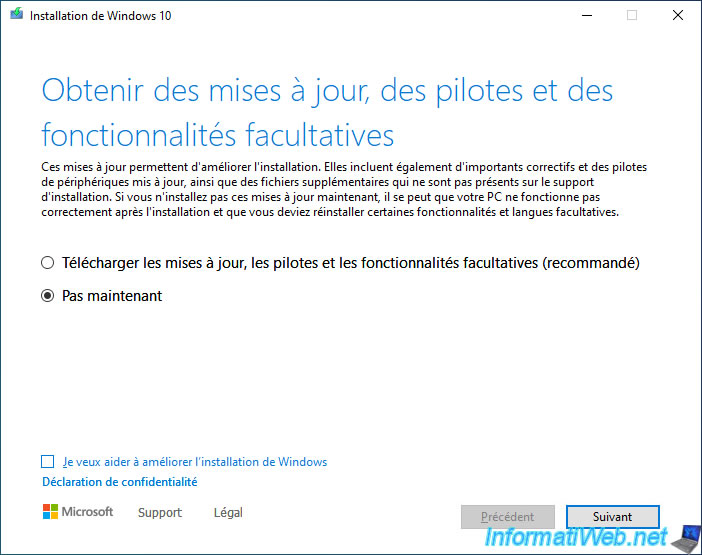
Click the "Change how Windows Setup downloads updates" link to choose whether to automatically download updates when upgrading Windows 10 or not.
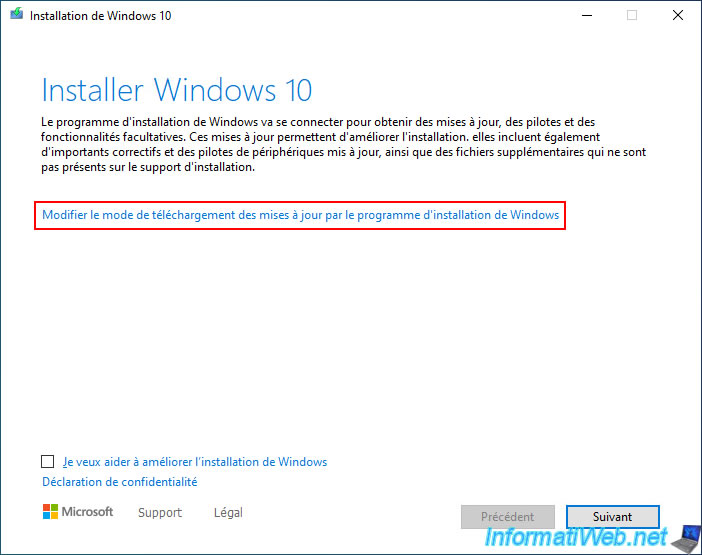
In our case, we selected "Not now" to make it faster.
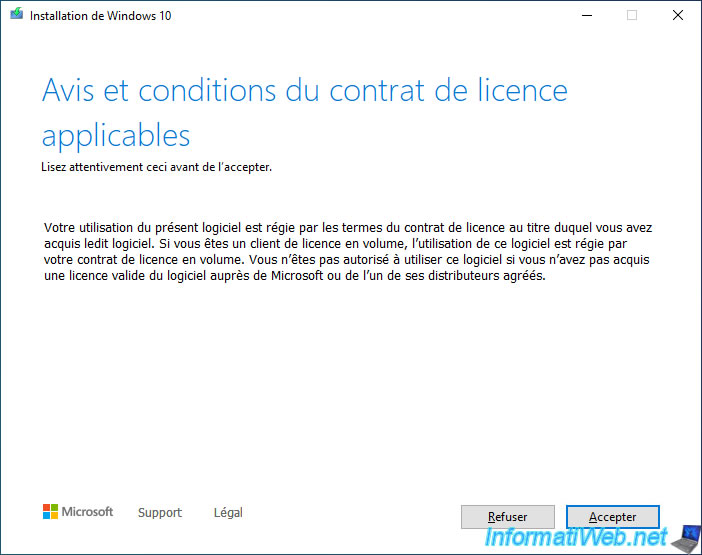
Accept the Windows 10 License Agreement.
A check is carried out.
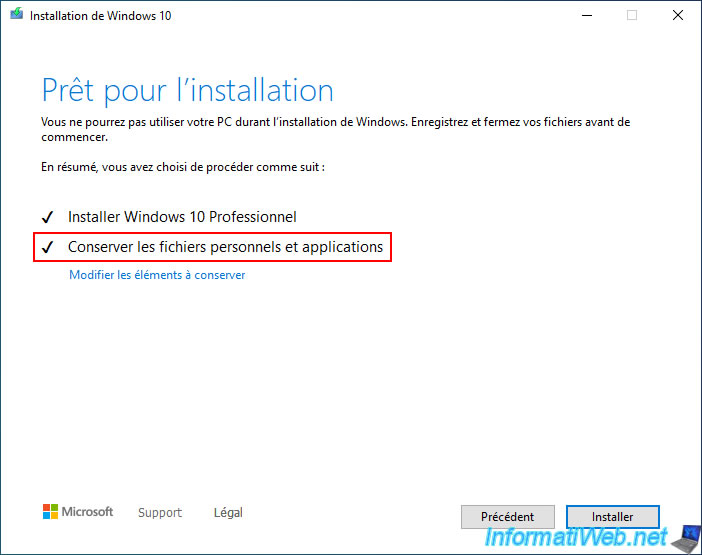
As you can see, this time, the "Keep personal files and apps" option appears.
By default, everything will therefore be preserved when upgrading Windows 10.
Click "Install" to start Windows 10 upgrade.
Windows 10 installation starts in full screen.
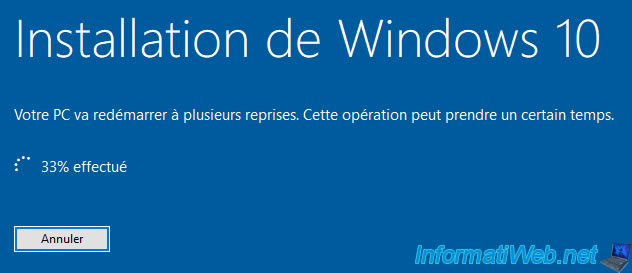
Then, the usual steps for a Windows 10 upgrade will appear.
After the Windows 10 upgrade is complete, run the "winver.exe" program to check which version you are on.
As expected, we are now using version 21H1.
Share this tutorial
To see also
-

Windows 8/15/2022
Windows 10 - Create a mobile hotspot (Wi-Fi)
-
Windows 5/8/2023
Windows 10 - Recover the start menu
-
Windows 5/26/2025
Windows 11 / 10 / 8.1 / 8 / 7 - Repair software RAID 1 with dynamic disks
-

Windows 9/21/2021
Windows 8 / 8.1 / 10 / 11 - Switching from IDE to AHCI without reinstalling Windows
You must be logged in to post a comment