VHD/VHDX multiboot (native boot) with Windows 8.1 and Windows 10
- MultiBoot
- Windows 8 / 8.1, Windows 10
- 17 June 2024 at 13:08 UTC
-

- 4/8
6. Installing Windows 8.1
Your computer restarts on your disk 0 and messages related to the continuation of the installation of Windows 8.1 appear.


Next, various Windows 8.1 configuration steps will appear.
Note that these are the default values that are used since you could not fill them in before installing Windows 8.1.
If necessary, refer to our tutorial: Format your computer and reinstall Windows 8 or 8.1.
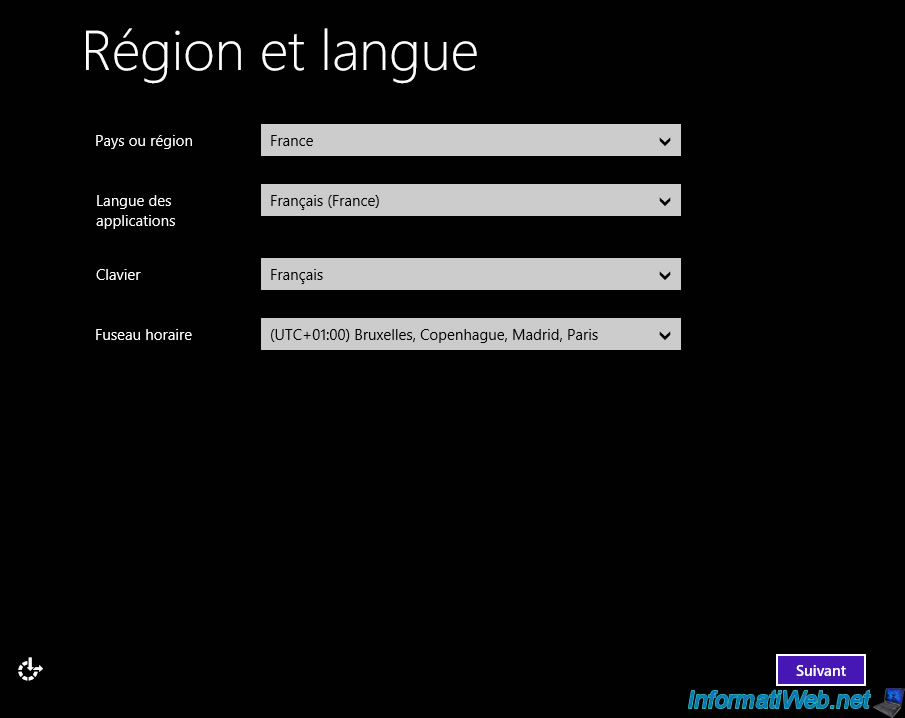
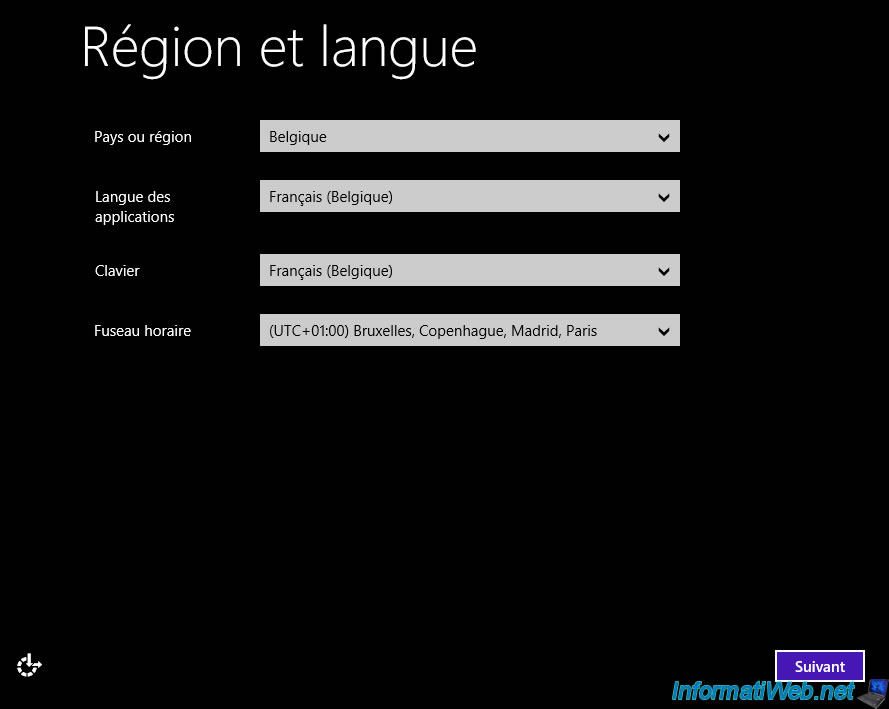
Select your country and the other settings will usually be configured correctly.
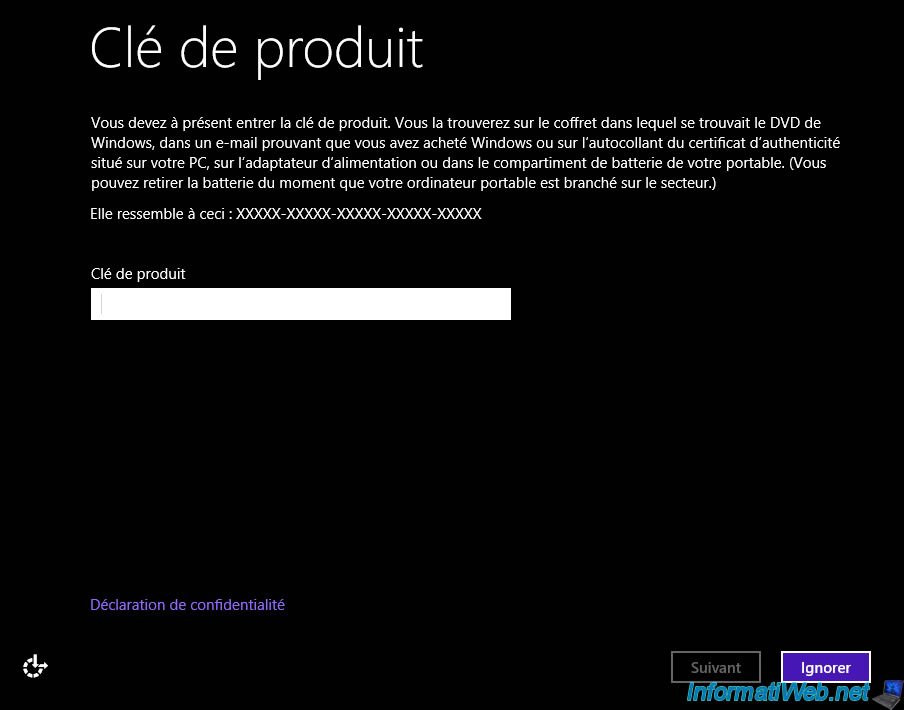
Specify the Windows 8.1 serial number if you have it or click Skip to specify it later.
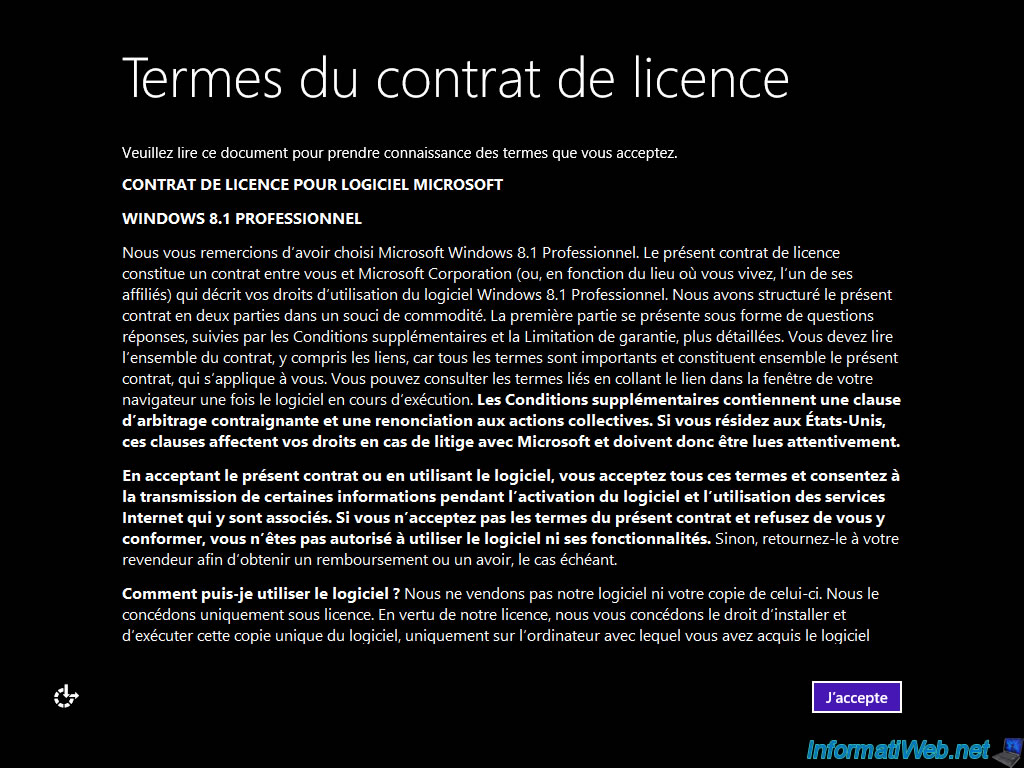
Accept the Windows 8.1 license terms.
Further configuration steps appear.
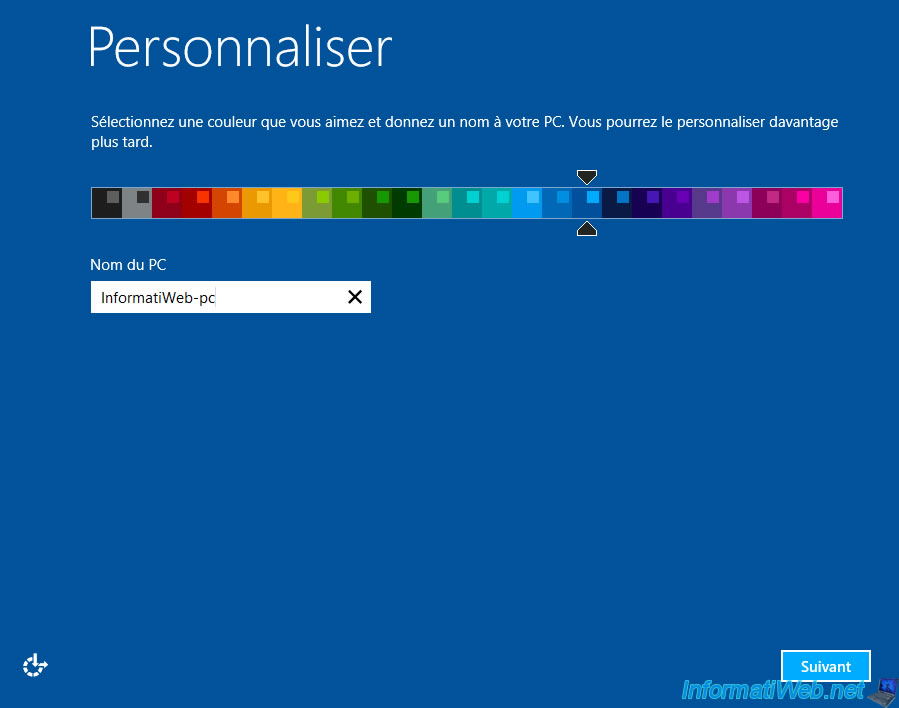
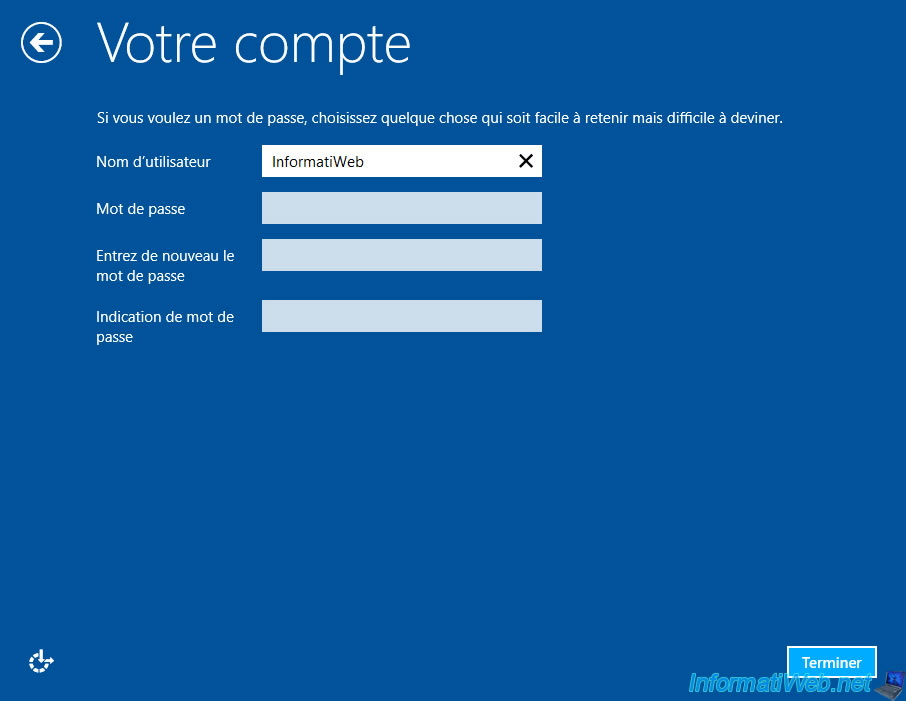
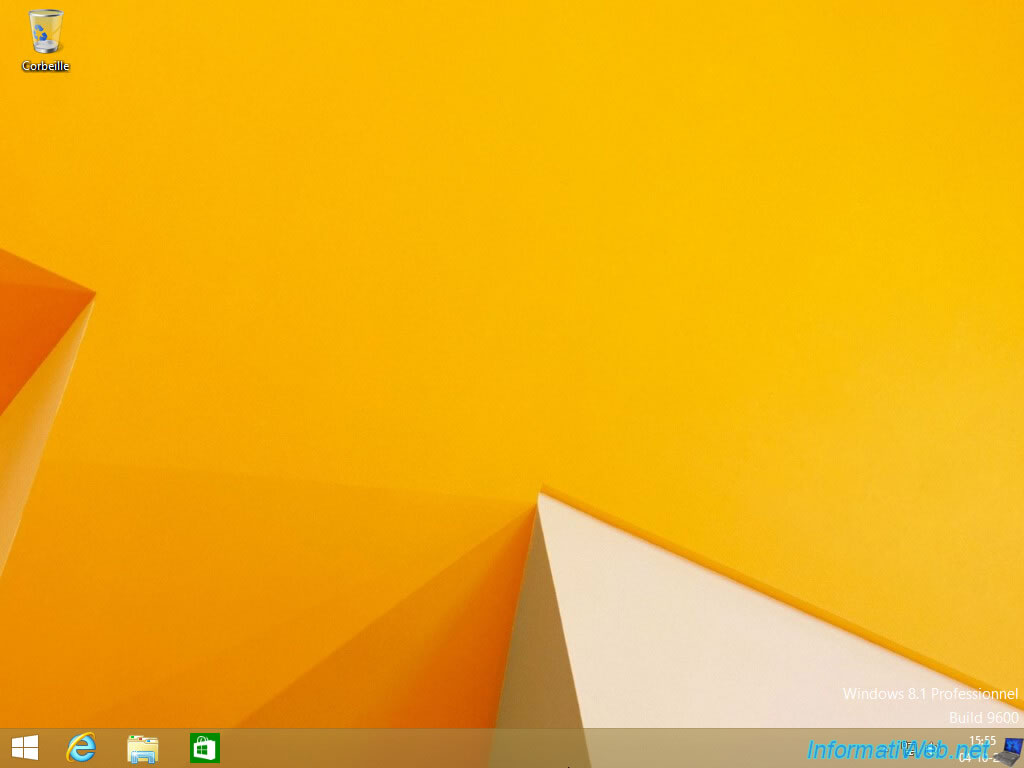
Then, the setup will continue automatically.

Windows 8.1 is installed.
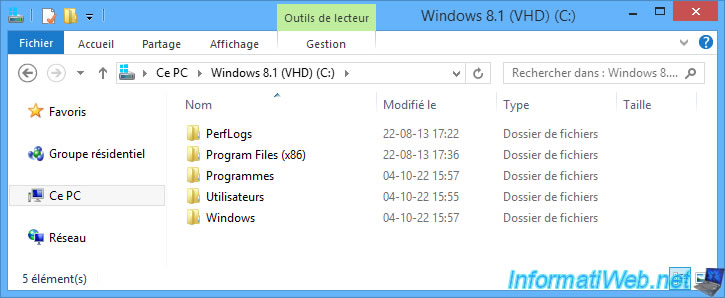
Open File Explorer and you will see 3 partitions appear:
- the "Windows 8.1 (VHD) (C:)" partition corresponds to your virtual hard disk.
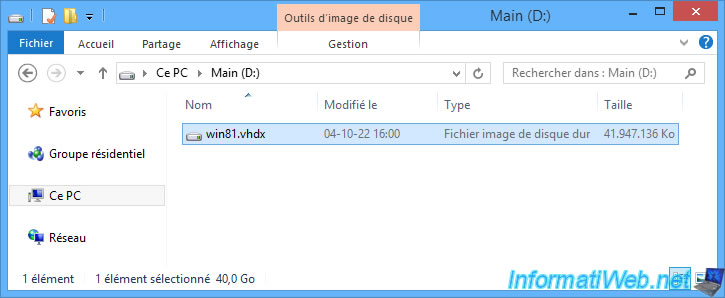
As you can see, the letter "C" is automatically assigned to this Windows installation. - the "Main (D:)" partition corresponds to the partition where the corresponding ".vhdx" file is located.
- the "DATA (E:)" partition corresponds to the partition of our 2nd hard disk that we had used temporarily.
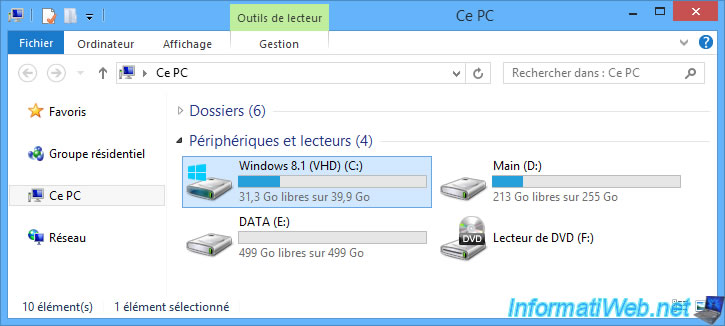
As expected, the contents of the "C" partition are identical to a normal installation.
As expected, the VHDX virtual hard disk is located in the "Main (D:)" partition.
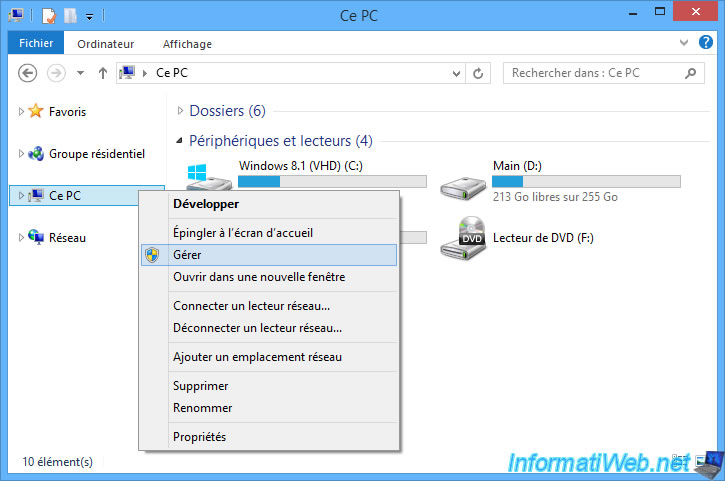
Right click "Manage" on "This PC".
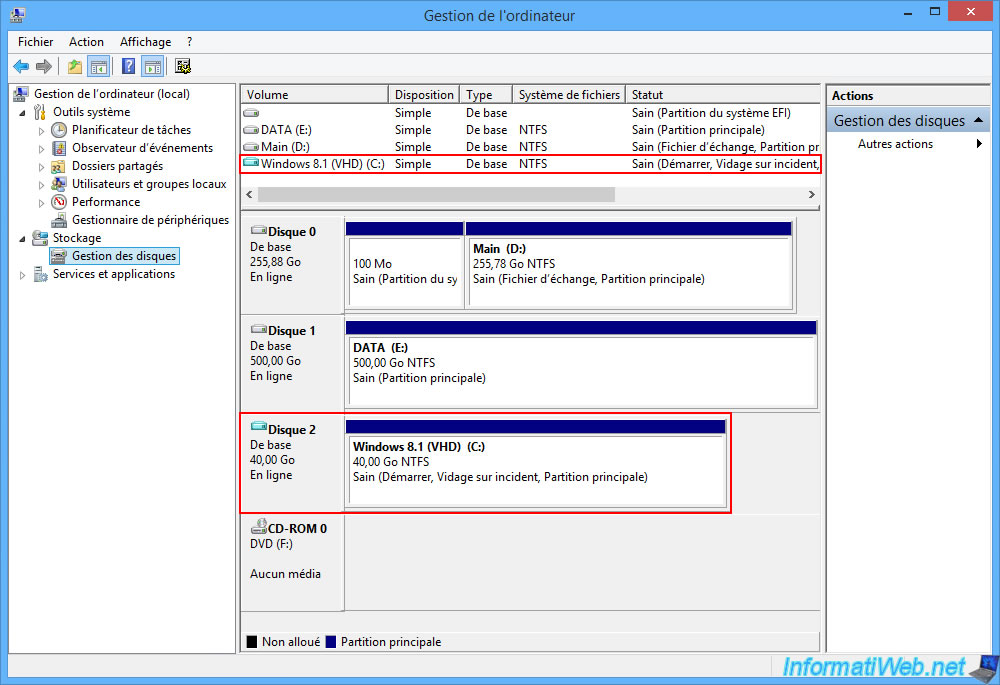
In Windows Disk Management, you will see that the "Windows 8.1 (VHD) (C:)" partition is on a virtual hard disk (hence the teal blue icon instead of gray).
Open a command prompt as an administrator.
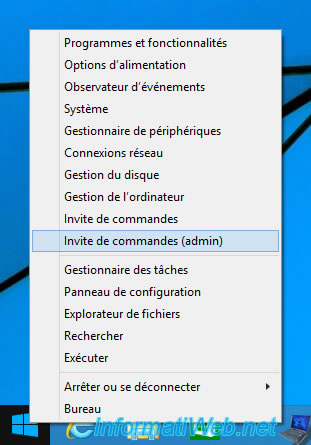
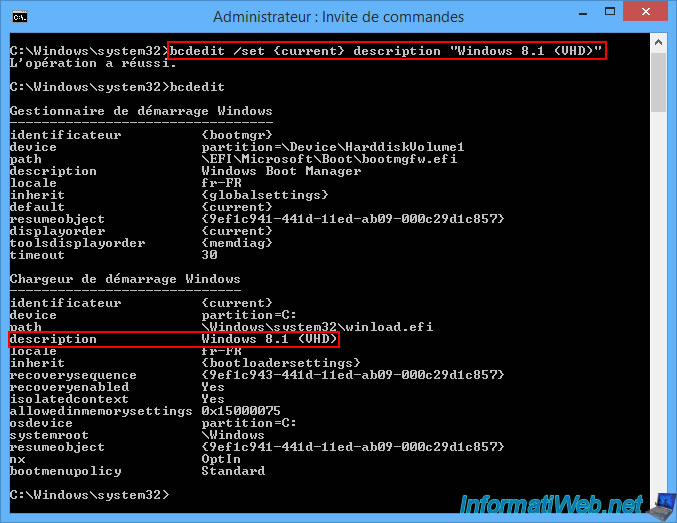
Change the name of the Windows 8.1 boot entry in the boot menu (present on the system partition of disk 0), if desired.
Batch
bcdedit /set {current} description "Windows 8.1 (VHD)"
Plain Text
The operation completed successfully.
To see the Windows start menu configuration, type:
Batch
bcdedit
Which gives this.
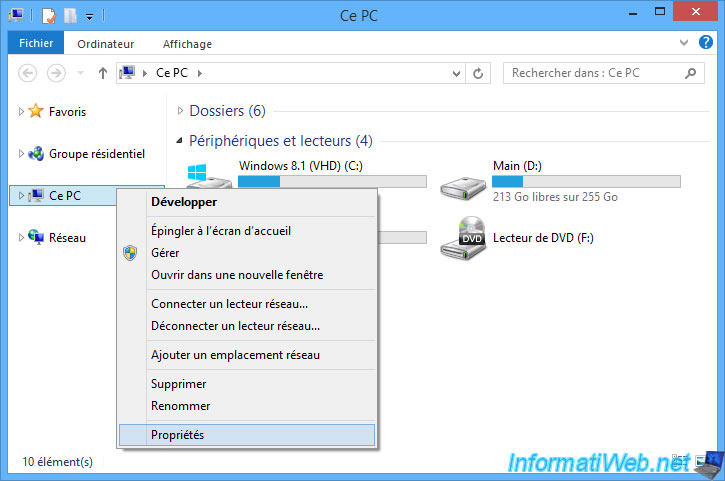
Boot options are also visible in system properties.
To do this, right-click "Properties" on "This PC".
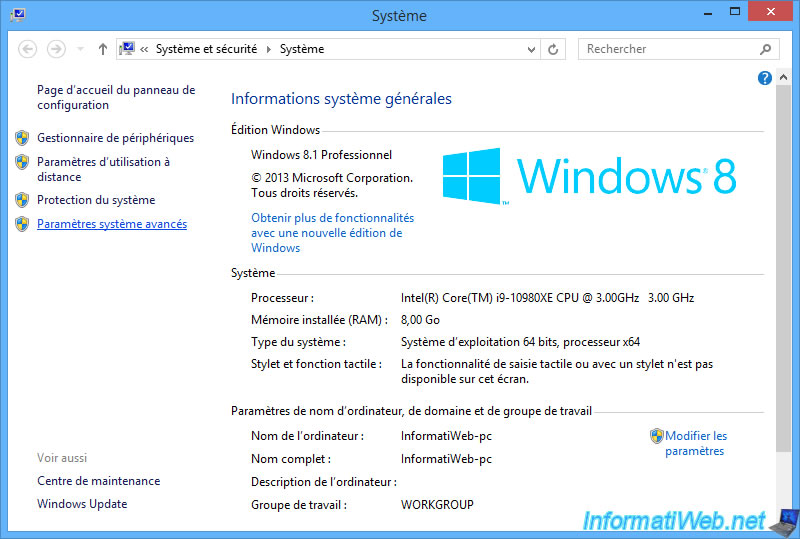
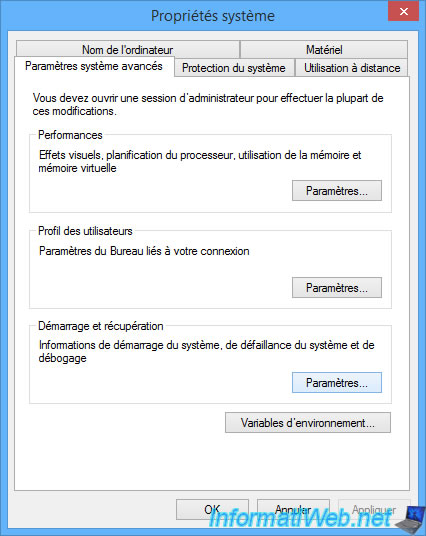
Click: Advanced system settings.
Click "Settings" in the "Startup and Recovery" section.
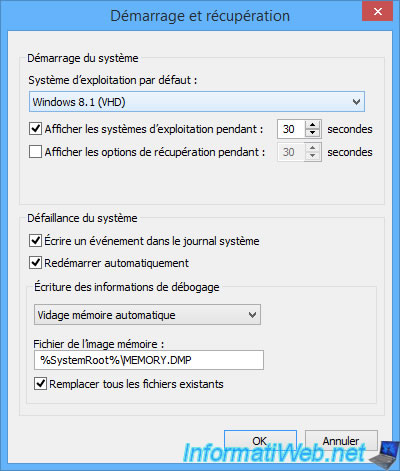
As you can see, the default operating system is: Windows 8.1 (VHD).
The name of the boot option has therefore been renamed.
Note: the start menu does not appear if there is only one installation of Windows on your computer.
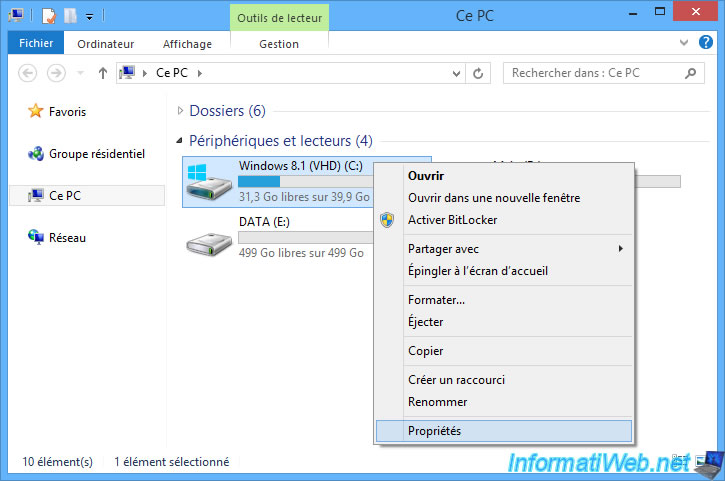
Right click "Properties" on your "Windows 8.1 VHD (C:)" partition.
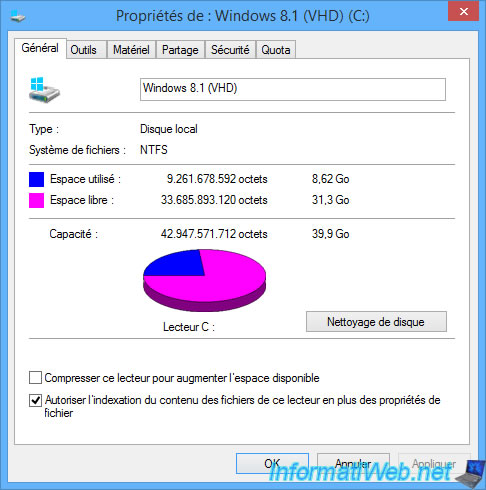
Once installed, Windows 8.1 takes up about 8.62 GB of space.
Now that Windows 8.1 is installed, don't forget to install your computer's drivers for this version of Windows.
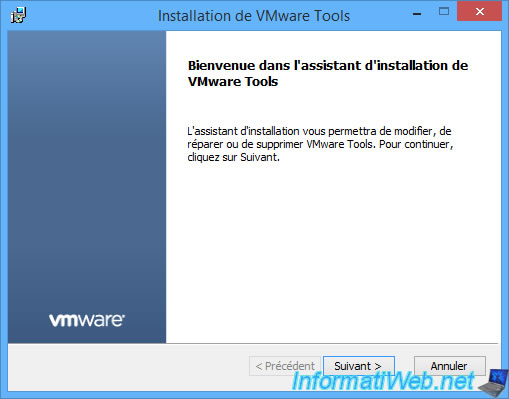
Note: in our case, we made this tutorial in a virtual machine.
From where the installation of the software below which makes it possible to install all the drivers necessary in our case.
Share this tutorial
To see also
-
Windows 10/28/2024
Windows 10 - Use a Bluetooth headset
-
Windows 4/4/2013
Windows 8 - Start in safe mode
-
Windows 5/3/2021
Windows 8 / 8.1 - Check the compatibility of your PC
-
Windows 10/26/2024
Windows 8.1 - Use a Bluetooth headset
No comment