- Windows
- Windows 10, Windows 11
- 11 December 2023 at 10:44 UTC
-

- 1/2
Thanks to EFS (Encrypting File System), you can easily protect access to your confidential files by encrypting them.
Nevertheless, Microsoft has thought of everything and offers you the ability to share encrypted files with other users without communicating your EFS certificate or your private key to them.
- How EFS works
- Encrypt a file to share
- Allow another EFS user to access an encrypted file
- Share an encrypted file with a new user
1. How EFS works
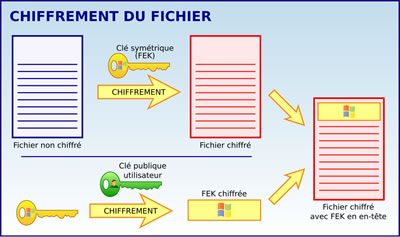
When you encrypt a file on Windows using EFS, a symmetric key (FEK) is randomly generated and is used to encrypt the contents of that file with symmetric encryption.
Then, it encrypts this symmetric key (FEK) using the public key of your EFS certificate and stores it in an encrypted header of this file.
Since the symmetric key (FEK) used to decrypt this file is encrypted with your public key, you are the only one who can decrypt this symmetric key, because you are the only one who has the associated private key.
If needed, refer to our articles "What is encryption and how does it work ?" and "Windows 10 / 11 - Encrypt data using EFS" to understand how the different types of encryption work (symmetric and asymmetric encryption), as well as how EFS works .
For you to be able to share this encrypted file, EFS can add as many headers as there are users who can access this file.
For this, when you add access for a 2nd user, Windows will decrypt your header using your own private key to temporarily obtain the symmetric key that is there.
Then, it will create a 2nd header in which it will add the same symmetric key, but which it will encrypt with the public key of this 2nd user.
Thus, this 2nd user will be able to decrypt his header using his private key.
Note : the public key is visible to everyone, unlike the private key which is only visible to the user concerned.
Hence the fact that Windows can access another user's public key to encrypt the header that is intended for that user.
Also, since data encrypted with a public key can only be decrypted with the associated private key, this 2nd user will be the only one who can decrypt this copy of the header.

2. Encrypt a file to share
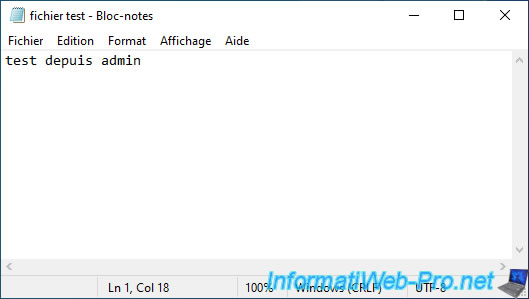
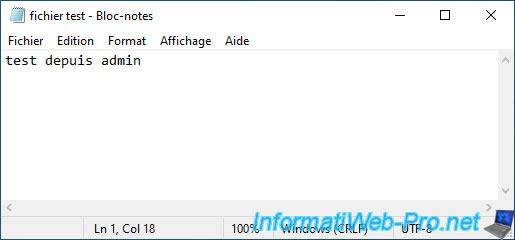
To start, create an unencrypted file.

For now, we've added text indicating that the admin created this file.
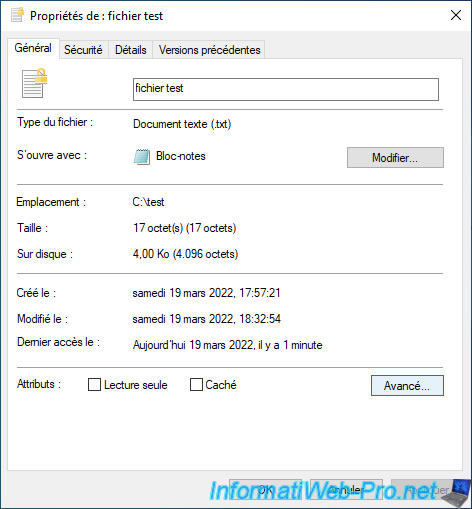
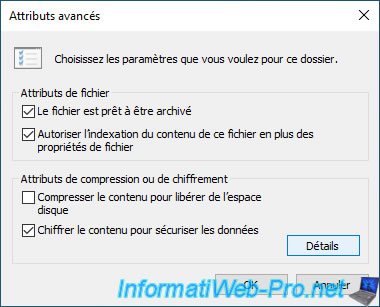
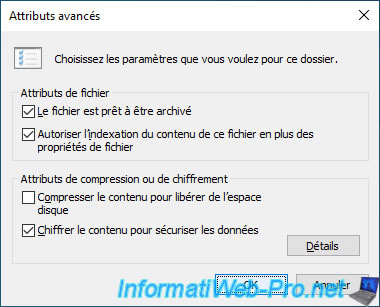
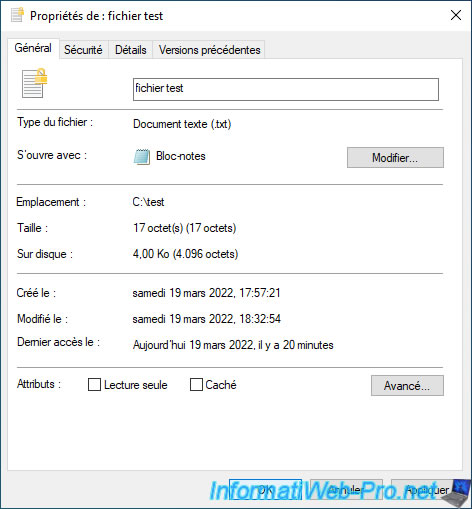
Encrypt this file by going through the file properties, then the "Advanced" button, then check the "Encrypt contents to secure data" box or use the "Encrypt" option from the context menu (if you have added it).

The file is encrypted.
In our case, we are logged in as Administrator. So, only the administrator has access to this file.

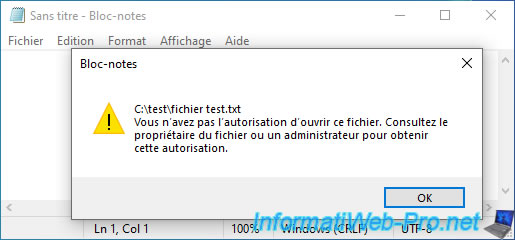
If another user tries to access it, a warning will be displayed and the contents of the file will not appear.
You do not have permission to open this file. See the owner of the file or an administrator to obtain permission.
3. Allow another EFS user to access an encrypted file
So that another user can also access your encrypted file (without communicating your certificate or your private key), you must access the properties of the desired file and click on : Advanced.
Then, click on the "Details" button.
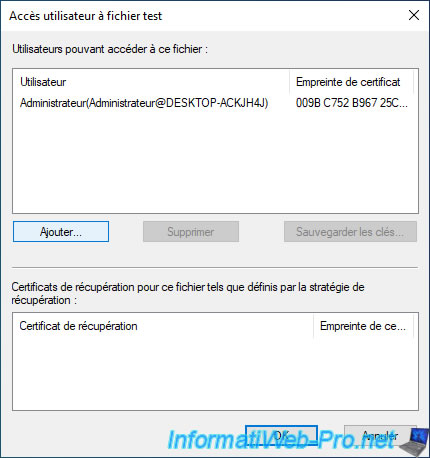
In the "User access to [file name]" window that appears, click on : Add.
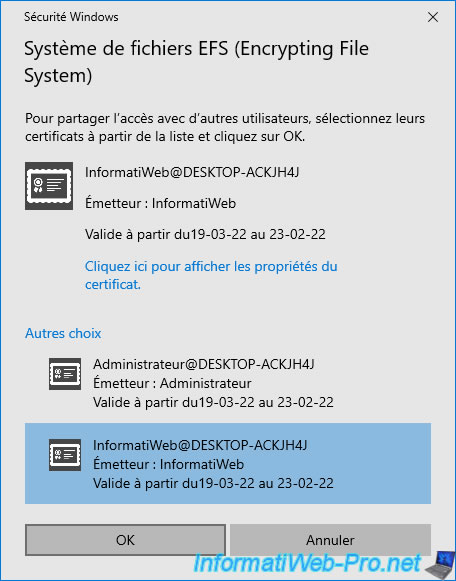
In the "Windows Security - Encrypting File System" window that appears, click "More choices" to see all available EFS users.
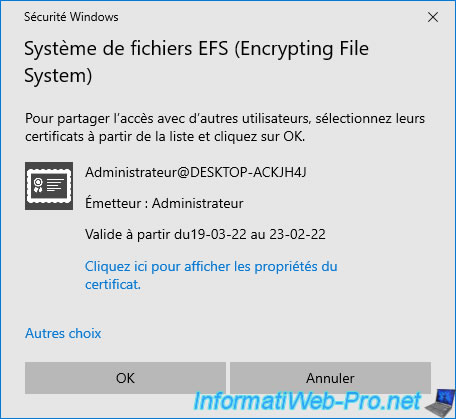
Select the EFS user you want to allow access to this file.
Note : if the desired user doesn't appear in the list, it means that this user doesn't yet have an EFS certificate.
To better understand this problem, refer to step "4. Share an encrypted file with a new user" of this tutorial.

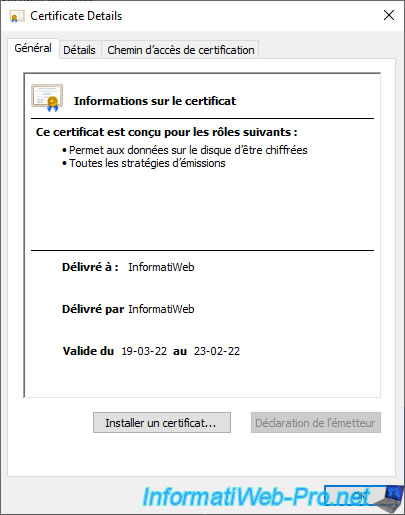
If you click on the "Click here to view certificate properties" link that appears for this user, you will be able to see their certificate.
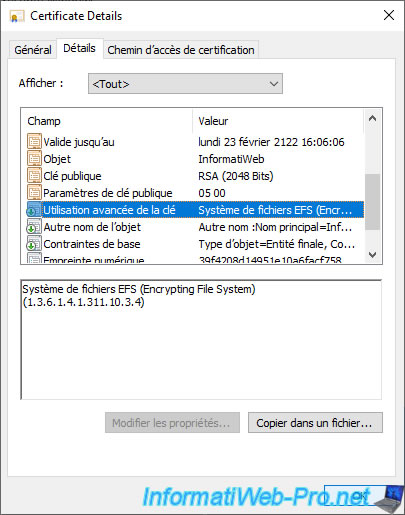
In the "Details" tab of this certificate, you will be able to see that it's an EFS certificate since the value of the "Enhanced Key Usage" field is "Encrypting File System (1.3.6.1.4.1.311.10.3.4)".
Once the desired user is selected, click OK.
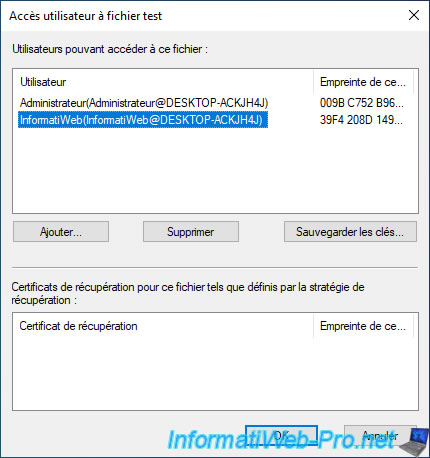
The added user appears in the list of users who can access this file.
Click OK to close this window.
Click OK.
Close this properties window by clicking OK.
Sign in with the user you granted access to your encrypted file.
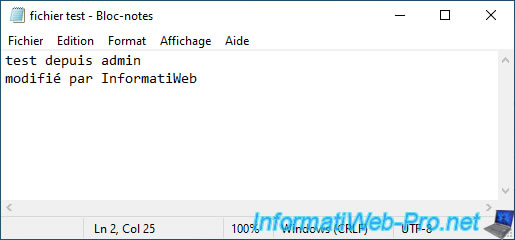
The encrypted file is visible.
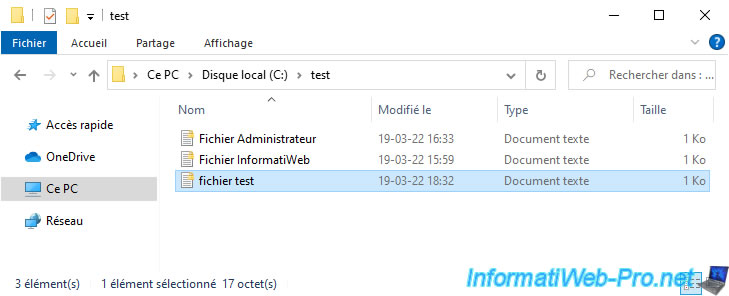
This 2nd user can read the content of the encrypted file shared by the 1st user.
He can try to modify it.
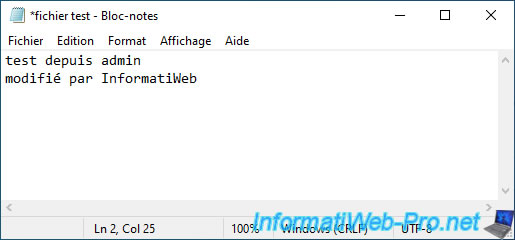
And it can save the changes made.
So, he can also easily modify this encrypted file accessible by 2 people in a secure way.
Share this tutorial
To see also
-

Windows 8/22/2022
Windows - Install the drivers from the supplied CDs
-

Windows 10/28/2024
Windows 10 - Use a Bluetooth headset
-
Windows 4/4/2023
Windows 10 / 11 - Add GPO editor (gpedit.msc) on Windows Home
-
Windows 4/29/2016
Windows 8 / 8.1 / 10 / 11 - Startup repair
You must be logged in to post a comment