Share encrypted data using EFS on Windows 10 and 11
- Windows
- Windows 10, Windows 11
- 11 December 2023 at 10:44 UTC
-

- 2/2
4. Share an encrypted file with a new user
4.1. Encrypt a file to share with a new user
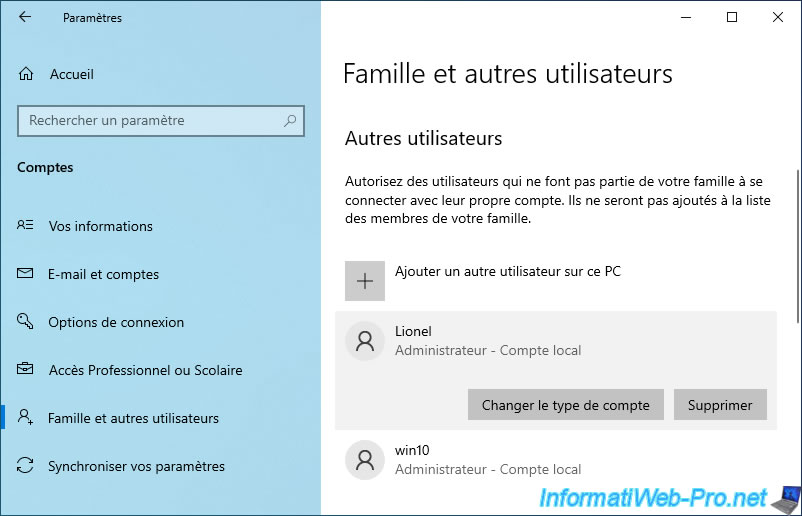
For this test, we created a new user named "Lionel".
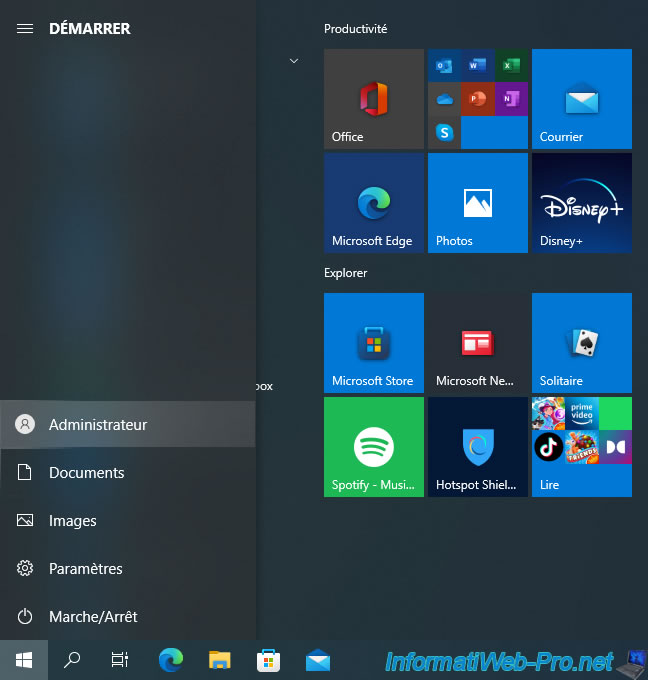
We log in as Administrator.
However, you could also connect with any other user than the one you just created.
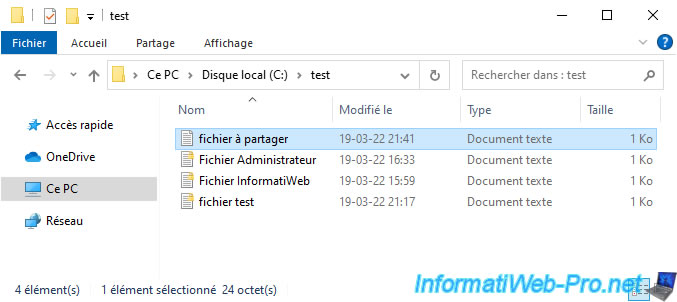
We are creating a file to share which is not encrypted at this time.
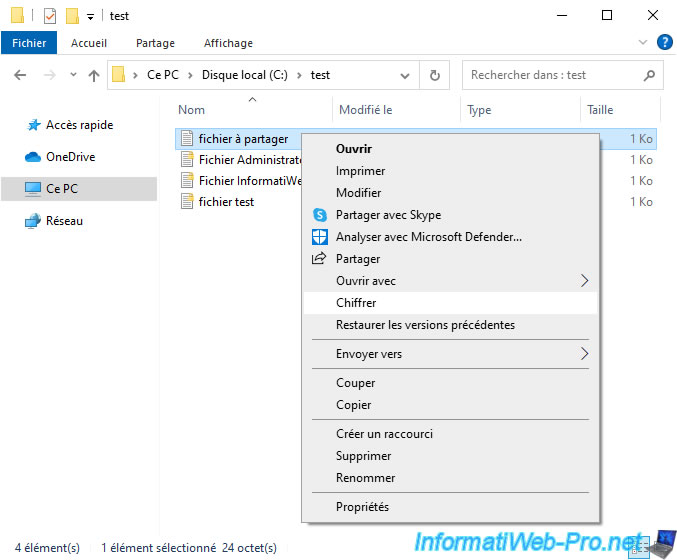
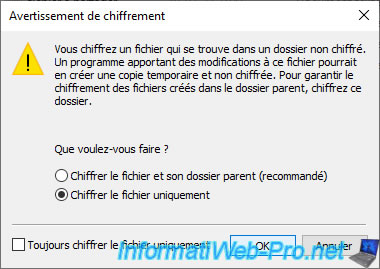
We encrypt this file by right-clicking "Encrypt" on it.
Note : to add this option, refer to our "Windows 10 / 11 - Encrypt data using EFS" tutorial.
We choose to encrypt the file only.
The file to be shared has been encrypted (by Administrator, in our case).
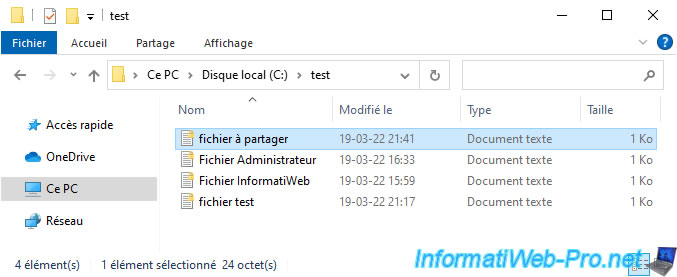
4.2. New user not available for EFS access
To share an encrypted file with another user, you must right-click "Properties" on it, then click : Advanced.
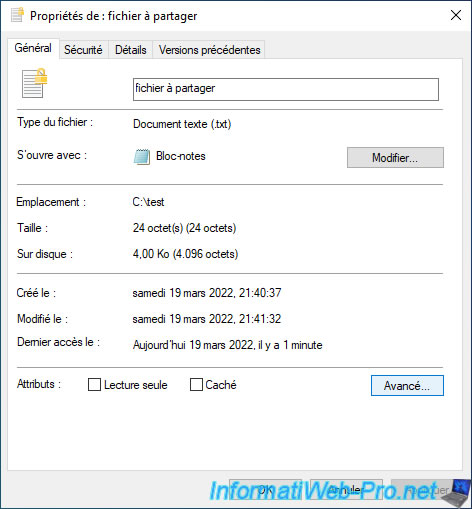
Click on : Details.
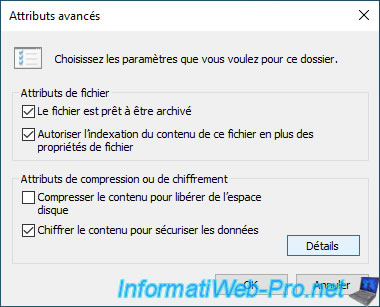
In the "User access to [file name]" window that appears, click on : Add.
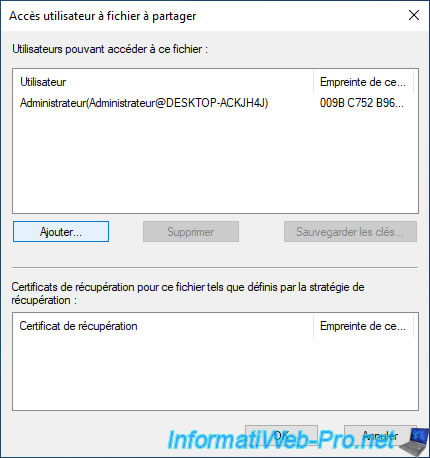
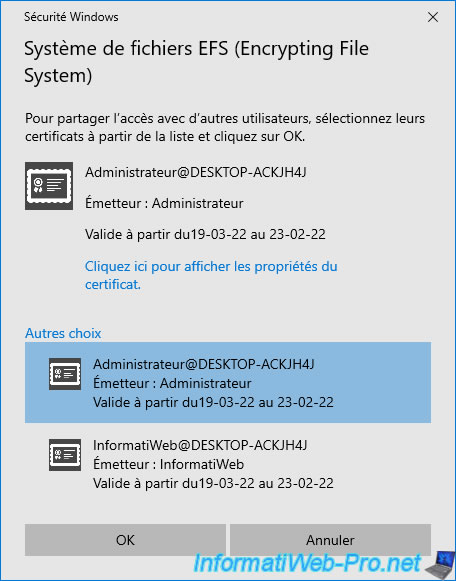
As you can see by clicking on the "More choices" link, our new user "Lionel" doesn't appear here.
4.3. Generate a public key for the new user
To start, log in with this new user account (in our case : Lionel) and launch the "mmc" program.
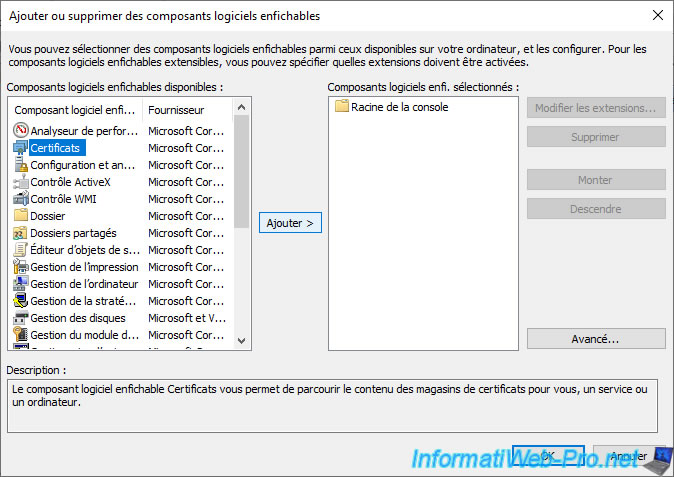
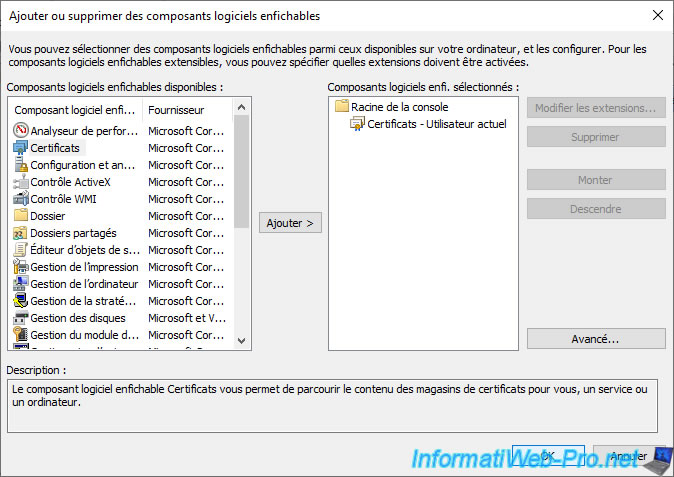
Then, go to the "File -> Add/Remove Snap-in" menu and add the "Certificates" component.
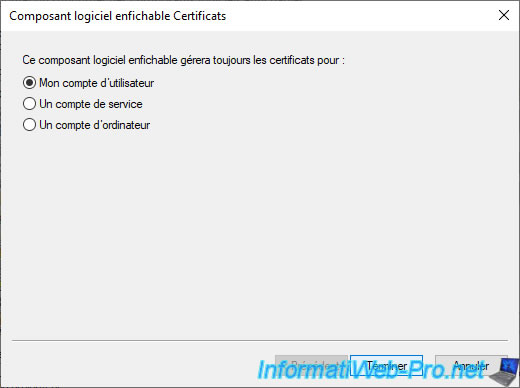
If this window appears, select "My user account" and click Finish.
Click OK.
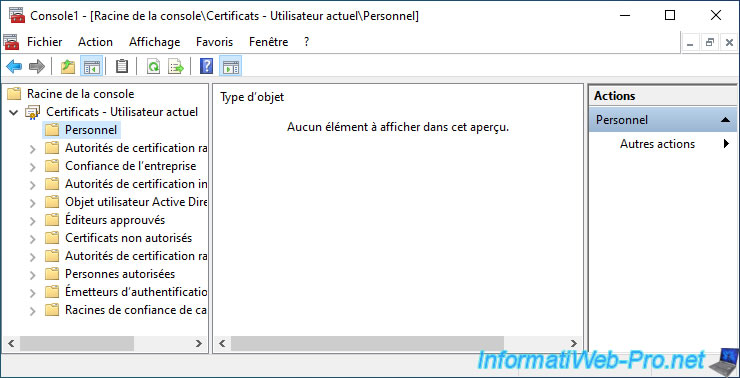
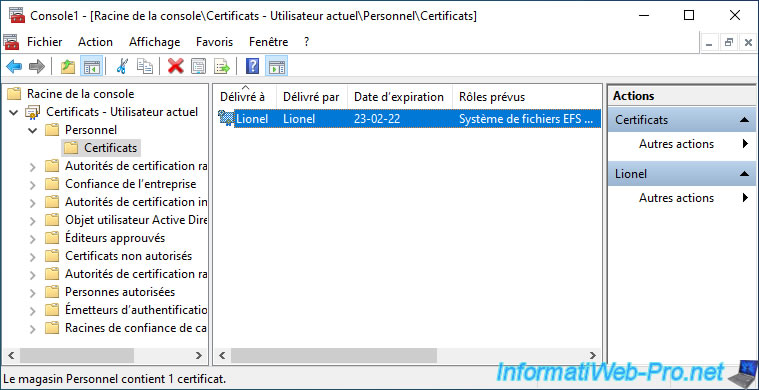
If you look in the "Certificates - Current User -> Personal" section, you will see that no personal certificate is present for this user.
This user doesn't have a "public key / private key" combination and therefore EFS can't generate a header encrypted with his public key.
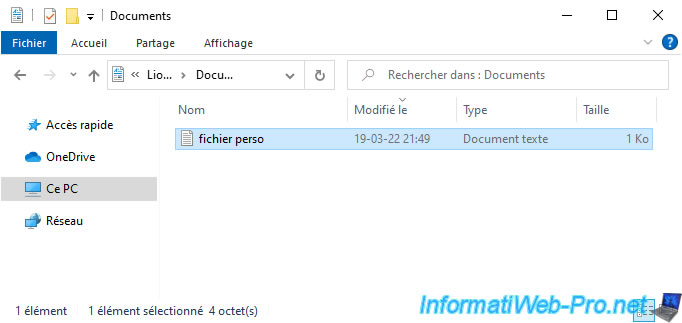
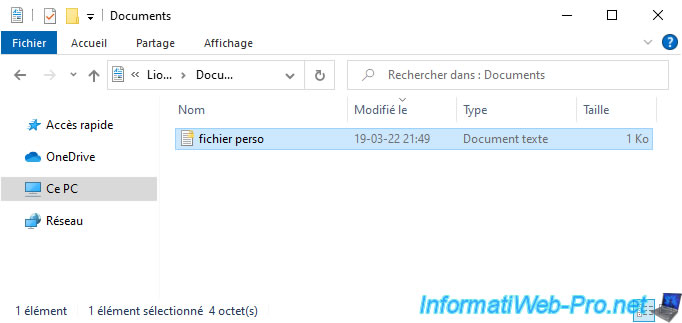
To solve the problem, create a file from this user account and encrypt it.
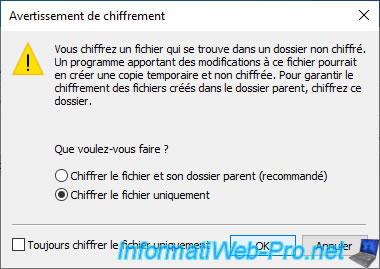
Select "Encrypt file only" and click OK.
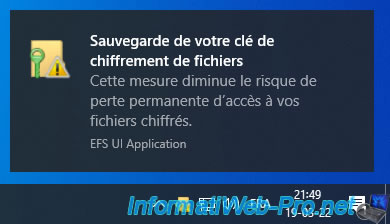
A notification will appear to allow you to save your certificate and its associated private key.
If needed, refer to step "5. Notification for exporting your file encryption key" of our EFS tutorial.
This file has been encrypted.
Encrypting at least one file caused the generation of a personal certificate for this user whose role is : Encrypting File System (EFS).
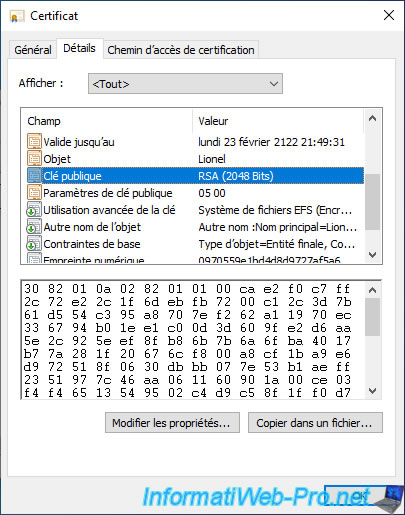
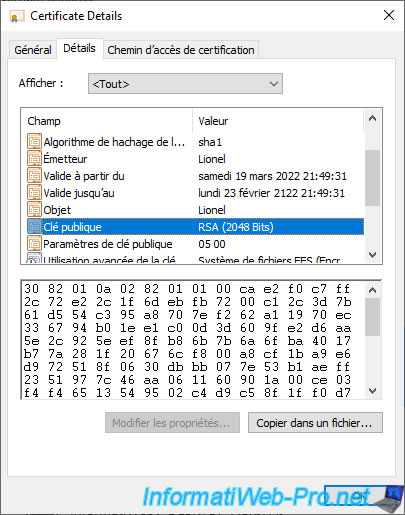
If you view this certificate and select the "Public Key" field in the "Details" tab, you can see that this user has a public key.
As its name suggests, this key is public and other users of this computer will therefore be able to encrypt data using it so that you can decrypt it with your associated private key.
Note that only you can access your private key.
4.4. Allow the new user to access your encrypted file
Log back in as an administrator.
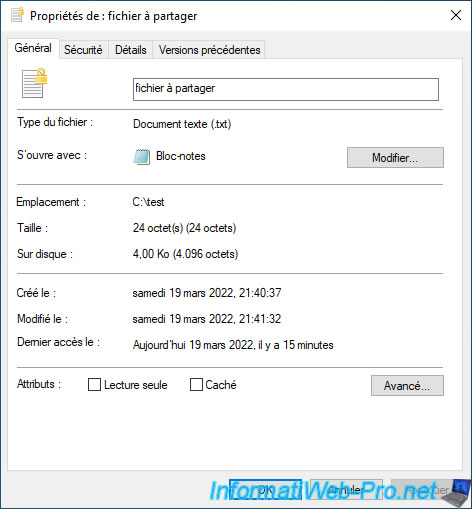
Go to the properties of the encrypted file you want to share.
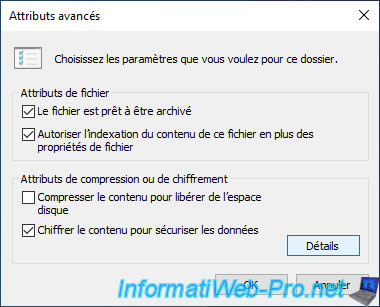
In the "Advanced Attributes" window that appears, click on the "Details" button.
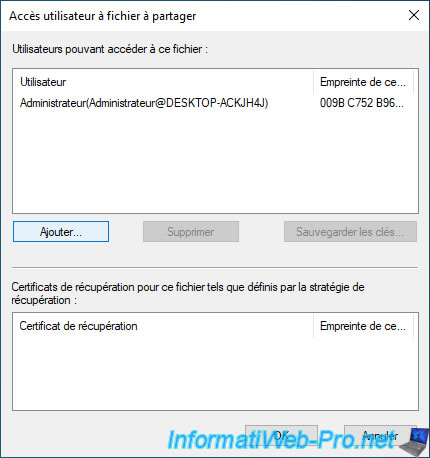
Click on the "Add" button.
Click on the "More choices" link and as you can see, this new user is now available.
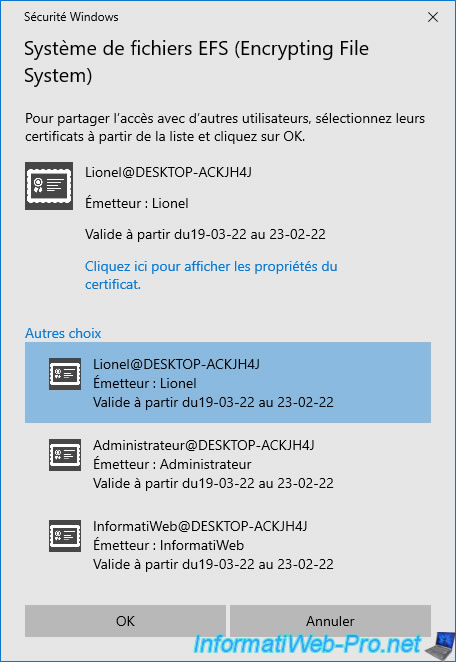
If you select this user and click the "Click here to view properties" link for the certificate, you will be able to see their certificate.
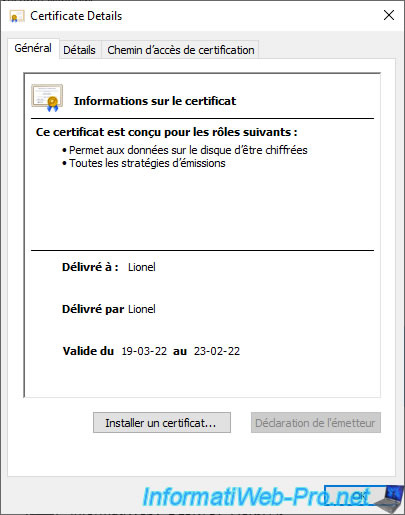
As you can, any user can see the public key of another computer user.
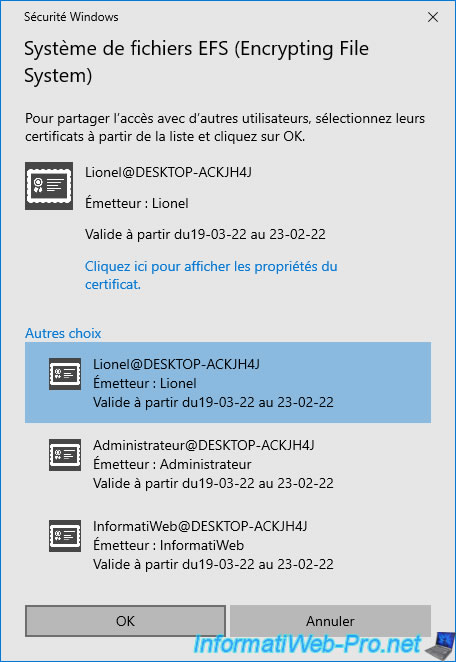
Choose this new user and click OK.
The new user appears in the "Users who can access this file" list.
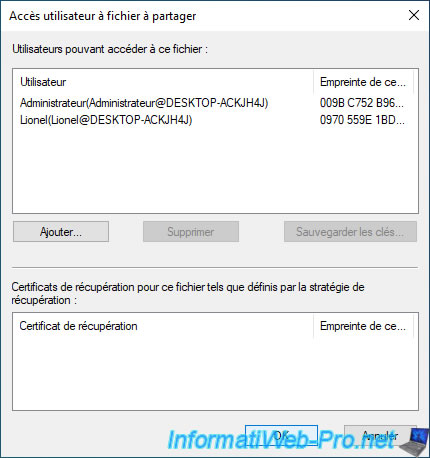
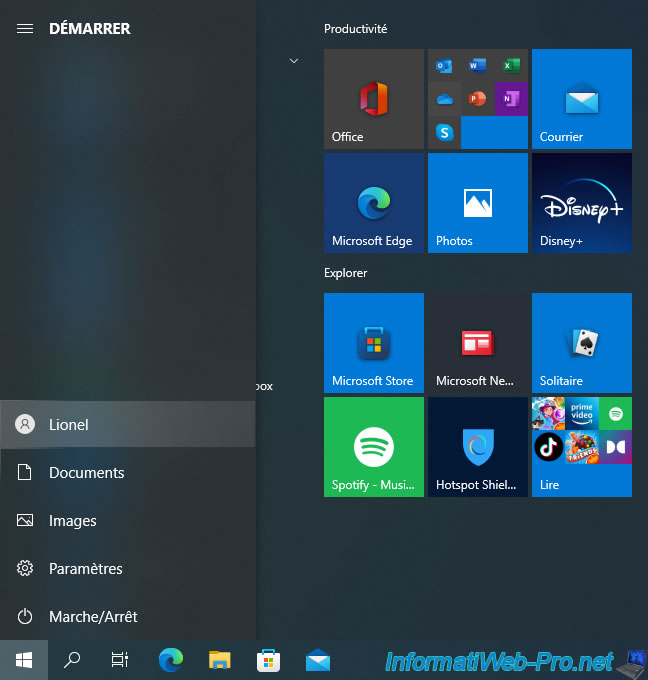
Log in with this new user account.
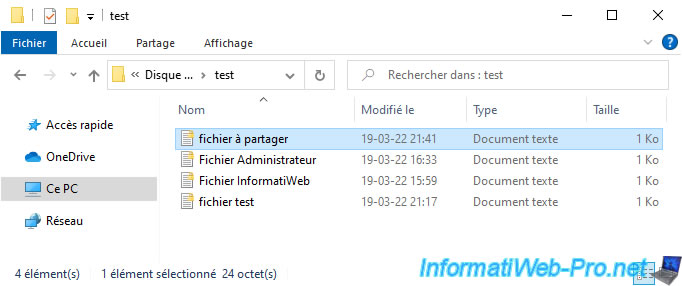
Attempt to access this shared encrypted file.
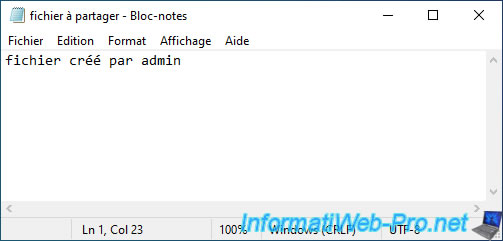
As expected, he can see his content and of course, he can also modify his content if he wishes.
Share this tutorial
To see also
-

Windows 3/26/2013
Check and repair the file system
-
Windows 2/5/2021
Manage network cards priority on Windows
-

Windows 9/12/2022
Windows - Install Windows in LEGACY BIOS mode (old BIOS / MBR)
-
Windows 6/26/2023
Windows 11 - Configure default programs
No comment