- Windows
- Windows 11
- 10 July 2023 at 08:36 UTC
-

If you have a computer on Windows 11 with a wireless (Wi-Fi) network adapter, you just have to click on the network icon present in the taskbar, then click on the arrow to the right of the Wi-Fi icon.
![]()
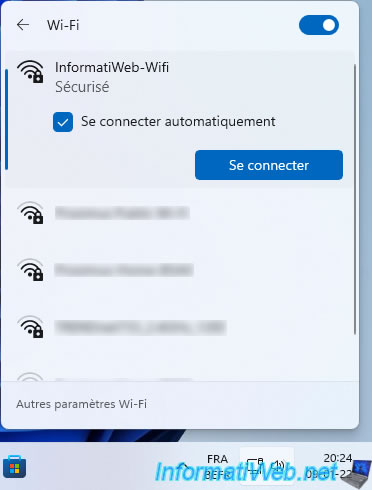
Then, select the Wi-Fi network you want to connect to and click on the "Connect" button.
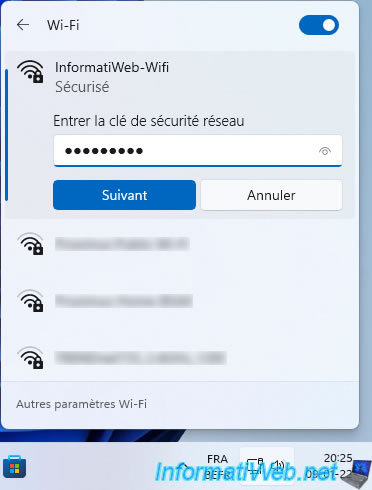
Provide the password for this Wi-Fi network (if password protected), then click Next.
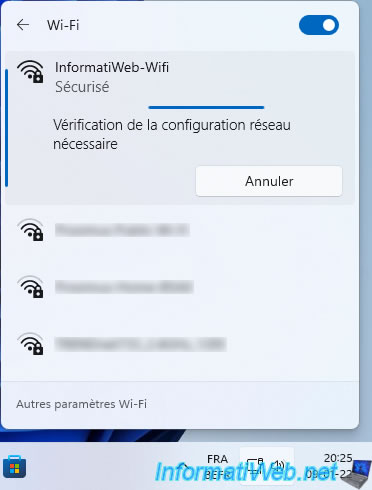
Wait while verifying the network configuration.
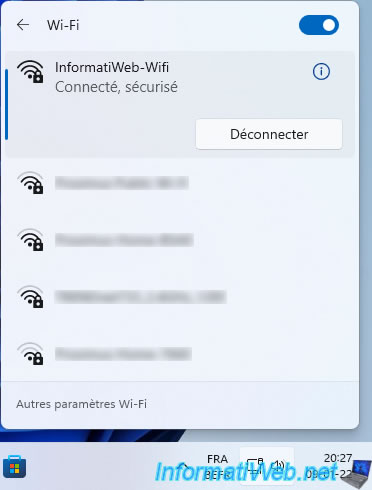
Once connected to this Wi-Fi network, the status "Connected" will appear.
Click the "i" icon to the right of the Wi-Fi network you just connected to.
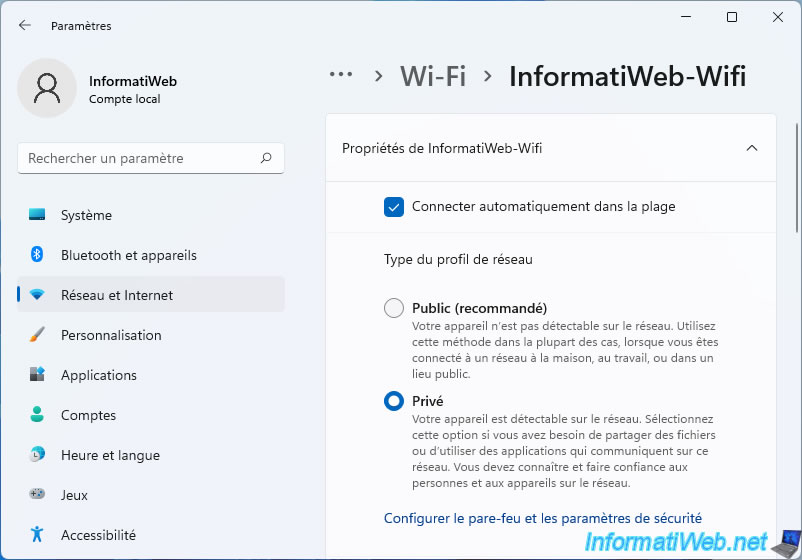
As you can see, by default, Windows 11 will always choose "Public" as the network profile type.
If you are connected to a public Wi-Fi network, this will protect you from hackers.
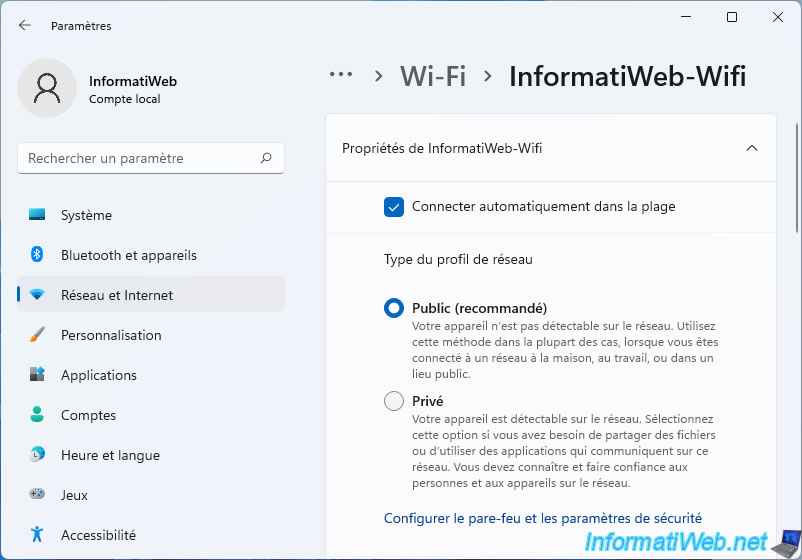
But, if you are connected to your own wireless network (Wi-Fi) at home, we advise you to select "Private" to authorize in particular the discovery of other computers present on your network and the sharing of files on Windows.
Share this tutorial
To see also
-

Windows 8/22/2022
Windows - Install the drivers from the supplied CDs
-

Windows 2/19/2021
Windows - Repair system files
-

Windows 5/3/2022
Windows 11 - Return to a local account
-
Windows 5/19/2025
Windows 11 / 10 / 8.1 / 8 / 7 - Create a software RAID with dynamic disks

You must be logged in to post a comment