- Windows
- Windows 10, Windows 11
- 04 December 2023 at 15:14 UTC
-

- 1/2
When you encrypt data using EFS, you can only access the contents of encrypted files if you encrypted them or if that person added access to them for you.
However, if a file is encrypted by someone, and that person is the only person who can access that file, and that person loses their EFS certificate and private key, no one will be able to recover the data that has been encrypted.
To avoid this problem, it's possible to create one or more EFS Data Recovery Agents (DRA).
Important : if you plan to use EFS encryption in your enterprise, you should add your EFS Data Recovery Agents (DRA) directly before your users encrypt their data.
This is because, as you will see in this tutorial, the EFS Data Recovery Agent will only be able to decrypt data that has been encrypted after it was added as an EFS Data Recovery Agent, as well as encrypted data that has been used at least once after it was added.
- What is an EFS Data Recovery Agent (DRA) ?
- Create an EFS Data Recovery Agent (DRA) certificate
- Add the EFS Data Recovery Agent (DRA) to your local computer
- Added EFS Data Recovery Agent (DRA) to previously encrypted files
- Import your EFS Data Recovery Agent (DRA) certificate into your personal certificate store
- Access to encrypted files
1. What is an EFS Data Recovery Agent (DRA) ?
An EFS data recovery agent is a person with a special certificate that grants that person access to all encrypted data on a computer.
The person you designate as the EFS data recovery agent must therefore be someone you trust.
Preferably, you will create at least 2 EFS data recovery agents to be able to recover encrypted data even if a person designated as EFS data recovery agent is not there when you need them (if they are on vacation, for example) or that she has lost her laptop where the certificate and her private key were.
Warning : when you add an EFS data recovery agent, it will only be able to access data that was encrypted after it was added. If any data was encrypted before this EFS Data Recovery Agent was added, all the owners need to do is simply open and close the desired files and Windows will automatically add the EFS Data Recovery Agent for them.
This will allow this EFS data recovery agent to also be able to access these files and therefore be able to recover these files in the event that their owner loses their certificate or private key.
2. Create an EFS Data Recovery Agent (DRA) certificate
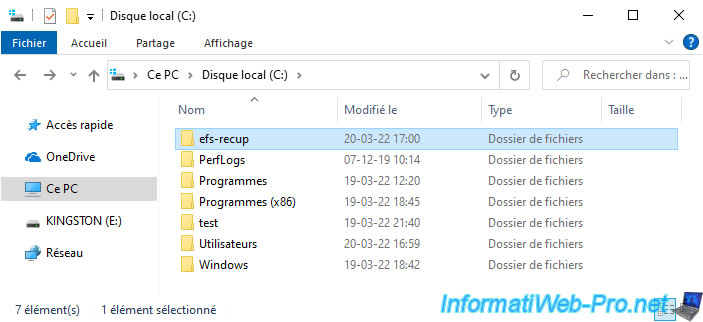
To get started, create a folder where you will store your EFS Data Recovery Agent certificate.
In our case, we created the "C:\efs-recup" folder.
To create an EFS data recovery agent certificate, use the command below while logged in with the Windows user account that you want to set as the EFS data recovery agent :
Batch
cipher /r:C:\efs-recup\certificat-agent
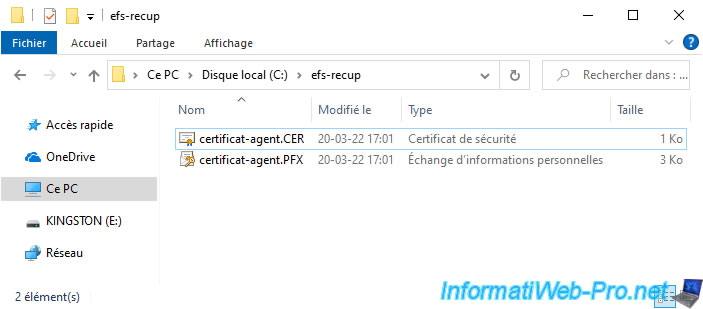
This command will generate a certificate with a public key, as well as its private key.
This command will therefore ask you to specify a password to protect the private key which will be stored in the certificate in ".pfx" format.
Plain Text
Please type in the password to protect your .PFX file:
Please retype the password to confirm:


Your .CER file was created successfully.
Your .PFX file was created successfully.
As you can see, this command will generate 2 certificates :
- a certificate in ".cer" format : this contains your certificate and its public key.
This is the one you will need to use to add this EFS data recovery agent to your computer. - a certificate in ".pfx" format : this contains your certificate, its public key, and its private key.
It's the one that will allow you as an EFS data recovery agent to be able to access the encrypted data.
You must therefore import it into your personal certificate store to be able to access the encrypted data on this computer and store this file in a secure location to prevent anyone from accessing your private key (although it's protected by a password).
As you can see, the certificate (in ".cer" format) was issued to and by the currently logged in user.
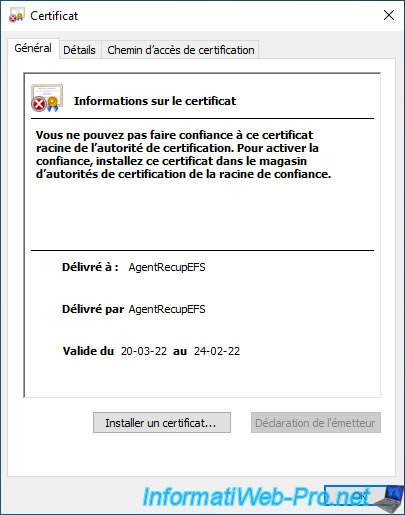
If you go to the "Details" tab, you can see that this certificate is valid for about 100 years.
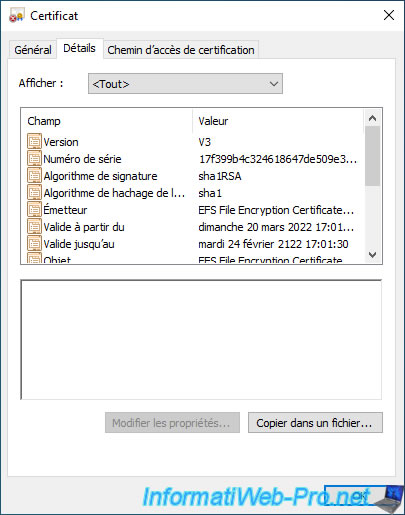
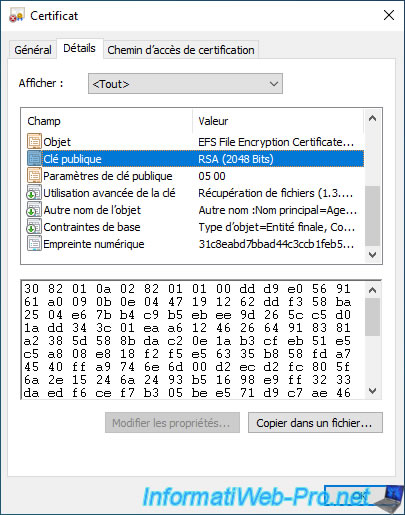
You can also see that this certificate has a public key.
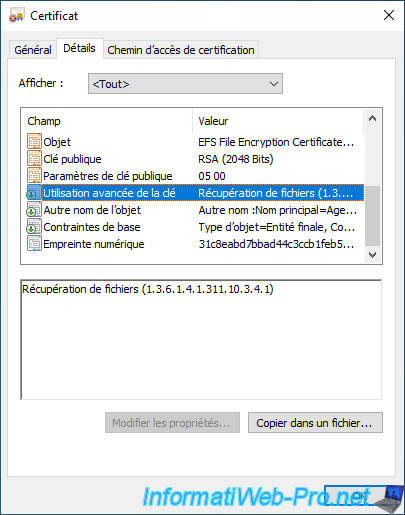
Small change, you can see that the value of the "Enhanced Key Usage" field is : File Recovery (1.3.6.1.4.1.311.10.3.4.1).
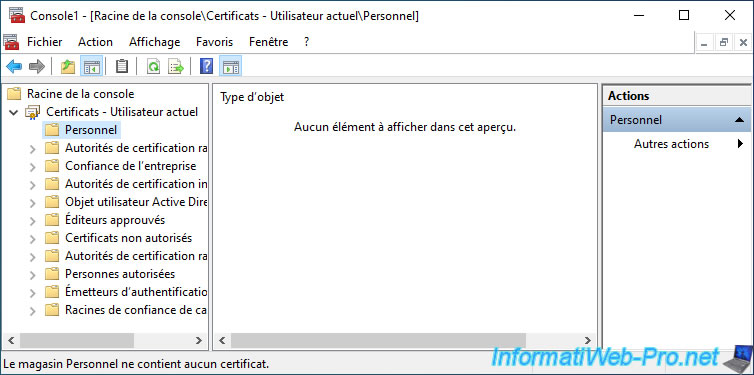
Note that creating this certificate from the command line doesn't automatically import the certificate into the user's "Personal" certificate store.
You can also verify this by adding the "Certificates" component for the current user in a "mmc" console.
3. Add the EFS Data Recovery Agent (DRA) to your local computer
In order for the EFS data recovery agent you just created to be able to access data that users will encrypt in the future from this computer, you must add it through the local policy of this computer.
So whenever a user encrypts a file on that computer, Windows will automatically add an extra header so that the desired EFS data recovery agent can decrypt the symmetric key (FEK) of the affected file.
To do this, open the start menu and search for : secpol.msc.
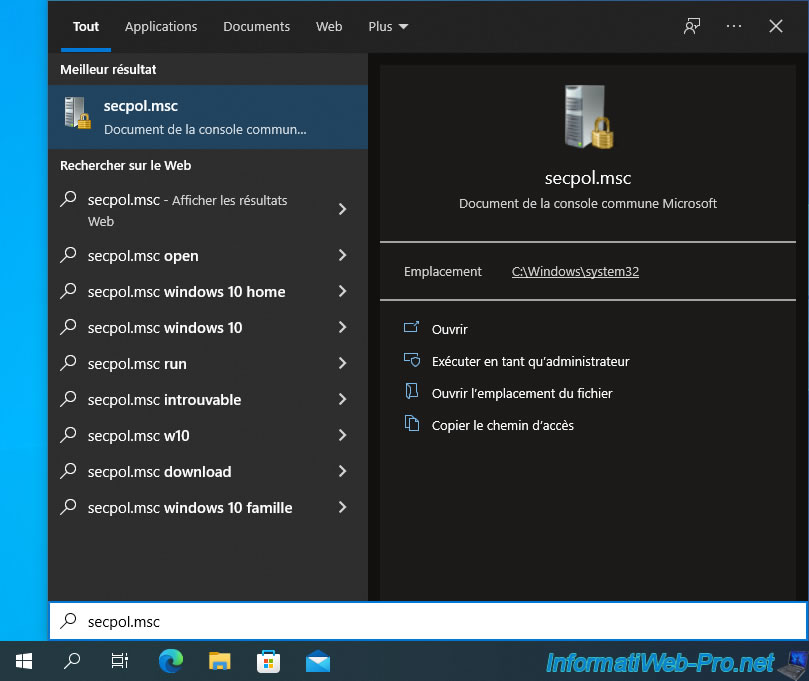
You can also search for the "Local Security Policy" program (which is the same program).
In both cases, the "Local Security Policy" program will appear.
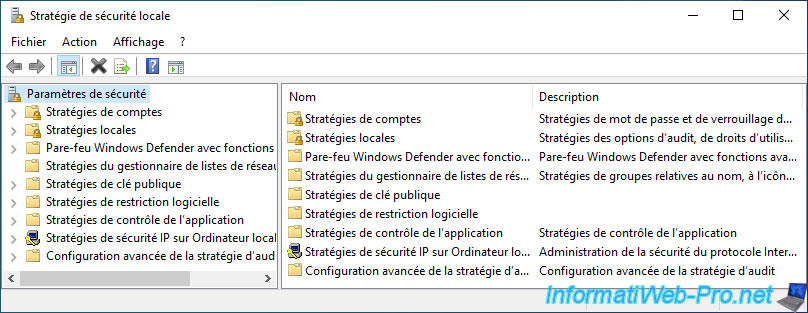
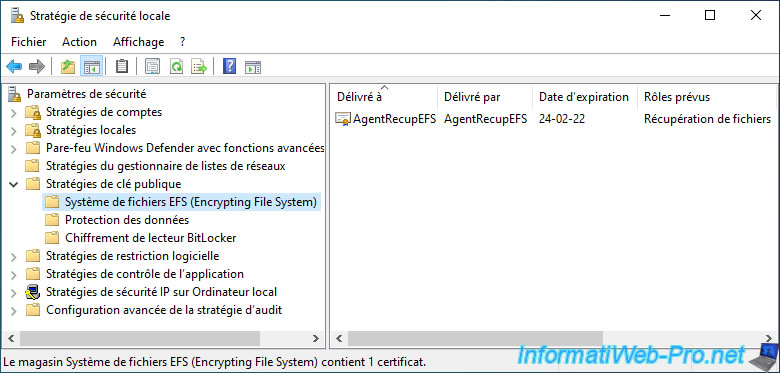
Go to the "Public Key Policies -> Encrypting File System" section and right-click "Add Data Recovery Agent" on this folder.
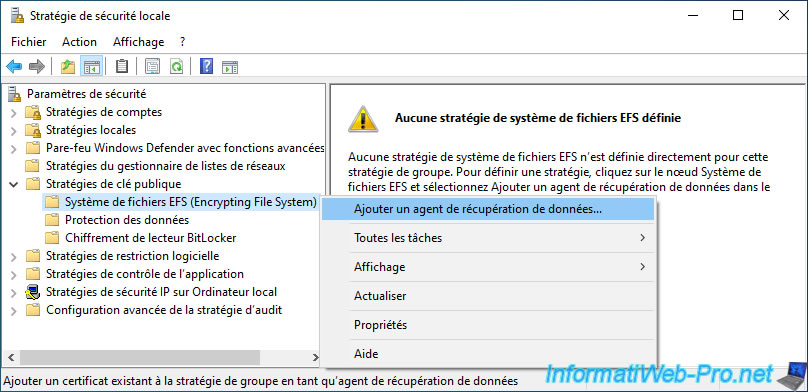
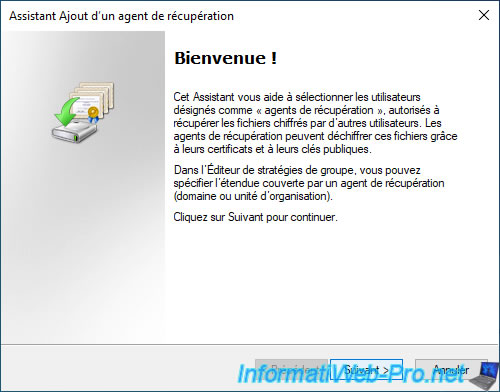
The Add Recovery Agent Wizard appears.
Click Next.
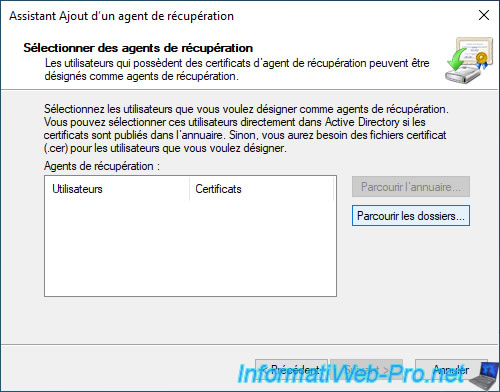
Click on : Browse Folders.
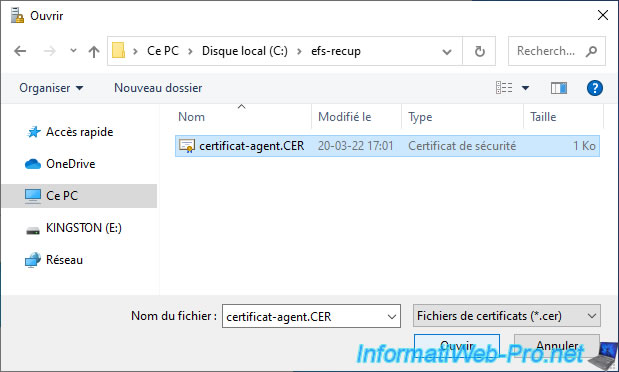
Select the certificate in ".cer" format of the EFS data recovery agent that you just created.
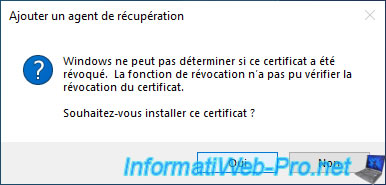
Since this is a self-signed certificate, Windows asks you if you really want to add this certificate.
Click Yes.
The name of the user concerned appears in the "Certificates" column.
Click Next.
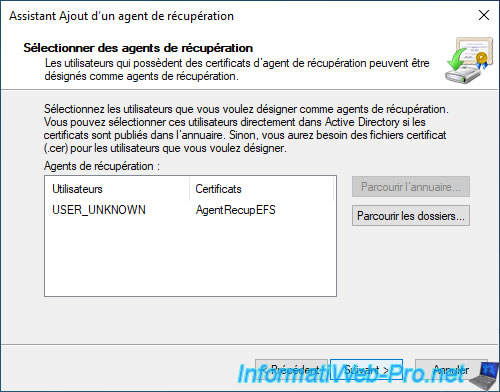
Click Finish.
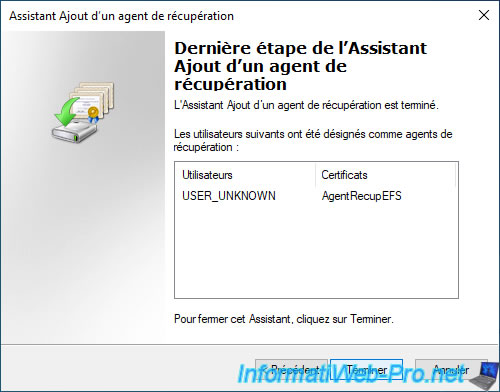
The added EFS data recovery agent certificate appears in the list.
And as expected, its role is : File Recovery.
Share this tutorial
To see also
-

Windows 3/8/2022
Upgrade from Windows 10 to Windows 11 (from DVD)
-

Windows 8/7/2023
Upgrade Windows 10 to newer version of Win 10
-
Windows 4/28/2025
Windows - Manually install Windows in LEGACY BIOS mode (old BIOS / MBR)
-
Windows 3/28/2022
Windows 10 - Change a user's password
You must be logged in to post a comment