Create an EFS recovery agent to recover encrypted data on Windows 10 and 11
- Windows
- Windows 10, Windows 11
- 04 December 2023 at 15:14 UTC
-

- 2/2
4. Added EFS Data Recovery Agent (DRA) to previously encrypted files
As explained earlier, by default, the EFS Data Recovery Agent can only access future files that will be encrypted on your computer.
This is normal since previously encrypted files don't have a header encrypted with the public key of your new EFS data recovery agent.
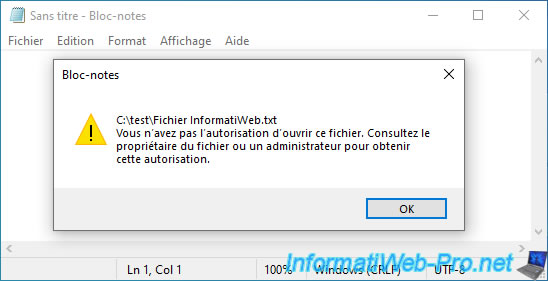
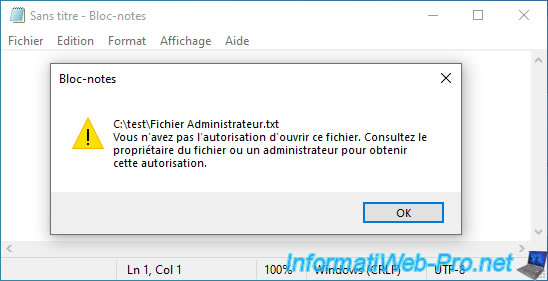
If this EFS data recovery agent attempts to access a file that was encrypted before it was added to this computer, a warning will be displayed :
Plain Text
You do not have permission to open this file. See the owner of the file or an administrator to obtain permission.
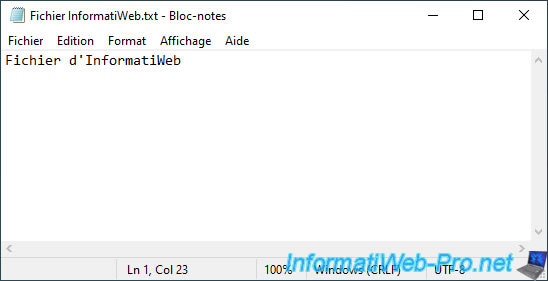
To solve this problem, it suffices that a person having access to the desired encrypted file (for example : the one who encrypted it) opens it and closes it.
No need to modify the file, just open and close it.
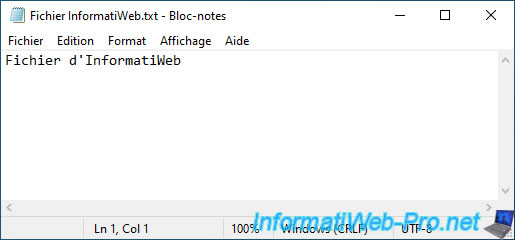
Then, you can see that the EFS data recovery agent added on your computer will have been added to this encrypted file automatically.
To do this, right-click "Properties" on this file and click on : Advanced.
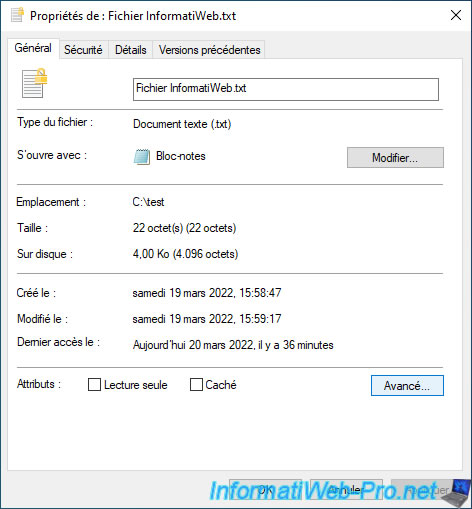
Click on the "Details" button.
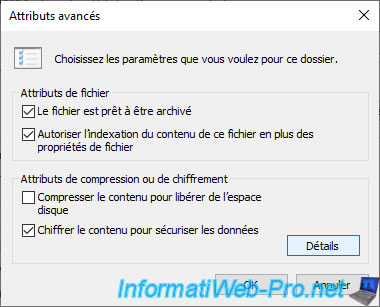
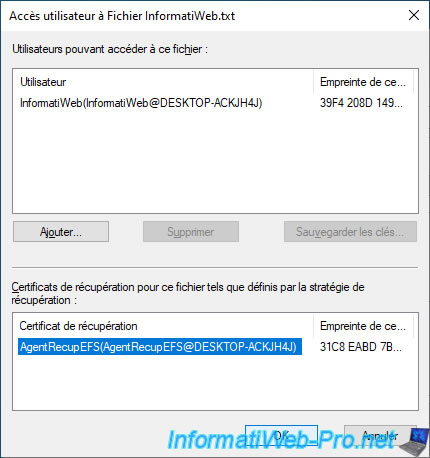
As you can see, the EFS Data Recovery Agent has been added to the list of recovery certificates for this file as defined by the recovery policy.
On the other hand, by default, although the EFS data recovery agent has been added to this encrypted file, you will see that it still cannot access it.

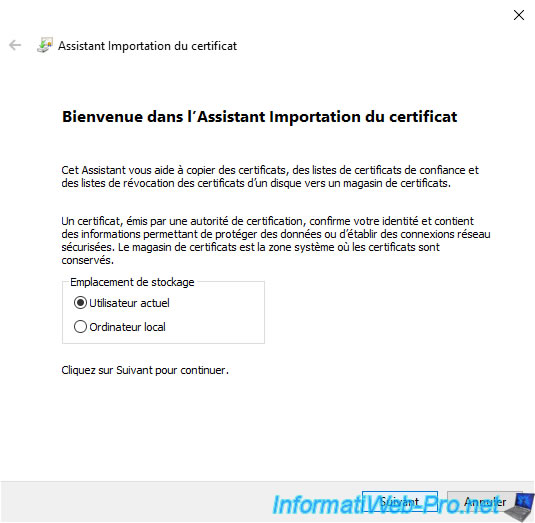
5. Import your EFS Data Recovery Agent (DRA) certificate into your personal certificate store
In order for you to access this encrypted file as an EFS data recovery agent, you must import the previously generated ".pfx" certificate into your personal certificate store.
To do this, while connected with the corresponding user account, double-click on this ".pfx" certificate.
The "Certificate Import" wizard appears.
Leave the "Current User" option selected and click Next.
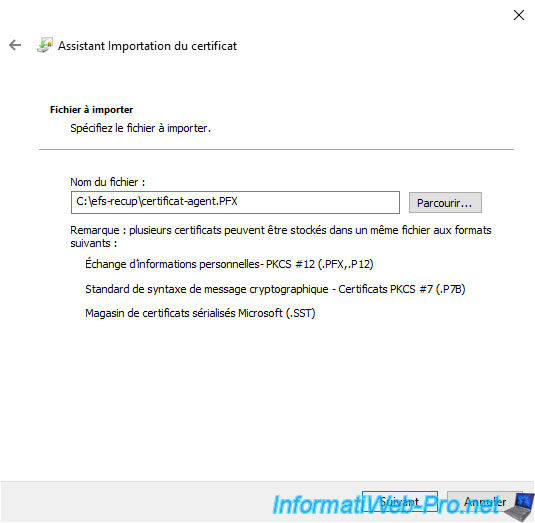
The path to the ".pfx" certificate to import appears.
Click Next.
Specify the password protecting the private key found in this ".pfx" certificate.

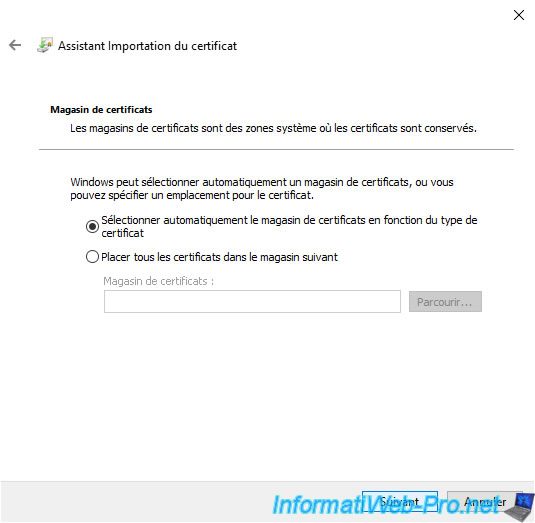
Leave the "Automatically select the certificate store based on the type of certificate" option selected and click Next.
Note : this certificate will be automatically imported into the "Personal" certificate store.
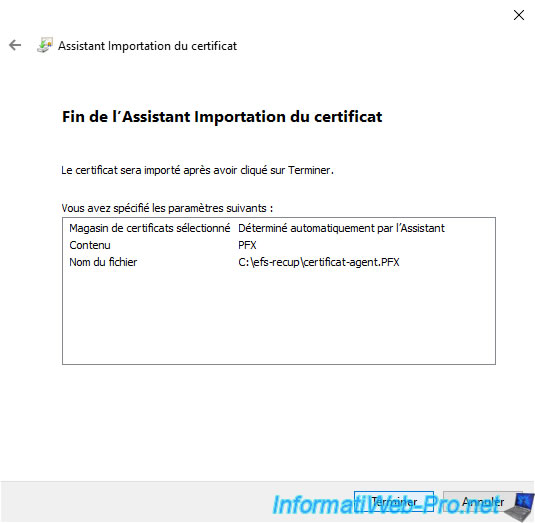
Click "Finish" to confirm importing this certificate into your certificate store.
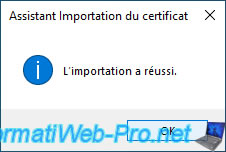
The "The import was successful" message appears.
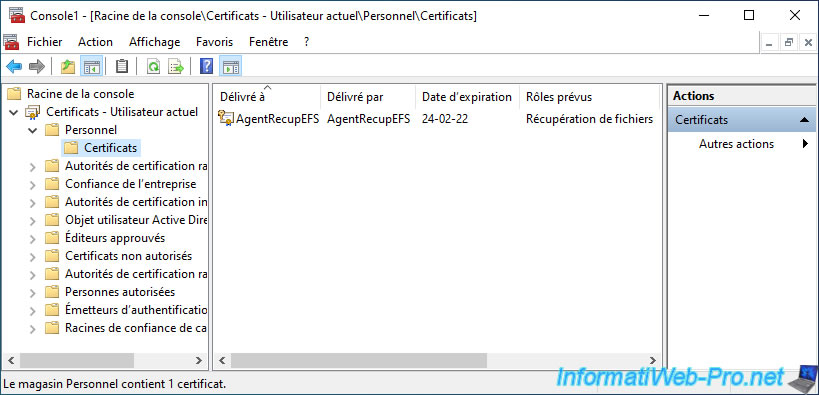
If you open a "mmc" console and add the "Certificates" component for the current user, you will see that the imported certificate appears in the "Personal -> Certificates" section.
As you can see, the certificate role is "File Recovery" since it's a certificate from an EFS data recovery agent.
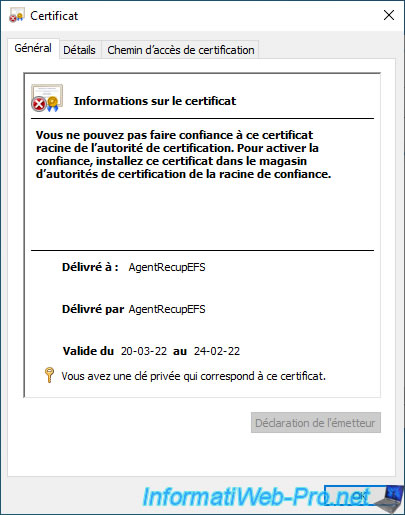
If you double click on this certificate, you will see that this time, the private key associated with it is present.
This will allow you to decrypt the header that will be added for you to every encrypted file on your computer.
Indeed, the certificate in ".pfx" format contains the certificate, its public key and its associated private key.
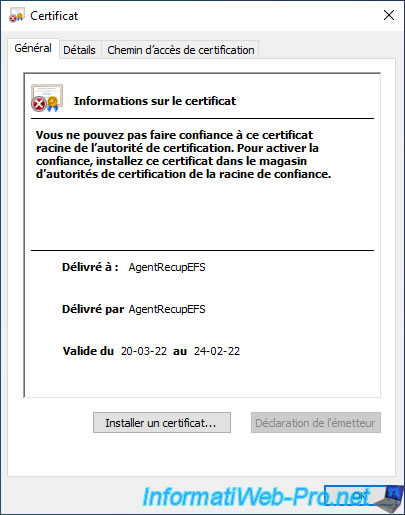
On the other hand, if you double click on the ".cer" certificate, you will see that the associated private key is not present.
6. Access to encrypted files
Now that InformatiWeb has opened and closed its encrypted file, you can access it as an EFS data recovery agent.
However, we don't have access to the administrator's encrypted file.
The "Administrator" user (in our case) logs in.
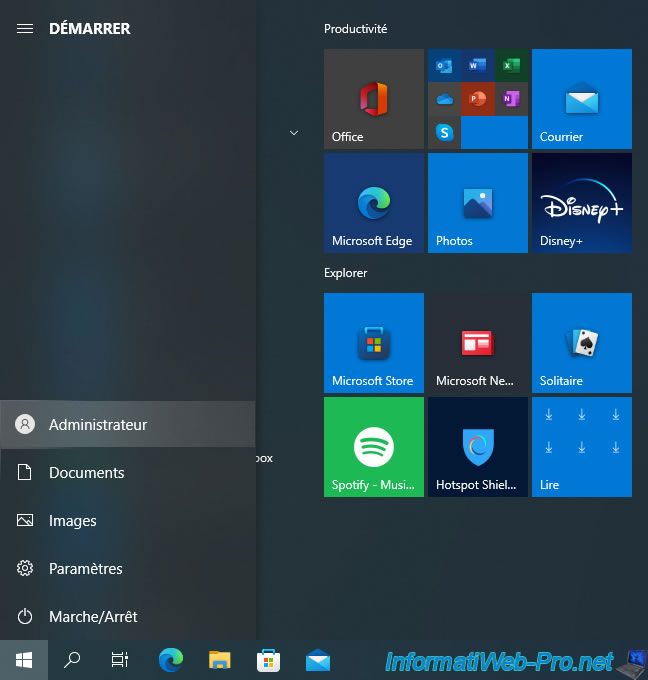
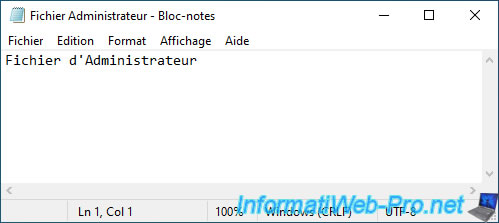
He opens his encrypted file and closes it (without needing to modify it).
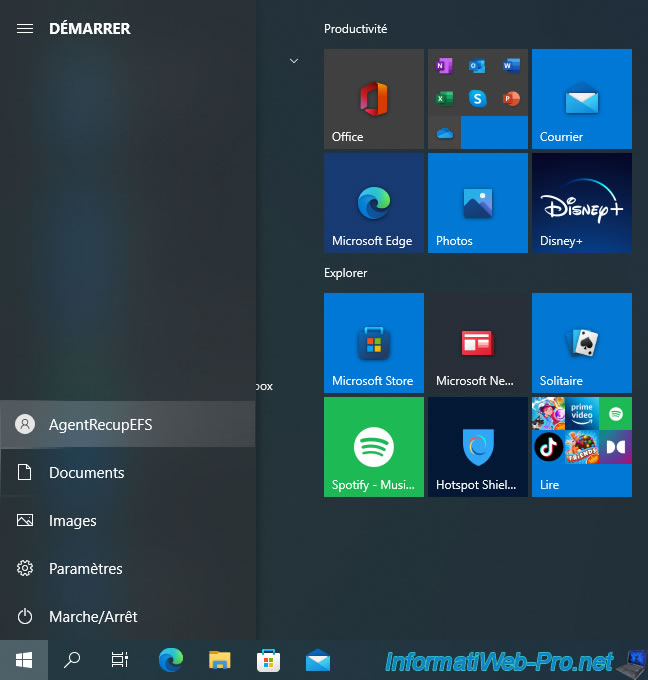
We reconnect as an EFS data recovery agent.
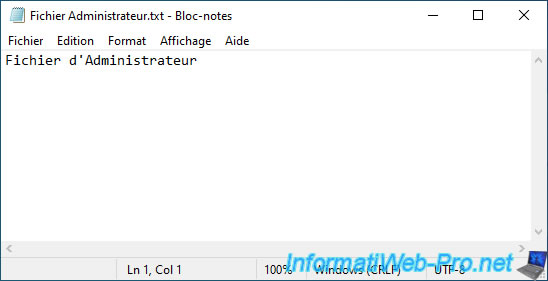
And as expected, we can access its encrypted file as an EFS data recovery agent.
Hence the importance of adding your EFS data recovery agents before encrypting any files to ensure that you can recover the encrypted data in the event of a problem.
Share this tutorial
To see also
-

Windows 2/27/2023
Windows 10 / 11 - Help a remote user without third-party software
-
Windows 6/26/2023
Windows 11 - Configure default programs
-
Windows 11/13/2023
Windows 11 - Install Windows 11 v21H2 Home with a local account
-
Windows 5/18/2022
Windows 7 / 8 / 8.1 / 10 / 11 - Enable the Administrator account
No comment