VHD/VHDX multiboot (native boot) with Windows 8.1 and Windows 10
- MultiBoot
- Windows 8 / 8.1, Windows 10
- 17 June 2024 at 13:08 UTC
-

- 7/8
10.2. Configure the paging file for virtual memory
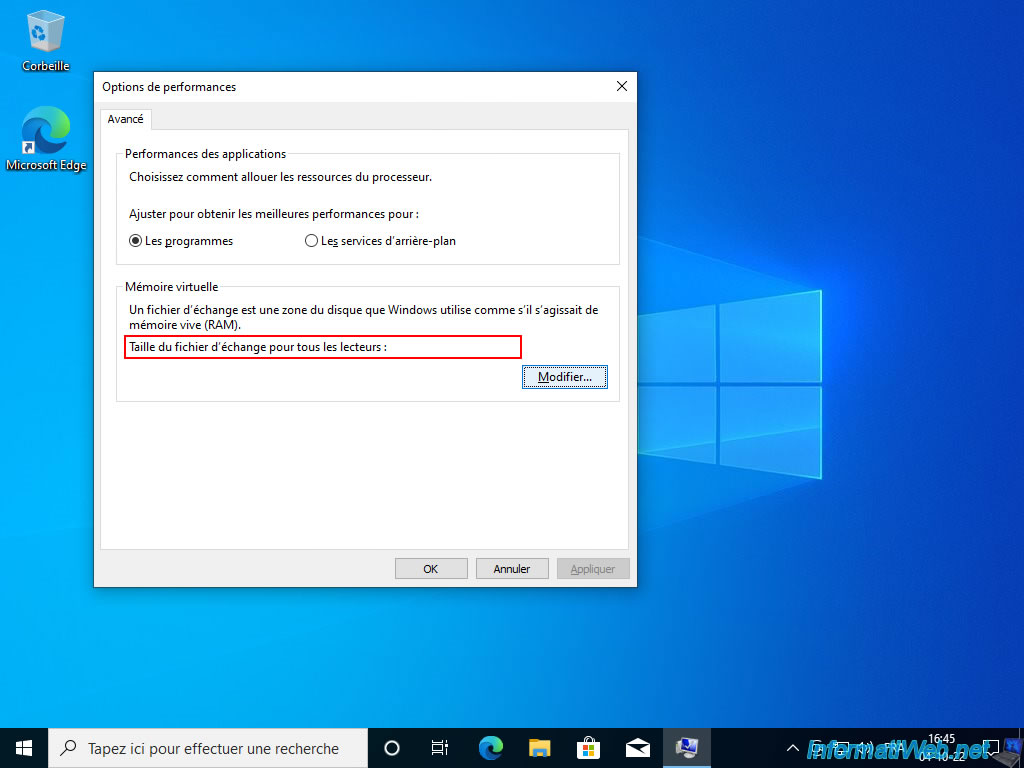
On Windows 10, a "Performance Options" window may appear automatically.
In addition, it will reappear at each startup if you do nothing.
This issue is caused because Windows 10 is installed on a VHDX VHD and the swap file is not currently configured.
Indeed, you will notice that no value is indicated next to "Total paging file size for all drives".
On a normal Windows 10 installation, the swap file is created on the "C" partition (where Windows 10 would be installed) or on another partition (if Windows 10 chooses).
However, in the case of an installation of Windows 10 on a VHDX virtual hard disk, this swap file must be created next to this VHDX virtual hard disk and not inside it.
Source: Deploy Windows with a VHDX (Native Boot) | Microsoft Learn.
To solve the problem, click on the "Change" button.
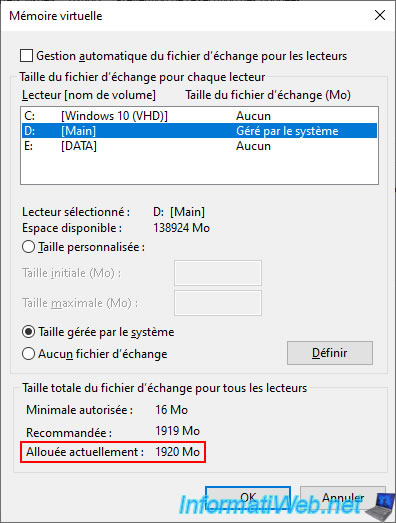
In the "Virtual Memory" window that appears, you can see that there is no configured swap file.
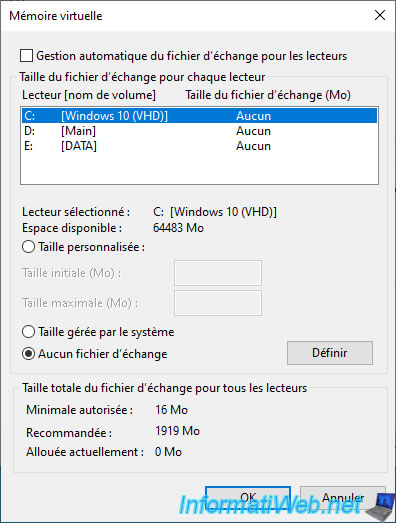
To fix the problem, select the "Main" partition (created in this tutorial), then select the "System managed size" option and click "Set".
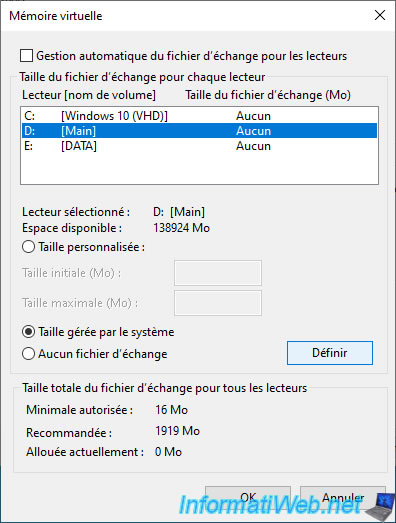
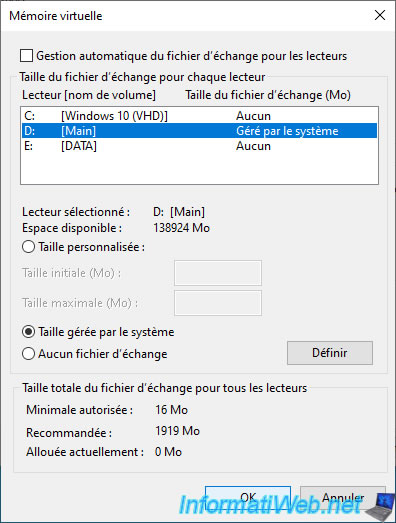
Now Windows 10 tells you that the paging file size for the "D: [Main]" drive is managed by the system.
But, the value of "Currently Allocated" is still 0MB.
Indeed, you must restart your computer for this change to take effect.
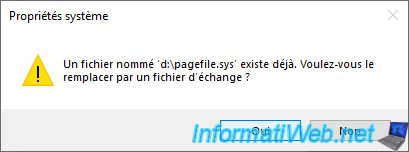
If this warning appears, ignore it by clicking Yes.
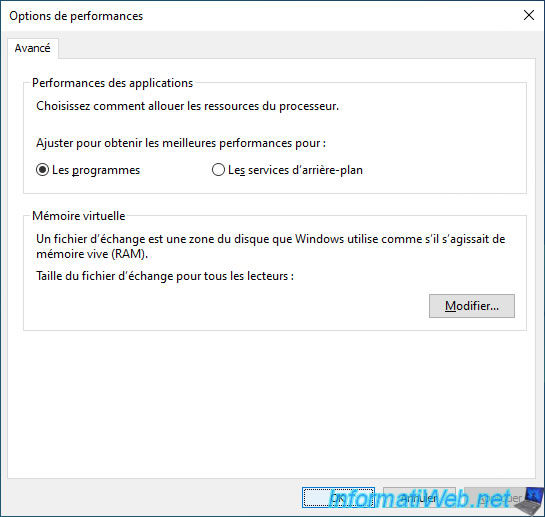
Click OK.
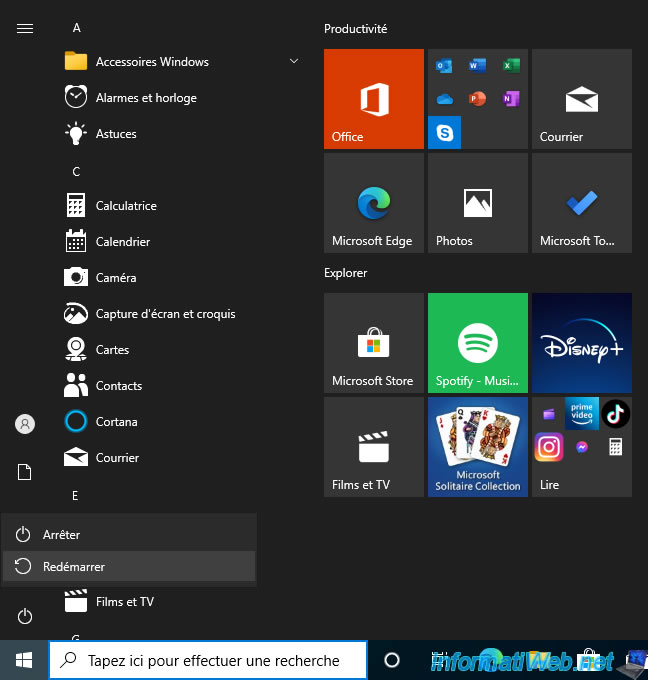
Restart your computer on Windows 10.
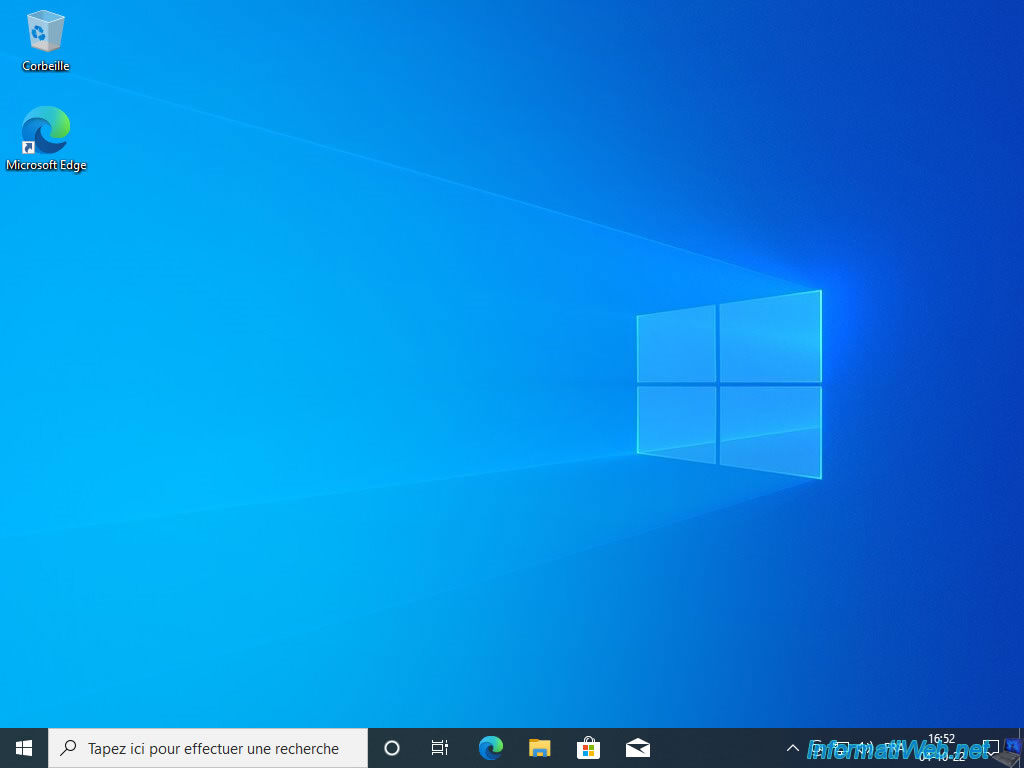
Once your computer has restarted, you will notice that this "Performance Options" window no longer appears.
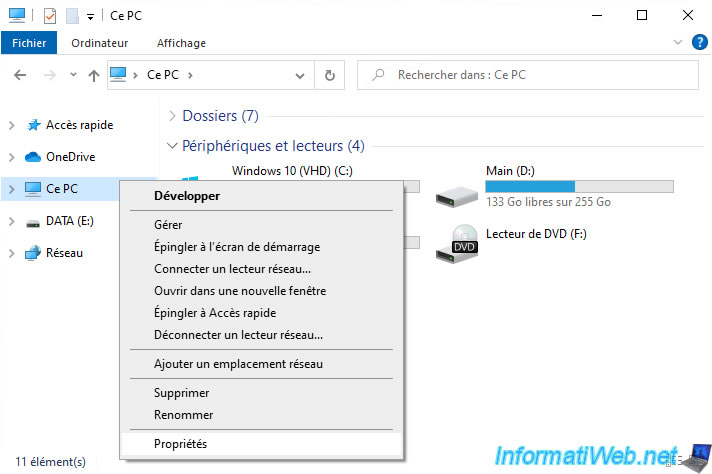
To re-access the previously configured virtual memory setting, open File Explorer and right click "Properties" on "This PC".
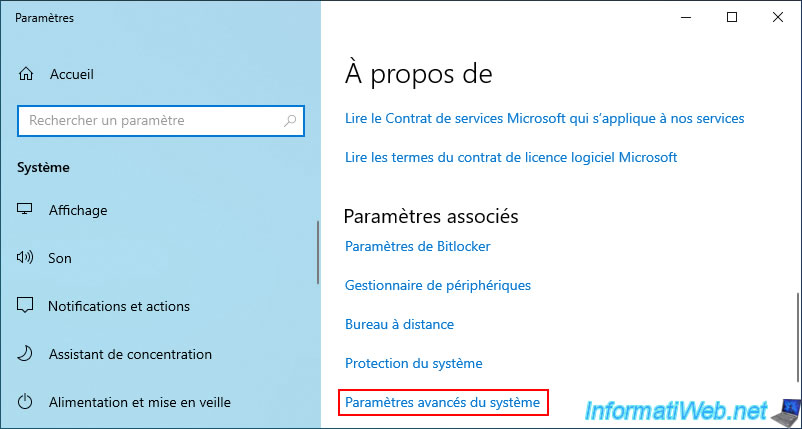
In the "Settings" window that appears, scroll down a bit and click on the link: Advanced system settings.
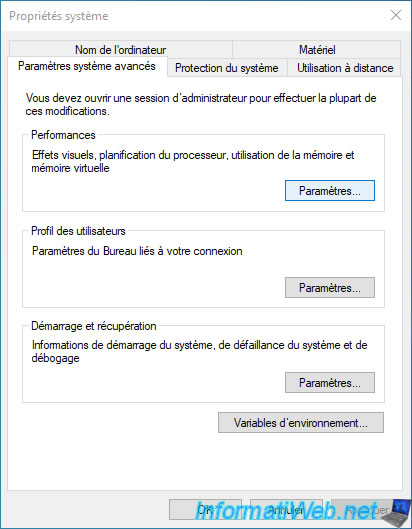
In the "Performance" section, click on the button: Settings.
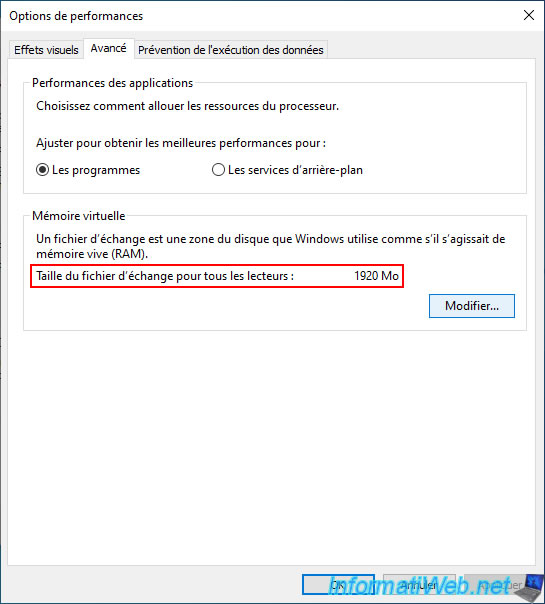
In the "Advanced" tab of the "Performance Options" window that appears, you will see that the paging file size for all drives is now set.
You can also check it by clicking on the button: Change.
Now, you can see that the "Currently allocated" value is greater than 0MB.
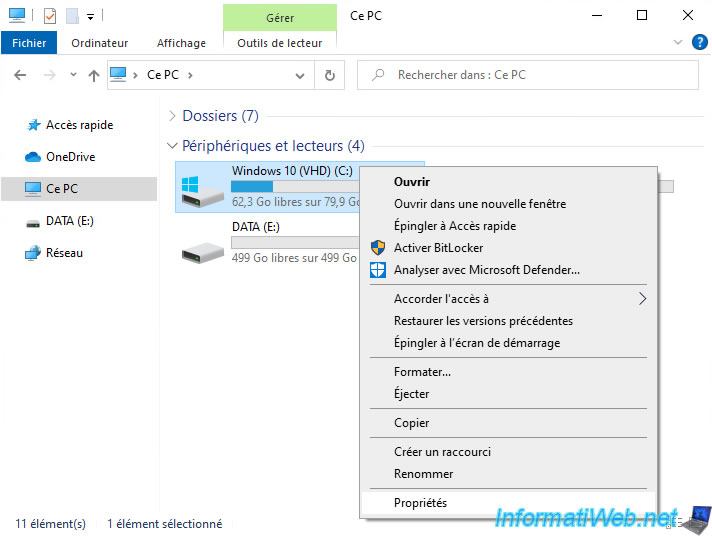
Right-click "Properties" on your Windows 10 "C" partition.
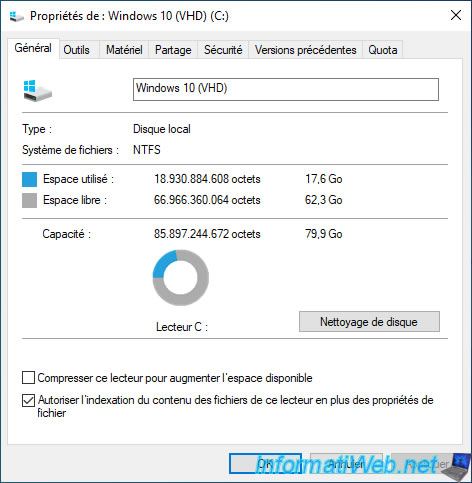
As you can see, our installation of Windows 10 without an update already weighs 17.6 GB.
10.3. Install drivers for your computer
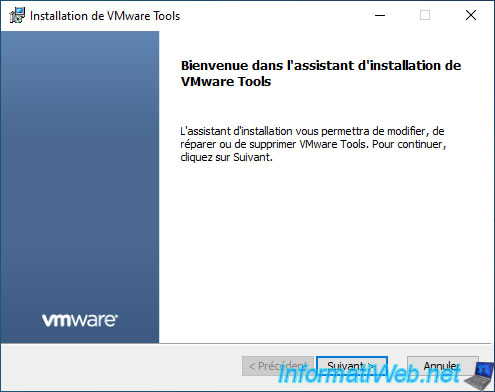
Now that Windows 10 is installed, install your computer's drivers for this version of Windows.
10.4. Rename Windows 10 boot option
If you want, you can rename the boot entry for your Windows 10 installation in your start menu by launching a command prompt as an administrator.
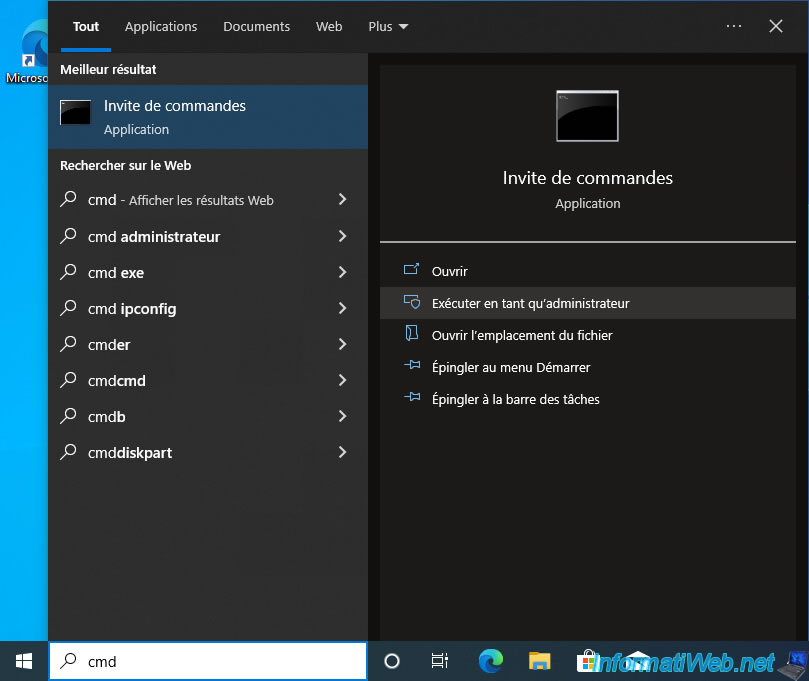
Then, type this command.
Batch
bcdedit /set {current} description "Windows 10 (VHD)"
Plain Text
The operation completed successfully.
Then, type this command to verify that the boot entry has been renamed.
Batch
bcdedit
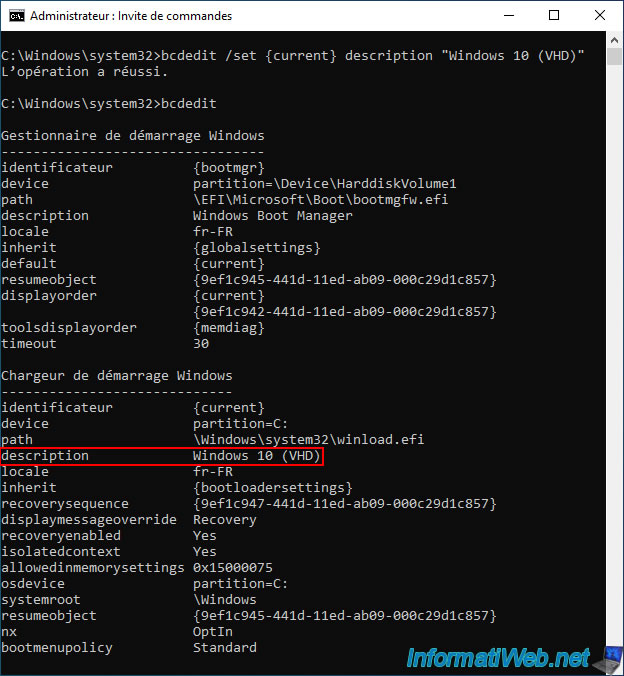
You can also check the modification of this boot option from the properties of Windows 10.
To do this, right-click "Properties" on "This PC".
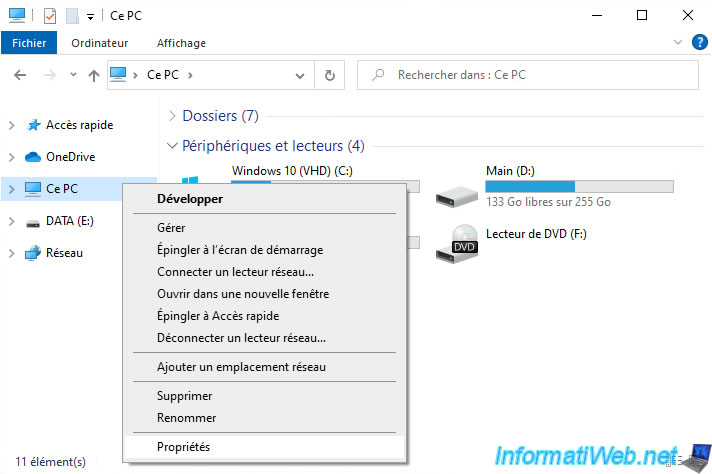
In the "Settings" app that appears, scroll down a bit and click on the "Advanced system settings" link.
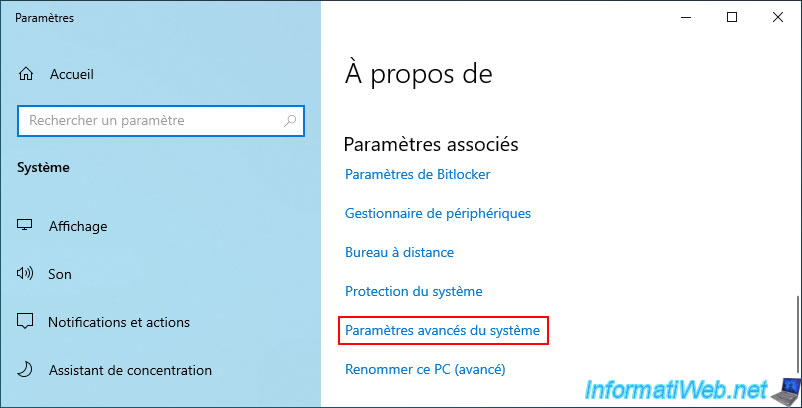
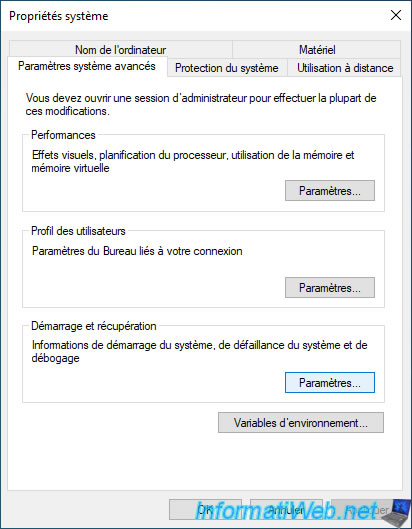
In the "System Properties" window that appears, click on the "Settings" button in the "Startup and Recovery" section.
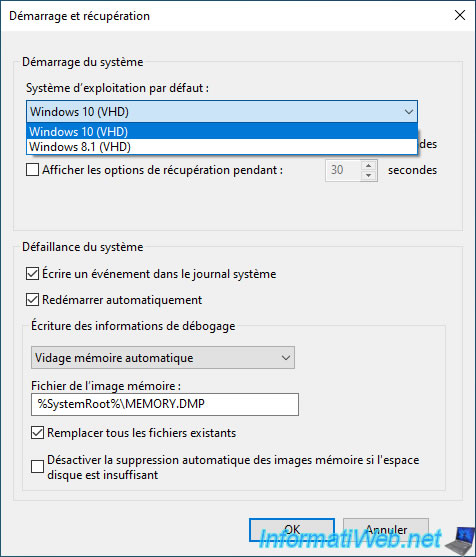
In the "Default operating system" list, you will see that the boot option corresponding to your current installation of Windows 10 has been renamed: Windows 10 (VHD).
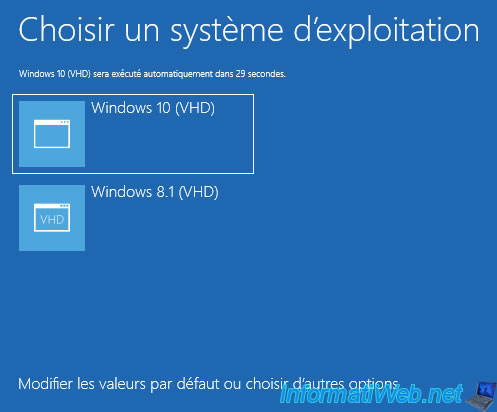
This change will also appear in the start menu "Choose an operating system" offered each time you start your computer.
Share this tutorial
To see also
-
Windows 1/16/2021
Windows 10 - Downgrade to Windows 7 after an upgrade
-
Windows 9/6/2020
Windows 10 - Download an old version (official)
-

Windows 5/10/2022
Windows 10 / 11 - Create a recovery drive
-
Windows 3/31/2025
Windows 11 / 10 / 8.1 / 8 - Repair a three-way mirror storage space (software RAID 11)
No comment