- Windows
- Windows 7, Windows 8 / 8.1
- 16 June 2018 at 13:16 UTC
-

- 1/4
On Windows, you can share files in 2 ways :
- thanks to the classic file sharing (based on the SMB protocol)
- thanks to the homegroup system (which is not very practical)
In short, in this tutorial, we will explain how to share files in Windows with the classic system.
Note : this tutorial has been tested under Windows 7, 8 and 8.1.
- Set up a workgroup
- Disable Windows auto sleep
- Enable and allow file sharing
- Quick sharing
- Create a hidden network share
- Create a password-protected network share
1. Set up a workgroup
First, to be able to share files with Windows, you must put your computers in the same workgroup and assign them different machine names.
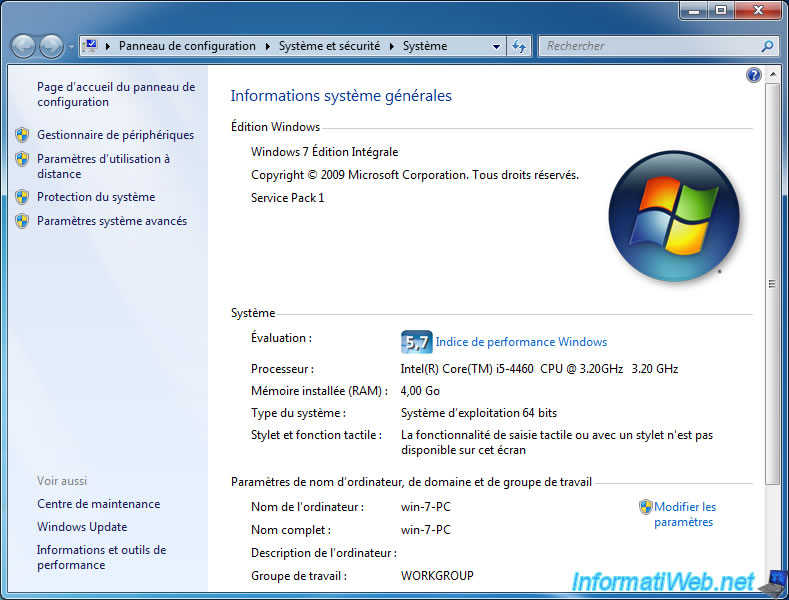
By default, your computers will be in the "WORKGROUP" workgroup. As you can see in the system information of Windows 7.
To change the workgroup, click on the link : Change settings.

Then, in the "Computer Name" tab, click Change.
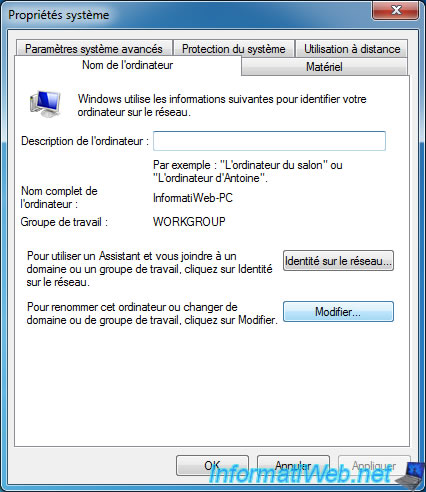
In the window that appears, you will be able to edit the name of the computer and the workgroup in which it is located.
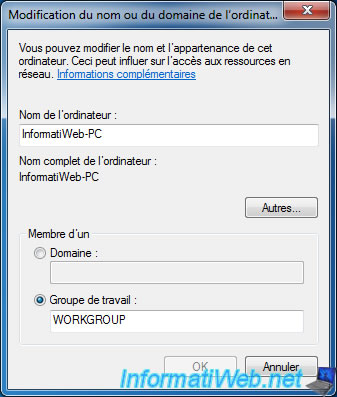
Do the same on the other computers of the network.
2. Disable Windows auto sleep
By default, Windows is set to put your computer in sleep mode after a while.
Since the PC will be idle, its shared folders will no longer be accessible through the network.
Windows will therefore advise you to disable the automatic sleep to avoid this problem.
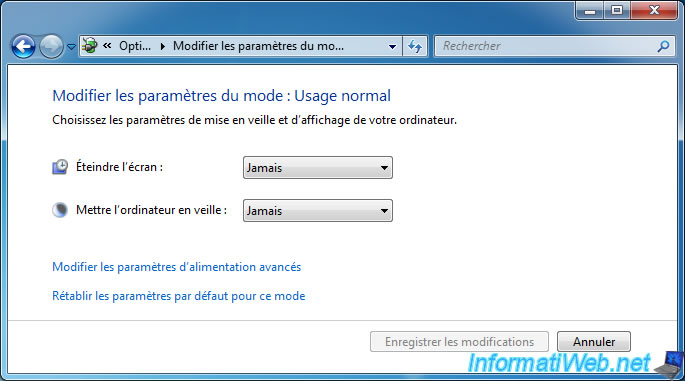
To do this, go to Control Panel -> System and Security -> Power Options -> Change when the computer sleeps.
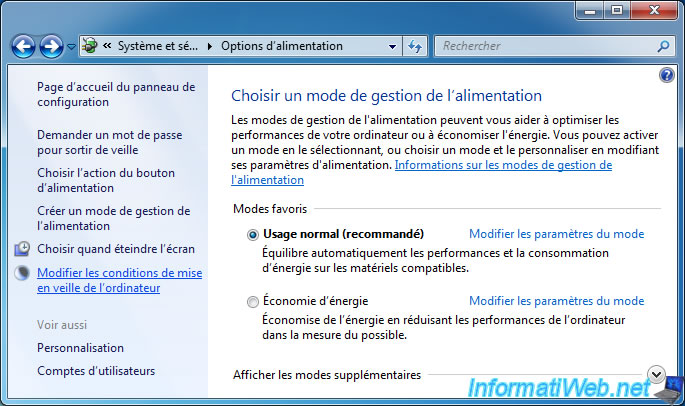
Set at least the "Put the computer to sleep" option to "Never".
3. Enable and allow file sharing
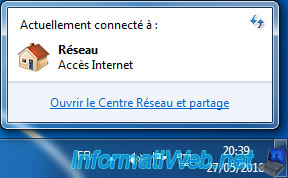
To enable and allow file sharing on Windows 7, open the Network and Sharing Center.
For this :
- click on the "Network" icon located in the taskbar, then on : Open Network and Sharing Center.
- or go to Control Panel -> Network and Internet -> Network and Sharing Center.
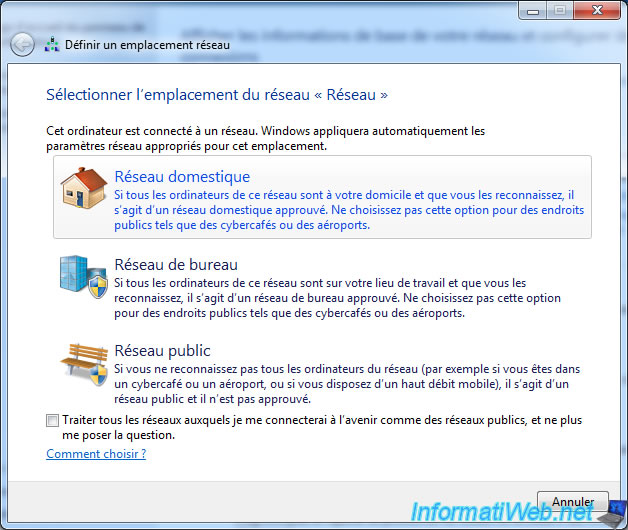
To enable and allow file sharing in Windows 7, the simplest is to choose "Home network" as network location.
To do this, if your network is not detected as "Home Network", click on the displayed type.
On Windows Vista : click on the "Customize" link on the right of your network name and select "Private".
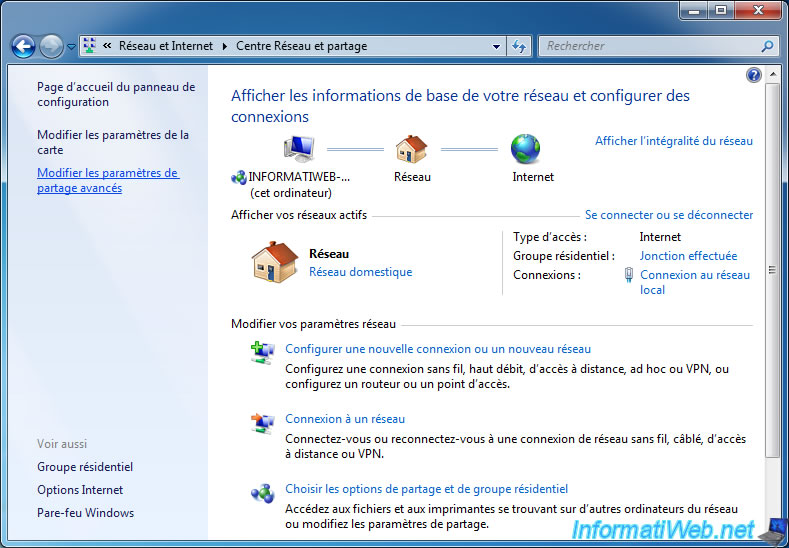
Then, select "Home network".
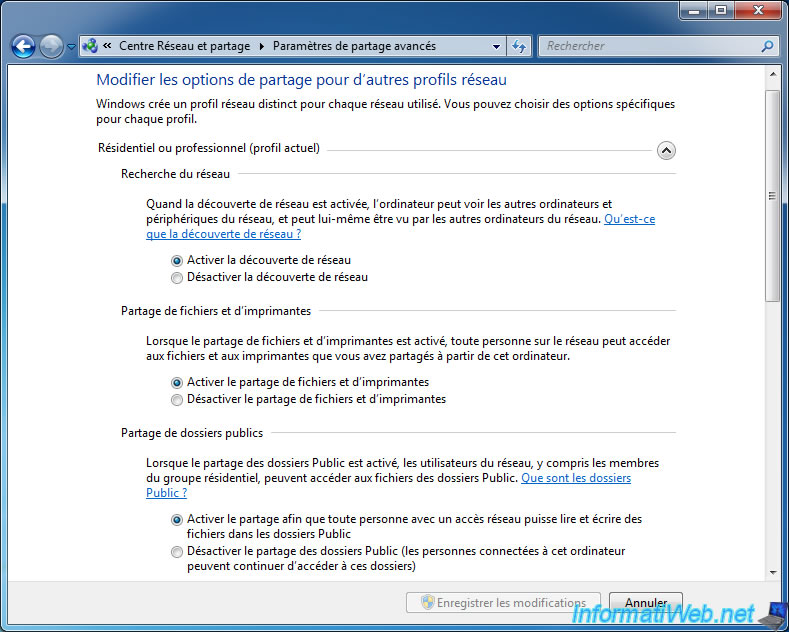
Then, in the Network and Sharing Center, verify that these options are selected :
- Turn on network discovery
- Turn on file and printer sharing
Optional : to share existing Public folders on Windows 7, also select the option "Turn on sharing so anyone with network access can read and write files in the Public folders".
In Windows Vista, you must enable :
- the "File sharing" in the list displayed in the Network and Sharing Center
- the Network discovery
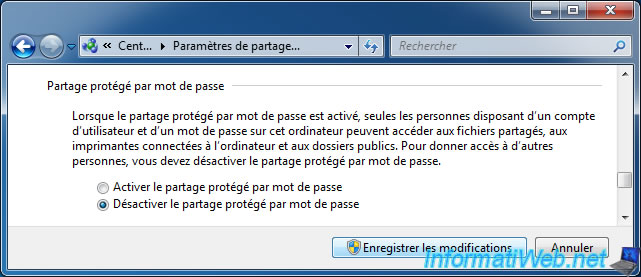
To be able to follow this tutorial and create unsecured or secure network shares with custom user accounts, select ths option : Turn off password protected sharing.
If this option is enabled, you will need to have the same user name and password on the client PC and the remote PC to access the different network shares and shared printers on the remote PC.
Note : since Windows 8, this option is in the "All Networks" section.
On Windows Vista, you must turn off the "Password protected sharing" option in the Network and Sharing Center.
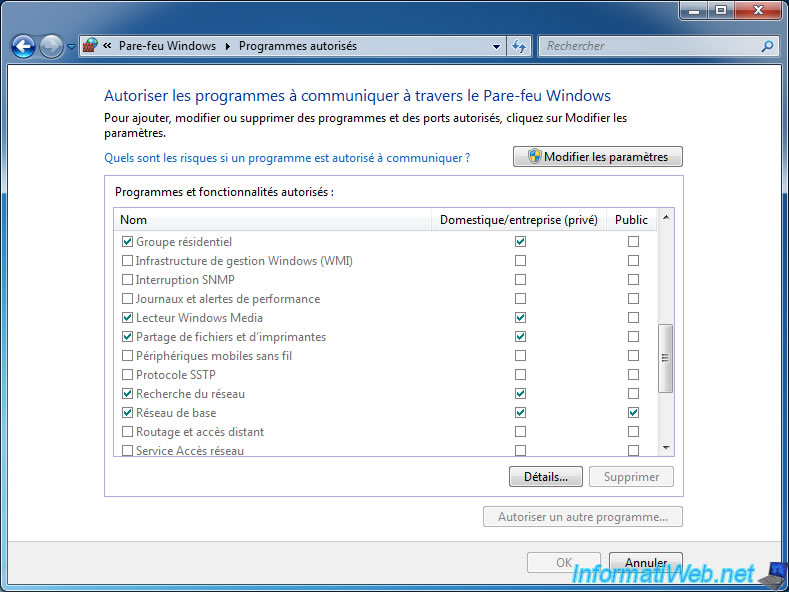
Normally, if you look in the Windows Firewall settings, you will see that the "File and Printer Sharing" feature is allowed for Home/Work (Private) network.
Note : if this is not the case, click on the "Change settings" button and allow this feature.
Share this tutorial
To see also
-
Windows 1/8/2021
Upgrade from Windows 7 to Windows 10 (free)
-
Windows 9/5/2020
Upgrade from Windows 8 / 8.1 to Windows 10 (free)
-
Windows 8/4/2021
Upgrade from Windows 8 to Windows 8.1 (free)
-
Windows 3/20/2025
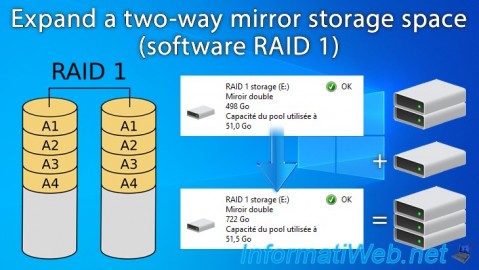
Windows 11 / 10 / 8.1 / 8 - Expand a two-way mirror storage space (software RAID 1)
You must be logged in to post a comment