- Windows
- Windows 7
- 19 December 2020 at 18:40 UTC
-

- 1/2
If you try to install Windows 7 on an external hard drive or USB key, you will quickly see that this is not officially possible.
However, you can still do this using a specific program.
- Cannot install Windows 7 on USB support
- Install Windows 7 on USB support with WinToUSB
- Configure BIOS boot order
- Boot Windows 7 from USB support
- Windows 7 is installed
- Hide internal hard drives
- Install the drivers for Windows 7
- Known bugs
1. Cannot install Windows 7 on USB support
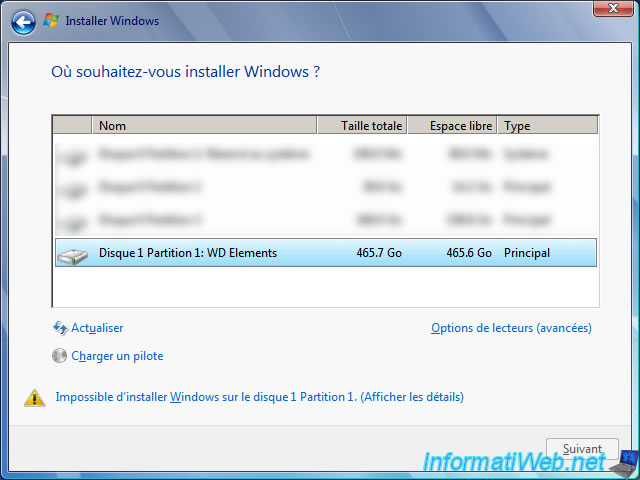
If you try to install Windows 7 on an external hard drive or on an USB key plugged into an USB 2.0 port, the Windows 7 installation wizard will display this error :
Plain Text
Windows can't be installed on drive 1 partition 1. (Show details)
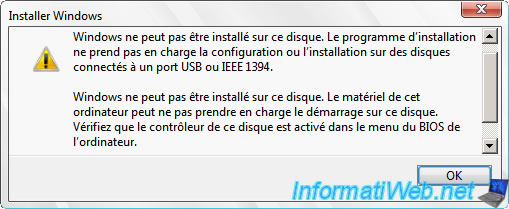
If you click on this error, it will be clearly stated that Windows 7 cannot be installed on USB support.
Plain Text
Windows cannot be installed to this disk. Setup does not support configuration of or installation to disks connected through a USB or IEEE 1394 port.
2. Install Windows 7 on USB support with WinToUSB
If you really want to install Windows 7 on a fairly capable external hard drive or USB key, you'll need to use third-party software.
Otherwise, you will need to download many utilities (including DISM) and use the command line.
To install Windows 7 on an external hard drive, the tool with the best compatibility (although it doesn't work on all laptops or desktops computers) is WinToUSB.
Also, there is a free version of this program which is sufficient for what we want to do here.
Once WinToUSB has been launched, you will have the choice between 3 sources (in the left column) :
- use an ISO, WIM, ... image
- use a CD/DVD that is in your CD/DVD drive
- use your computer's internal hard drive to copy the operating system installed on your computer to an external hard drive connected via USB
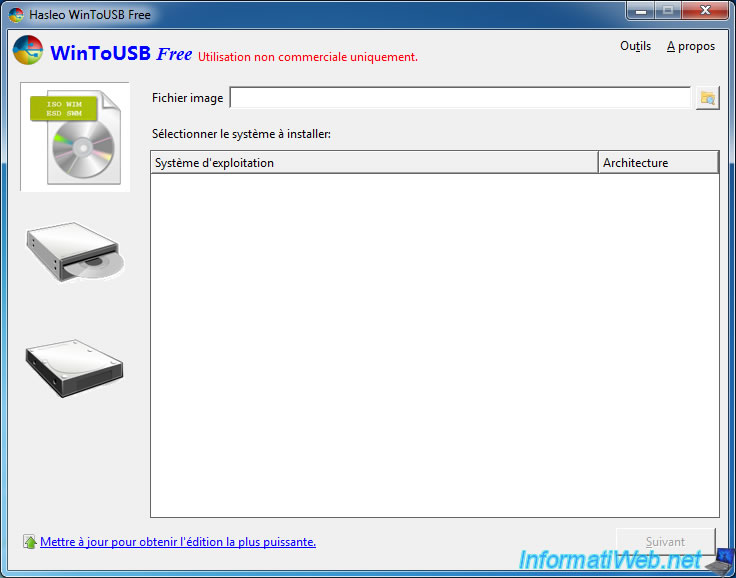
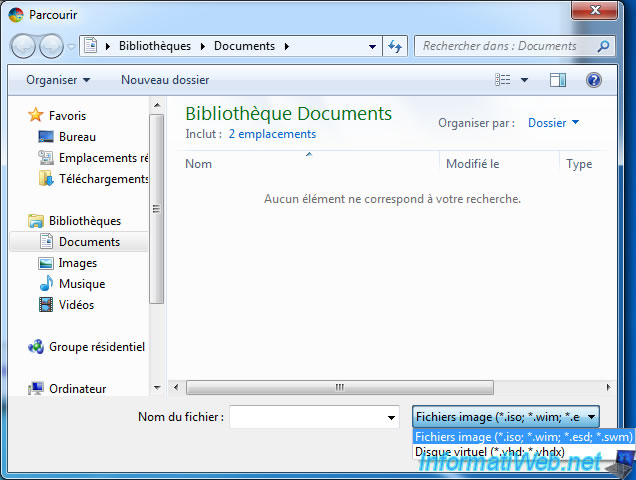
If you have chosen the first option, click on the "Browse" icon.
In the list of supported file types, you will find : iso, wim, esd, swm, vhd and vhdx.
- iso : Windows 7 installation DVD image, for example
- wim and esd : files that contain the Windows 7 installation files. 1 of these 2 file formats are available in the "source" folder of the Windows 7 installation DVD.
- swm : file type obtained when slicing wim files
- vhd and vhdx : virtual hard disk files (used in particular by Hyper-V)
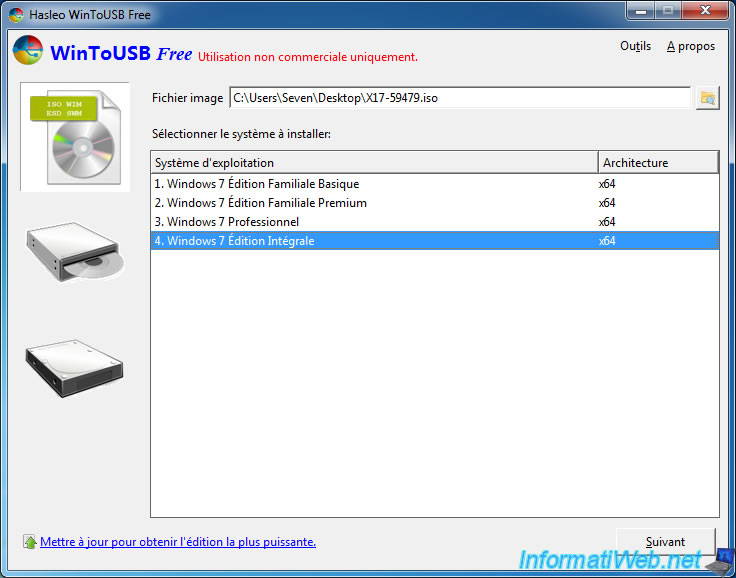
In our case, we used a Windows 7 x64 iso file.
Select the edition you want to install.
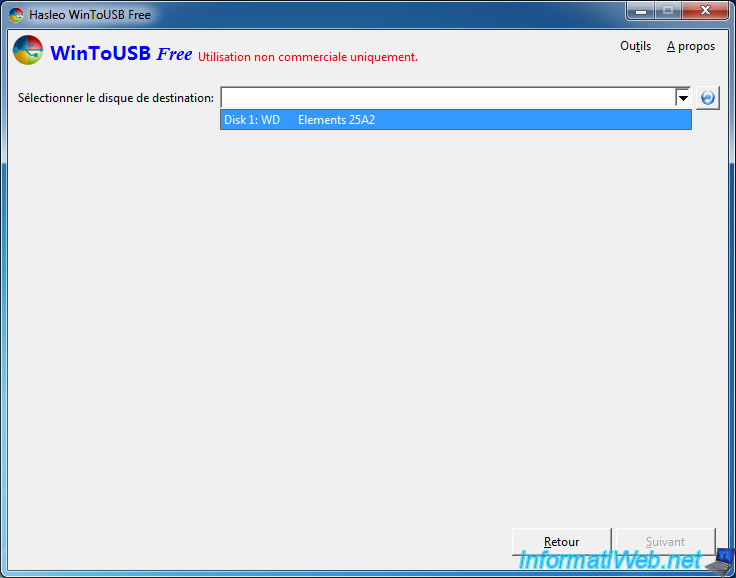
Select your external hard drive or USB drive from the list.
In our case, it's a "WD Elements" external hard drive.
To speed up copying files to your external hard drive, temporarily plug it into an USB 3.0 port.
Warning : once the WinToUSB process is complete, you will need to plug your external hard drive into an USB 2.0 port to boot from it. Indeed, USB 3.0 is not supported by Windows 7 and booting Windows 7 from an USB 3.0 port is not supported either.
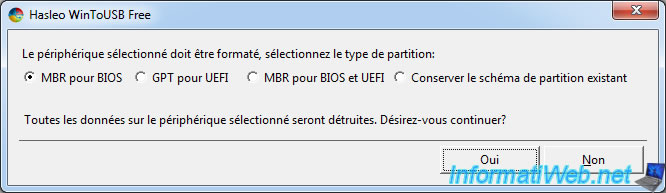
Choose if you want to install Windows 7 in :
- LEGACY : MBR for BIOS
- UEFI : GPT for UEFI
If you don't know which one to choose, choose "MBR for BIOS".
However, if you have a newer PC, it's probably UEFI compatible.
Important : the "MBR for BIOS and UEFI" option is not available in free version, although it's displayed here.
WARNING : by clicking on Yes, ALL the data present on it will be deleted.
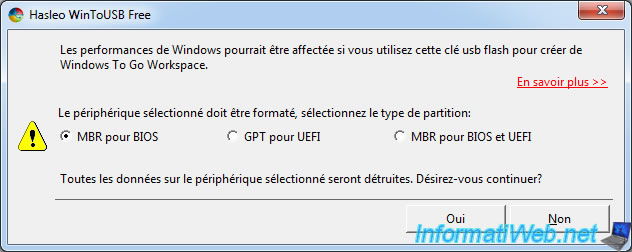
If you used an USB key, you will receive a warning :
Plain Text
Windows performance might be impacted if you use this USB flash drive to create Windows To Go workspace.
However, as stated on their site, WinToUSB doesn't test your USB drive before displaying this warning.
If you know that your USB drive is performing very well, then ignore this warning.
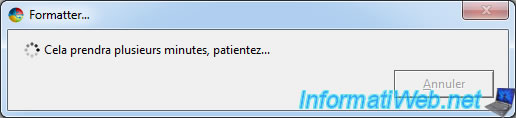
WinToUSB will then format your USB key.
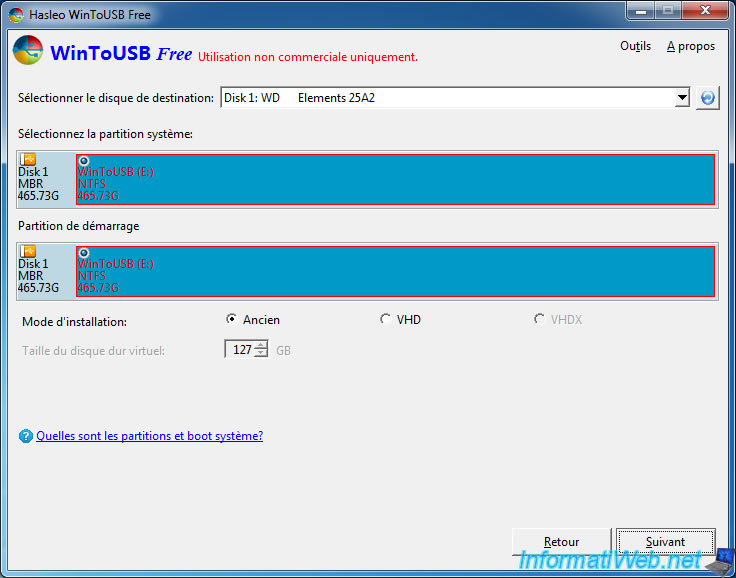
For the installation mode, you will have the choice between :
- Old : all data will be stored directly on the external hard drive, like when you install Windows 7 normally on a hard drive
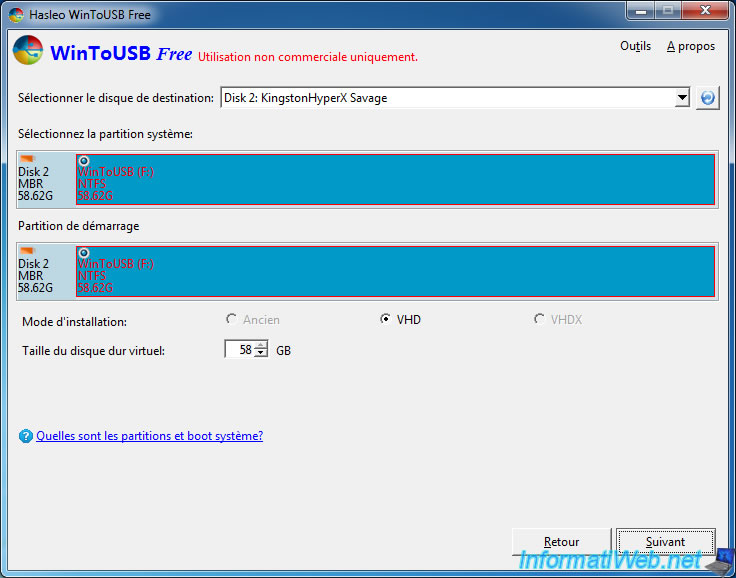
- VHD and VHDX : all data will be stored in a virtual hard drive (VHD/VHDX) which itself will be stored on your external hard drive. This format offers better compatibility, but the size of this virtual hard disk will be limited to a maximum of 127 GB.
Note that if you are using an USB key, VHD format will be mandatory.
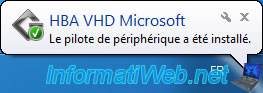
If you choose VHD/VHDX format on Windows 7, a "HBA VHD Microsoft" driver will be automatically installed on your computer.
Wait while Windows 7 installs on your external hard drive.

3. Configure BIOS boot order
To boot from your external hard drive, plug it into an USB 2.0 port, restart your computer and press Enter to enter the BIOS of your motherboard.
In this tutorial, we will use a laptop PC, because installing Windows on USB support is more likely to work on a laptop than on a desktop computer.
However, you will have other BIOS examples in this tutorial : Change the BIOS boot priority
In your BIOS, go to the "Boot" tab.
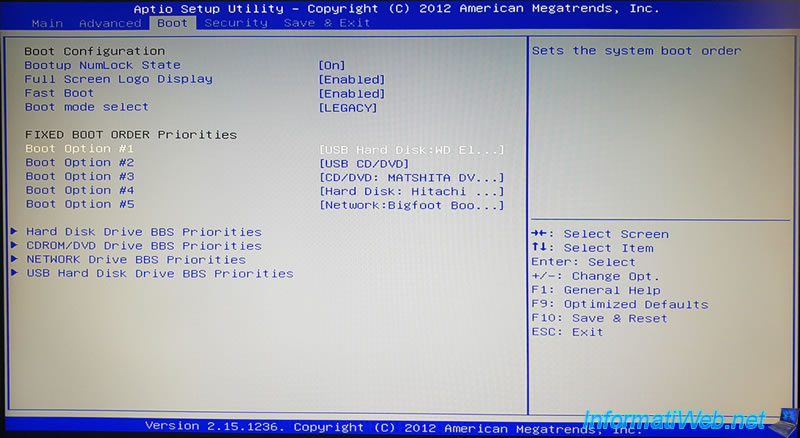
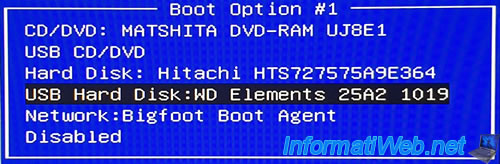
Place your external hard drive first.
In our case, the WD Elements.
Then, place your internal hard drive in 2nd so that your PC continues to function correctly when you no longer use your USB support.
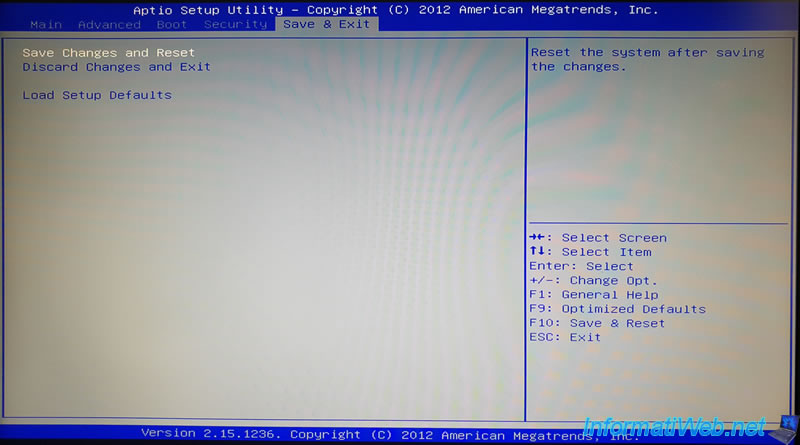
Then, save the changes by pressing (usually) F10 (Save & Reset).
Or find the option to quit while saving. In this case, in the "Save & Exit" tab, choose the "Save Changes and Reset" option.
Confirm by selecting Yes.

4. Boot Windows 7 from USB support
If your BIOS is configured correctly, your computer will boot to the Windows installed on your external hard drive.
During the 1st boot, the installation of Windows 7 will continue and this message will be displayed :
Plain Text
Setup is updating registry settings..

The installation continues.


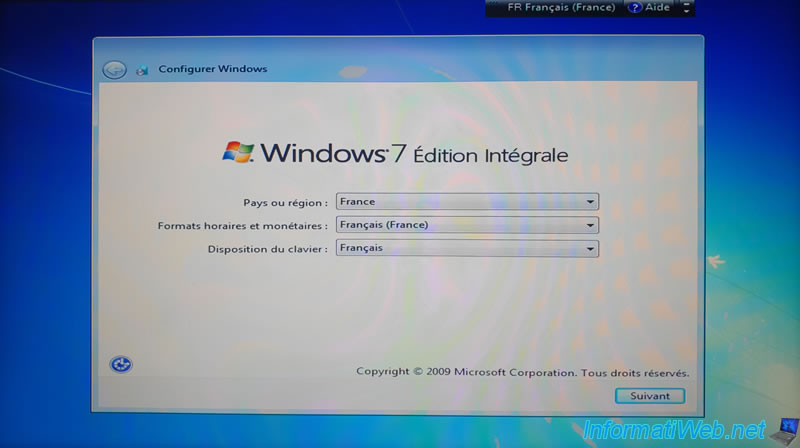
After installation, you can configure a few settings, including country and keyboard language.
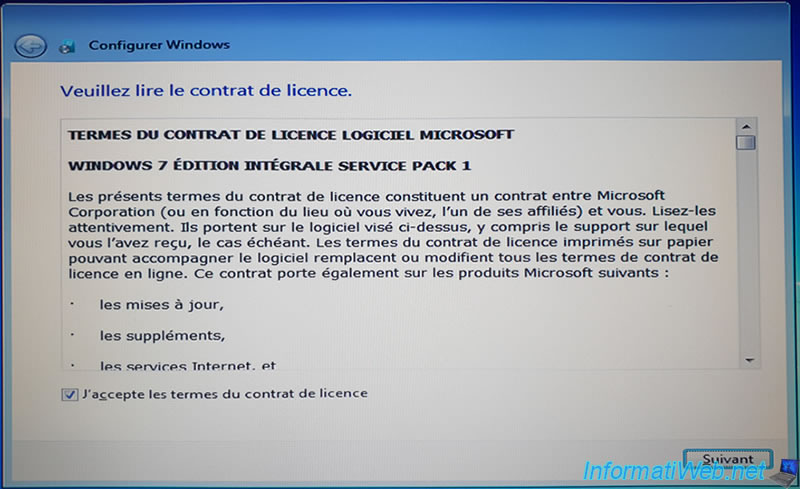
Since you couldn't accept this before installation, you will need to accept it after installation.
Then, Windows will finalize the settings.
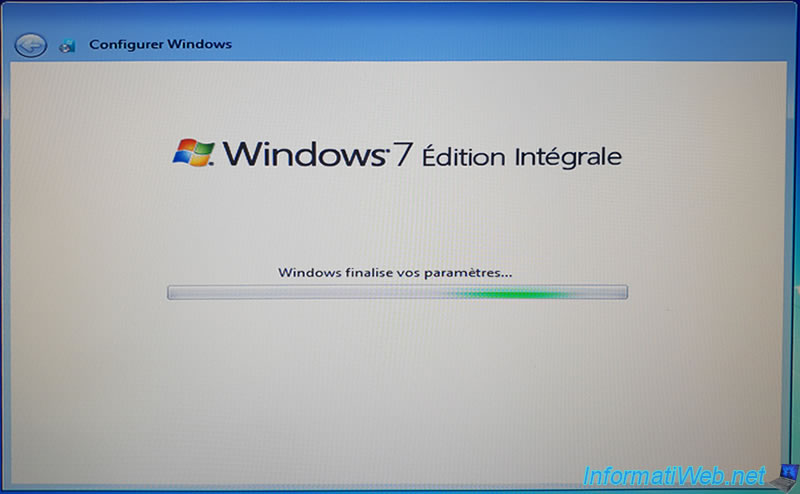
Installation and configuration are complete.

You arrive as expected on your Windows 7 desktop.
Note that although Windows 7 is supported by WinToUSB to create a Windows 7 in Windows To Go (WTG) mode, its manufacturer doesn't recommend it.
Indeed, he advises to create a WTG with Windows 8, 8.1 or 10 rather than with Windows 7. Even if it works very well also with Windows 7 (on some computers).
During the next restart, the "Preparing to configure Windows" message may appear.

Share this tutorial
To see also
-
Windows 5/22/2025
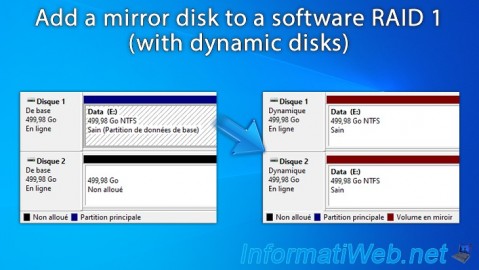
Windows 11 / 10 / 8.1 / 8 / 7 - Add a mirror disk to a software RAID 1
-
Windows 5/19/2025
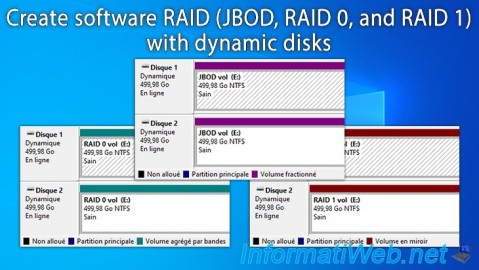
Windows 11 / 10 / 8.1 / 8 / 7 - Create a software RAID with dynamic disks
-
Windows 1/16/2015
Windows 7 - Install from an USB 3.0 key
-

Windows 10/6/2021
Windows 7 / 8 / 8.1 - Help a remote user without third-party software
You must be logged in to post a comment