Simple, advanced, hidden and secure file sharing on Windows 7, 8 and 8.1
- Windows
- Windows 7, Windows 8 / 8.1
- 16 June 2018 at 13:16 UTC
-

- 4/4
6. Create a password-protected network share
Finally, we'll explain how to create a password-protected network share.
This is still safer than when you create a network share that anyone can access (including viruses).
6.1. Create a new Windows user (Windows 7)
To access a password-protected network share, you will need to use the credentials of a user account on the remote PC.
So, 2 cases appear :
- you use your standard user account credentials
- you create a new user only for access to your network shares
In this tutorial we will use the 2nd possibility.
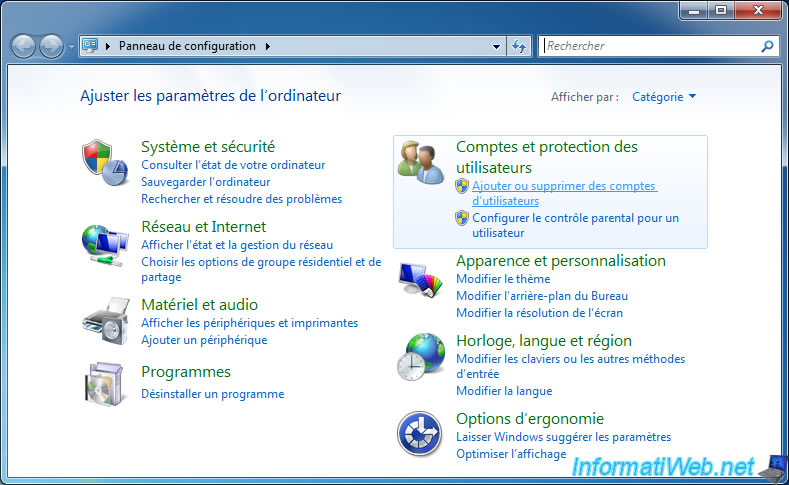
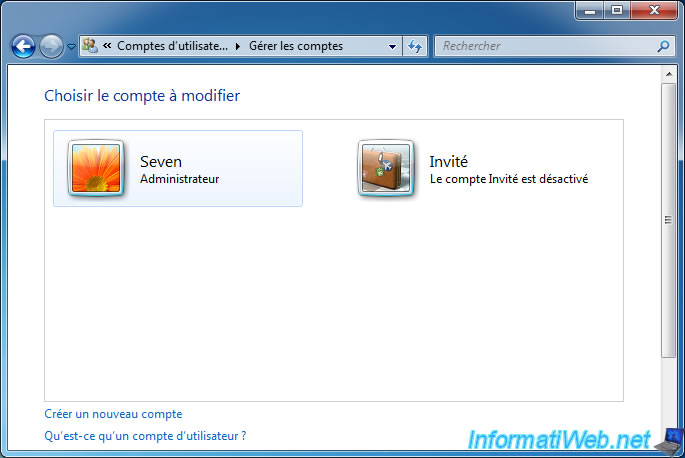
To begin, open the Control Panel and click "Add or remove user accounts".
Then, click on "Create a new account".

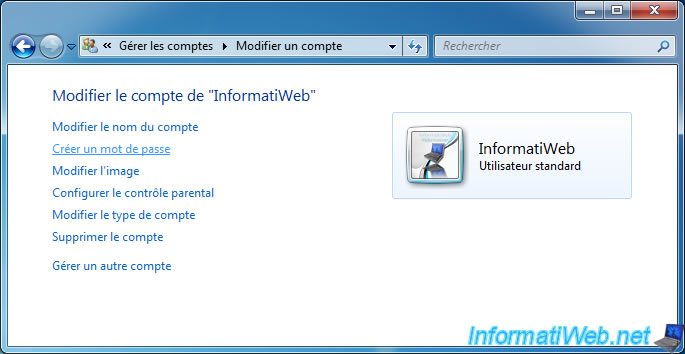
Click on "Create a password" and enter a password.
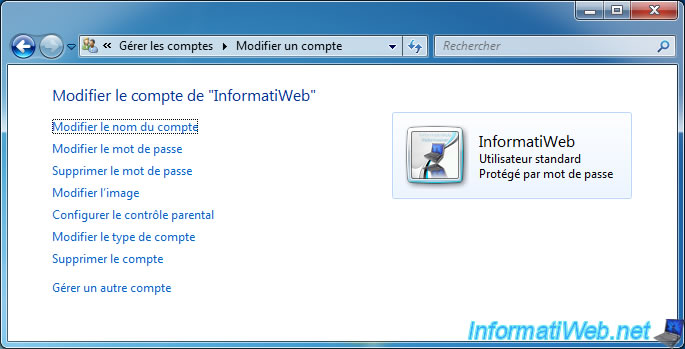
Then, "Password protected" will appear.
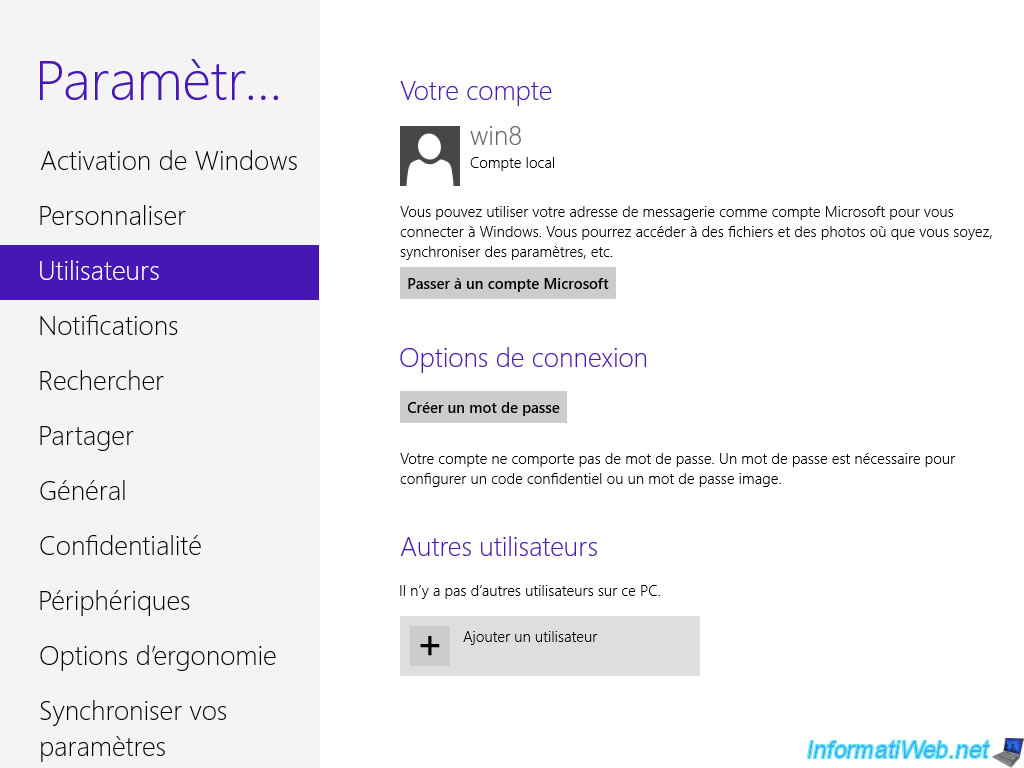
6.2. Create a new Windows user (Windows 8)
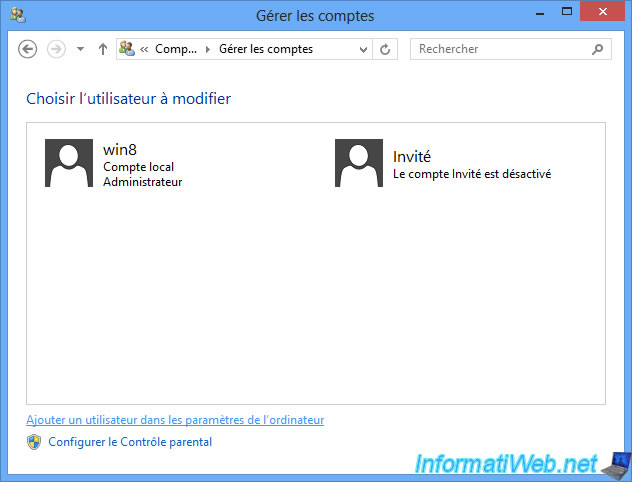
In Windows 8, go to Control Panel -> User Accounts and Family Safety -> User Accounts -> Manage another account.
Then, click on "Add a new user in PC settings".
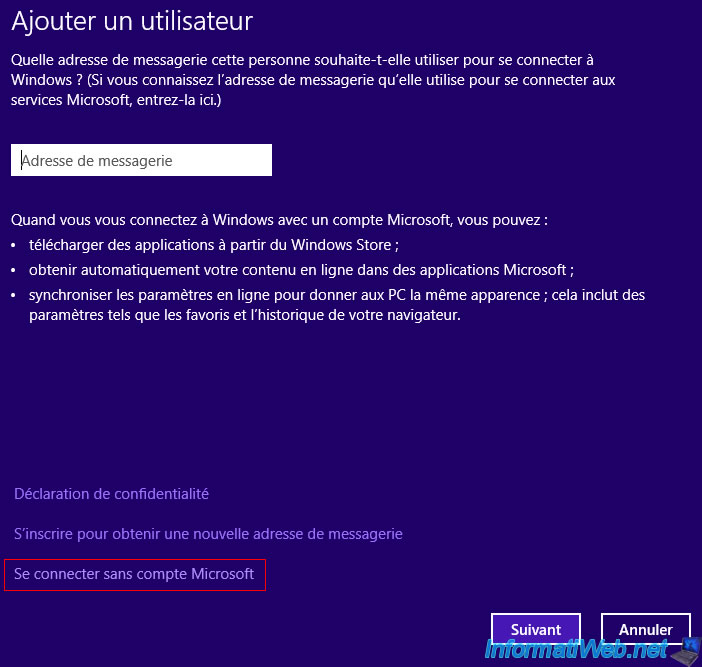
Click on "Add a user".
Click "Sign in without a Microsoft account".
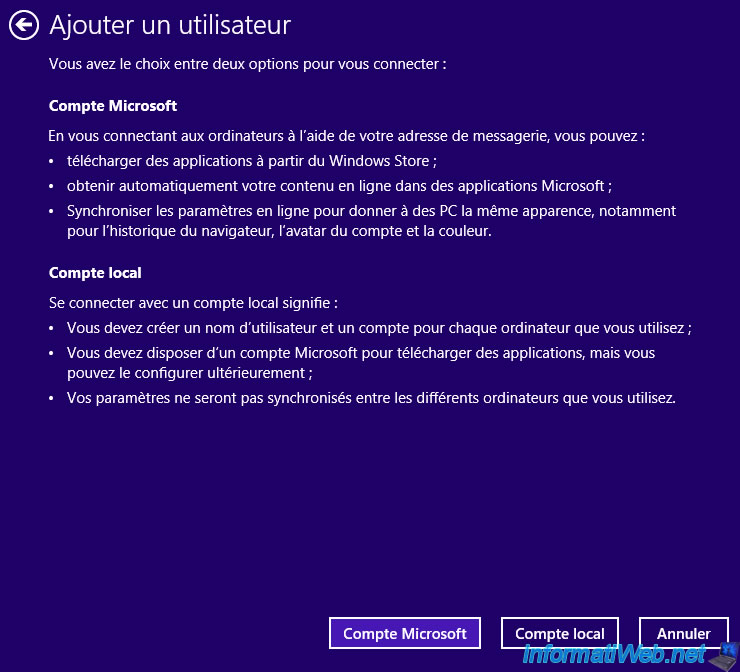
Click on "Local account".
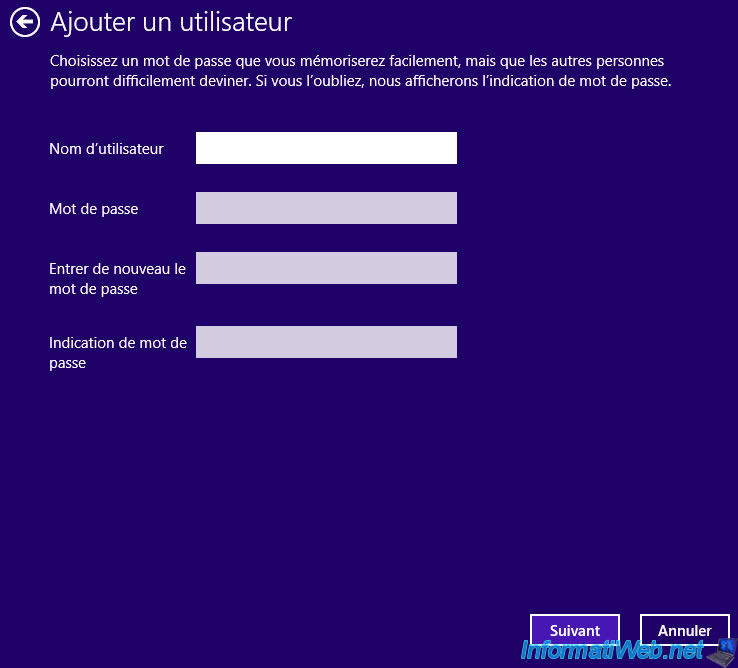
Enter a username and a password.
6.3. Hide user
Since we have created a classic Windows user account, it will appear in the home screen.
However, in our case, we don't want to use it to open a Windows session, but only to secure access to our network shares.
So we will make it disappear from the windows home screen via a small modification in the registry.
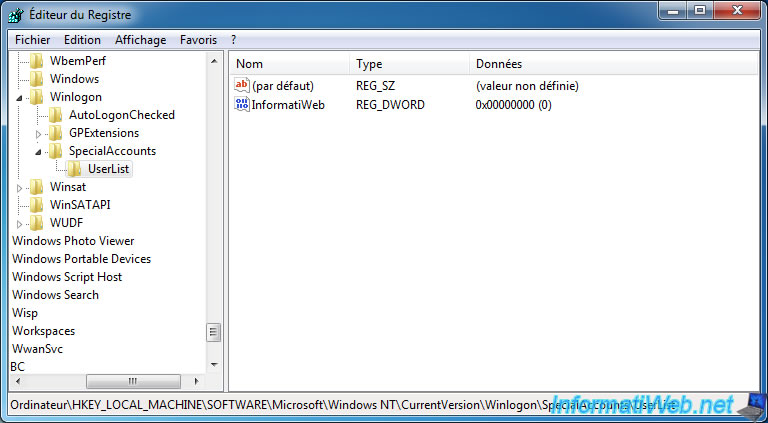
To begin, create a new "SpecialAccounts" key in this registry key : HKEY_LOCAL_MACHINE\SOFTWARE\Microsoft\Windows NT\CurrentVersion\Winlogon
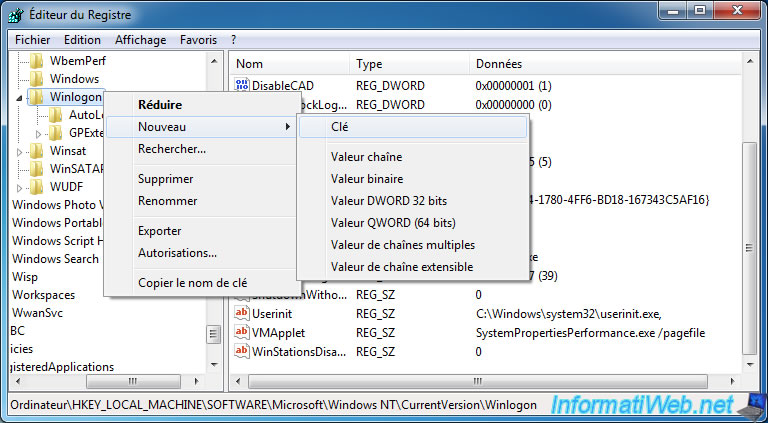
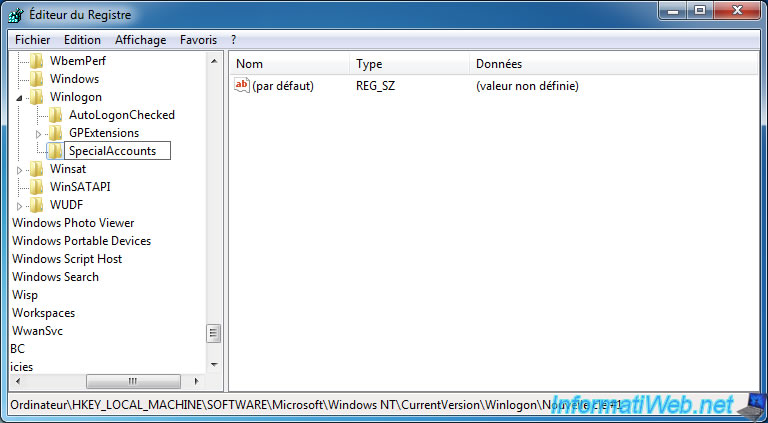
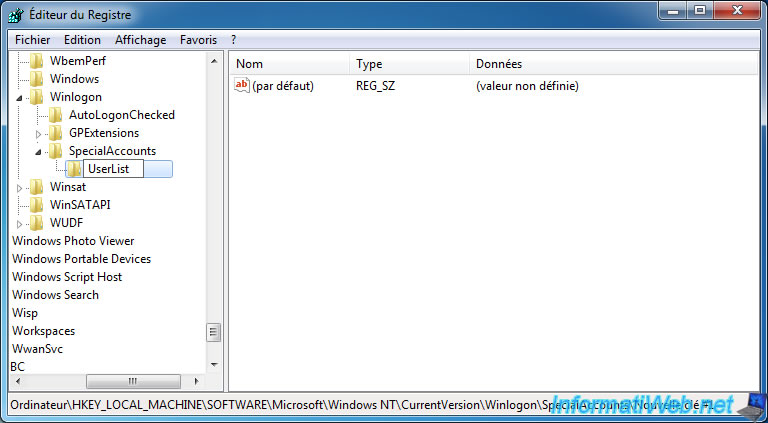
Then, create a "UserList" key in the "SpecialAccounts" key.
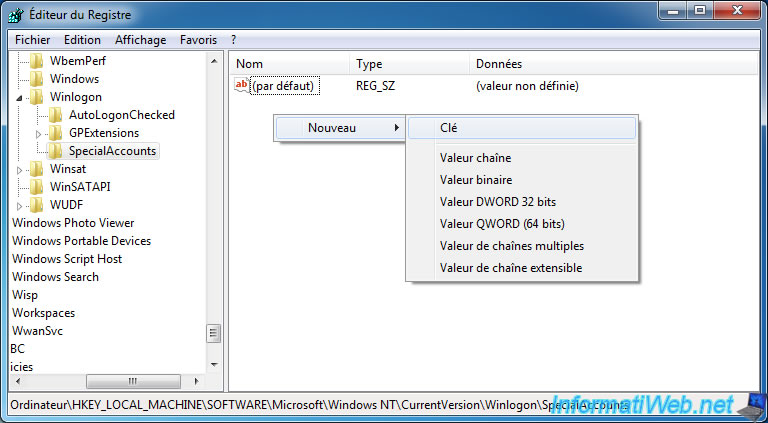
Finally, create a new 32-bit DWORD data in the "UserList" key with :
- the name of the user to hide as a name
- and the number 0 as a value

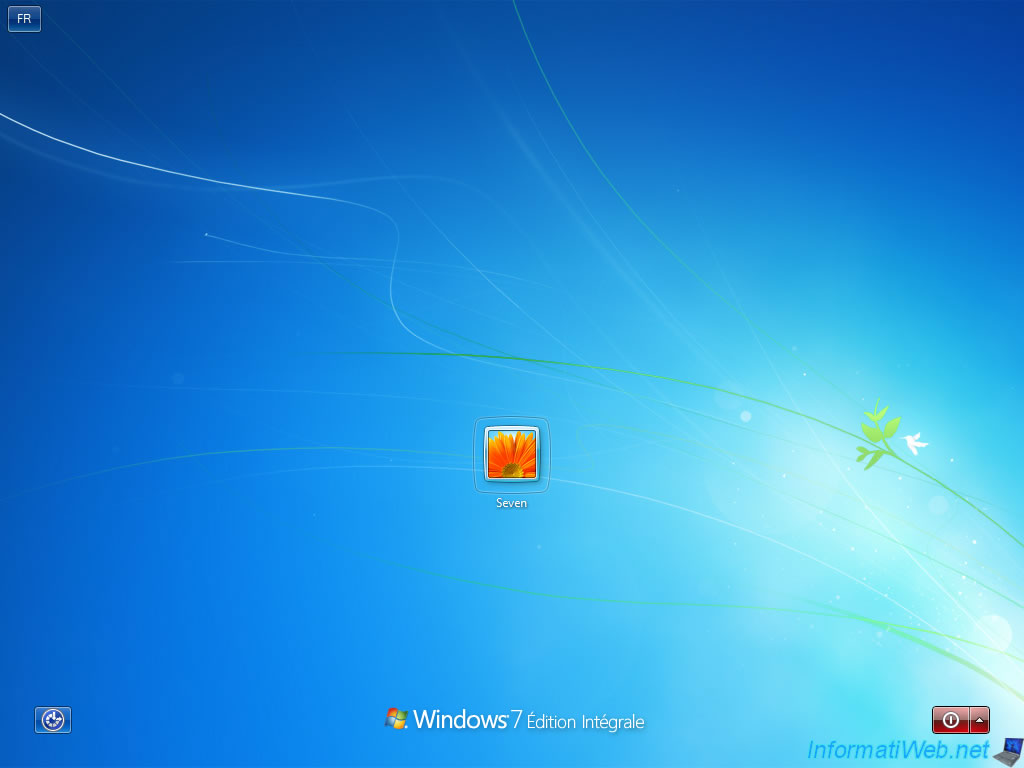
Now, this user has disappeared from account management under Windows.
As well as the home screen.
Note : To redisplay it, just delete the previously created DWORD data.
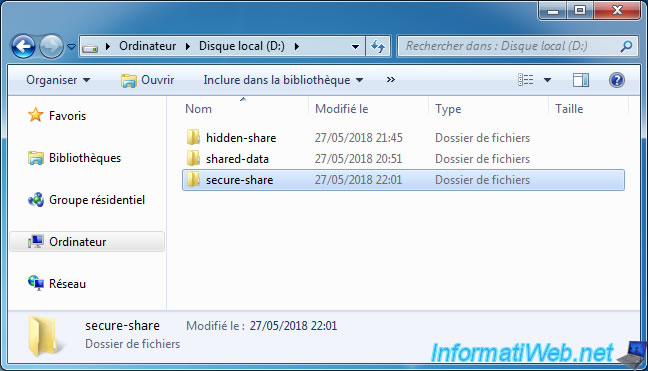
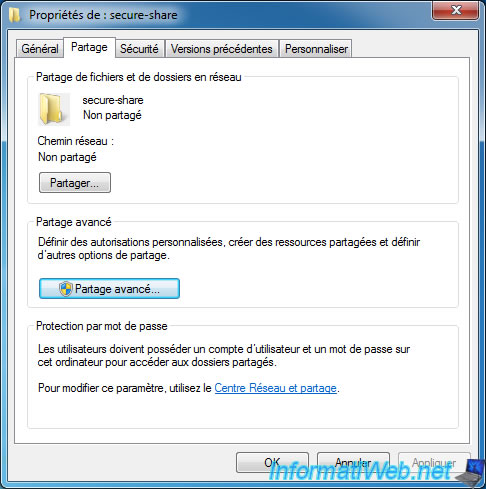
6.4. Share a folder
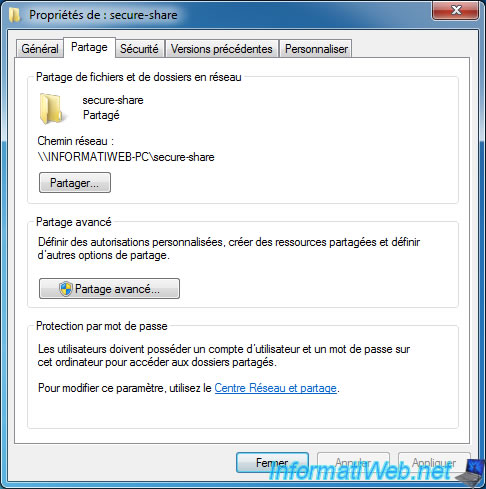
To share the folder, right-click "Properties" on the new folder to share.
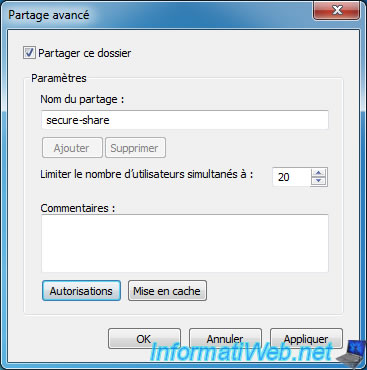
In the "Sharing" tab, click "Advanced Sharing".
Check the "Share this folder" box, then click on the "Permissions" button.
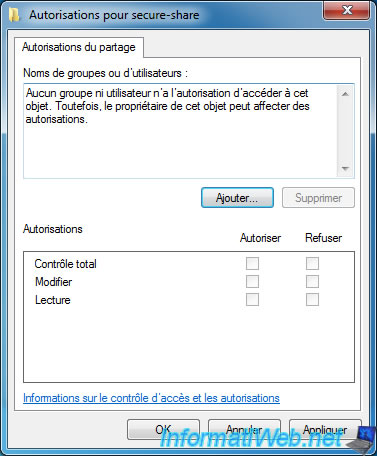
Delete the "Everyone" group.
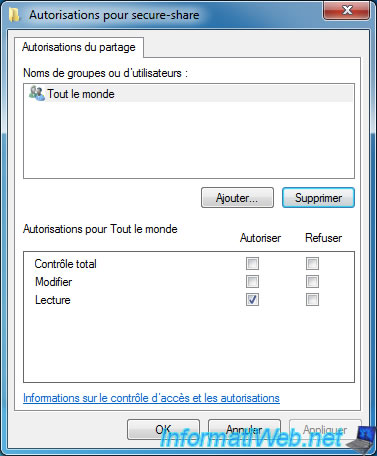
Click Add.
Enter the name of the user created previously.
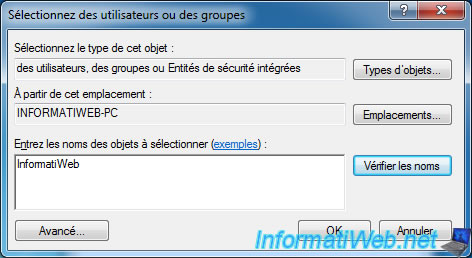
Choose the permissions to grant to it.
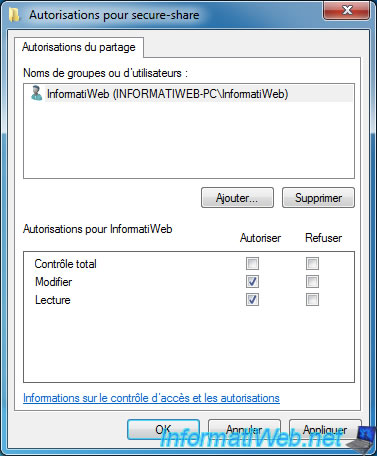
Click OK.

And here's your new password-protected shared folder.
6.5. Access the shared folder
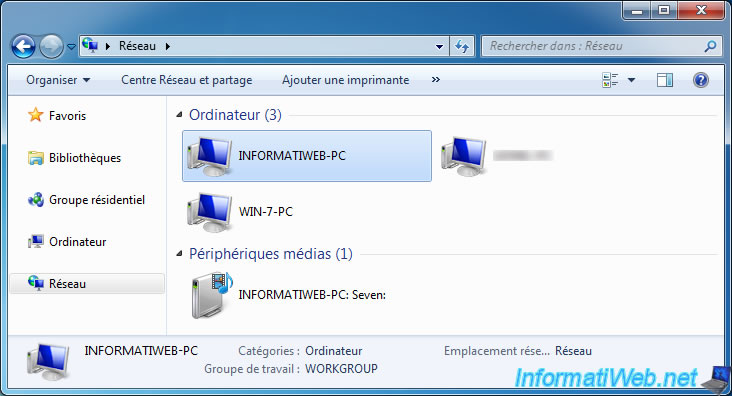
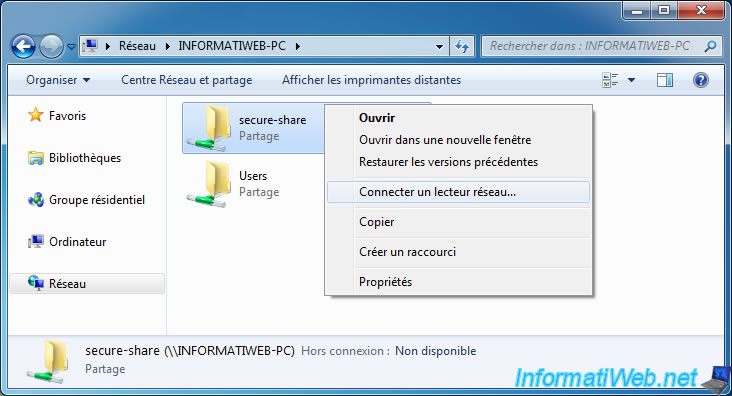
To access your shared folder, return to the "Network" section of the file explorer and double-click on the desired computer.
Right-click "Connect network drive" on the password-protected network share.
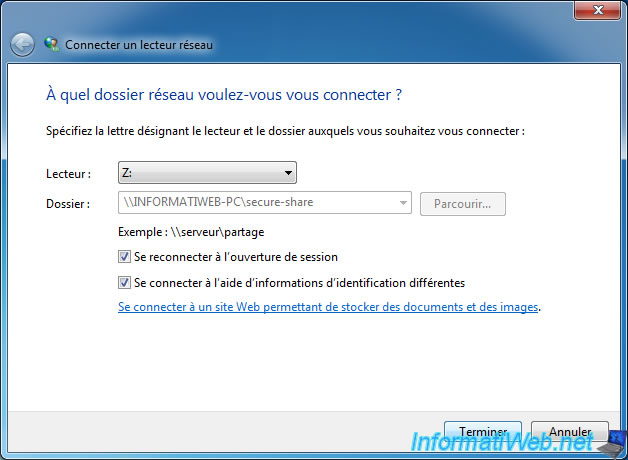
Check the "Connect using different credentials" box and click Finish.
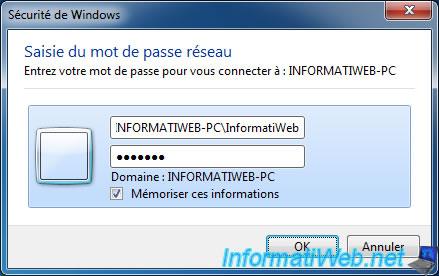
Enter the username and password of the user account created earlier and click OK.
Important : the user name must be specified as : [remote PC name]\[authorized user name on the remote PC]
The folder is displayed as a network drive.
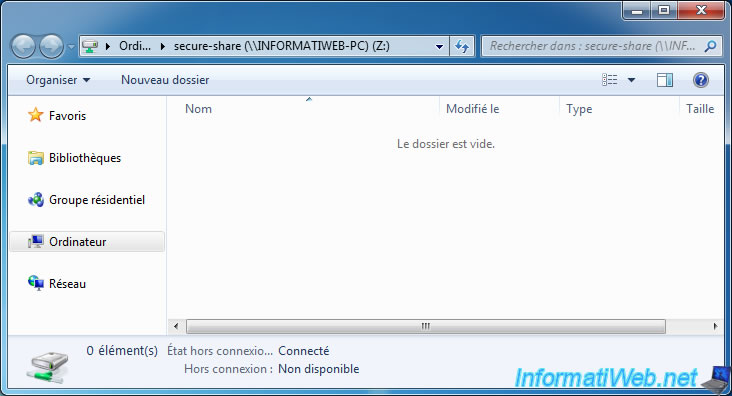
Note that the drive will be easily accessible from Computer.
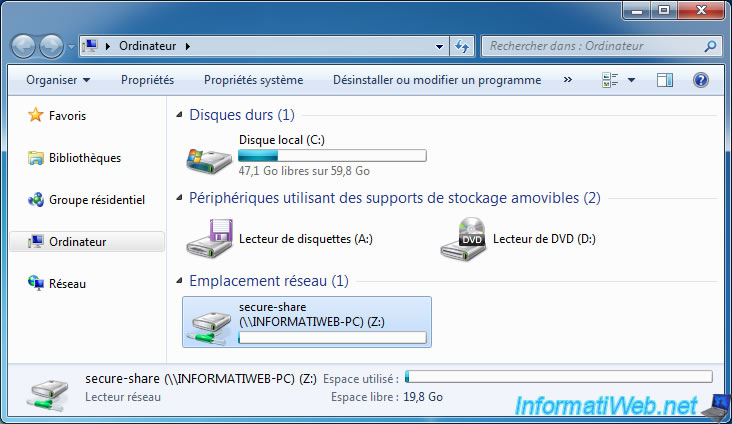
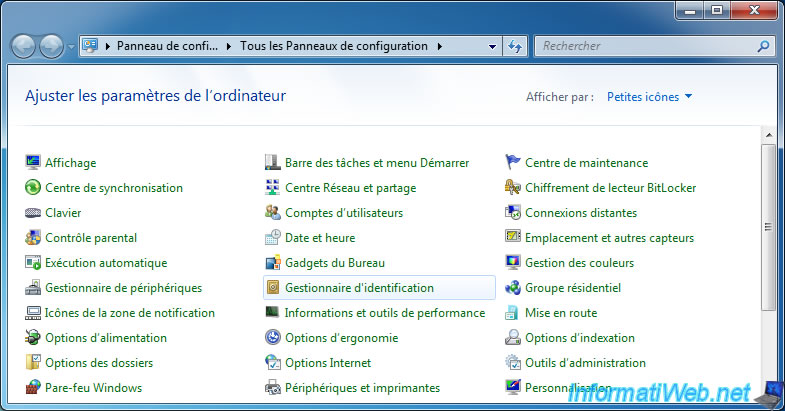
If you checked the "Remember my credentials" box when creating the network drive, you can find the stored credentials in the control panel.
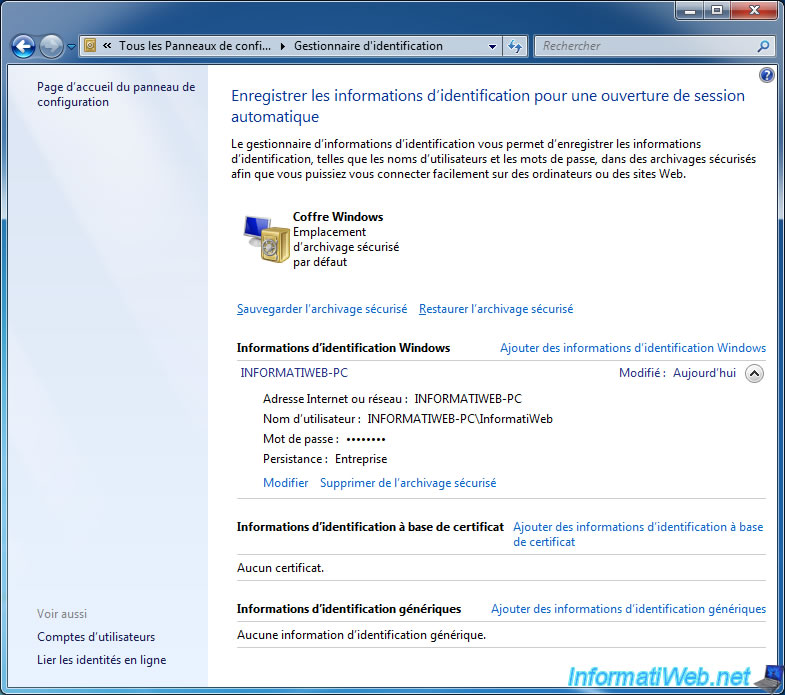
At the top right, select "View by : Small icons", then click : Credential Manager.
As you can see, we find the credentials used for access to shares of the remote PC : INFORMATIWEB-PC.
Note : for Windows 8 and 8.1, click on "Windows credentials" to get these informations.
Share this tutorial
To see also
-
Windows 4/6/2013
Get the serial number of Windows
-
MultiBoot 6/3/2024
VHD/VHDX multiboot with Windows 7 and Windows 8.1
-
Windows 2/19/2021
Windows - Repair system files
-
Windows 12/17/2015
Windows 8 / 8.1 / 10 / 11 - System restore
No comment