- Windows
- Windows 8 / 8.1, Windows 7, Windows 10, Windows 11
- 02 May 2025 at 08:54 UTC
-

- 1/3

Previously, we explained how to manually install Windows 11, 10, ... by starting your computer in Legacy BIOS mode (which required the creation of an "MBR" partition table).
In this new tutorial, we will show you how to manually install Windows 11, 10, ... by starting your computer in UEFI mode.
Which will require a "GPT" partition table. This allows you to benefit from secure boot (if you wish), as well as to install Windows on a hard drive with a capacity greater than 2 TB.
Notes:
- This tutorial works both with and without secure boot available with UEFI boot.
Warning: although Windows 7 supports UEFI mode, secure boot is only supported by Microsoft since Windows 8. - Tutorial also tested with Windows 11 Pro v21H2, Windows 8.1 Pro, Windows 8 Pro and Windows 7 Ultimate.
- Configure your motherboard BIOS to boot in UEFI mode
- Change the language of the Windows PE environment of the live CD used
- Copy Windows installation files to desired hard drive or SSD
- Windows installation
- Partition and GUID Partition Table (GPT)
1. Configure your motherboard BIOS to boot in UEFI mode
When you want to install Windows 11, 10, ... in UEFI mode, it is necessary that the UEFI firmware of your motherboard is configured to boot in UEFI mode.
To do this, refer to our tutorial: Configure your computer's BIOS to boot in UEFI mode (firmware).
Next, change the boot order of your motherboard's UEFI firmware so that your computer boots first on your CD/DVD drive.
Then, on the hard drive or SSD where you will install Windows.
To do this, refer to our tutorial: Change the BIOS boot priority.

2. Change the language of the Windows PE environment of the live CD used
2.1. Change the language of the Windows PE environment used by the Windows installation DVD
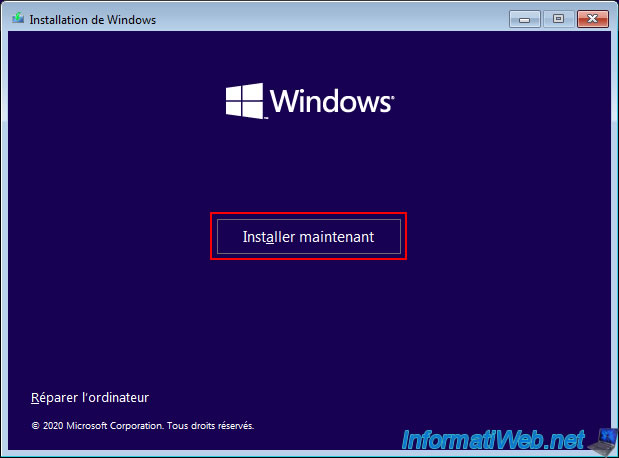
To manually install Windows 11, 10 or 8.1, boot your computer to the installation DVD of the desired version of Windows, then select your country and keyboard language.
Then, click: Next.
Warning : to manually install Windows 8 or 7, skip this step and go to step "2.2. Change the language of the Windows PE environment used by the live CD: Hiren's BootCD PE".

Click: Install now.
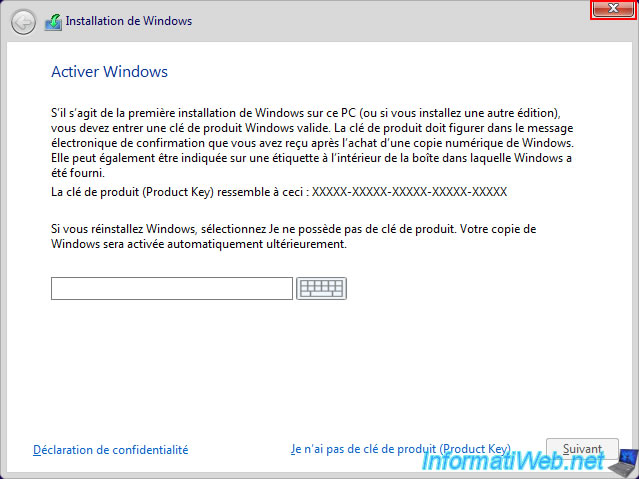
Note: this will change the keyboard language used by the Windows PE environment you are currently using.
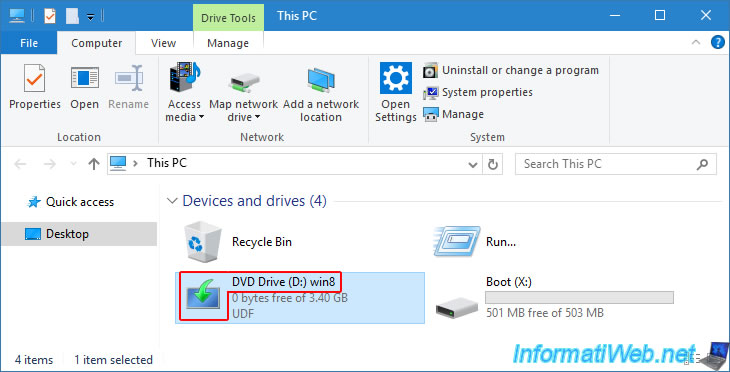
Once you see the installer with a white background appear.
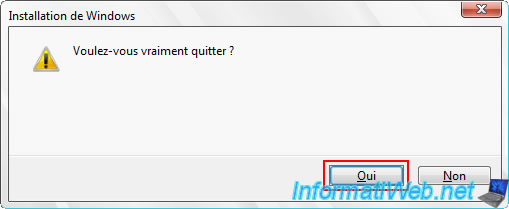
Close it by clicking on the cross at the top right.
Click: Yes.
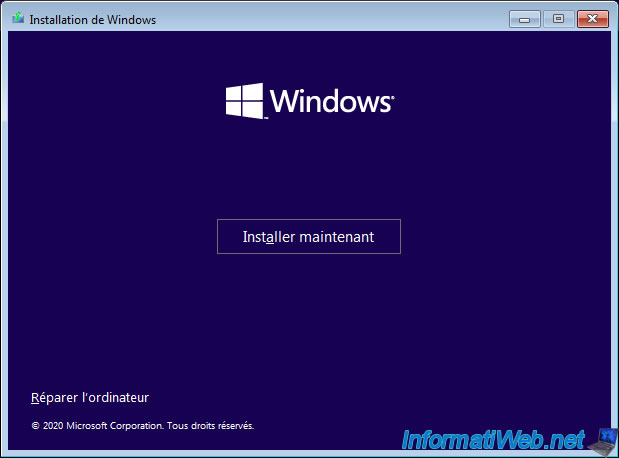
The purple installer reappears.
2.2. Change the language of the Windows PE environment used by the live CD: Hiren's BootCD PE
To manually install Windows 8 or 7, you will need to use the "Hiren's BootCD PE" live CD using a Windows PE environment based on Windows 10, because the "dism" command (which you will need in this tutorial) does not have all the necessary options on Windows 8 and 7.
To change your keyboard language in Hiren's BootCD PE, follow step "2.2. Change the language of the Windows PE environment used by the live CD: Hiren's BootCD PE" of our tutorial on manually installing Windows with an MBR.
Important : once you have changed your keyboard language, do not forget to remove the Hiren's BootCD PE CD and insert your Windows 8 or 7 installation DVD into your CD/DVD drive.
Share this tutorial
To see also
-
MultiBoot 4/22/2024
Microsoft multiboot with Windows 10 and Windows 11
-
Windows 10/2/2023
Upgrade Windows 11 to newer version of Win 11 (from DVD)
-
MultiBoot 8/12/2024
VHD/VHDX multiboot - Upgrade Windows 11 to newer version of Win 11
-
Windows 2/6/2025
Windows 10 - Change file explorer shortcuts
You must be logged in to post a comment