- Windows
- Windows 8 / 8.1, Windows 7, Windows 10, Windows 11
- 28 April 2025 at 09:25 UTC
-

- 1/3
Usually, when you want to install Windows 11, 10, ... on your computer, you boot your computer from the Windows installation DVD.
However, sometimes the installer refuses to install Windows on the desired disk. Especially on a computer with many disks and potentially other OS installed on these other disks.
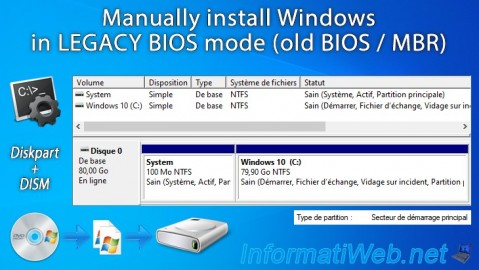
To still install Windows 11, 10, ... on the desired disk, here is how to install Windows in Legacy BIOS mode (MBR) using the command line first.
Warning : the disk where Windows will be installed will use an MBR. This means that the size of the physical disk used must have a capacity (size) less than 2 TB.
Indeed, this is a physical limitation of the MBR. If you have a disk larger than 2 TB, then you will need to use a GPT partition table and boot in EFI mode (as explained in another tutorial).
Note: tutorial also tested with Windows 11 Pro v21H2, Windows 8.1 Pro, Windows 8 Pro and Windows 7 Ultimate.
Warning : although it is also possible to manually install Windows 11 in Legacy BIOS (MBR) mode, this is not officially supported by Microsoft.
- Configure your motherboard BIOS to boot in Legacy BIOS mode
- Change the language of the Windows PE environment of the live CD used
- Copy Windows installation files to desired hard drive or SSD
- Windows installation
- Partition and MBR (Master Boot Record) partition table
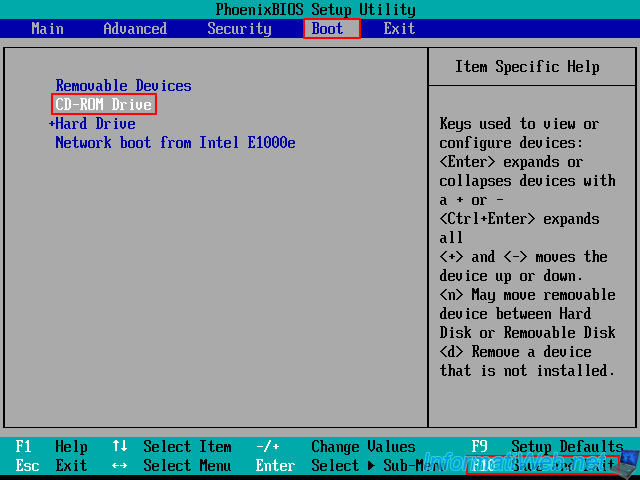
1. Configure your motherboard BIOS to boot in Legacy BIOS mode
When you install Windows in Legacy BIOS mode (and therefore an MBR will be used on the disk where Windows will be installed), it is necessary that your motherboard BIOS is configured to boot in Legacy BIOS mode.
To do this, refer to our tutorial: Configure your computer's BIOS to boot in LEGACY BIOS mode.
Then, change the boot order of your motherboard BIOS to boot first on your CD/DVD drive (where the Windows installation DVD is located), then on the hard drive where you will install Windows.
To do this, refer to our tutorial: Change the BIOS boot priority.
2. Change the language of the Windows PE environment of the live CD used
2.1. Change the language of the Windows PE environment used by the Windows installation DVD
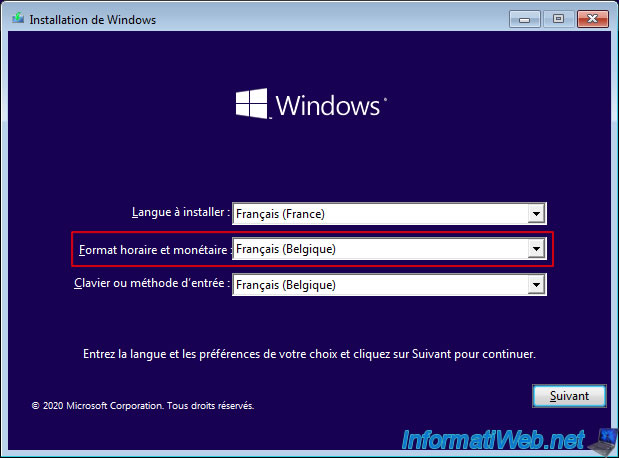
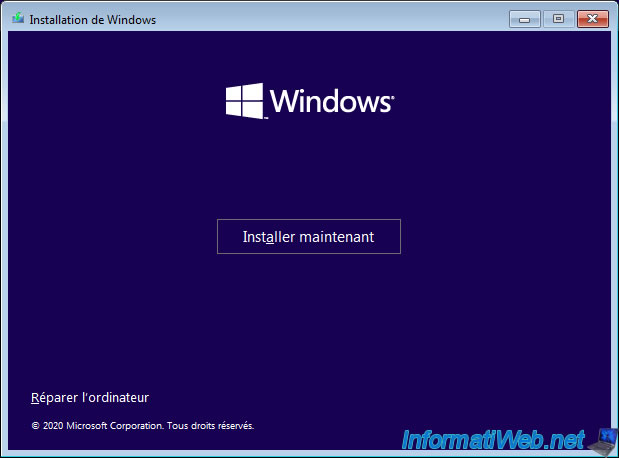
To manually install Windows 11, 10, or 8.1, boot your computer from the installation DVD of the desired version of Windows or from a bootable USB key that can install Windows.
Then, choose your country and language, and click: Next.
If necessary, download the ISO of Windows 11, Windows 10, ... from the Microsoft website.
Warning : to manually install Windows 8 or 7, skip this step and go directly to the next one (2.2. Change the language of the Windows PE environment used by the live CD: Hiren's BootCD PE).
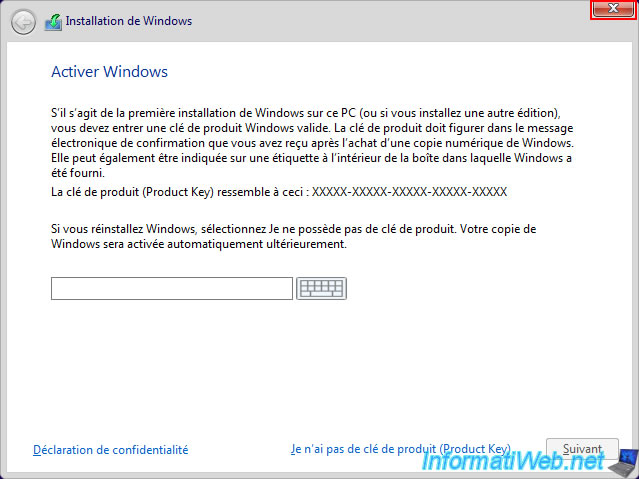
Click "Install now".
This will change the keyboard language in the Windows PE environment used by your Windows installation DVD.
This will ensure that the special characters on your keyboard are correctly positioned when you type the various commands in the command prompt (cmd.exe).

Once the installer on a white background appears, close it using the cross located at the top right.
Confirm closing this installer by clicking: Yes.
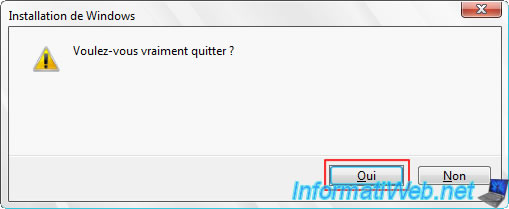
You will see the Windows installer appear again.
Leave it open and continue this tutorial.
2.2. Change the language of the Windows PE environment used by the live CD: Hiren's BootCD PE
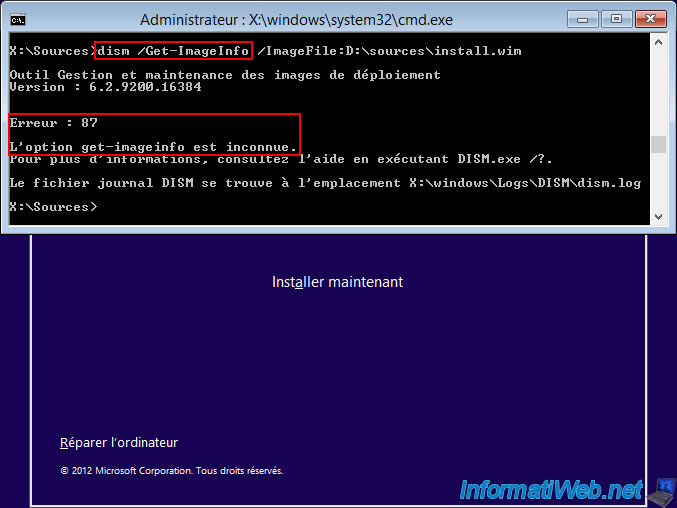
To manually install Windows 8 or 7, you will need to download the "Hiren's BootCD PE" live CD and boot your computer on it.
Indeed, the "dism" command available under Windows 8 and 7 is too limited and the "/Get-ImageInfo" option that you will need a little later is not present.
Note: you could also use any other live CD with a Windows PE environment based on Windows 10 at least.
Batch
dism /Get-ImageInfo /ImageFile:D:\sources\install.wim
Which would cause an error 87 like in the image below.
Plain Text
Error : 87.

The get-imageinfo option is unknown.
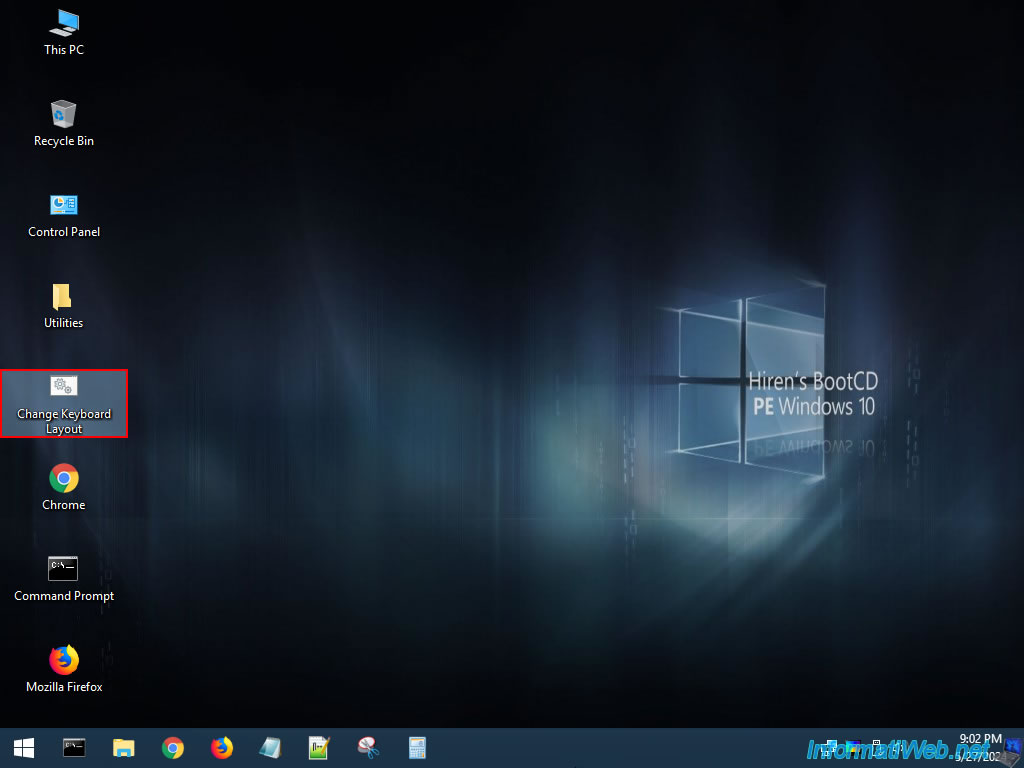
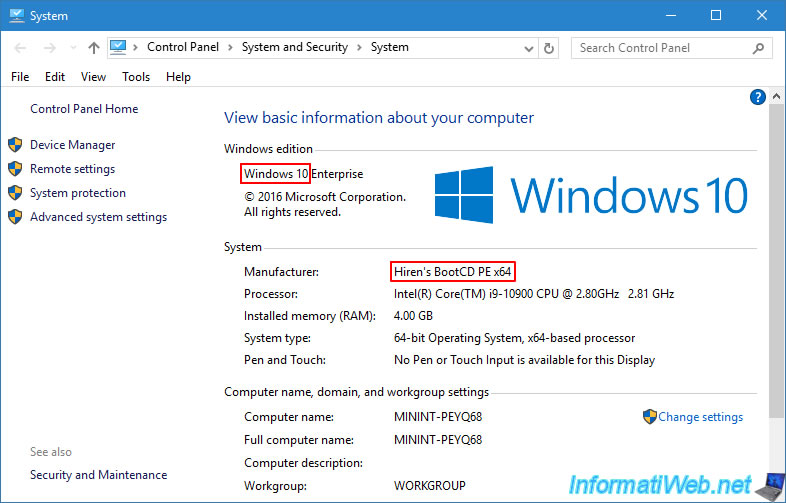
To begin, boot your computer into this live CD "Hiren's BootCD PE".
![]()
On the Hiren's BootCD PE desktop, double-click the "Change Keyboard Layout" shortcut.
In the list of available keyboards, you will find in particular number 16 for the "Belgian French" keyboard (for Belgium).
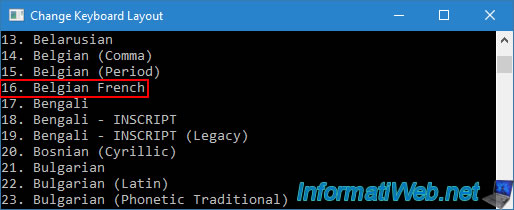
Below, you will also find the "French" keyboard (for France).

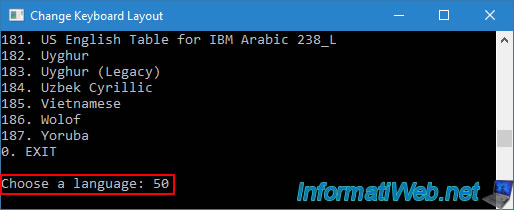
At the bottom, type the desired keyboard number, then press Enter.
For example: 16 (Belgium) or 50 (France).
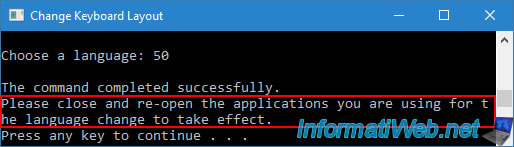
Hiren's BootCD PE warns you that you must close open applications and reopen them for the new keyboard layout to be used.
If you don't, the special characters will not be on the correct keys on your keyboard.
On the desktop, double-click "This PC" to open file explorer.
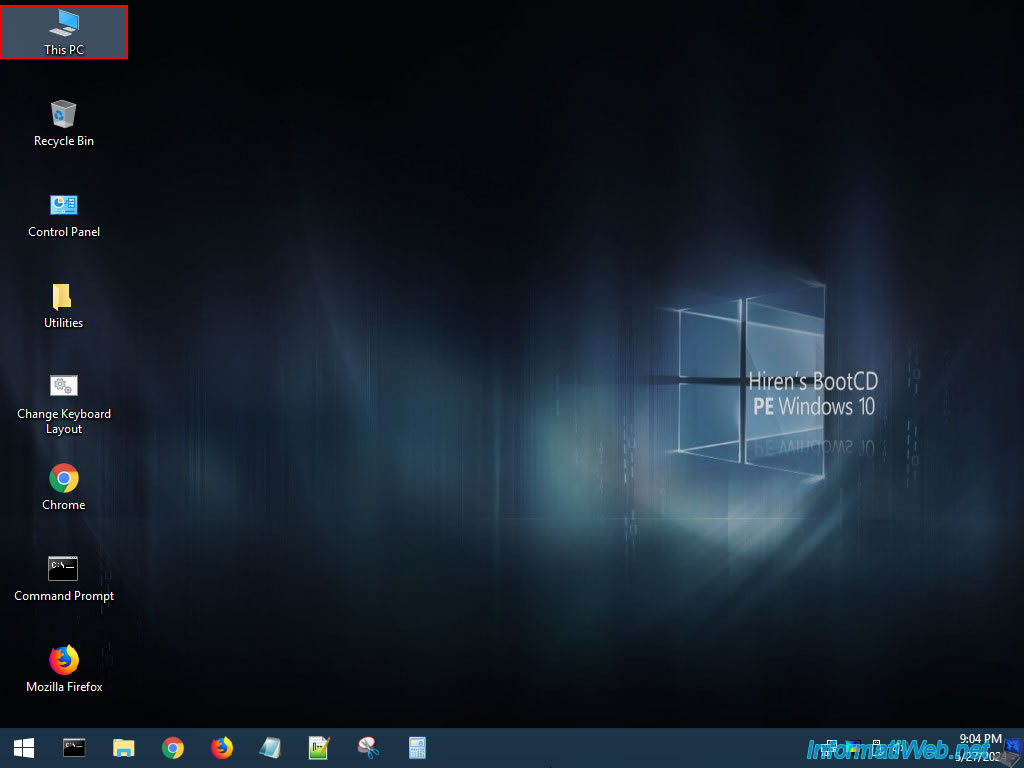
In File Explorer, you will find 2 important drives:
- DVD Drive (D:) HBCD_PE_x64 : corresponds to your physical CD/DVD drive where your live CD "Hiren's BootCD PE" is located.
- Boot (X:) : corresponds to a virtual disk present in the random access memory (RAM) of your computer.
More precisely, it is the Windows PE environment (based on Windows 10) that you are currently using.
In other words, when you turn off or restart your computer, the changes made in this partition will be lost.
On the other hand, the changes made on the real partitions will be preserved.
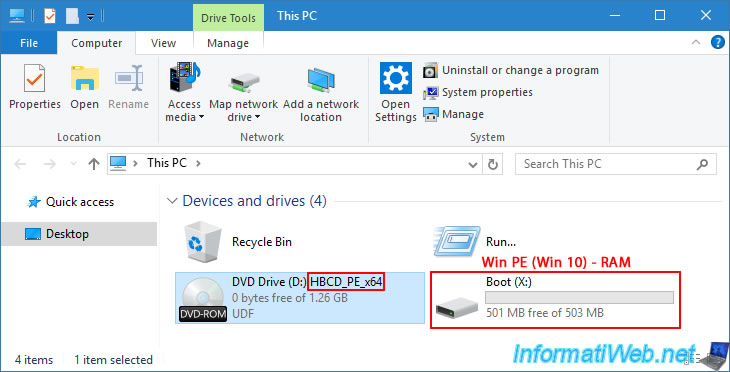
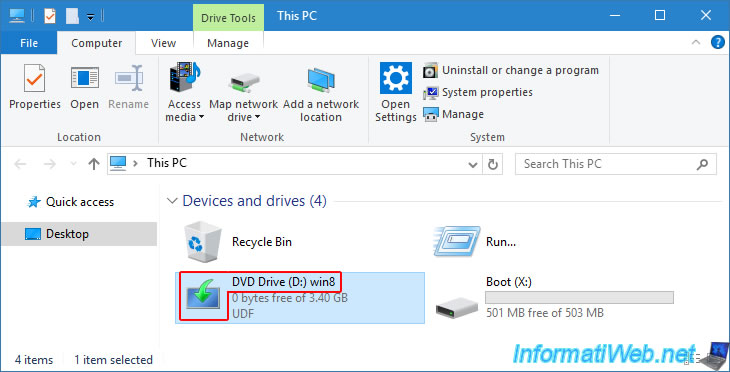
Since Windows PE (based on Windows 10 in this case) runs entirely in your computer's RAM, you can remove the Hiren's BootCD PE DVD from your CD/DVD drive and replace it with the Windows 8 installation DVD that you will need for the rest of this tutorial.
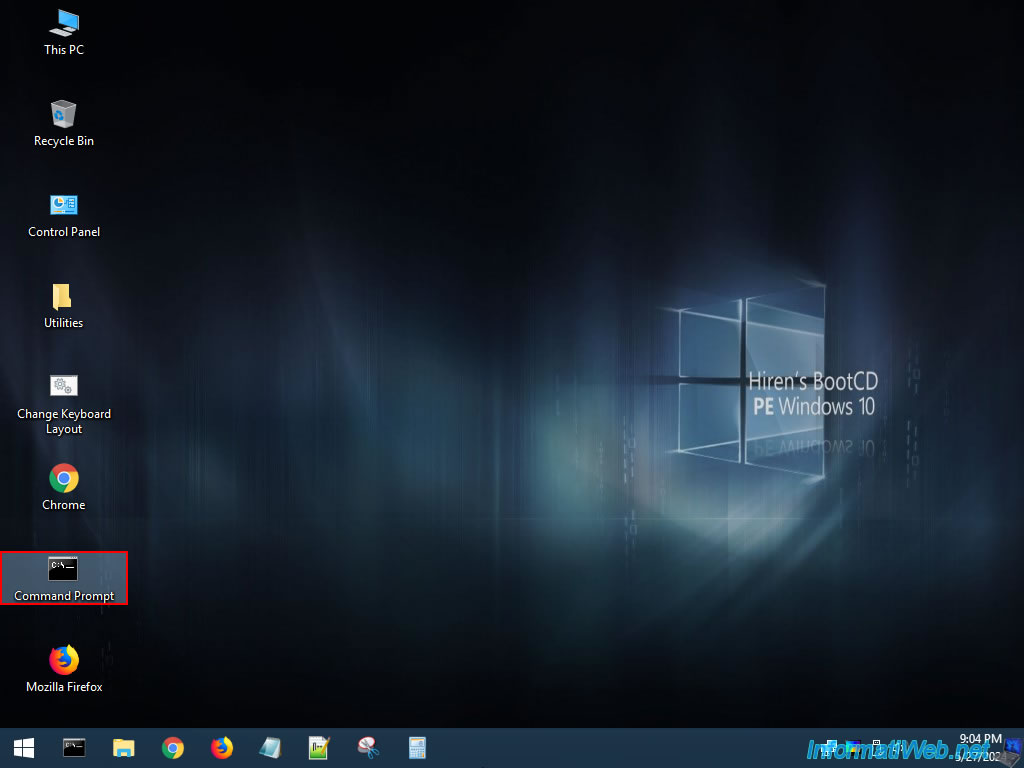
On your desktop, double-click the "Command Prompt" shortcut.
The command prompt appears and you can see that the current folder is "x:\windows\system32".
Which corresponds to the Windows PE environment you are in.
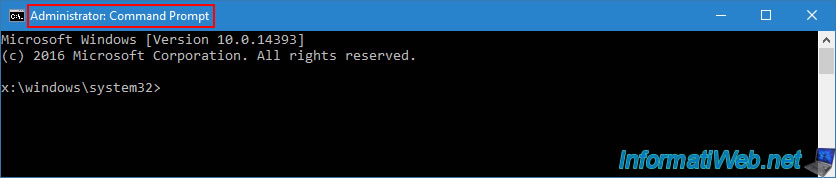
As stated before, the purpose of this live CD is to use a Windows PE environment based on Windows 10 so that you can use all the options of the "dism" command mentioned in this tutorial.
However, you could also use other live CDs with a Windows PE environment based on Windows 10 (such as the different versions of the live CD: Malekal Live CD) if you wish.
Share this tutorial
To see also
-
Windows 8/24/2021
Upgrade from Windows 8 to Windows 8.1 (from DVD)
-
MultiBoot 7/1/2024
VHD/VHDX multiboot with Windows 10 and Windows 11
-
Windows 4/7/2025
Windows 11 / 10 / 8.1 / 8 - Repair a parity storage space (software RAID 5)
-

Windows 10/6/2021
Windows 7 / 8 / 8.1 - Help a remote user without third-party software
You must be logged in to post a comment