- MultiBoot
- Windows 8 / 8.1
- 15 July 2024 at 13:15 UTC
-

- 1/4
In our "VHD/VHDX multiboot with Windows 8.1 and Windows 10" tutorial, we explained how to create a multiboot by installing Windows 8.1 and 10 on VHDX virtual disks.
Assuming you installed "Windows 8" instead of "Windows 8.1", here's how to upgrade your Windows 8 installation on VHDX to Windows 8.1.
Which is not supported by default by Microsoft. However, there is a technique that obviously allows you to do this.
- Can't upgrade Windows 8 on VHDX virtual disk
- Enable Hyper-V feature
- Find out the partition table used on the VHDX virtual hard disk
- Create a temporary virtual machine on Hyper-V to upgrade Windows 8
- Start the virtual machine from your VHDX virtual hard disk
- Upgrade to Windows 8.1 from virtual machine
- Delete virtual machine
- Boot to Windows 8.1 (VHD)
1. Can't upgrade Windows 8 on VHDX virtual disk
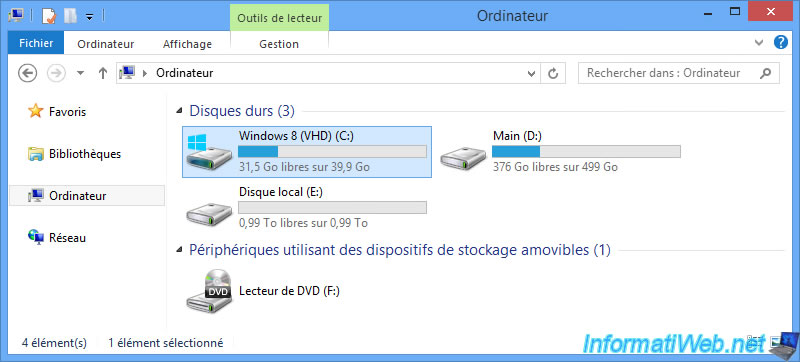
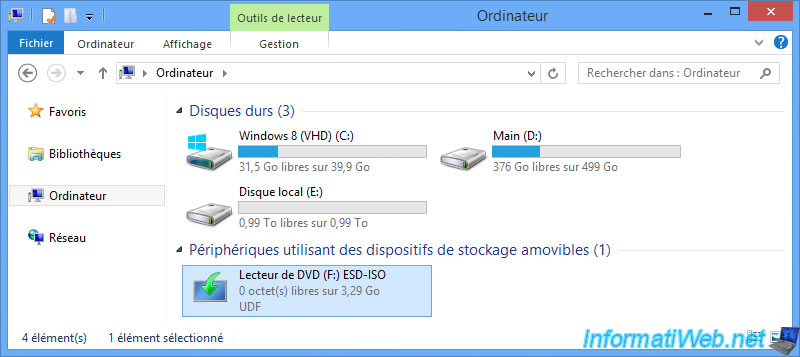
As a reminder, Windows 8 is installed on a VHD.
But Windows 8 appears as "Windows 8 (VHD) (C:)" partition when you boot to this version of Windows.
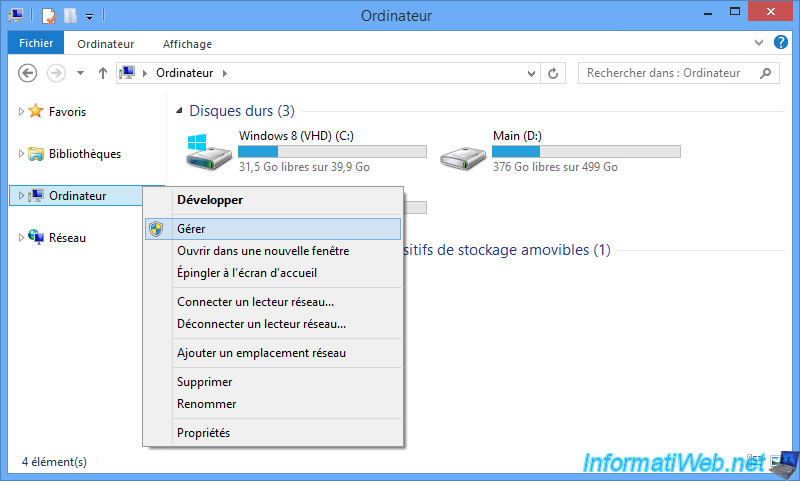
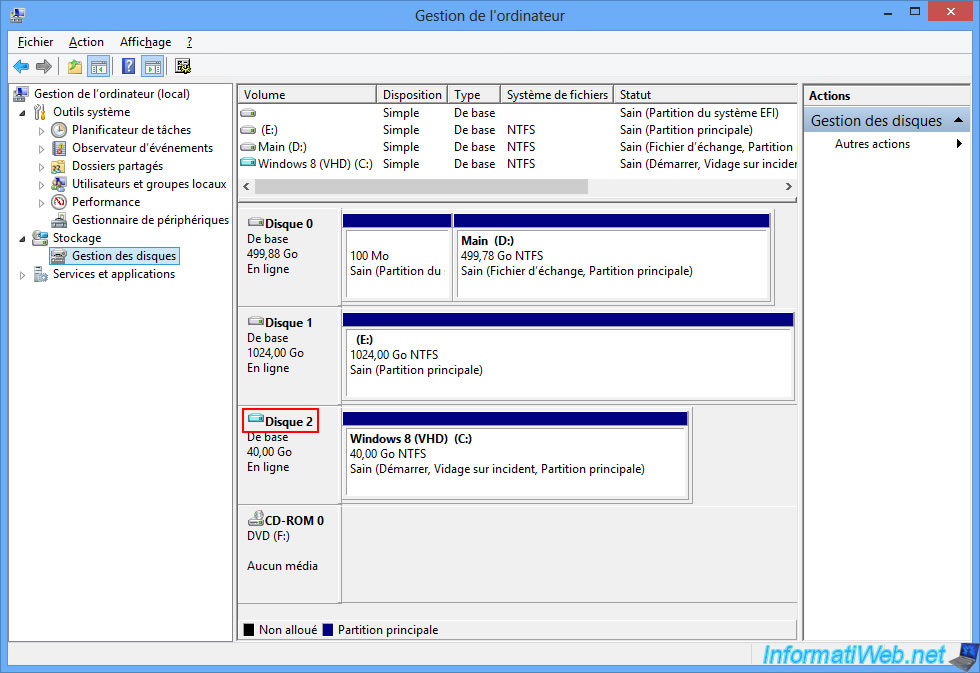
Right-click "Manage" on "Computer" to access Windows Disk Management.
As you can see, on your physical PC, Windows 8 recognizes this disk as a virtual disk (hence the turquoise blue icon displayed instead of gray).
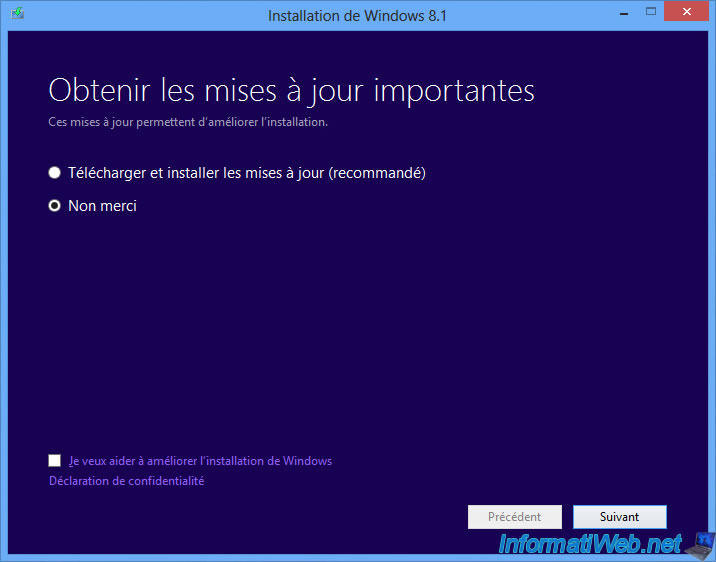
Insert the Windows 8.1 installation DVD and double click on it.
Choose not to download updates automatically when upgrading.
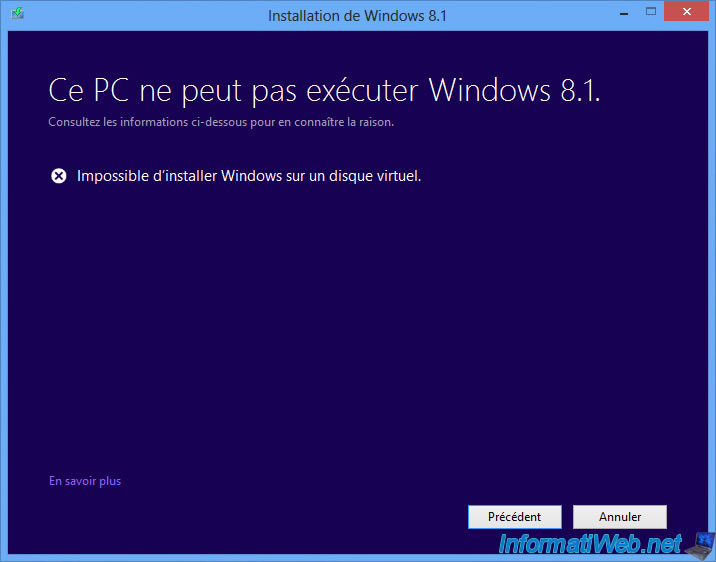
As you can see, upgrading from Windows 8 to Windows 8.1 when Windows is installed on a VHDX virtual hard disk is not supported by Microsoft.
Plain Text
This PC can't run Windows 8.1.
See below if you're interesting in finding out why.

You can't upgrade Windows on a virtual drive.
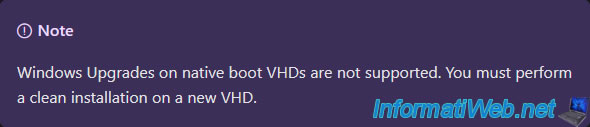
Indeed, if you check on the "Deploy Windows on a VHD (Native Boot) | Microsoft Learn" page, you will see that upgrading Windows 8/8.1 on a VHD is not supported via native boot .
Plain Text
Windows Upgrades on native boot VHDs are not supported. You must perform a clean installation on a new VHD.
2. Enable Hyper-V feature
To upgrade your installation from Windows 8 to Windows 8.1, you will need to connect your virtual hard disk (win8.vhdx in our case) to a virtual machine running Hyper-V.
For this, it is necessary to boot to another operating system than the one you want to upgrade.
In our case, we will boot into Windows 10.
Note that Hyper-V is only available since Windows 8.
If needed, transfer the "win8.vhdx" file to another computer where you can temporarily use Hyper-V.
Important : if you need help using Microsoft Hyper-V, refer to our complete course "Learn how to create virtual machines with Hyper-V on WS 2012 R2 and WS 2016" available on our site " InformatiWeb Pro".
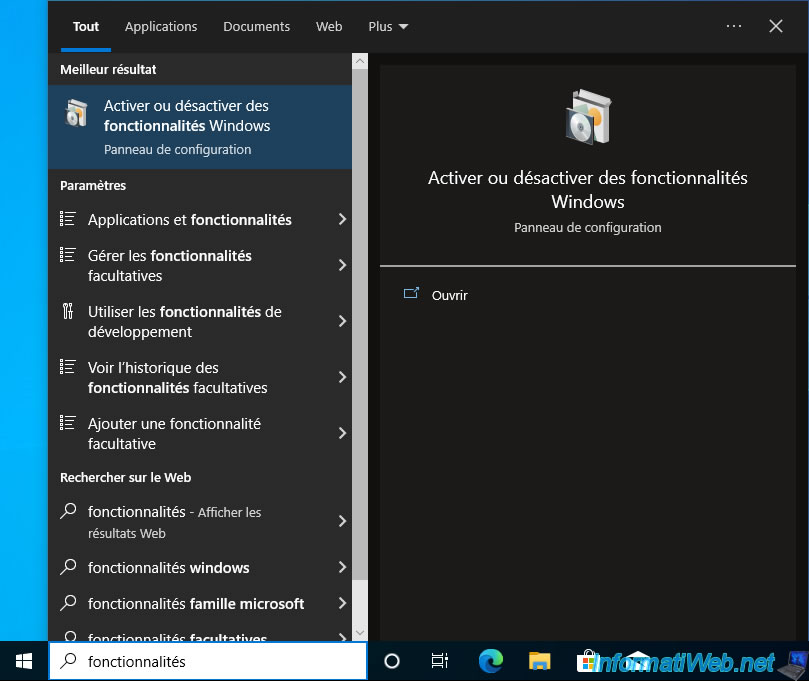
On Windows 10, search for "features" and click on: Turn Windows features on or off.
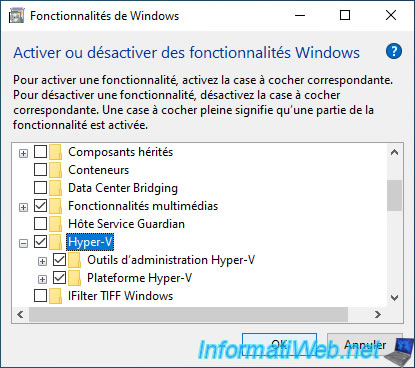
In the "Windows Features" window that is displayed, check the "Hyper-V" box and check that the 2 boxes there are also checked:
- Hyper-V Management Tools: tools for managing your virtual machines under Microsoft Hyper-V.
- Hyper-V Platform: hypervisor to run your virtual machines.
Then, click OK.
Important : in order for the "Hyper-V Platform" box to be checked, your computer must support SLAT and processor virtualization must be supported and enabled in your motherboard's BIOS.
Note: officially, Hyper-V is not available on the Home edition of Windows (regardless of your version of Windows).
Although it is possible to install it manually by following this: Windows 8 / 8.1 / 10 / 11 - Install Hyper-V on Windows Home Edition.
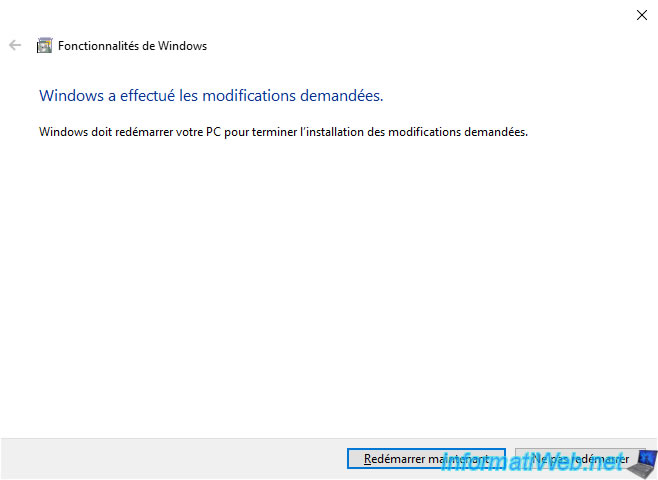
Wait while the changes are applied.
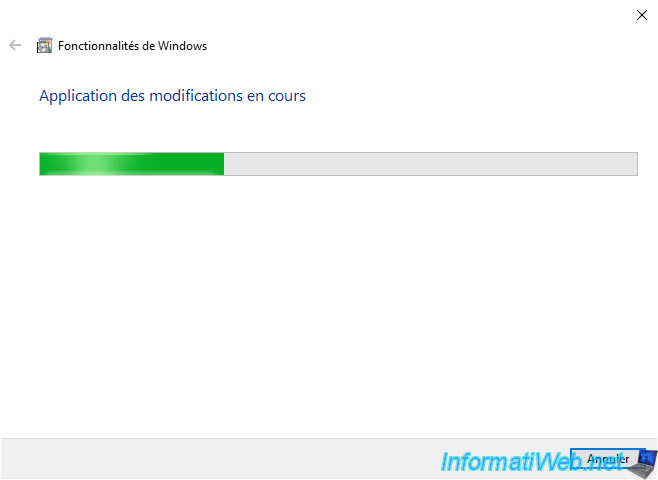
Then, click: Restart now.
During the restart, a first message will appear:
Plain Text
Installing updates.
xx% completed.
Do not turn off the computer.

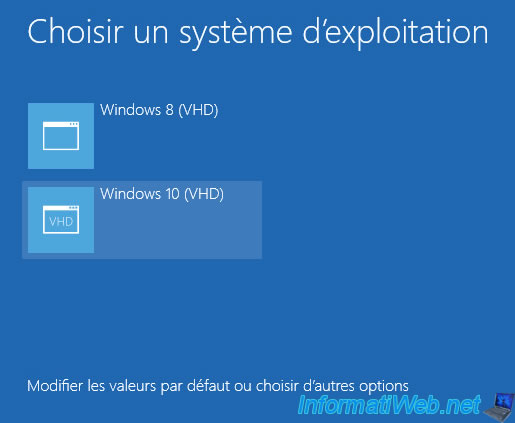
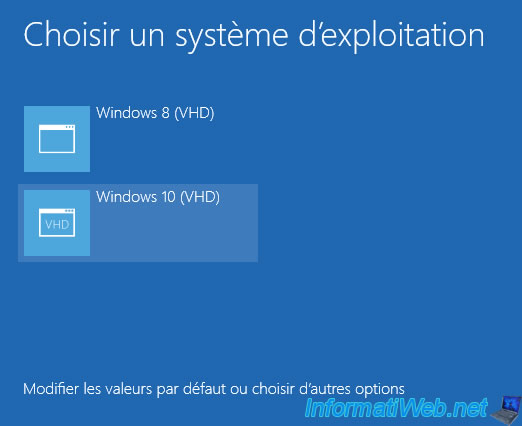
On reboot choose "Windows 10 (VHD)" again.
Then, this 2nd message will appear:
Plain Text
Use of features.
xx% completed.
Do not turn off the computer.

3. Find out the partition table used on the VHDX virtual hard disk
Before you can temporarily create a virtual machine under Hyper-V to upgrade your Windows 8 installation via its VHDX file, you must know the partition table used by it.
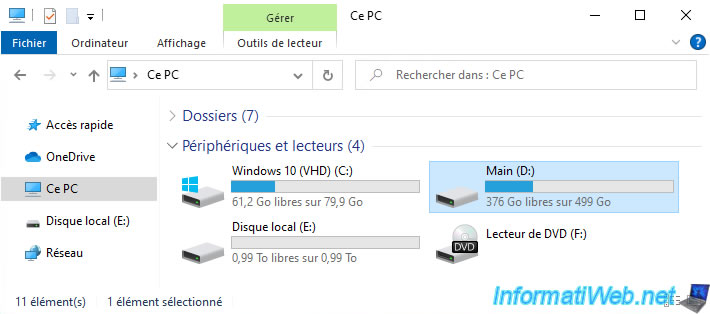
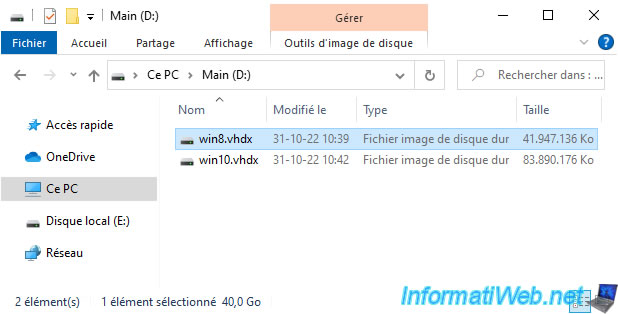
In our case, the VHDX virtual hard disks of our multiboot are in the "Main" partition.
Windows 8 is installed in the virtual hard disk "win8.vhdx".
Now that you know where your "win8.vhdx" virtual hard drive is, open a command prompt (cmd.exe) as an administrator.
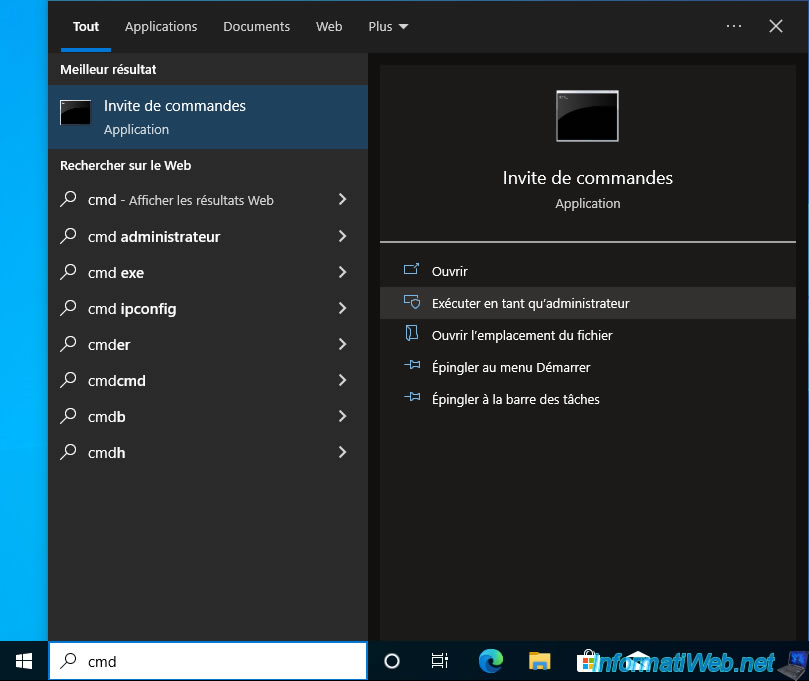
In the command prompt that appears, launch the DiskPart utility.
Batch
diskpart
Plain Text
Microsoft DiskPart version 10.0.19041.1

Copyright (C) Microsoft Corporation.
On computer : INFORMATIWEB-PC

DISKPART>
Select your Windows 8 VHDX virtual hard disk.
Batch
select vdisk file=D:\win8.vhdx
Plain Text
DiskPart successfully selected the virtual disk file.
Attach it so Windows can use it.
Batch
attach vdisk
Plain Text
  100 percent completed

DiskPart successfully attached the virtual disk file.
List the disks available on your computer.
Batch
list disk
Locate the one corresponding to the virtual disk you just attached, in theory, it is the one where the asterisk is on the left.
Note that if you followed our VHD multiboot tutorial cited at the beginning of this tutorial, this virtual hard disk is 40 GB in size for Windows 8 / 8.1.
Warning : if an asterisk is on the right (which corresponds to the GPT column), it means that a GUID partition table (GPT) is used.
Otherwise, it will be an MBR partition table.
Again, if you followed our VHD multiboot tutorial, you should have an MBR partition table in your VHDX virtual hard disks.
Plain Text
  Disk ###   Status         Size     Free     Dyn  Gpt
  ---------  -------------  -------  -------  ---  ---
  Disk 0     Online          500 GB      0 B        *
  Disk 1     Online         1024 GB  1024 KB
  Disk 2     Online           80 GB      0 B
* Disk 3     Online           40 GB      0 B
Once you know what type of partition table is used on your VHDX virtual hard disk, detach it from the system.
Batch
detach vdisk
Plain Text
DiskPart successfully detached the virtual disk file.
Close DiskPart.
Batch
exit
Share this tutorial
To see also
-
Windows 8/4/2021
Upgrade from Windows 8 to Windows 8.1 (free)
-
Windows 9/12/2022
Windows - Install Windows in LEGACY BIOS mode (old BIOS / MBR)
-
Windows 4/14/2025
Windows 11 / 10 / 8.1 / 8 - Upgrade a storage space (software RAID)
-
Windows 9/8/2021
Windows 8 / 8.1 - Bypass the Windows touch interface
You must be logged in to post a comment