- Windows
- Windows 8 / 8.1, Windows 10, Windows 11
- 17 December 2015 at 14:38 UTC
-

Windows 8, 8.1, 10 and 11 allow you to make a system restore as their predecessors. However, the procedure to start the system restore is not the same since Windows 8. Then, this procedure remained unchanged until Windows 10.
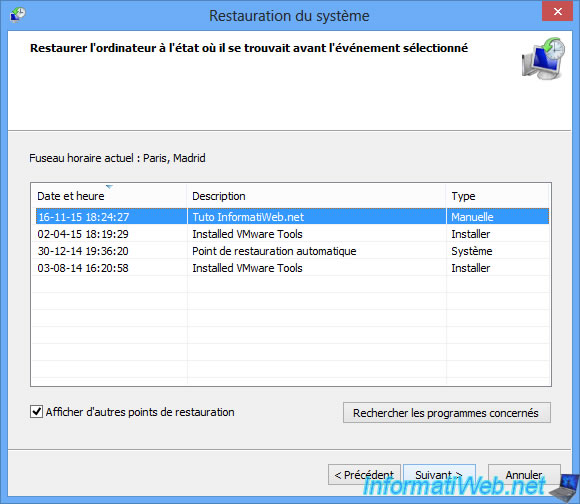
Reminder : system restore only affects system files, registry, Windows settings and programs installed between now and the date at which you restore your computer. If you want to know which programs need to be reinstalled after the system restoration, just select a restore point and click on the "Scan for affected programs" button at the bottom of the list.
With Windows 8, 8.1, 10 and 11, there are 3 ways to start the system restore : from Windows, from the installation DVD or in case of problems at startup.
Warning : since Windows 10, system restore is not enabled by default. If Windows already bug, it's too late to use this feature.
- Create a restore point
- Restore your computer to an earlier date (from Windows)
- Restore your computer to an earlier date (from the installation DVD)
- Restore your computer to an earlier date (in case of problems at startup)
1. Create a restore point
To create a restore point, all you have to do is open file explorer and right-click "Properties" on "Computer" (or "This PC" since Windows 10).
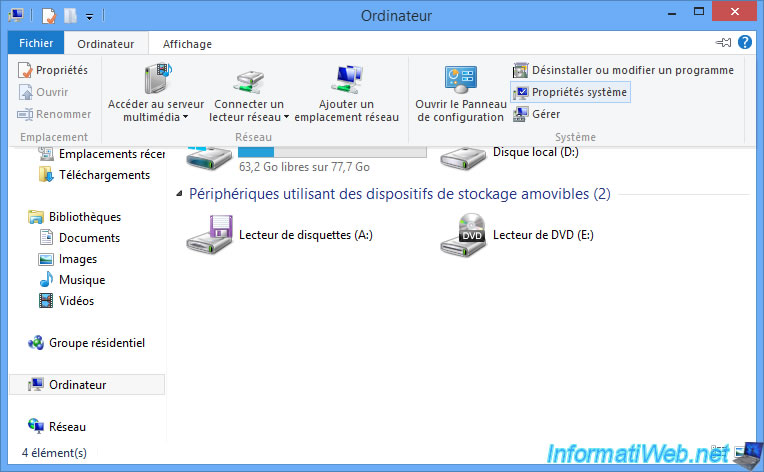
Then, click on "Advanced system settings".
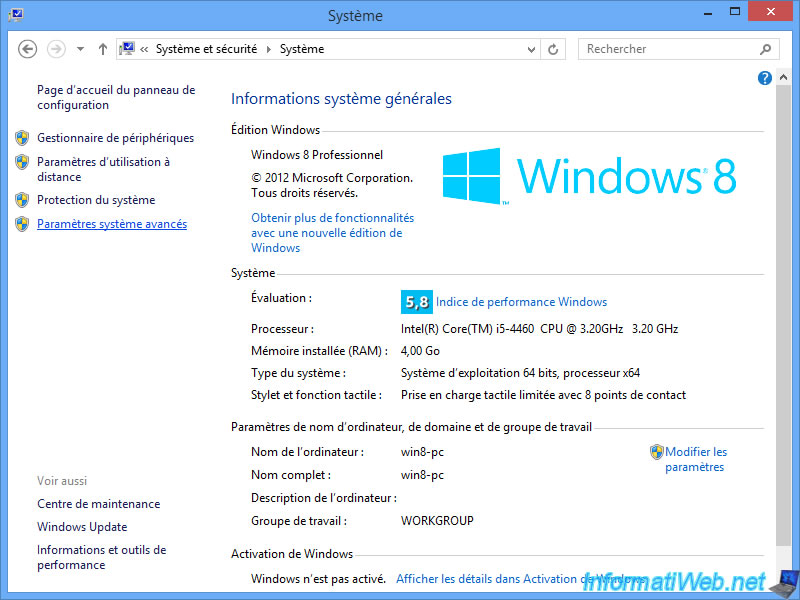
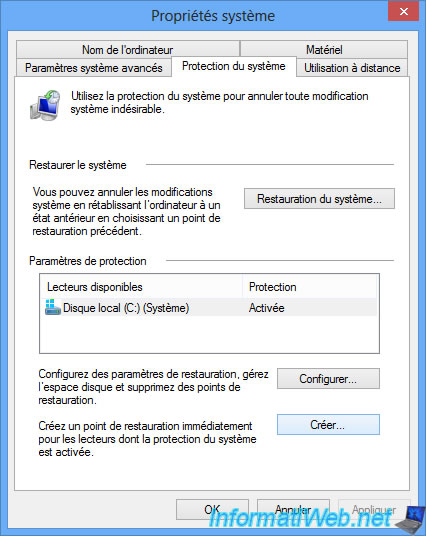
Then, go to the "System protection" tab.
As you can see, on Windows 8 or 8.1, the protection (system restore) is enabled by default for the C drive (which contains Windows).
However, this is no longer the case on Windows 10 and 11.
To enable system restore, select the "Local disk (C:)" and click on the "Configure" button. Then, select "Enable system protection" and drag the slider to set the maximum use to 5%.
To create a system restore point, click the "Create" button.
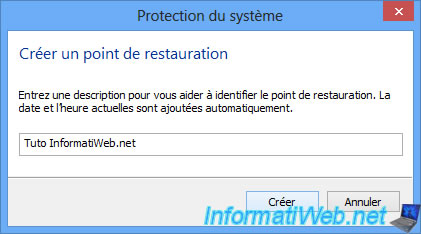
Enter a name for the system restore point.
Windows create the restore point.

The restore point was created successfully.

2. Restore your computer to an earlier date (from Windows)
To restore Windows to an earlier date, just go through the same path as for creating a restore point, except you click on the "System restore" button.
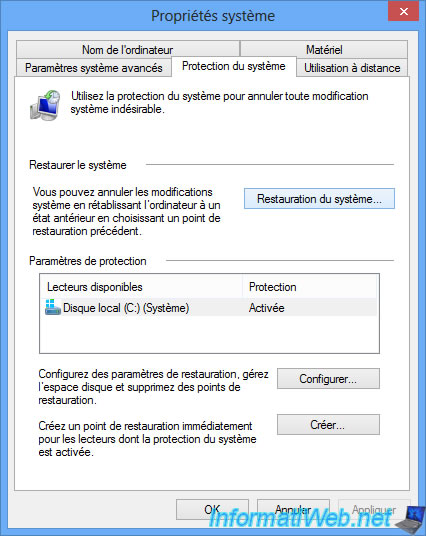
If you wish, you can also start the "System Restore" program by searching "rstrui" in the home screen of Win 8 / 8.1 or the search engine of the taskbar on Windows 10 and 11.

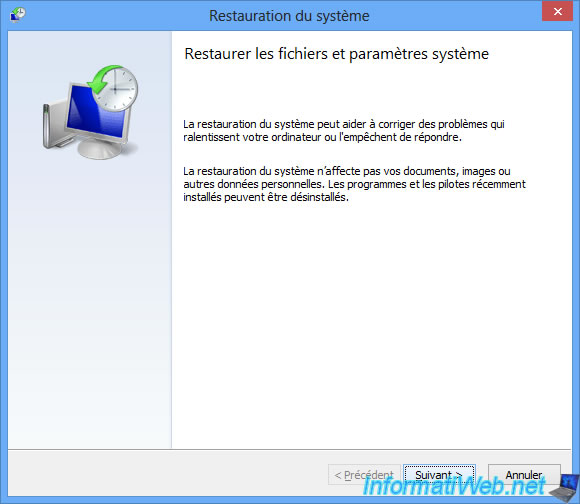
In these 2 cases, this program will open.
Note : if this System Restore Wizard displays an error here or you are unable to initiate System Restore from this program, boot from the Windows installation DVD by following the next step of this tutorial.
In some cases, this can solve the problem.
If Windows still crashes after restoring to an earlier date, try restoring your computer to an even older date. Indeed, it's possible that the last restore point is already damaged. It all depends on when Windows got damaged.
Select a restore point created before Windows starts to not work correctly, then click "Next".
Then, click "Finish".
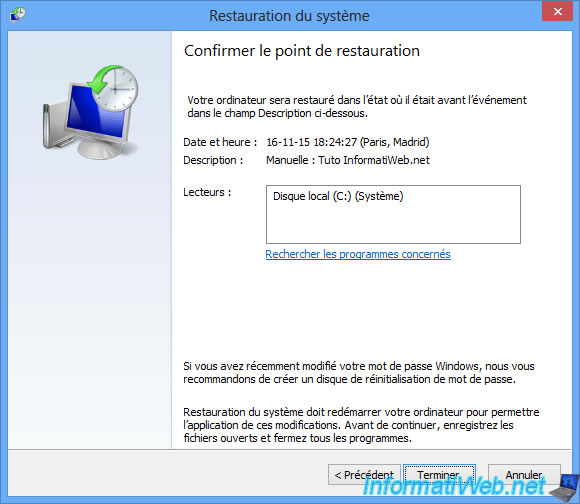
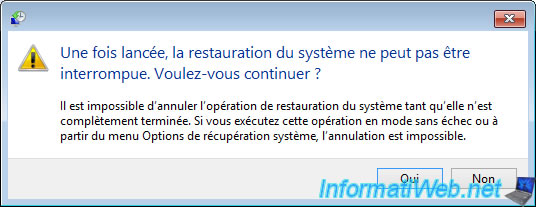
As indicated below, a system restore may not be interrupted.
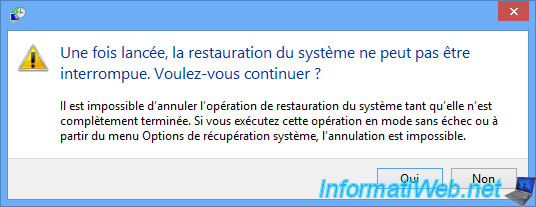
System restore starts.

A system restore affects : system files, registry, and even the WMI on Windows 10.

Then, Windows will restart.

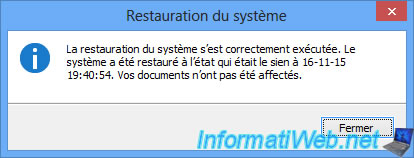
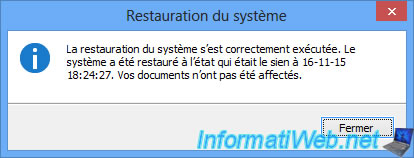
When you arrive on your Windows session, the message "System Restore was successfully executed" appears.
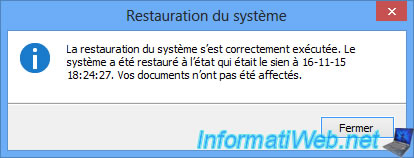
3. Restore your computer to an earlier date (from the installation DVD)
Boot your computer on the installation DVD of Windows 8, 8.1 or 10 depending on your OS version, and then press a key when your computer ask it.
Windows will load necessary files and then you will come to this.
Select your language and click "Next".
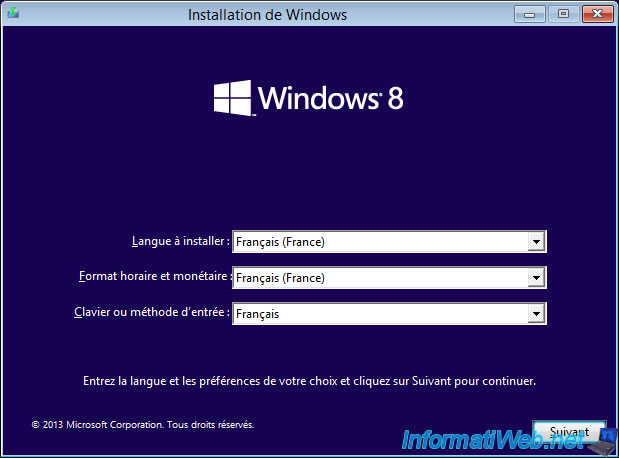
Click on "Repair your computer" link.
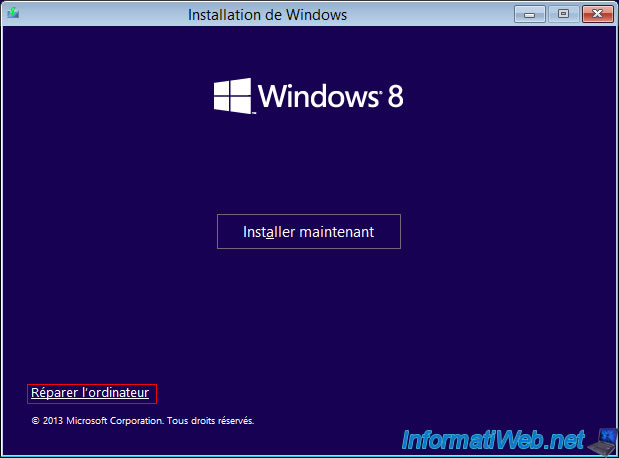
As you can see, the "System Recovery Options" program of Windows Vista and 7 no longer exists and you are redirected to this small menu.
On Windows 8, 8.1 and 10, go to : Troubleshoot -> Advanced options -> System Restore.
On Windows 11, go to : Troubleshoot -> System Restore.
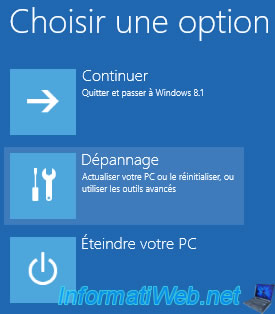
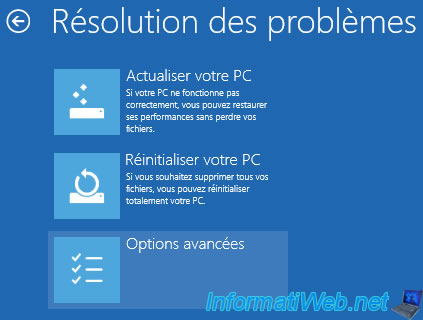
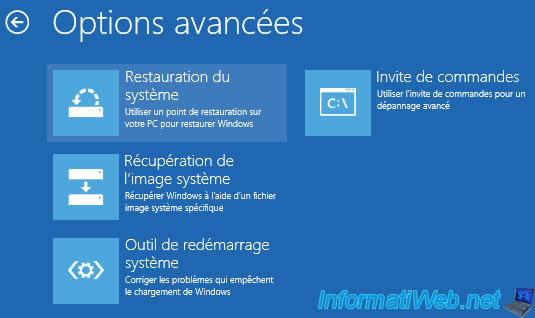
Then, choose your operating system.

The system restore program opens.
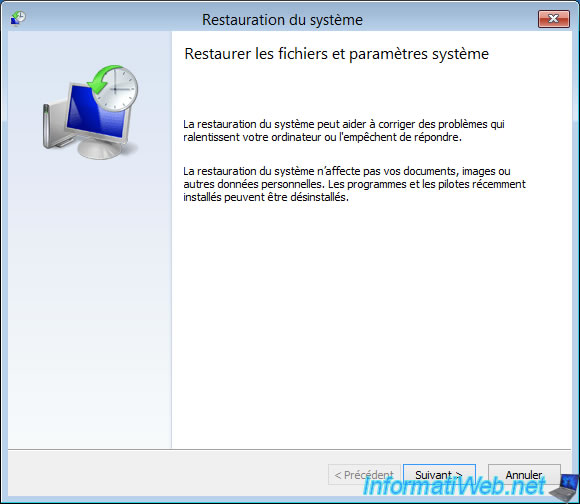
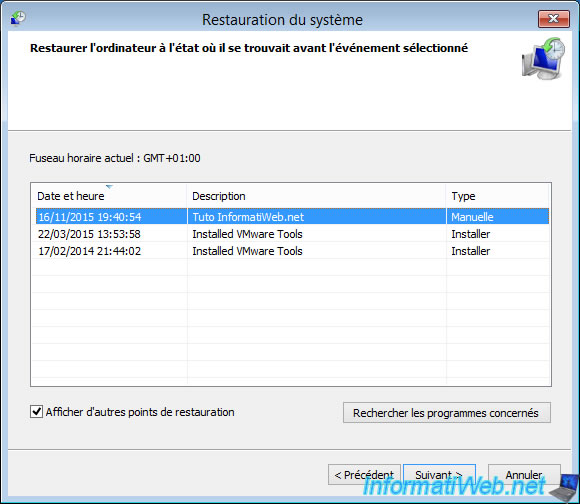
Select a restore point earlier to problems encountered with Windows, then click "Next".
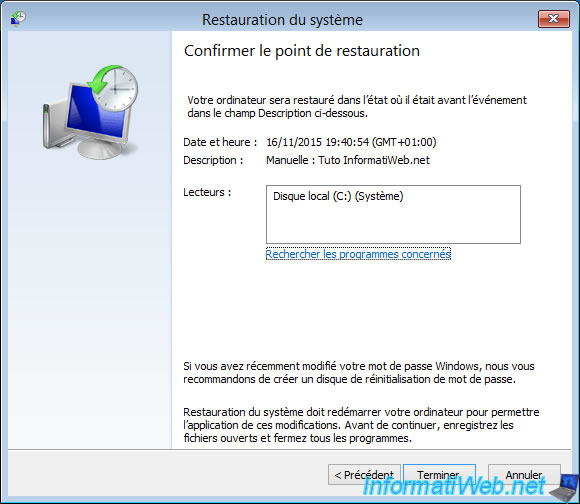
Finally, click "Finish".
Ignore this warning by clicking "Yes".
Because Windows is not running right now, the restoration is done directly.

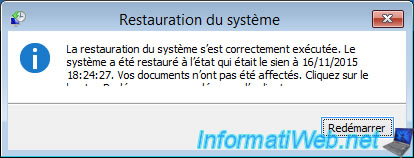
At the end of the restoration, this message will appear, simply click on "Restart" button to return to Windows.
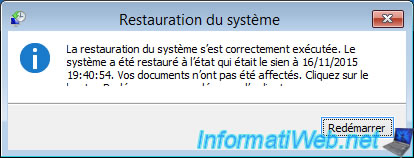
When you arrive in your Windows session, this message will appear again.
4. Restore your computer to an earlier date (in case of problems at startup)
Finally, if Windows will not boot, you will have a troubleshooting option that will appear after 1 or 2 unsuccessful boots.
When Windows is no longer able to start, there are two possibilities :
- Windows displays the message : Preparing automatic repair. Allowing you to repair Windows startup with one click using System Restore
- Windows displays the "Recovery" option.
4.1. 1st possibility : automatic repair
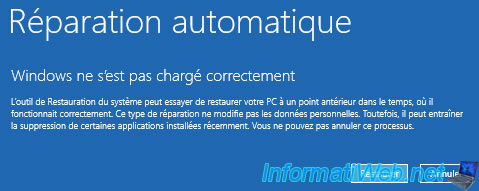
In this case, Windows displays the "Preparing automatic repair" message at startup.

Then, he offer to restore your computer to an earlier point to try to repair Windows.
In this case, simply click on the "Restore" button. Windows will attempt its repair and restart.
With Windows 10, you need to click on "Restart".

If it doesn't work, Windows may arrive on the "Recovery". If this is not the case, restart your computer 1 or 2 times to access the "Recovery" option. This is random.
With Windows 10 and 11, you can click on the "Advanced options" button to access the recovery option. It's not possible with Windows 8.
4.2. 2nd possibility : the "Recovery" option
With the "Recovery" option, you will have access to troubleshooting options of Windows 8, 8.1 or 10.
For that, just click "Show advanced repair options".

Go to : Troubleshoot -> Advanced options -> System restore.


As you run system restore from the Windows installation, it will ask you to select a user account and specify the password of the selected account.
This is not the case with the Windows installation DVD.


The program starts.

Choose a system restore point and click "Next".
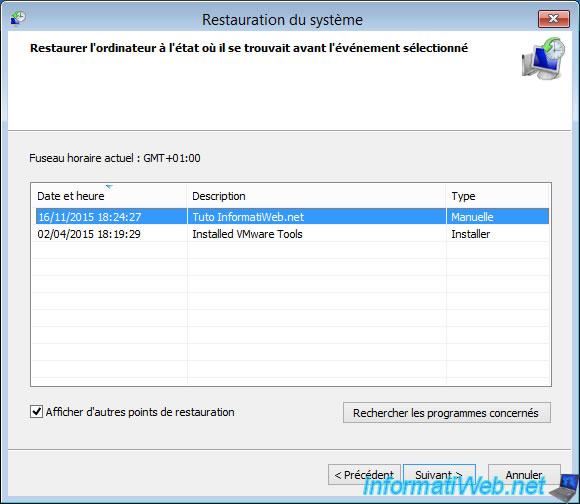
Then, click "Finish".

Ignore the warning that appears.
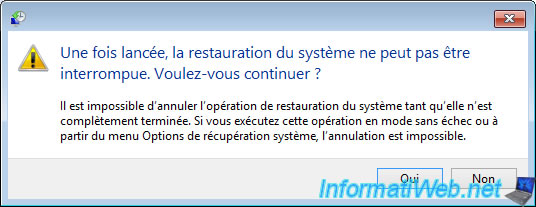
System Restore is performed.

Then, Windows will display a message saying that system restore was successful.
Click "Restart" to return to Windows.
Windows restarts.

And the message is displayed again at the opening of the session.
Share this tutorial
To see also
-

MultiBoot 5/28/2017
Multiboot Windows 7 / 10 / Win RE based on syslinux
-

Windows 8/22/2022
Windows - Install the drivers from the supplied CDs
-

Windows 4/12/2022
Windows 11 - Delete an old network profile
-

Windows 2/6/2023
Windows 11 / 10 / 8.1 / 8 / 7 - Disable User Account Control (UAC)

You must be logged in to post a comment