Upgrade Windows 8 to Windows 8.1 with VHD/VHDX multiboot (native boot)
- MultiBoot
- Windows 8 / 8.1
- 15 July 2024 at 13:15 UTC
-

- 2/4
4. Create a temporary virtual machine on Hyper-V to upgrade Windows 8
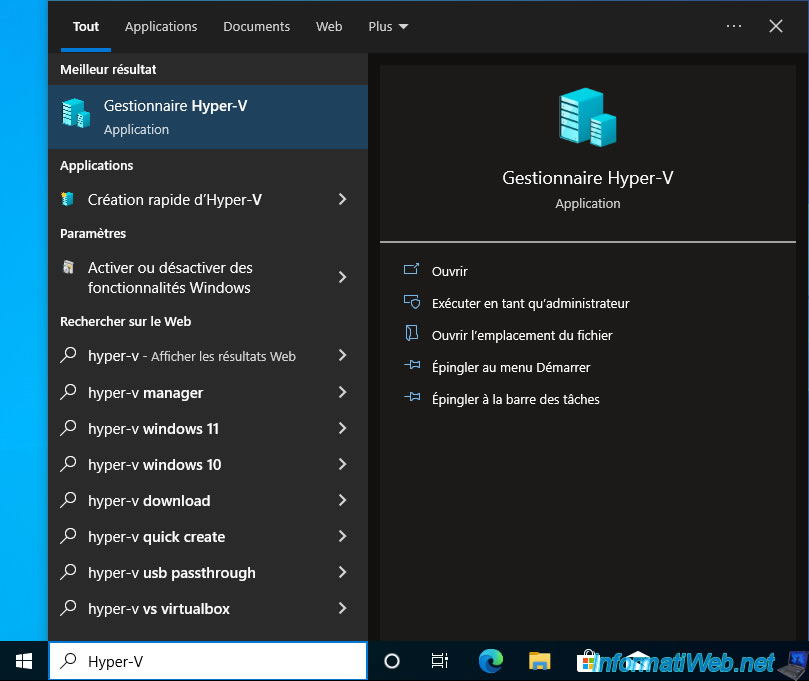
Search for "Hyper-V" in the start menu and launch the Hyper-V Manager.
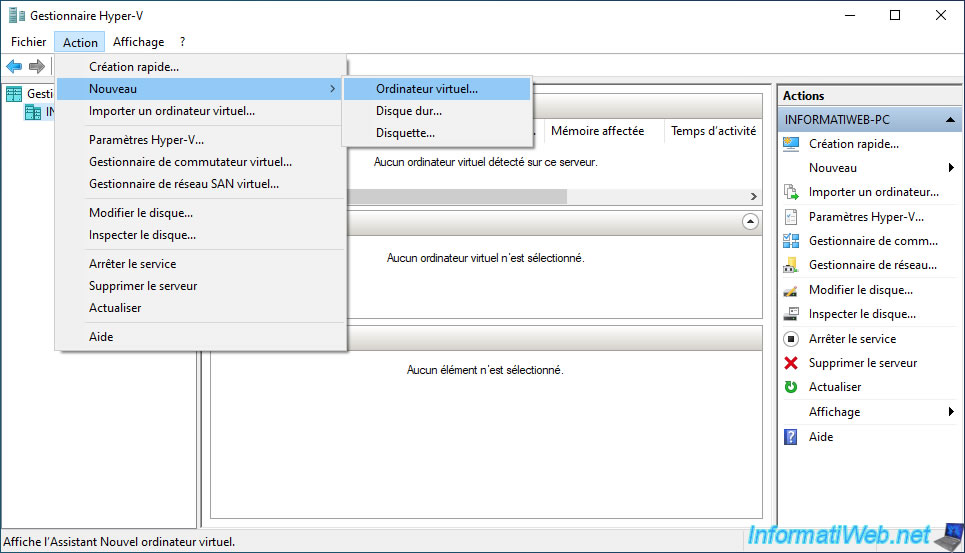
In the Hyper-V Manager that appears, click: Action -> New -> Virtual Machine.
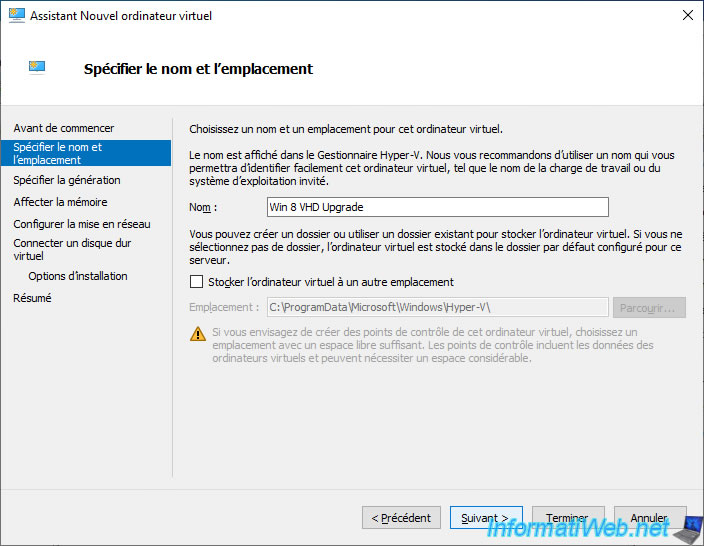
In the New Virtual Machine Wizard that appears, specify "Windows 8 VHD Upgrade" as the name (for example) and click Next.
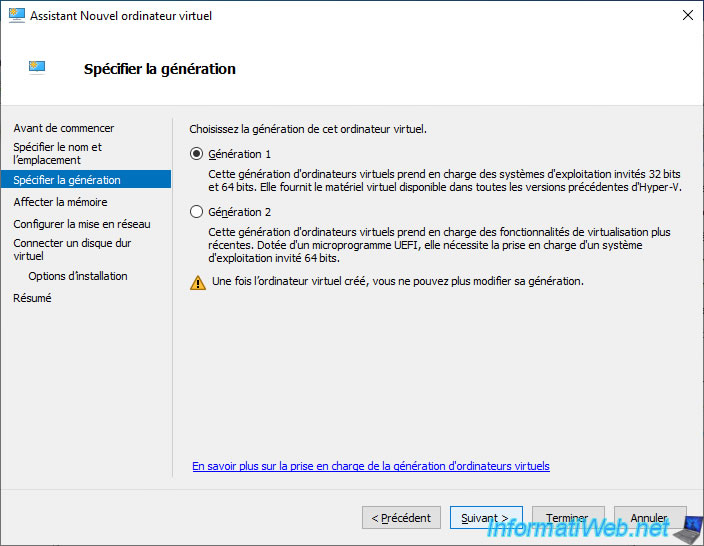
For the generation to use, select:
- Generation 1: if your VHDX virtual hard disk uses an MBR (Master Boot Record) partition table.
This virtual machine will boot in LEGACY BIOS (old BIOS) mode. - Generation 2: if your VHDX virtual hard disk uses a GUID Partition Table (GPT).
This virtual machine will boot in UEFI mode.
In our case, your VHD virtual hard disk uses an MBR partition table, so we select "Generation 1".
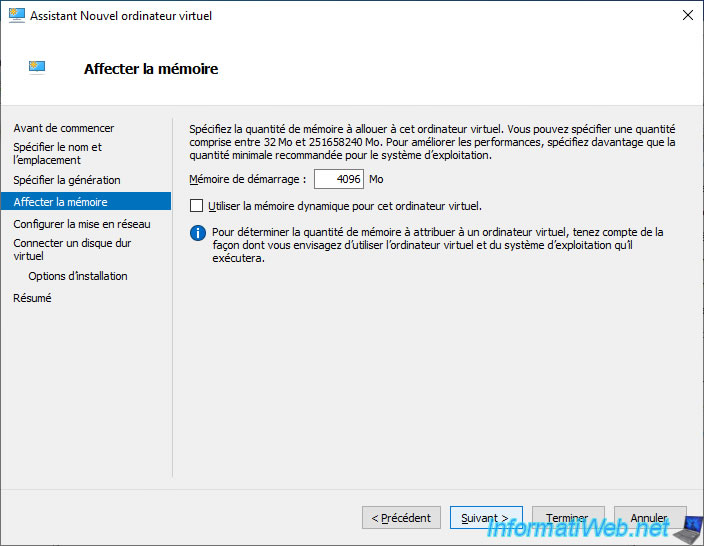
Allocate enough RAM to your virtual machine for Windows 8/8.1 to run smoothly.
However, don't allocate too much RAM either to leave some for your physical computer.
Consider disabling dynamic memory so that the amount of allocated memory remains fixed.
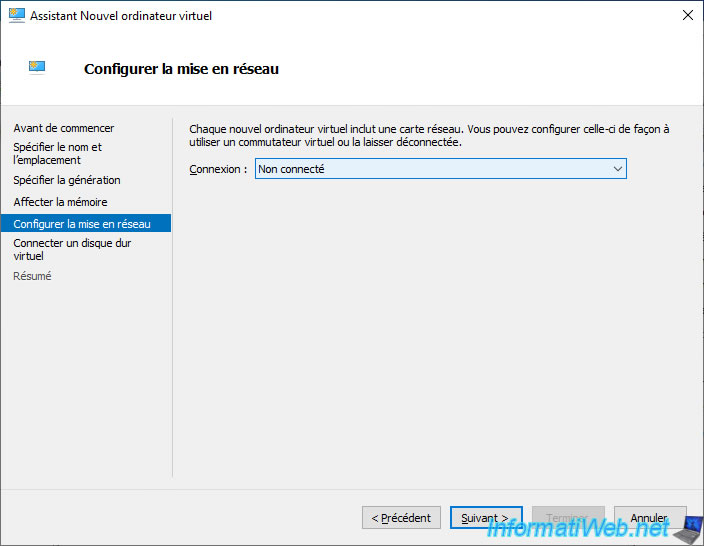
Important : For networking, select the "Not connected" option.
This will have the effect of preventing Windows from automatically downloading drivers that would be linked to the virtual hardware of your virtual machine under Hyper-V.
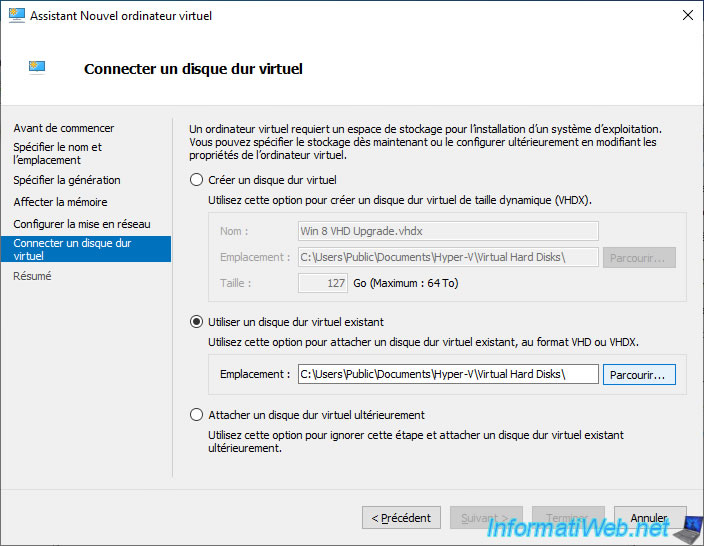
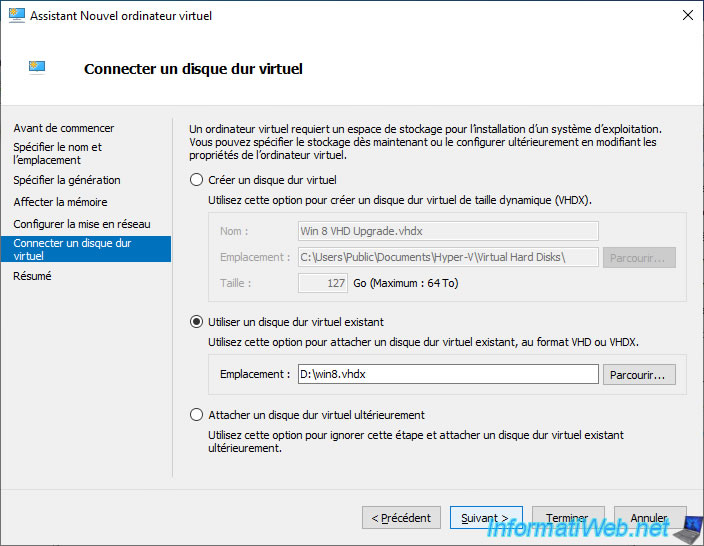
For your virtual machine's virtual hard disk, select "Use an existing virtual hard disk" and click "Browse".
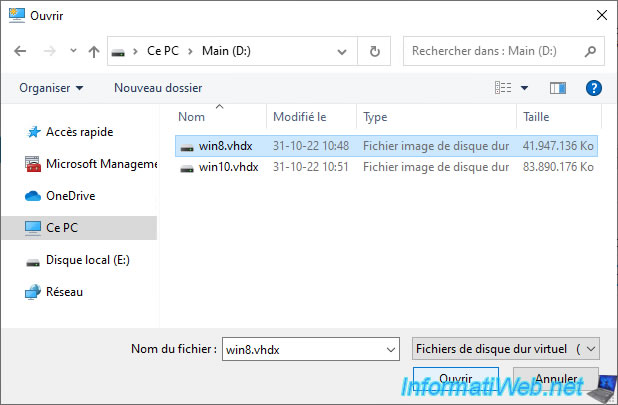
Select your "win8.vhdx" file and click Open.
Then, click Next.
Click Finish.
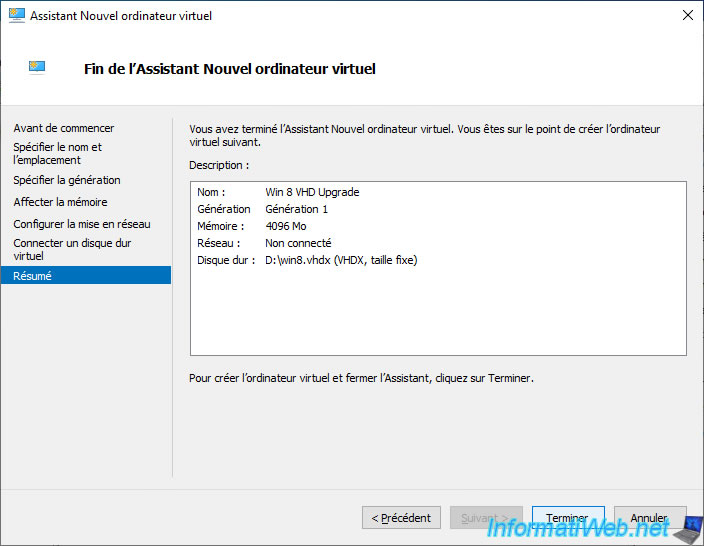
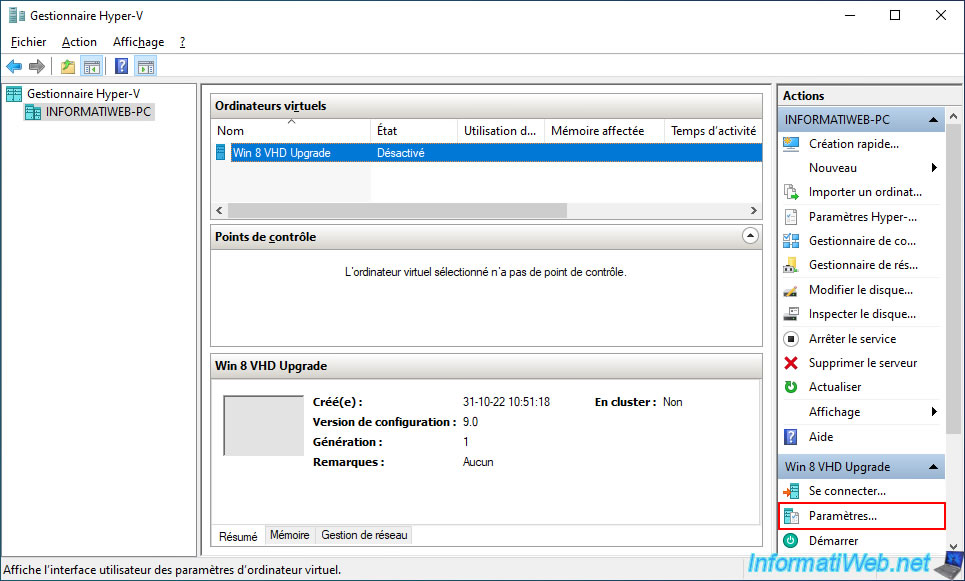
Your new "Win 8 VHD Upgrade" virtual machine appears.
Select it and click on the "Settings" option located at the bottom right.
In the "Settings for Win 8 VHD Upgrade on INFORMATIWEB-PC" window that appears, go to the "IDE controller 1 -> DVD drive" section.
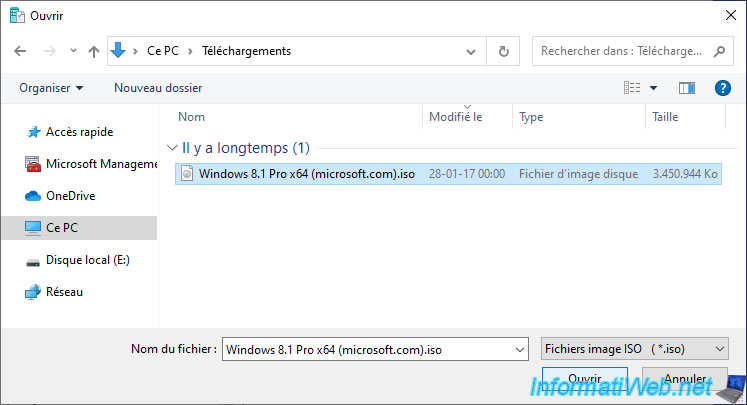
Select "Image File" and click the "Browse" button.
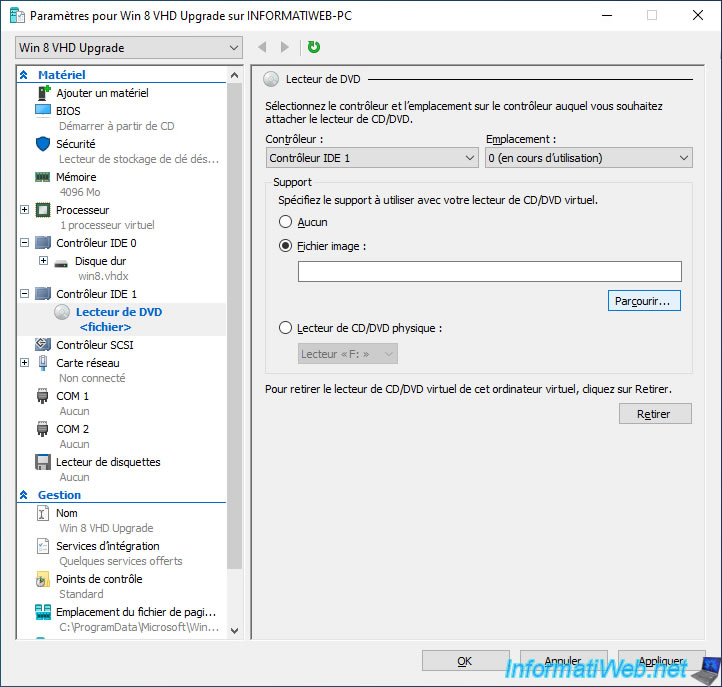
Select the Windows 8.1 ISO file and click Open.
Note that you must use an ISO file with the same architecture (x86 or x64) of Windows.
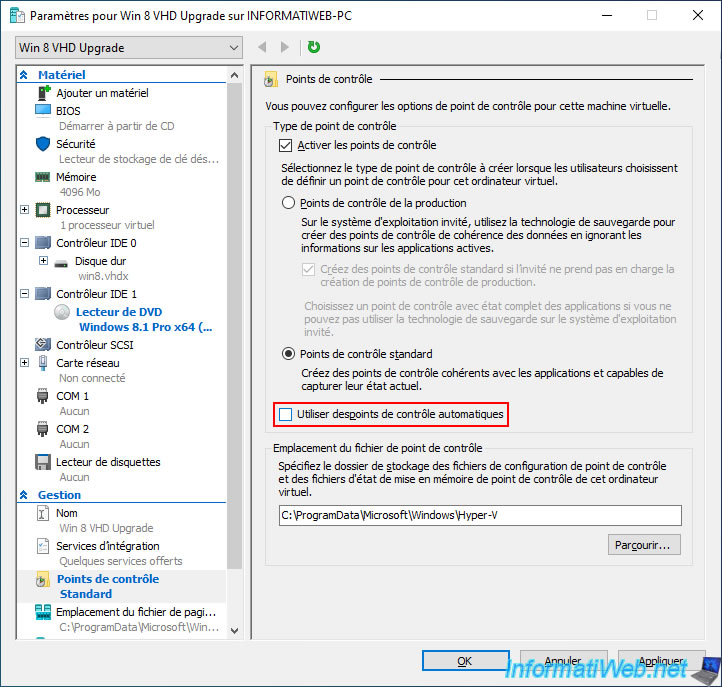
Once the Windows 8.1 ISO file has been selected, go to the "Checkpoints" section (appeared since Windows 10) and uncheck the "Use automatic checkpoints" box.
This will allow you to keep a single VHDX file rather than end up with AVHDX files created when creating checkpoints (snapshots).
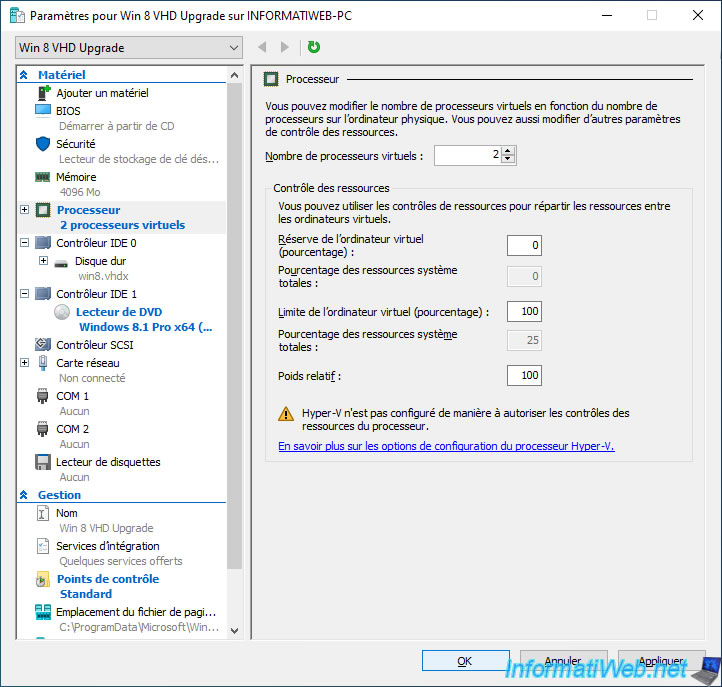
If necessary, do not hesitate to change the number of virtual processors allocated to your virtual machine to improve its performance.
However, it also depends on the number of cores your processor has.
Click OK to save changes.
5. Start the virtual machine from your VHDX virtual hard disk
Double-click on your computer's name to view it, or select it and click the "Connect" option at the bottom right.
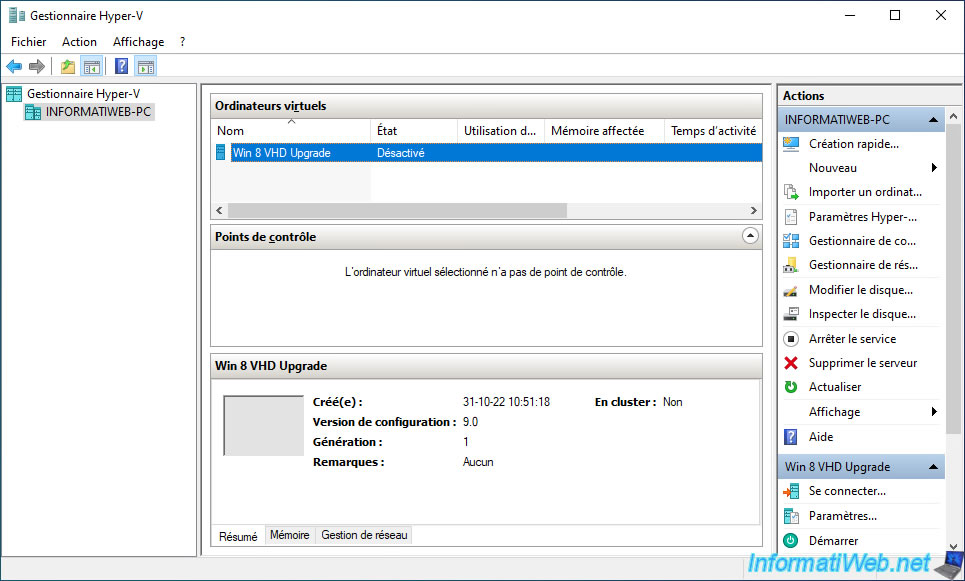
Click on "Start" or on the 1st turquoise blue icon at the top left.
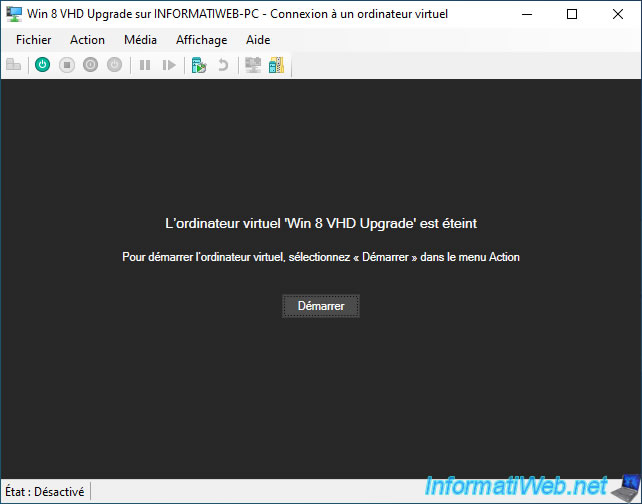
The virtual machine automatically boots to the Windows 8.1 installation DVD since there is no boot sector on your VHDX virtual hard disk (win8.vhdx).
As a reminder, in our VHD multiboot tutorial, the boot files were created on a system partition on your computer's physical hard drive and boot entries pointing to the various VHDX files were added there.
In order for your virtual machine to be able to boot into your VHDX virtual hard disk and thus allow you to start the upgrade from Windows, you must first open a command prompt at this stage.
To do this, simply press the "SHIFT + F10" keys.
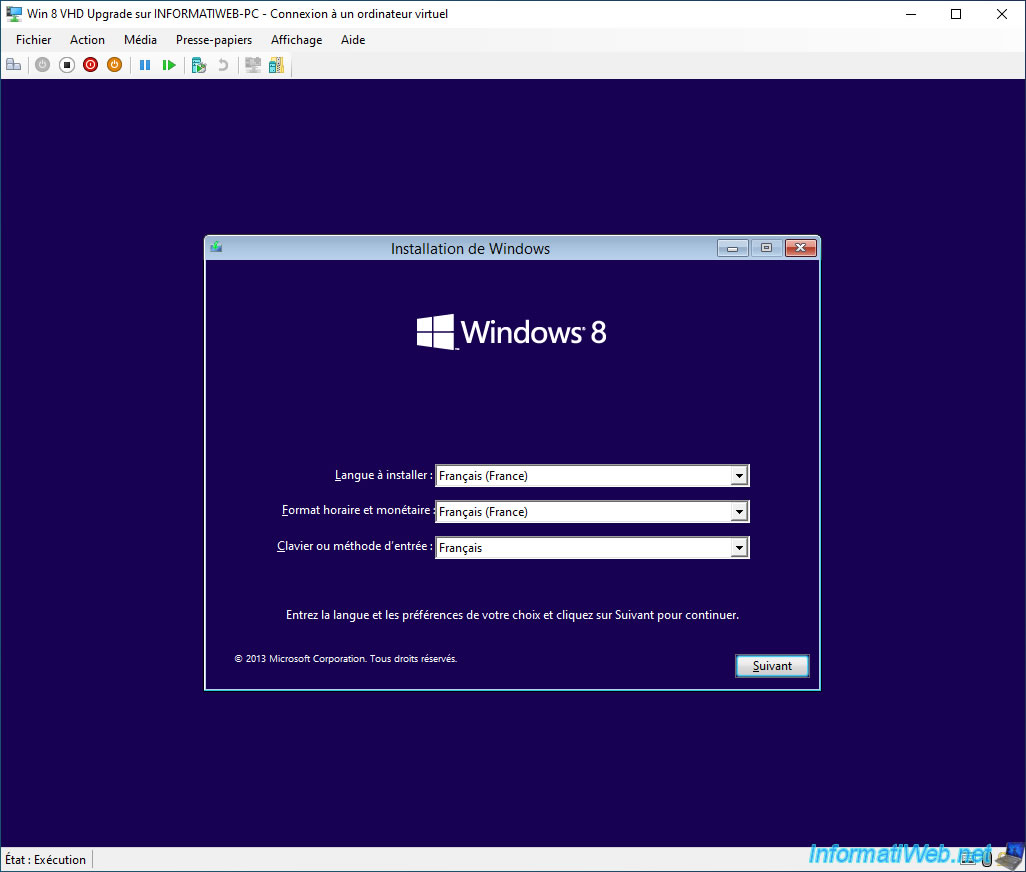
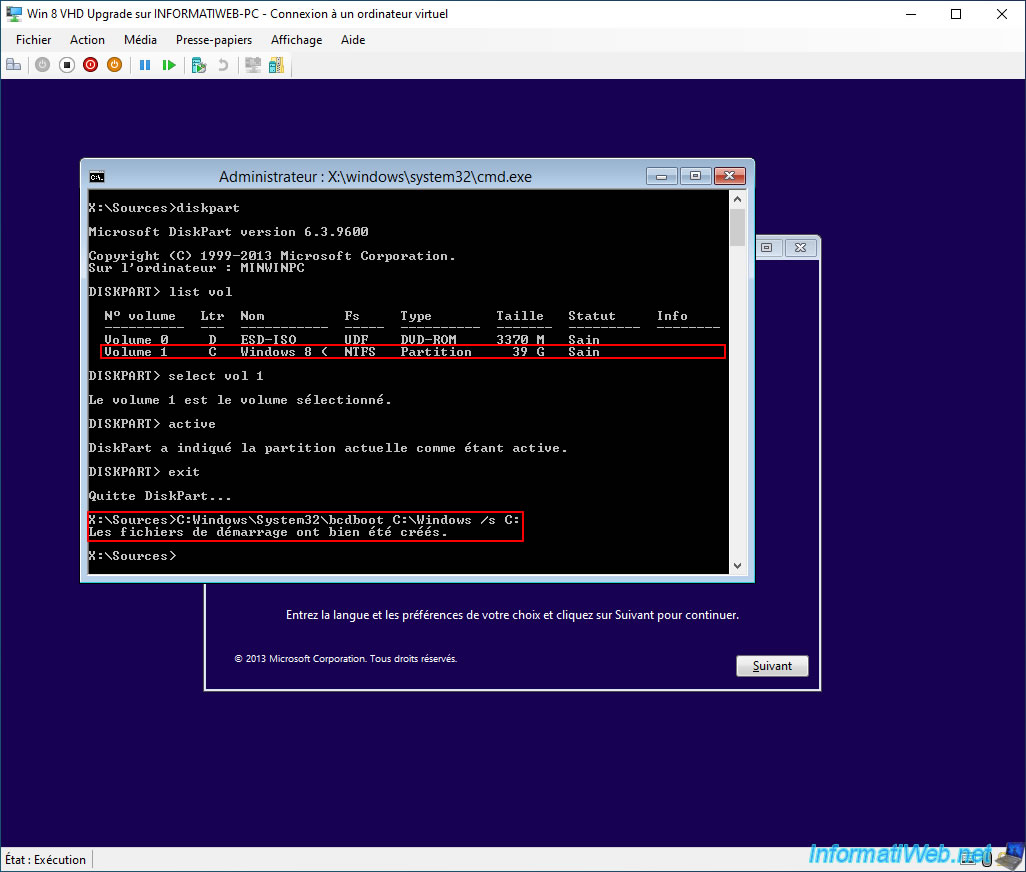
In the command prompt that appears, launch the DiskPart utility.
Batch
diskpart
List the available volumes and locate the number of the one corresponding to your installation of Windows 8 on your VHDX virtual hard disk.
In our case, it has number 1.
Batch
list vol
Plain Text
  Volume ###  Ltr  Label        Fs     Type        Size     Status     Info
  ----------  ---  -----------  -----  ----------  -------  ---------  --------
  Volume 0     D   ESD-ISO      UDF    DVD-ROM     3370 M   Healthy
  Volume 1     C   Windows 8 (  NTFS   Partition     39 G   Healthy
Select this volume.
Batch
select vol 1
Plain Text
Volume 1 is the selected volume.
Important : only if your VHDX virtual hard disk uses an MBR partition table, mark this partition as active so that the virtual machine knows where Windows is installed.
This will allow it to boot to this Windows installation.
Note: if your VHDX virtual hard disk uses a GUID Partition Table (GPT), you don't have to do anything.
Batch
active
Then, quit DiskPart.
Batch
exit
Finally, create the necessary startup files by typing the command below.
Note: the letter C indicated in the command below refers each time to the "Windows 8 (VHD)" partition of your VHDX virtual hard disk.
Batch
C:\Windows\System32\bcdboot C:\Windows /s C:
Plain Text
Boot files successfully created.
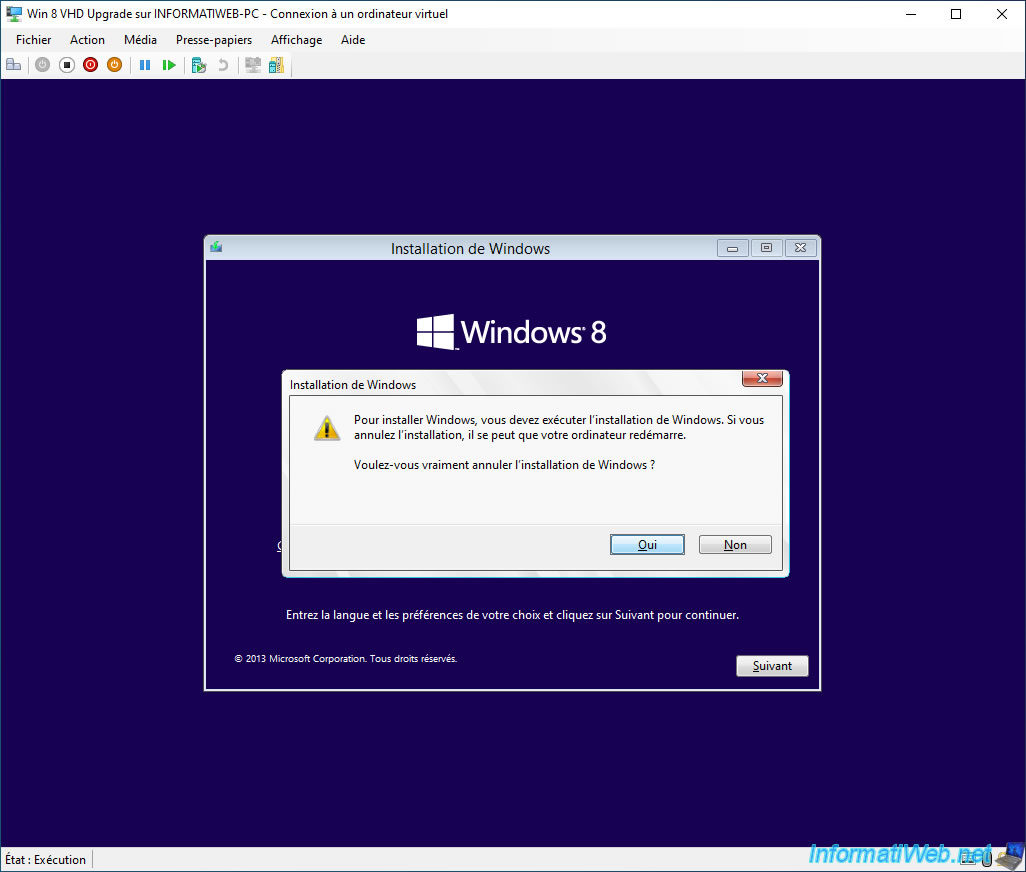
Close the command prompt (cmd.exe), as well as the Windows 8.1 installer since the upgrade must be launched from Windows and not by booting from the Windows 8.1 installation DVD
Click "Yes" to cancel Windows installation.
Do nothing when this message appears at startup.
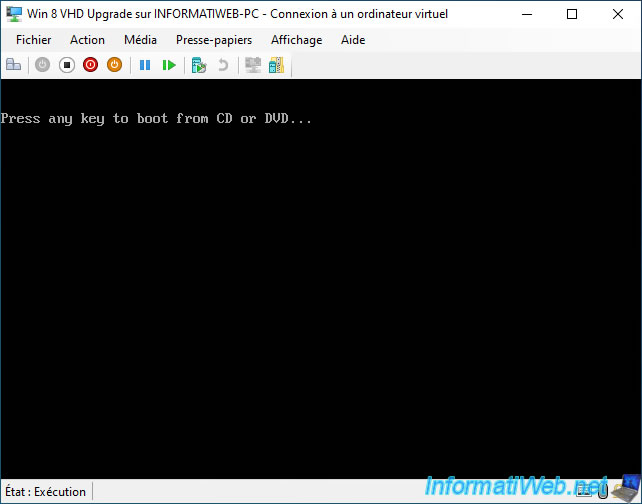
Your virtual machine boots to the Windows 8 installation present on your VHDX virtual hard disk.
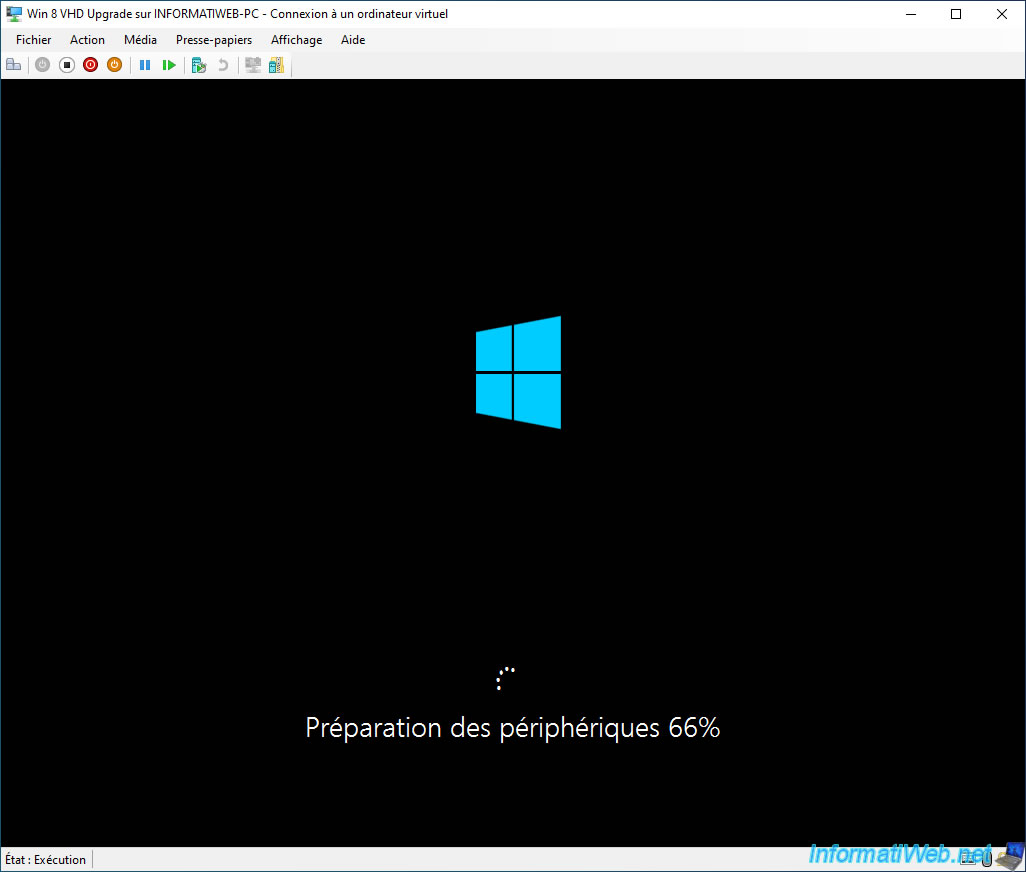
Due to the hardware change, Windows 8 will perform several steps on the 1st boot.
Hence the appearance of several messages:
- Preparation of devices.
- While we proceed to the preparation.
- and more
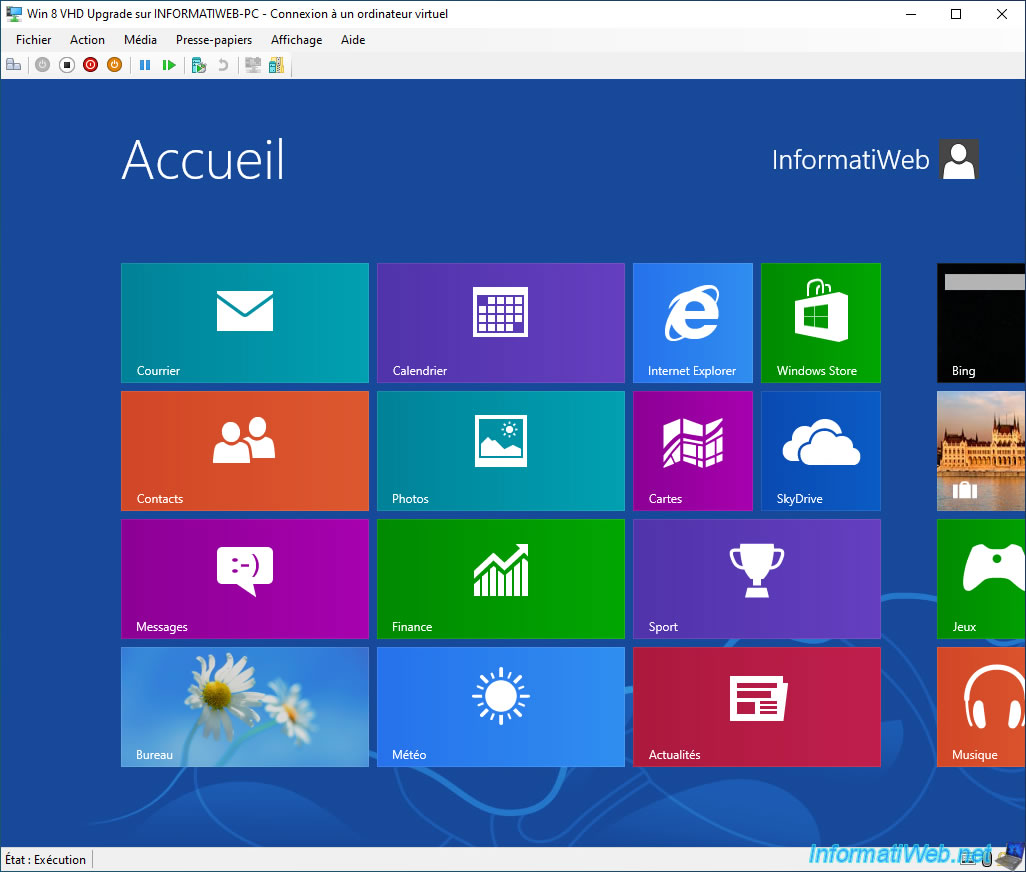
Then, you will arrive under Windows 8.
Share this tutorial
To see also
-
Windows 3/26/2013
Check and repair the file system
-
Windows 5/20/2016
Control a computer remotely (Win 7 to 11)
-
Windows 9/21/2021
Windows 8 / 8.1 / 10 / 11 - Switching from IDE to AHCI without reinstalling Windows
-
Windows 9/2/2016
Windows 8.1 - Repair Windows installation by the upgrade process
No comment