Upgrade Windows 8 to Windows 8.1 with VHD/VHDX multiboot (native boot)
- MultiBoot
- Windows 8 / 8.1
- 15 July 2024 at 13:15 UTC
-

- 3/4
6. Upgrade to Windows 8.1 from virtual machine
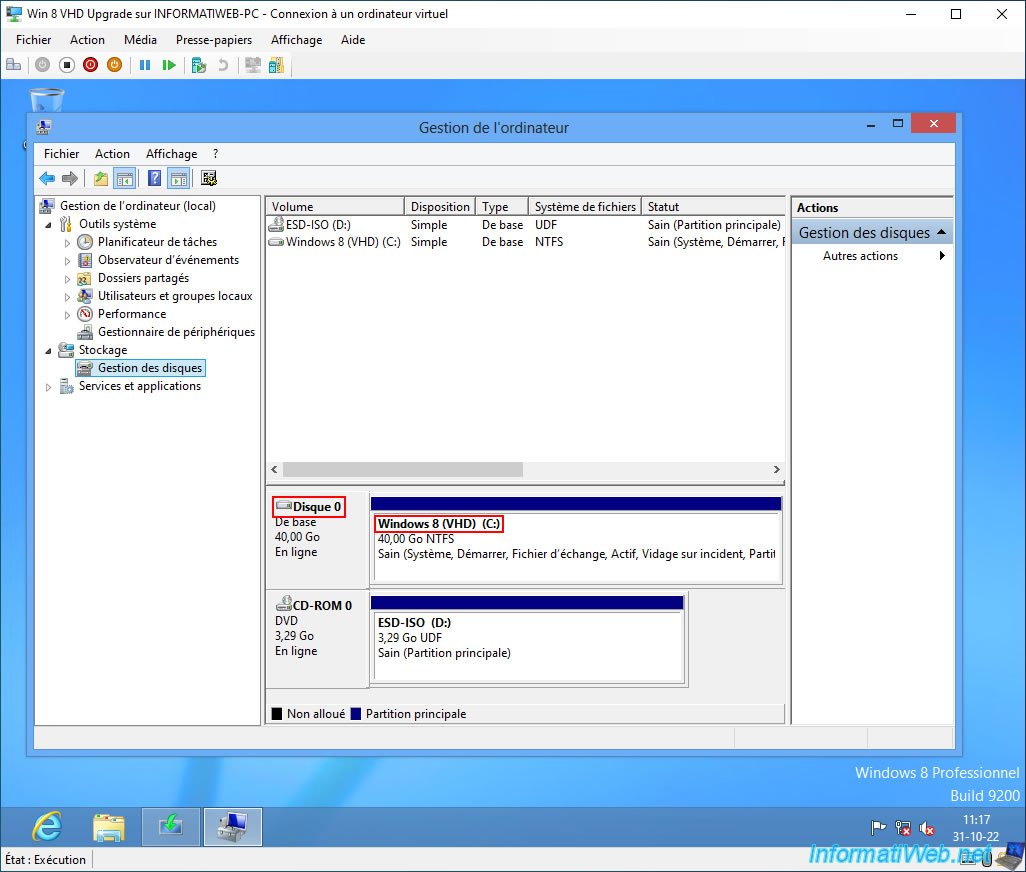
The advantage of connecting your VHDX virtual hard disk to a virtual machine under Hyper-V is that the virtual machine will recognize the virtual hard disk as a physical hard disk (hence the gray icon displayed instead of a blue icon turquoise for virtual hard disks).
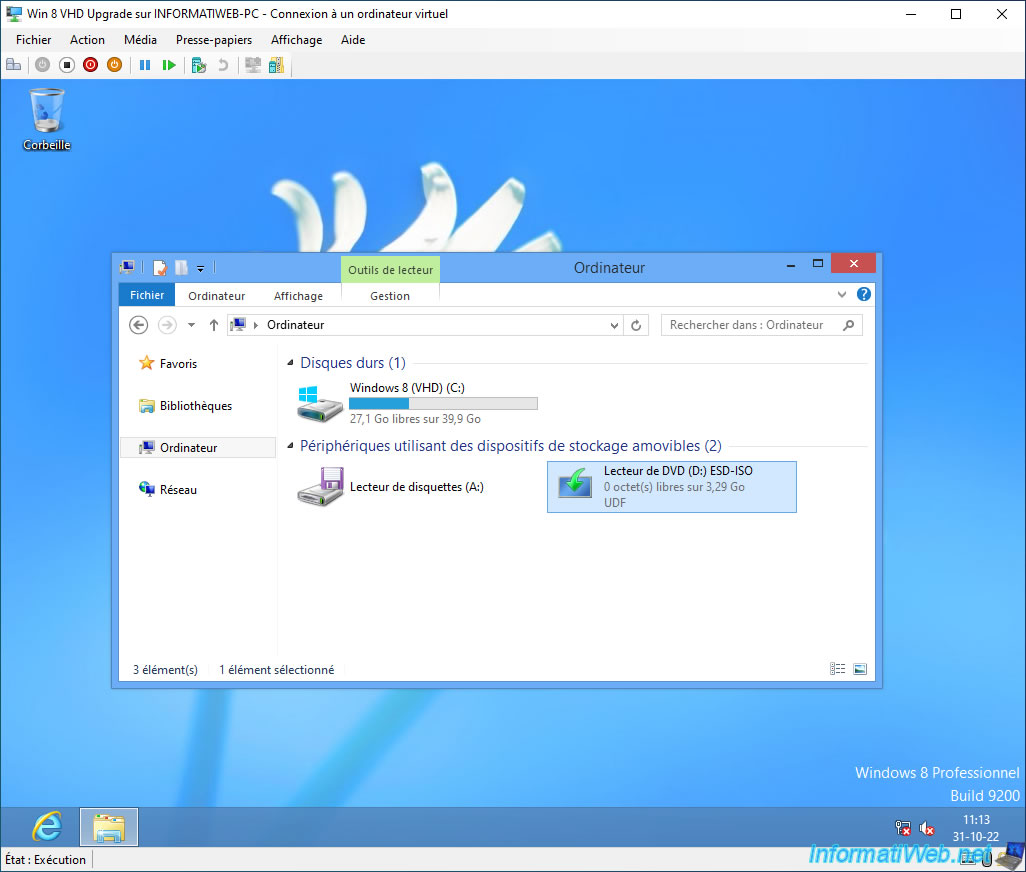
Double-click on your virtual machine's DVD drive.
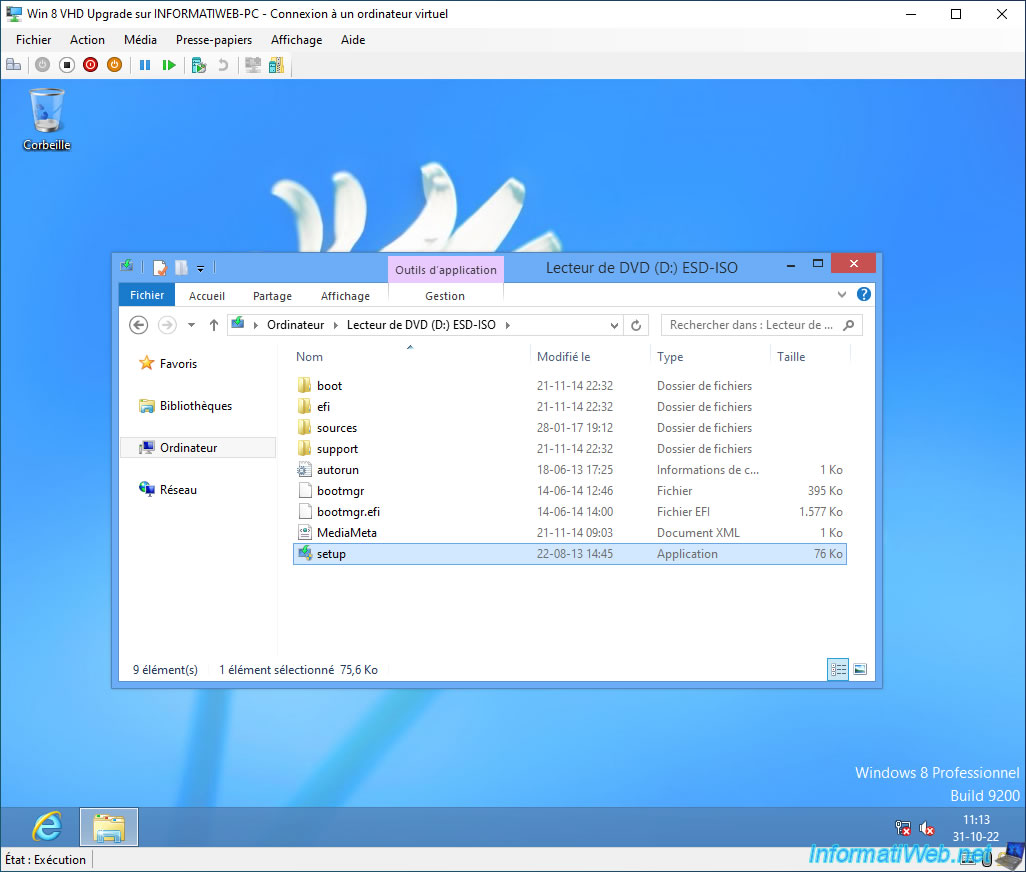
If necessary, double click on the "setup.exe" file found there.
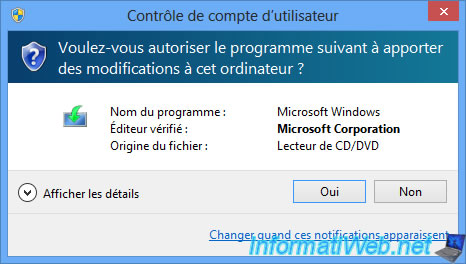
Click "Yes" when the "User Account Control" (UAC) window appears.
The "Preparing" message appears.

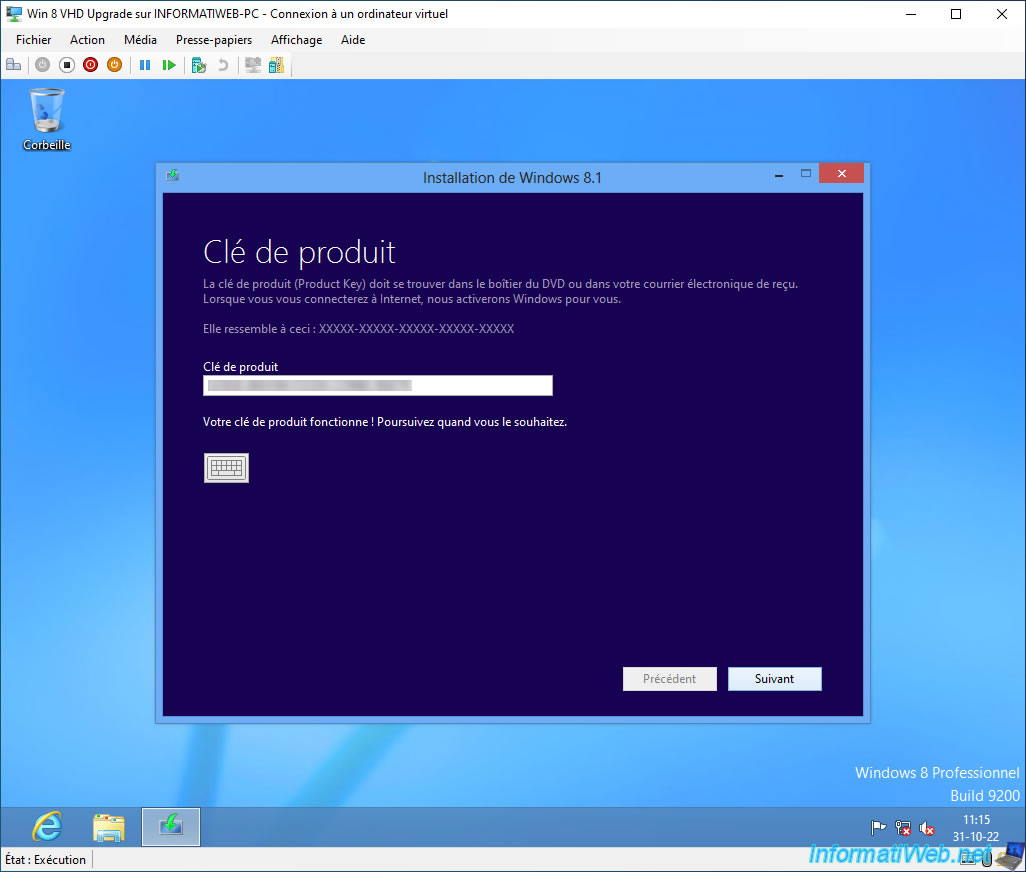
If prompted for a product key, provide your Windows 8.1 serial number.
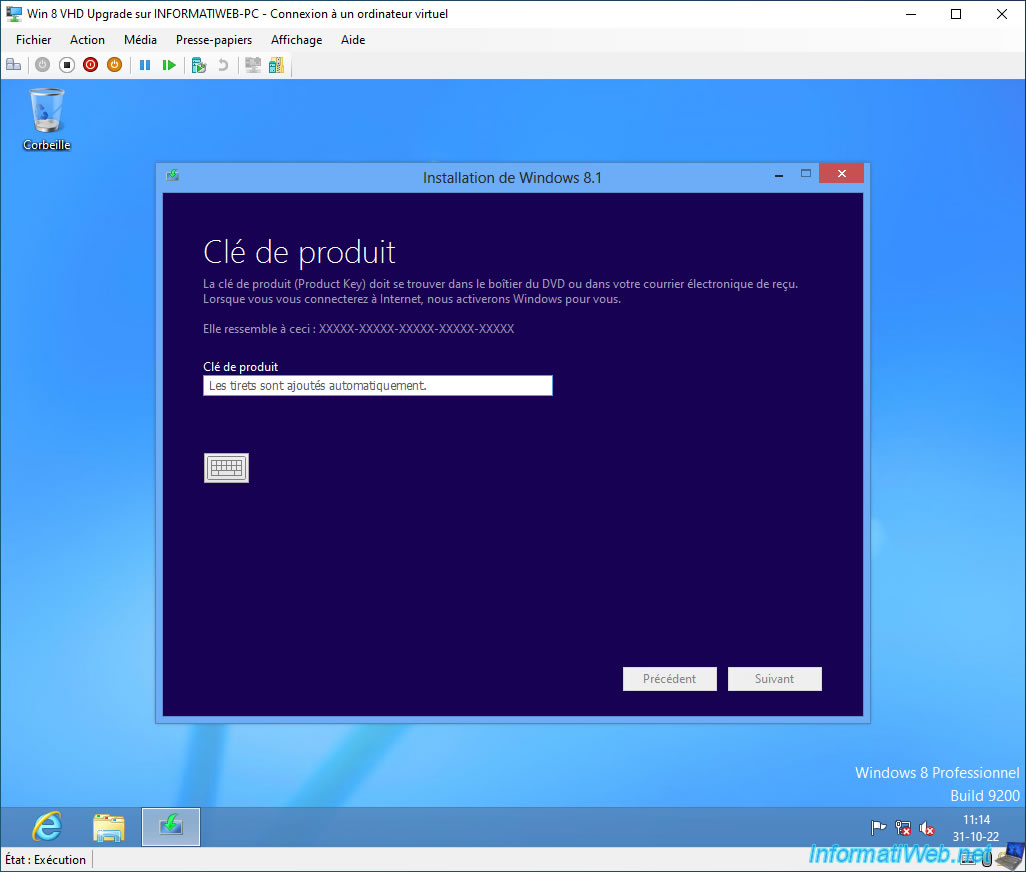
If the serial number indicated is correct, you can click on Next.
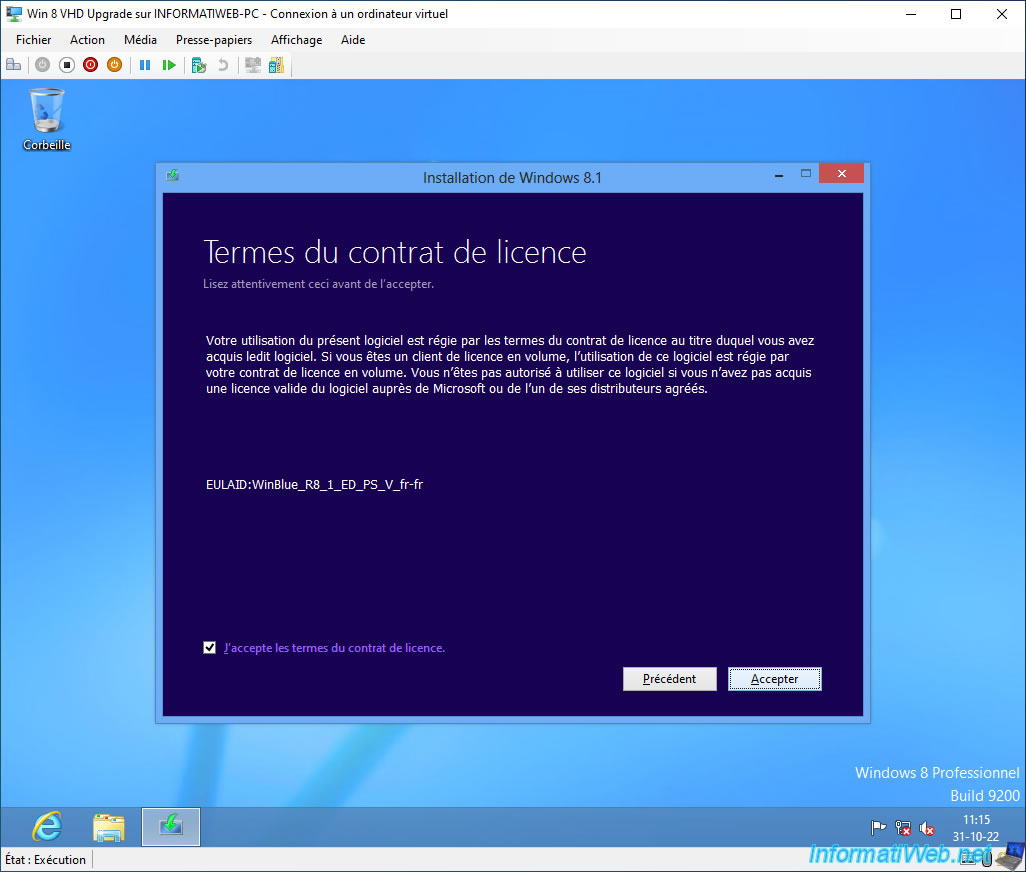
Accept the Windows 8.1 license terms.
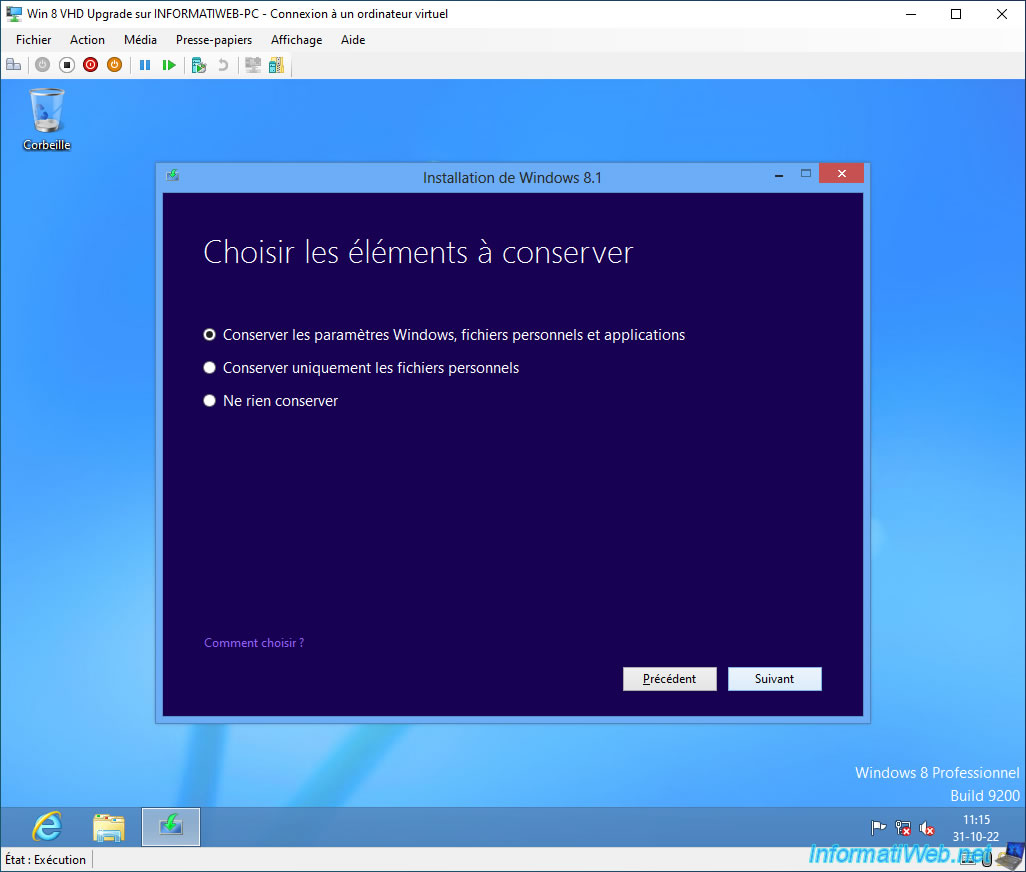
Choose the items to keep and click Next.
Default: "Keep personal files, apps, and Windows settings"
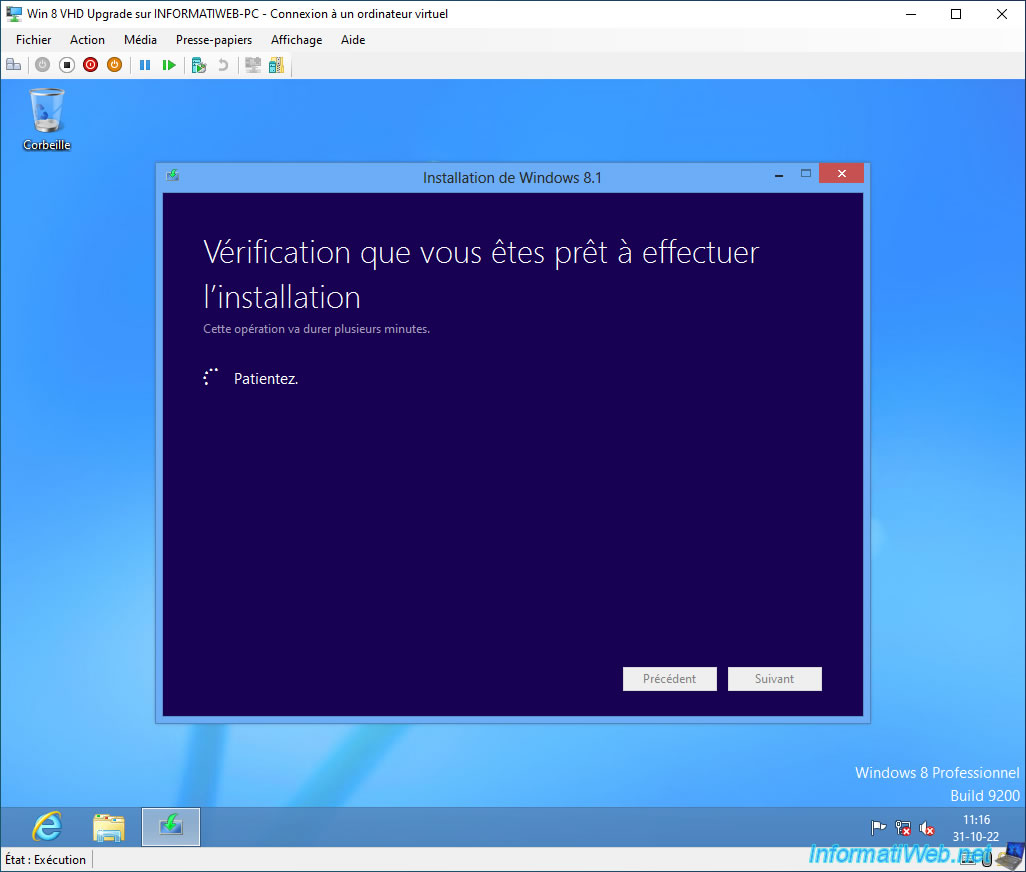
A check is carried out.
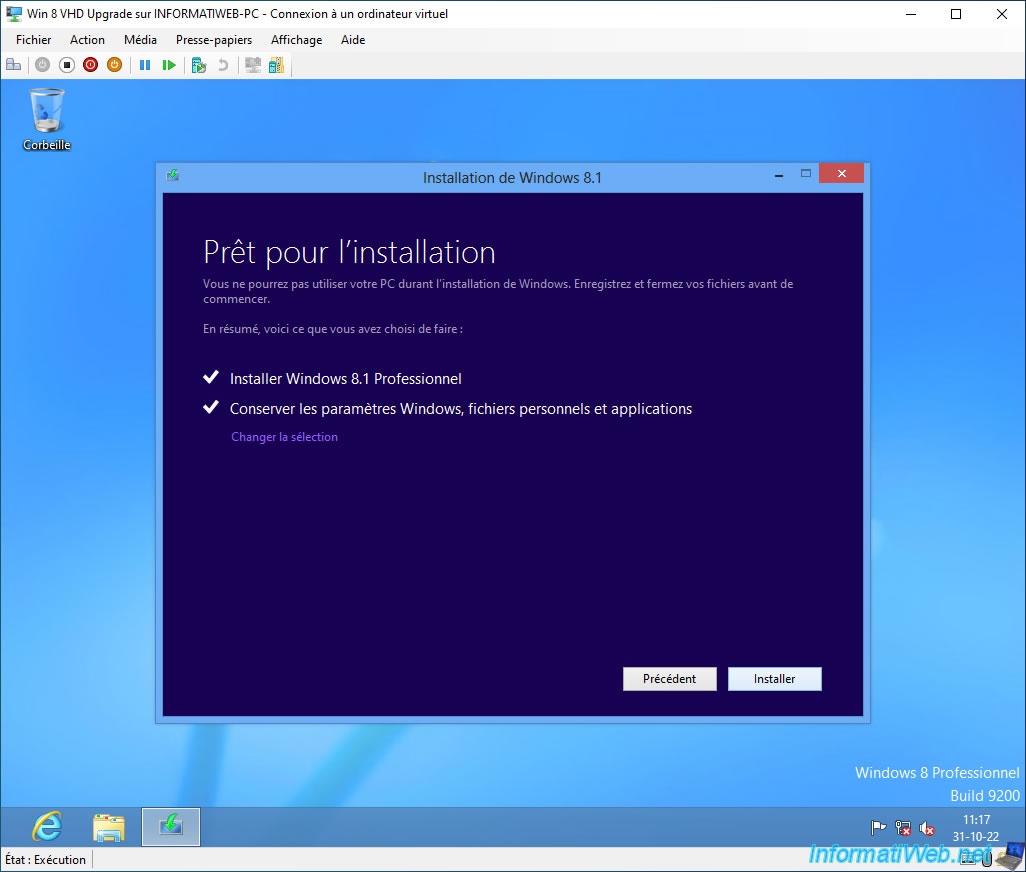
If the verification is successful, the "Ready to install" step will appear indicating that this will be done:
- Install Windows 8.1 (Professional).
- Keep Windows settings, personal files, and apps.
Click "Install" to start upgrading to Windows 8.1.
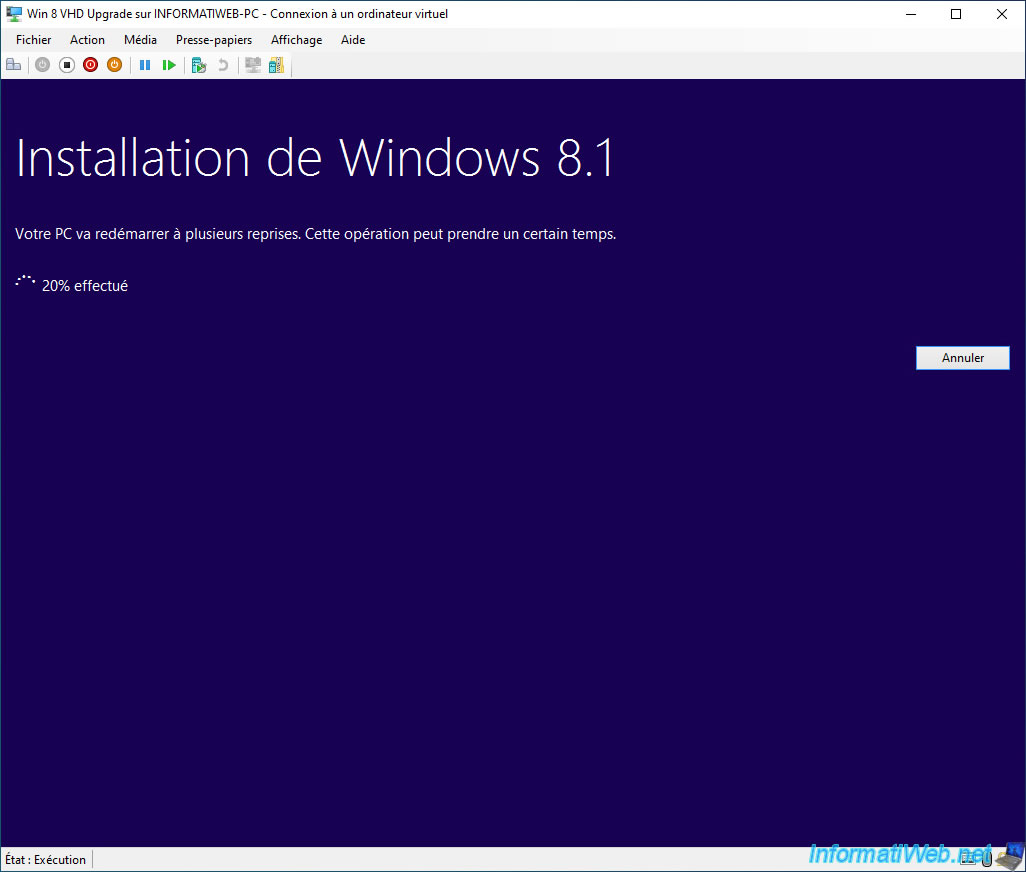
Wait while upgrading to Windows 8.1.
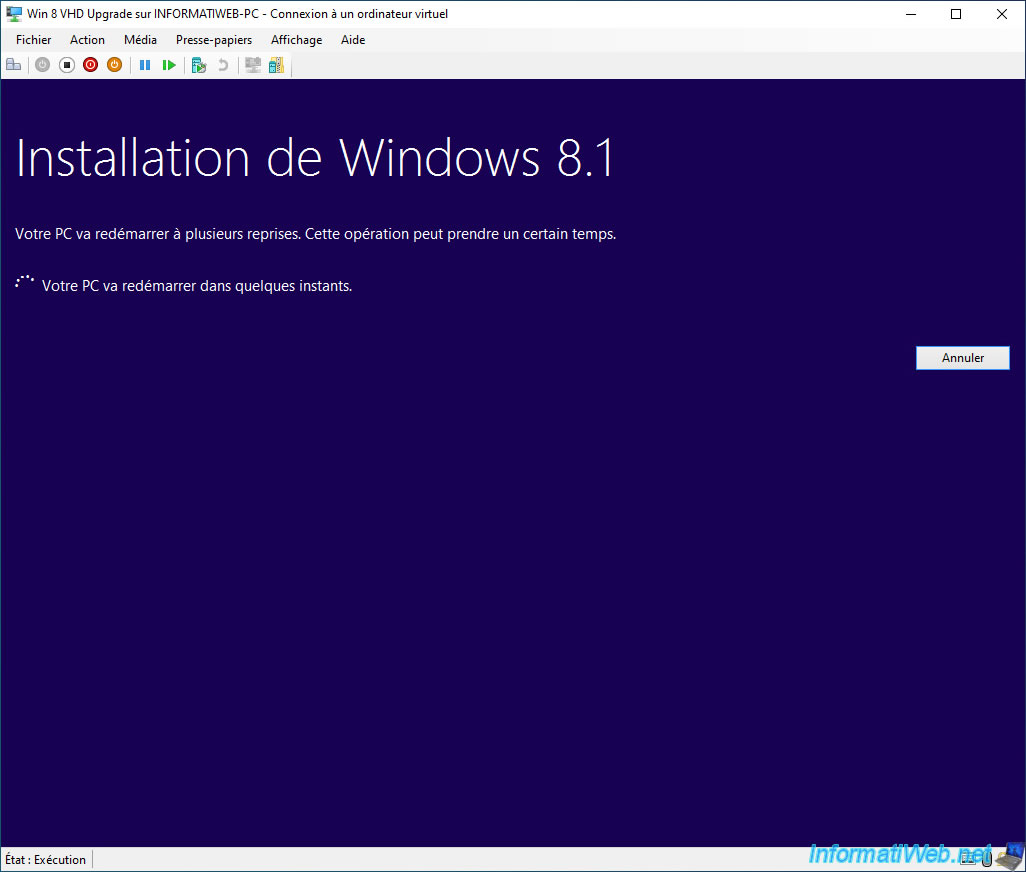
Once the 1st step of the upgrade is complete, your virtual machine will restart automatically.
During the restart, you will see the usual messages from an upgrade from Windows 8 to 8.1 appear:
- Configuration.
- Preparation of devices.
- Preparing.
- Application of PC settings: xx%.
- Additional configuration tasks: xx%.
- Preparing.
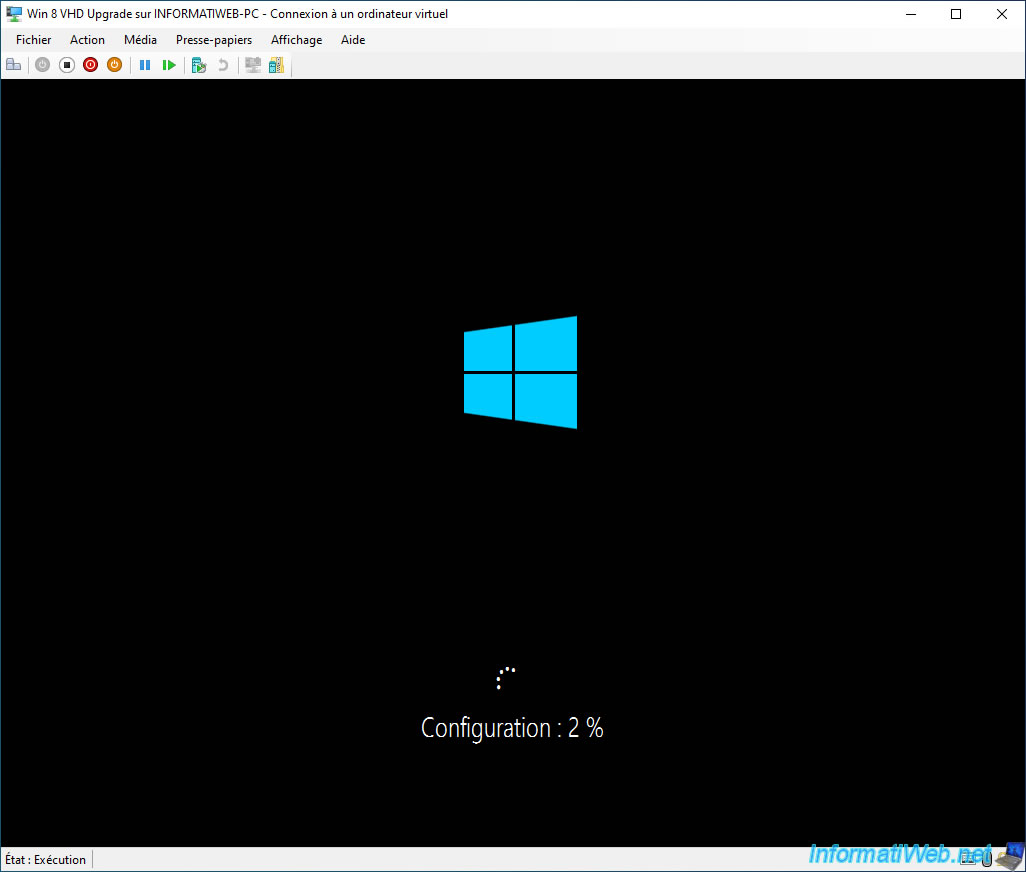
Next, Windows 8.1 settings configuration will appear.
To avoid being followed too much by Microsoft, click on "Personalize" and refer to our tutorial "Format your computer and reinstall Windows 8 or 8.1".
The upgrade to Windows 8.1 is complete.
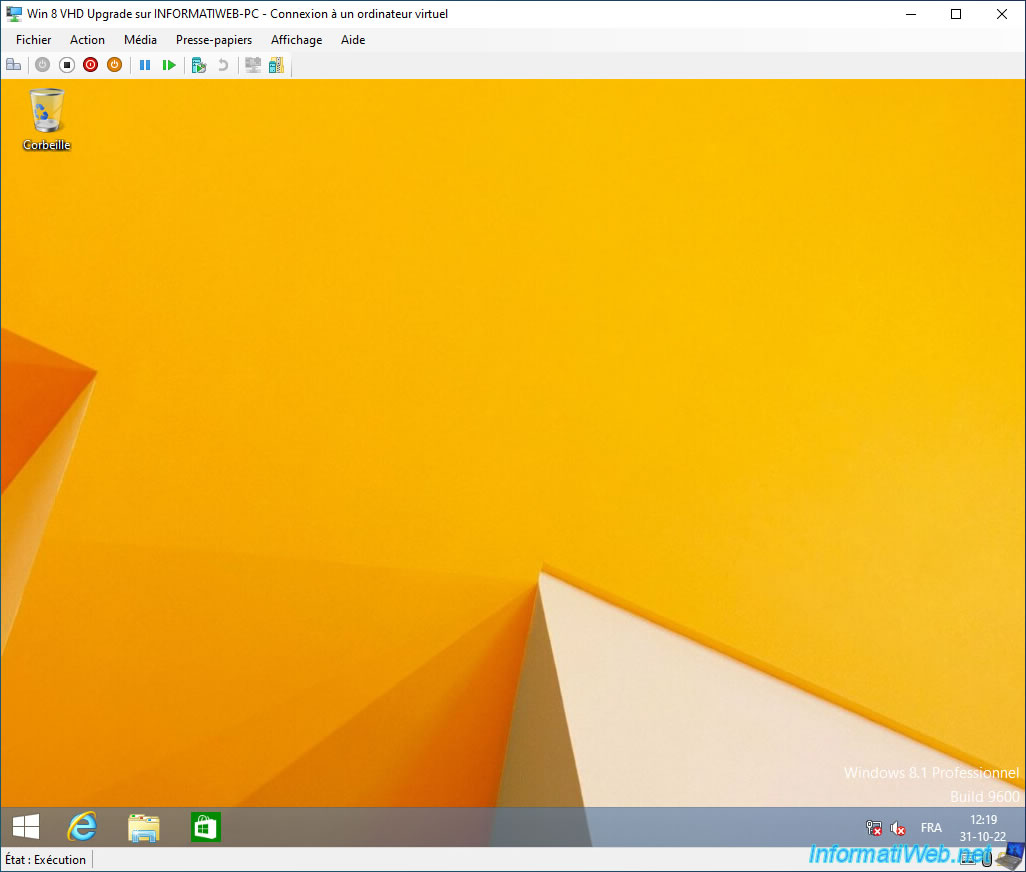
Once Windows 8.1 has been slightly customized, we find our usual wallpaper.
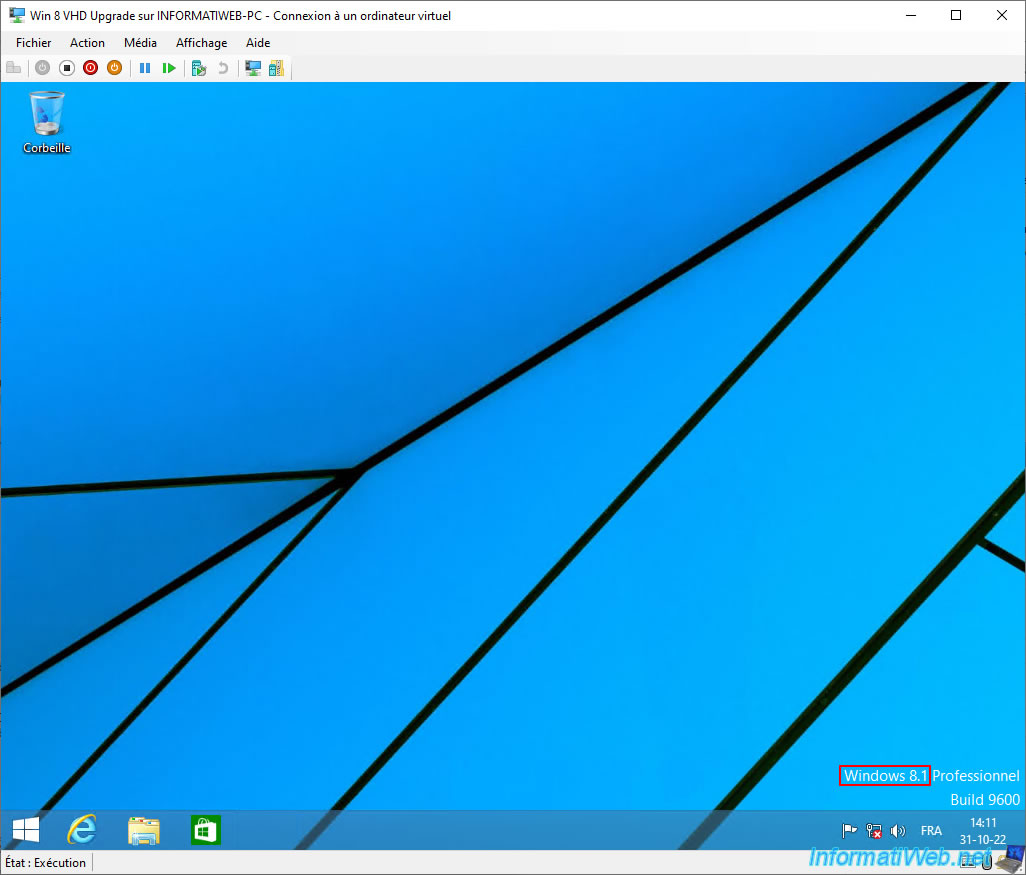
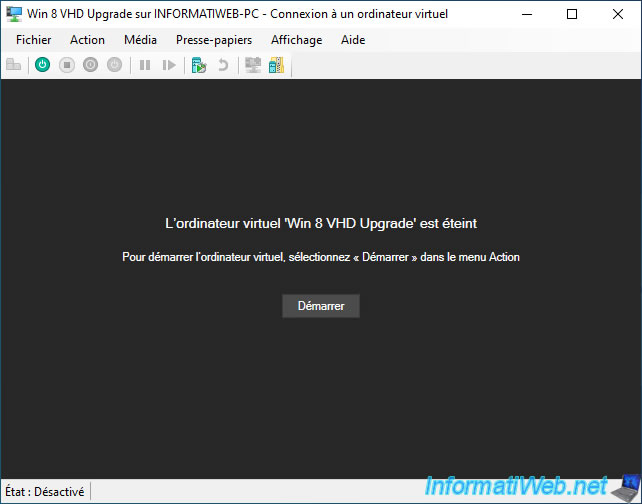
Shut down your virtual machine.
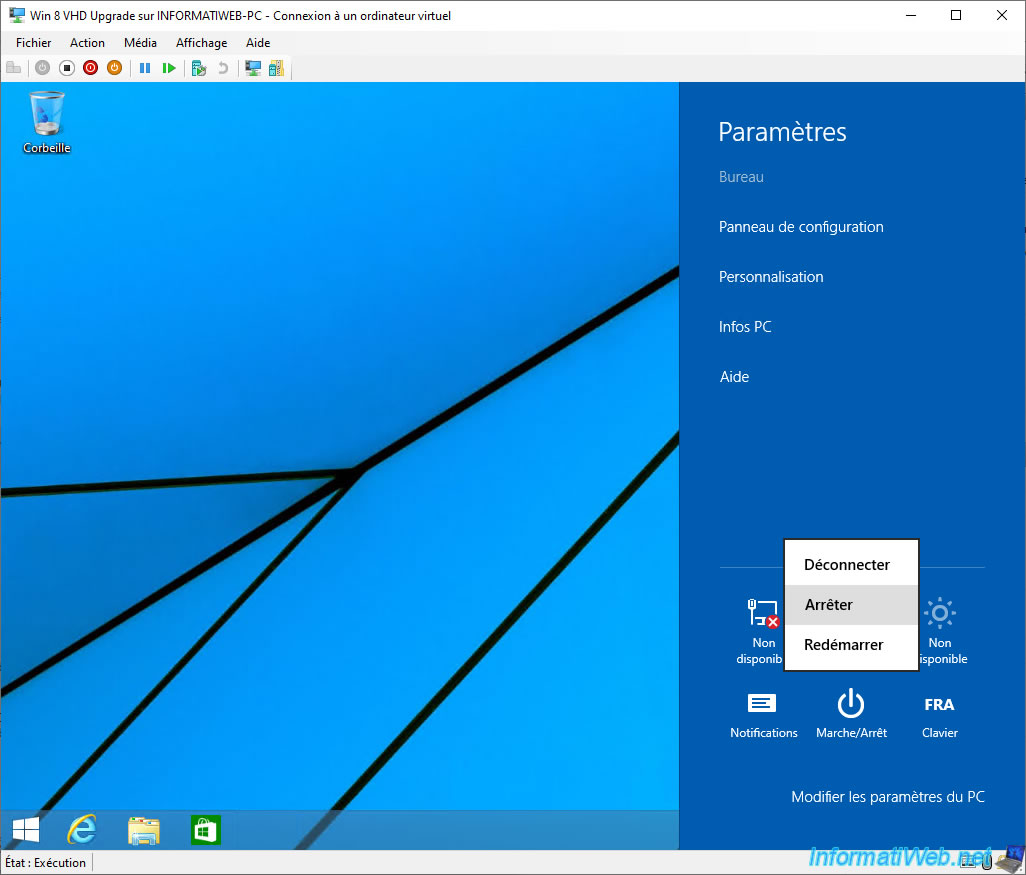
Your virtual machine is powered off.
Share this tutorial
To see also
-
Windows 3/24/2025
Windows 11 / 10 / 8.1 / 8 - Repair a two-way mirror storage space (software RAID 1)
-

Windows 10/6/2021
Windows 7 / 8 / 8.1 - Help a remote user without third-party software
-
Windows 9/14/2021
Windows 8 / 8.1 - Configure default programs
-
Windows 4/11/2022
Windows 8 / 8.1 - Delete an old network profile
No comment