- Windows
- Windows Vista
- 22 April 2013 at 12:21 UTC
-

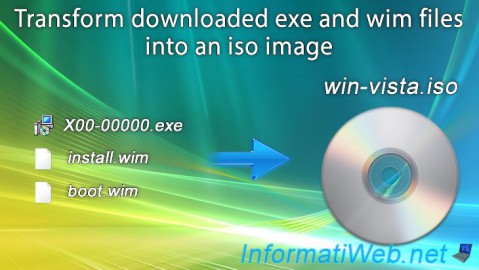
If you download Windows Vista or Windows 7 from Microsoft's servers, it is possible that you need to download a "X00-00000.exe" file and 2 wim files (boot.wim and install.wim).
To create the iso file and thus be able to start the computer on the installation CD, you'll have to go through a third party software.
1. Extract the installation files
To extract the installation files, simply run the "X00-00000.exe" program that you downloaded.
Note : In our case, it was "Windows Vista SP1 FR 32-bit".
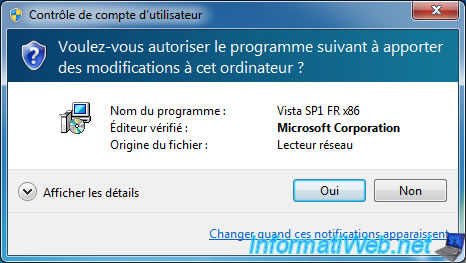
The program will extract the installation files from the 2 wim files and then delete them.
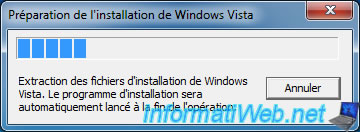
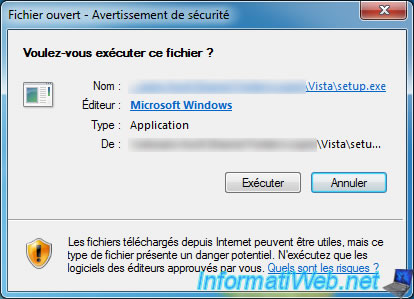
Once the extraction is complete, the program will want to start the installation of Windows Vista. Click "Run".
Then exit this window.
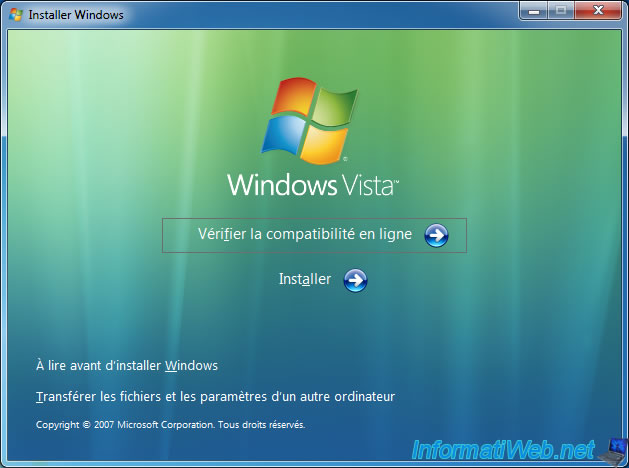
In the folder, you can now find the "Vista" (depending what you download or another name) folder that contains all files in the official DVD of Windows Vista.
Note : You can delete the exe file because you do not need it anymore.
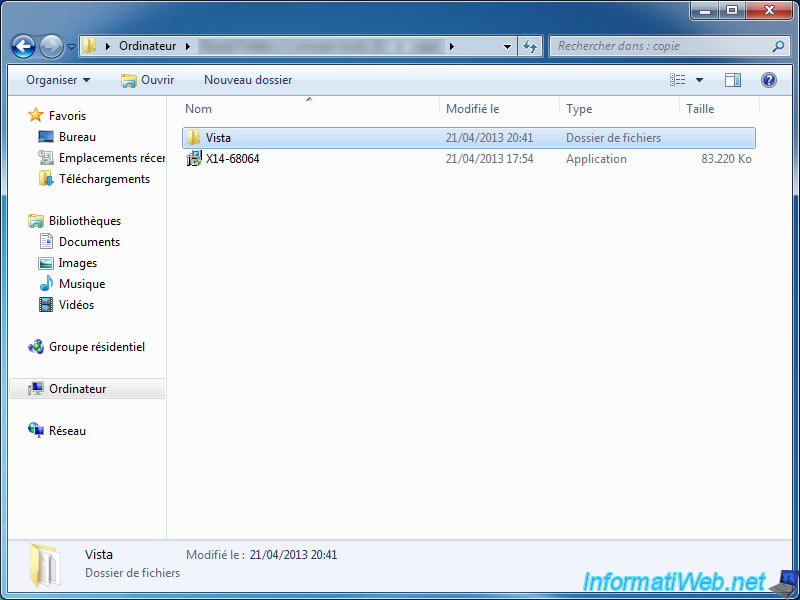
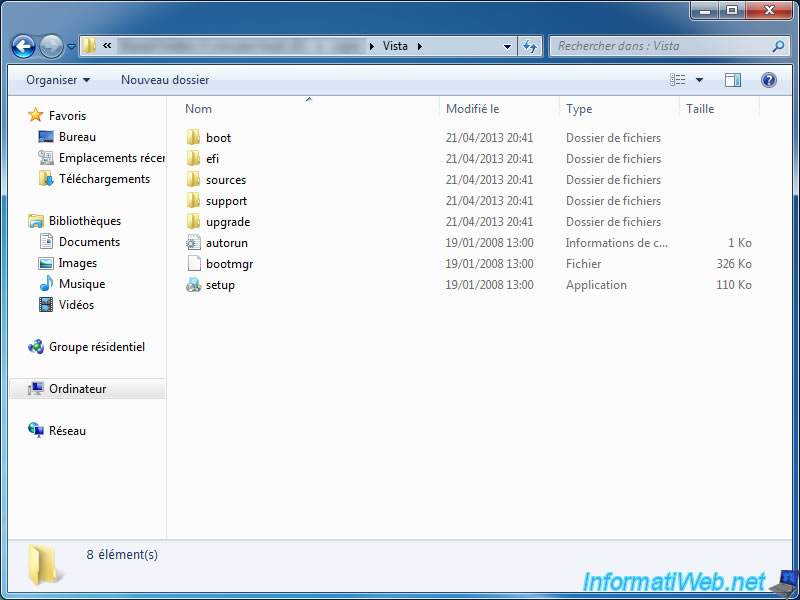
2. Creating the ISO image
Now that you have the Windows Vista installation files, you will have to remaster the ISO image and configure it to be bootable.
The only free software that we have found to do this is "ImgBurn".
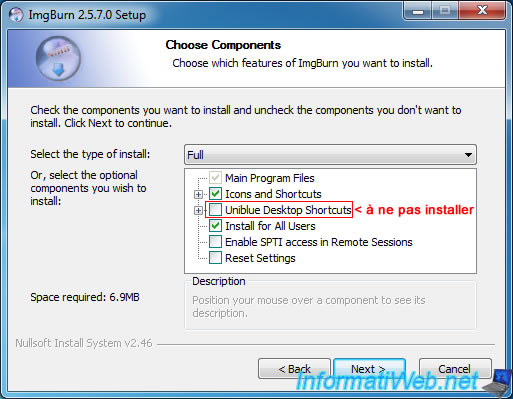
Warning : When installing, uncheck the "Uniblue Desktop Shortcuts" box because it's an adware that can crash your computer if you use them.
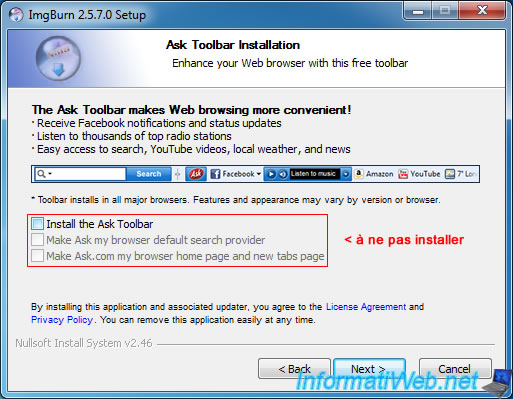
Warning : Uncheck the "Install the Ask Toolbar" box because this is also an adware which displays unwanted advertising windows.
The other two boxes will be automatically unchecked, as you can see on the image.
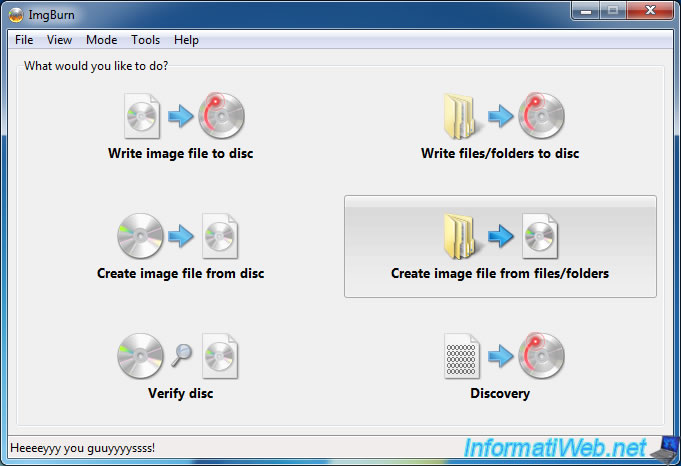
Once installed, click on "Create image from files / folders".
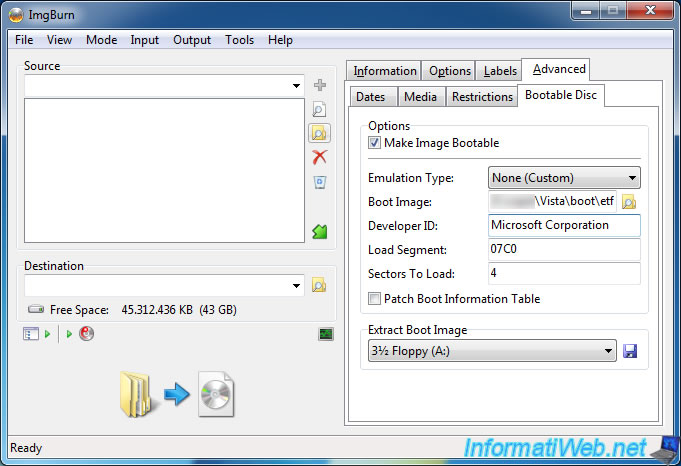
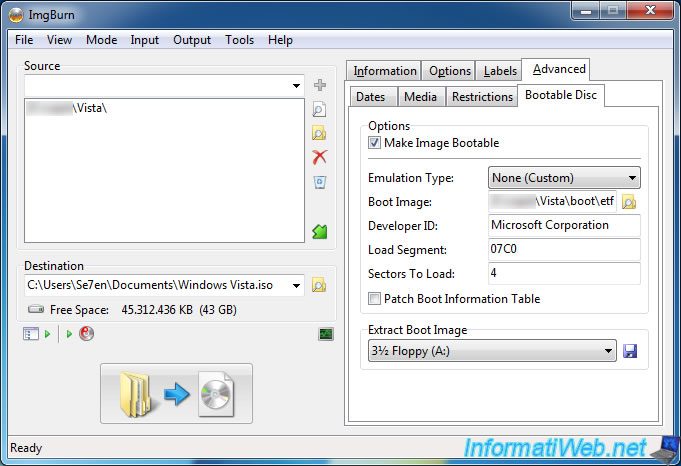
Then go to the tab "Advanced" and then "Bootable Disc" and set these options :
- Select the "Make Image Bootable" check box
- Emulation Type : None
- Boot Image : Click the icon to the right and select the "etfsboot.com" file located in the "boot" folder on the DVD.
- Developer ID : Microsoft Corporation
- Load Segment : 07C0
- Sectors To Load : 4 (4 because the "etfsboot.com" file is 2 KB)
Once the information to make the image bootable are configured, then click the "folder" icon on the left (frame : Source).
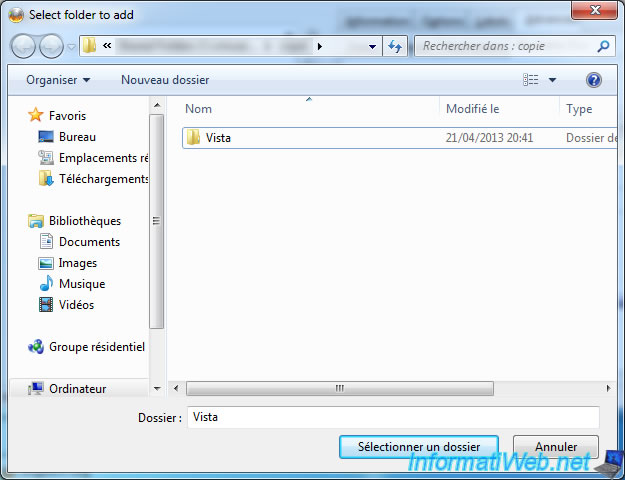
Select the "Vista" folder.
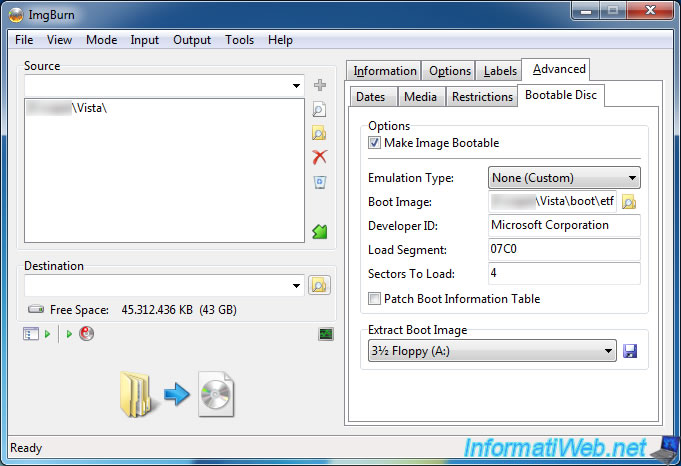
Once you have selected in the "Destination" folder on the left, click the "folder" icon.
Enter a name to save the ISO image.
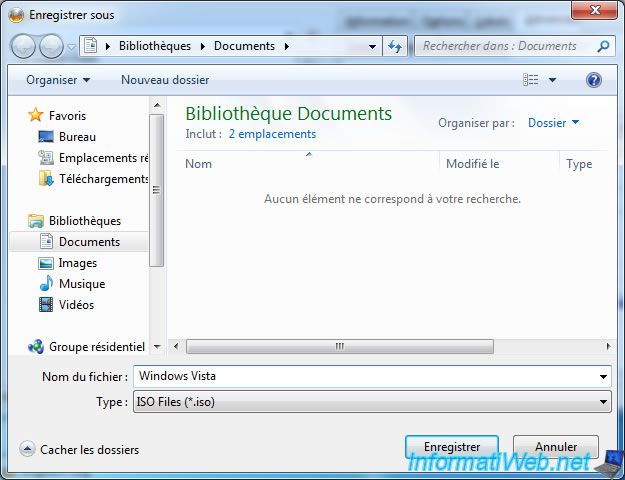
Now that everything is configured, click the big button at the bottom left.
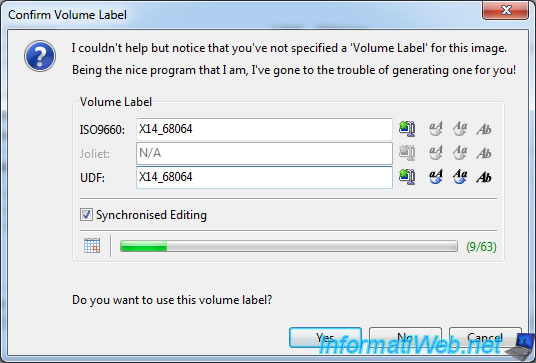
Then enter a name for your DVD. For example, the name or unique code download.
A window appears first (before the creation of the image).
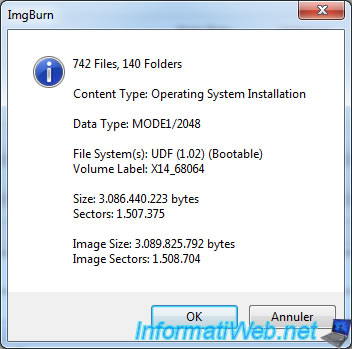
Then, ImgBurn create your ISO image.
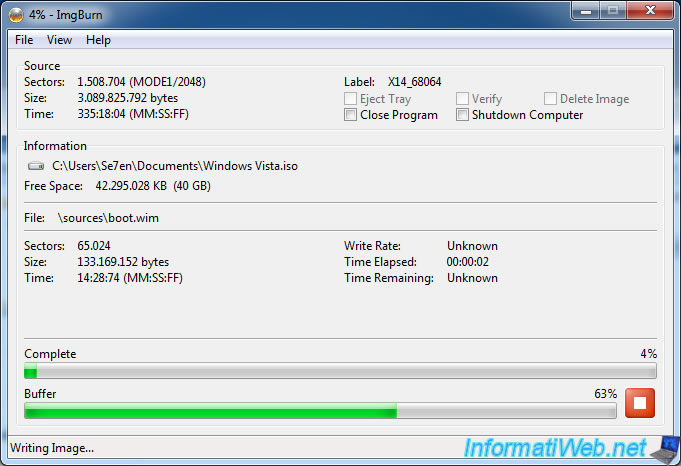
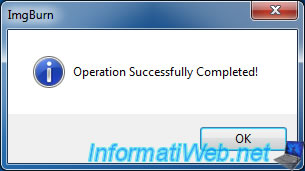
Now that the image is created, you can burn with your favorite burning software or via ImgBurn by clicking the "Write image file to disc" button.
Share this tutorial
To see also
-
Windows 2/15/2013
Configure the firewall of your computer
-
Windows 12/4/2015
Windows Vista / 7 - System restore
-
Windows 11/10/2013
Windows Vista / 7 / 8 - Repair Windows installation by the upgrade process
-
Windows 7/29/2014
Windows Vista to 11 - Partitioning your hard drive
You must be logged in to post a comment