- Windows
- 03 December 2012 at 21:05 UTC
-

- 1/2
Windows Preinstallation Environment (AKA Windows PE and WinPE) is a lightweight version of Windows used for the deployment of PCs, workstations, and servers, or troubleshooting an operating system while it is offline.
Definition from Wikipedia.
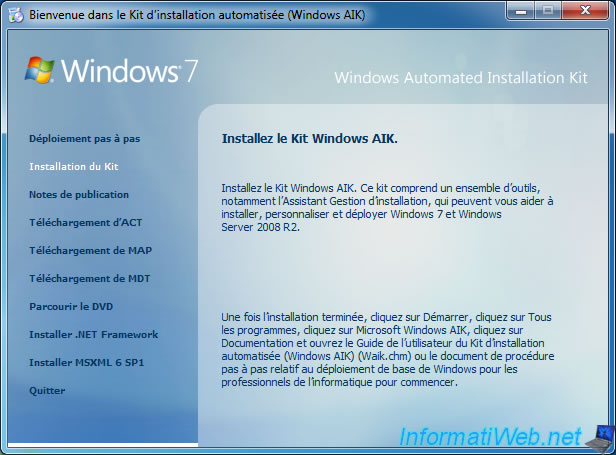
Firstly to create an image of Windows PE 3.0 (Windows 7) or 3.1 (Windows 7 SP1), you must install the "The Windows® Automated Installation Kit (AIK) for Windows® 7".
Note : If the Service Pack 1 of Windows 7 is installed, you can install the "The Windows® Automated Installation Kit (AIK) Supplement for Windows® 7 SP1".
This supplement is optional. If you don't need to modify the SP1 boot.wim and winre.wim files, you can continue to use the tools of Windows 7 RTM (final version), including WinPE 3.0, without installing this supplement.
- Installing the WAIK
- Supplement for Windows 7 SP1
- Creating the PE image
- Copy the Windows PE environment
- Mounting the wim image to integrate applications, ...
- Start one or more programs on the boot of Windows PE
- Changing the default wallpaper
- Adjusting system settings (keyboard language and others)
- Dismounting the "wim" image and saving it
- Delete confirmation message at startup (optional)
- Creating an ISO image of Windows PE to be burned to a DVD
1. Installing the WAIK
Once you have the WAIK and Supplement to create Win PE 3.1 images, insert the DVD into your DVD drive WAIK.
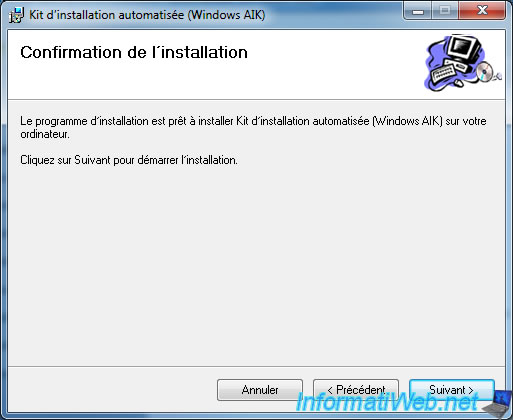
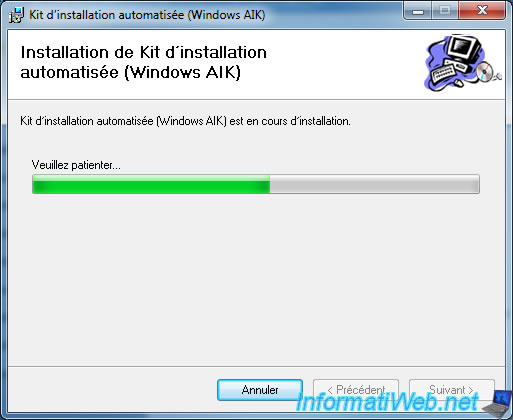
Click "Install Kit" to install WAIK.
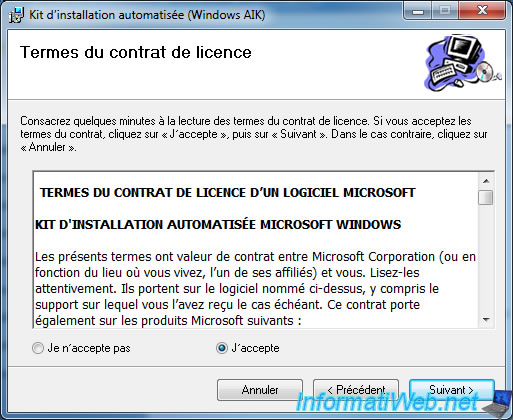
Select the "I agree" option and click "Next".
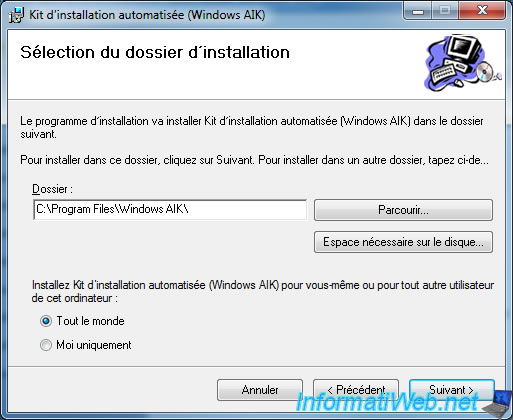
Preferably allow the default installation folder.
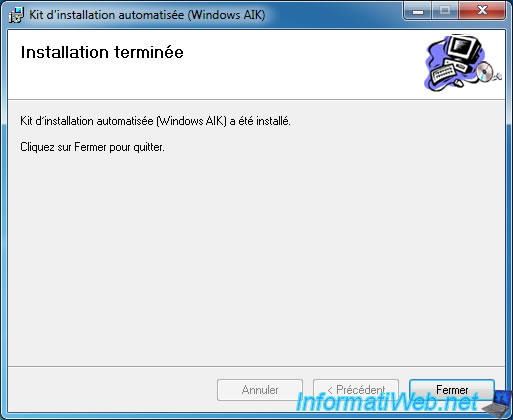
WAIK is installed.
2. Supplement for Windows 7 SP1
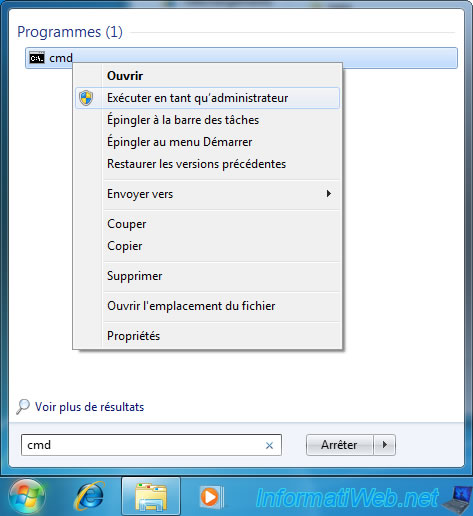
Go to the start menu and type cmd. Right-click on "cmd" and click "Run as administrator".
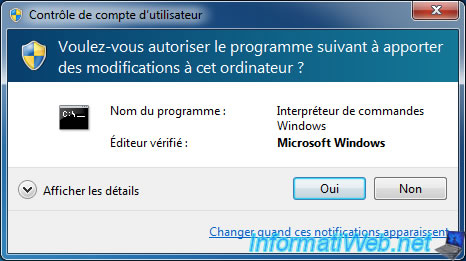
Click "Yes".
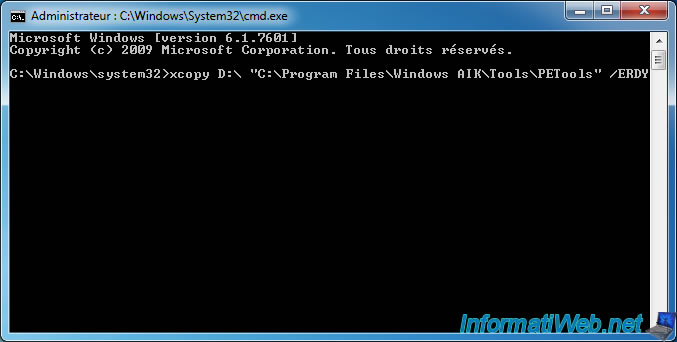
Once the command prompt launched. Type the following command :
Batch
xcopy D:\ "C:\Program Files\Windows AIK\Tools\PETools" /ERDY
Where D:\ represents the root of the DVD.
Note : To summarize, this command simply copy the DVD files in the folder "C:\Program Files\Windows AIK\Tools\PETools".
Once the files are copied, you can close this window and remove the DVD from the DVD drive.
3. Creating the PE image
3.1. Copy the Windows PE environment
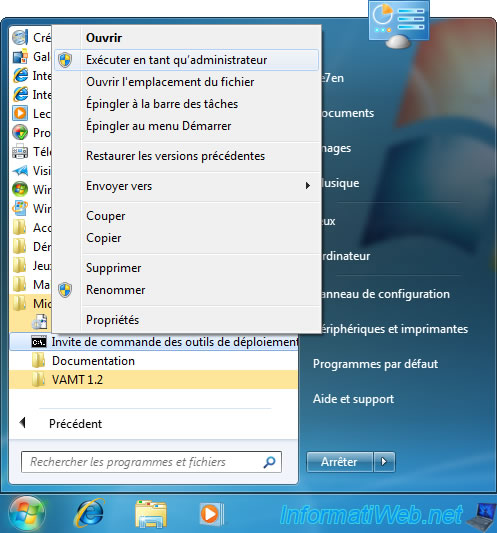
Now that WAIK (and supplement if you are running Windows 7 SP1) is installed, go to the start menu and right click on "Command Prompt deployment tools". Then click on "Run as administrator".
Click "Yes" to allow the program to run with administrator rights.
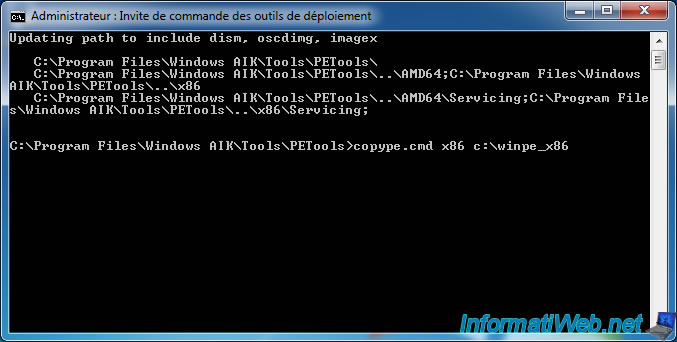
Start by copying the Windows PE environment (x86 or 32 bits in this case) in a new folder : "c:\winpe_x86".
To do this, run the following command :
Batch
copype.cmd x86 c:\winpe_x86
PS : To copy the Windows PE environment with 64-bit architecture, replace x86 by x64.
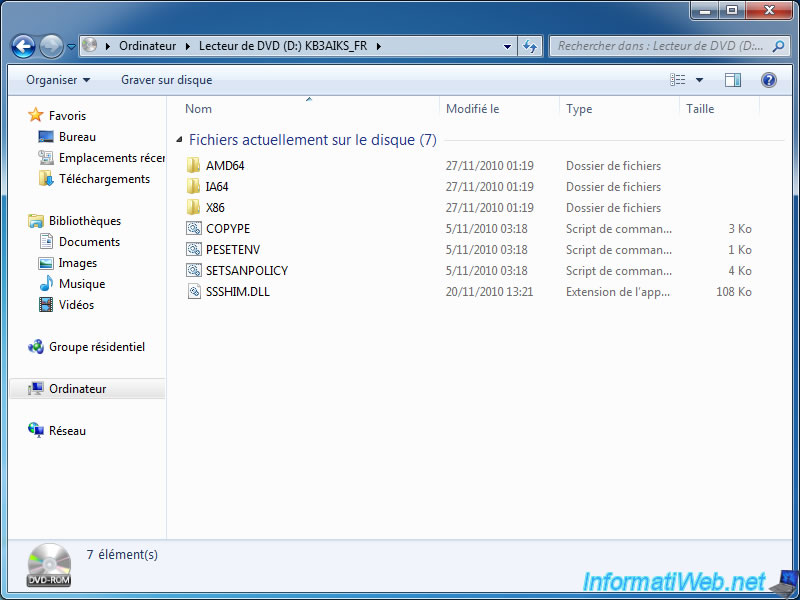
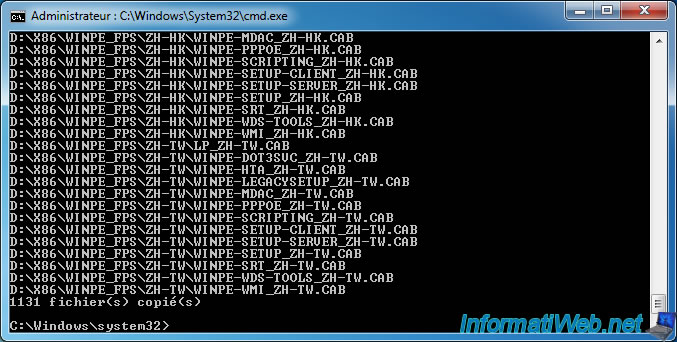
Once Win PE environment copied in the required directory, the command prompt will automatically switch the current directory to go to where you copied the Win PE.
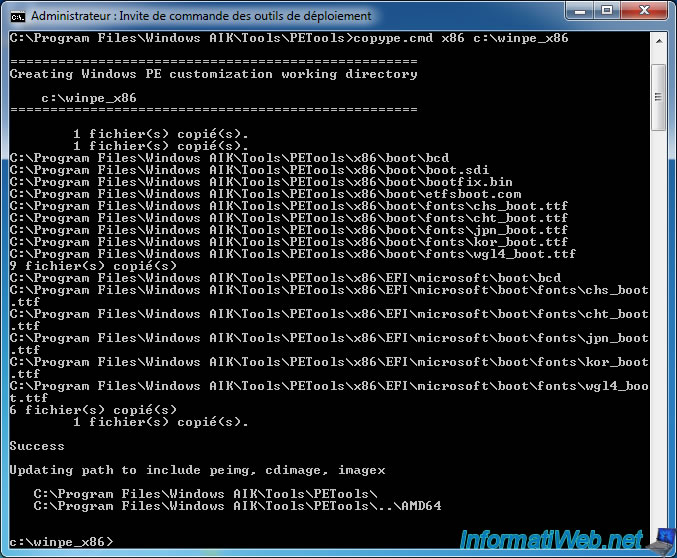
At the moment, the "winpe_x86" folder (or winpe_x64 in the case of 64-bit) looks like this :

Copy "wim" image containing the Windows PE itself in the sources folder. Then rename this file to boot.wim.
To do this, run the following command :
Batch
copy c:\winpe_x86\winpe.wim c:\winpe_x86\ISO\sources\boot.wim

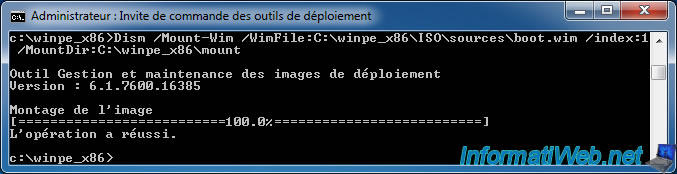
3.2. Mounting the wim image to integrate applications, ...
Next, install the "wim" image in the folder "c:\winpe_x86\mount".
To do this, run the following command :
Batch
Dism /Mount-Wim /WimFile:C:\winpe_x86\ISO\sources\boot.wim /index:1 /MountDir:C:\winpe_x86\mount
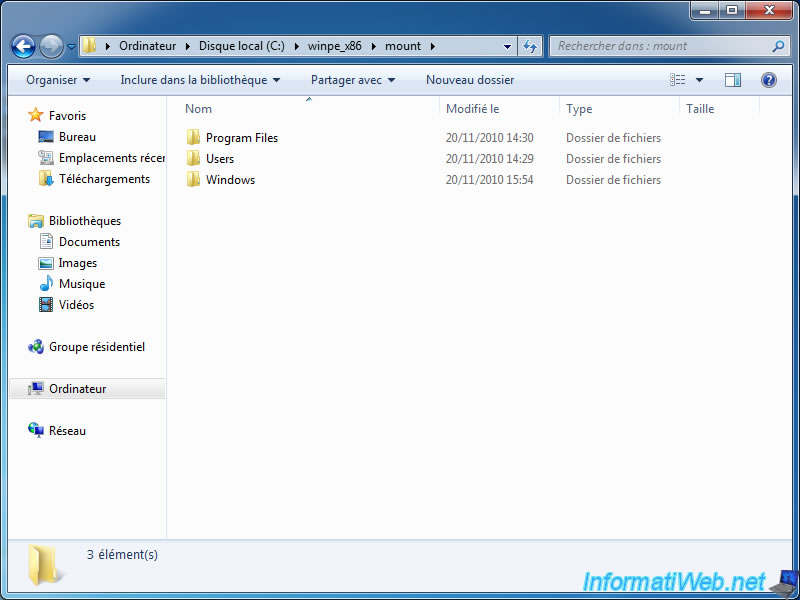
As you can see the Windows PE image, has the same architecture as the standard Windows folders. In this tutorial, the version of Windows PE 3.0 or 3.1 that correspond to Windows 7 or Windows 7 SP1.
Little explanation for those files that are lost :
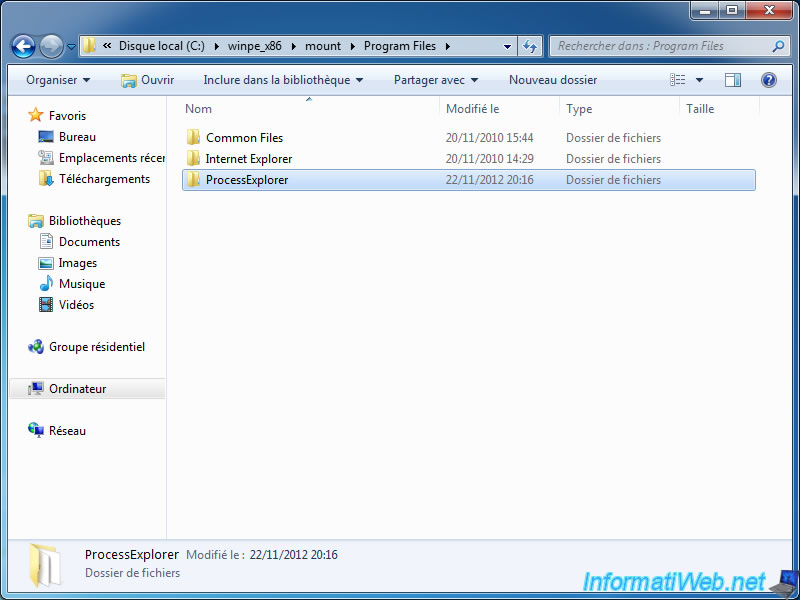
- "Program Files" : Contains folders and files of installed programs in Windows Classic. Note that it is not possible to install a program so offline in a Windows PE as registry information, and other system would be in the Windows installed and not the Windows PE. It is against possible to add portables applications (Windows 7 Compatible) in this folder.
- "Users" : Contains the user folders, such as records formerly known as "My Documents", "My Pictures", ...
- "Windows" : Windows itself. That is the Windows kernel, drivers, registry, system files necessary for the proper operation of Windows, ...
In case you want to use Windows PE to save a partition on your hard drive in the format "wim", we recommend that you copy the "Imagex.exe" program on the DVD of Windows PE.
Imagex is a "standalone" program and therefore does not require any other files to run, so you can easily integrated on the DVD of Windows PE.
To do this, run the following command :
Batch
copy "C:\Program Files\Windows AIK\Tools\x86\imagex.exe" C:\winpe_x86\iso\

For example you can add a more advanced task manager than the original. It is "Process Explorer" developed by "Microsoft - Winternals Software".
Share this tutorial
To see also
-
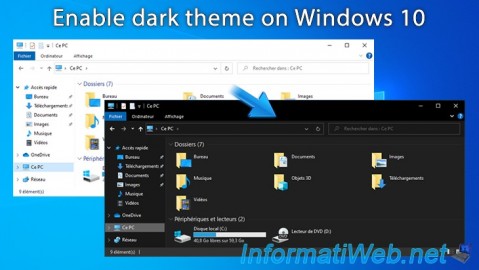
Windows 5/11/2025
Windows 10 - Enable dark theme
-
Windows 4/23/2021
Windows 7 - Configure default programs
-
Windows 8/31/2021
Windows 8 - Update the Windows Update client (fix error 80072EFE)
-

Windows 1/8/2020
Windows XP - Update your install CD easily
You must be logged in to post a comment