Format your computer and reinstall Windows XP
- Windows
- Windows XP
- 11 November 2012 at 19:56 UTC
-

- 6/6
10. Install all remaining updates available for Windows XP
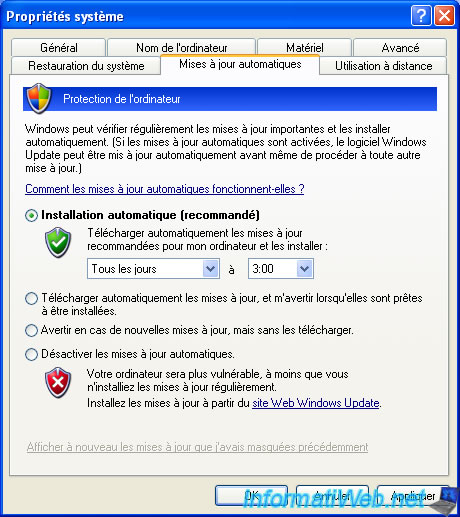
If you want to install all the updates available for Windows XP (but its support has been stopped for years), you can activate the Automatic Windows updates in the Windows system properties.
Select the "Automatic (recommended)" option and click Apply.
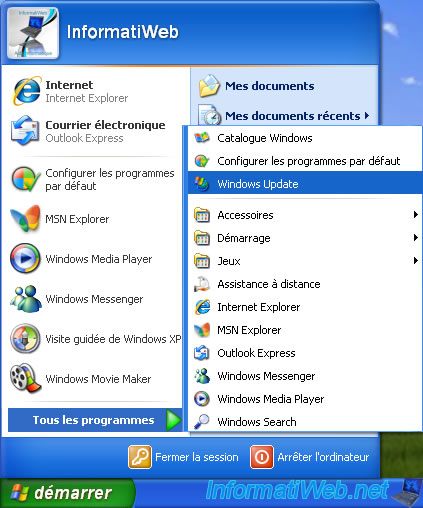
Then, go to the Microsoft Windows Update page by clicking the "Windows Update Web site" link.
You can also access it via the "Windows Update" shortcut present in the start menu.
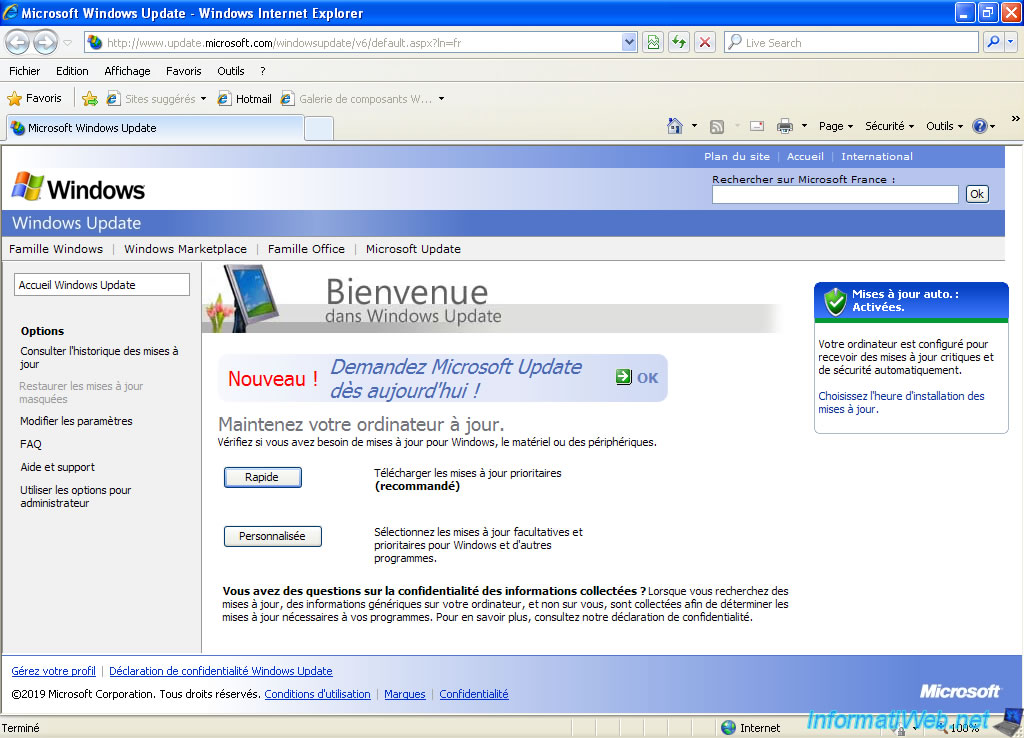
You will come to the Microsoft Windows Update site.
Click "Express" to start downloading high-priority updates for your computer.
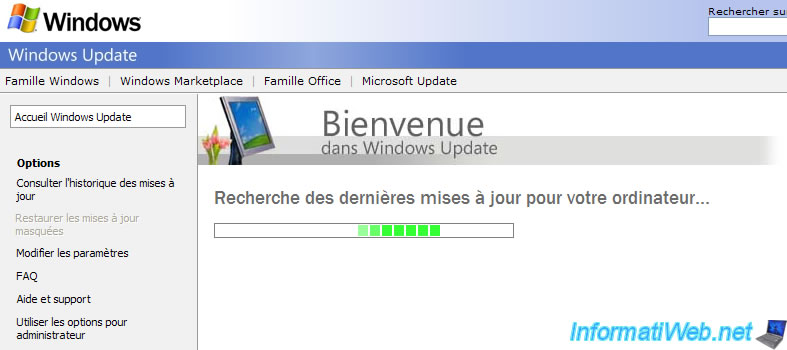
The search for updates begins.
If this message appears, select the "Do not show this message again" checkbox and click Yes.

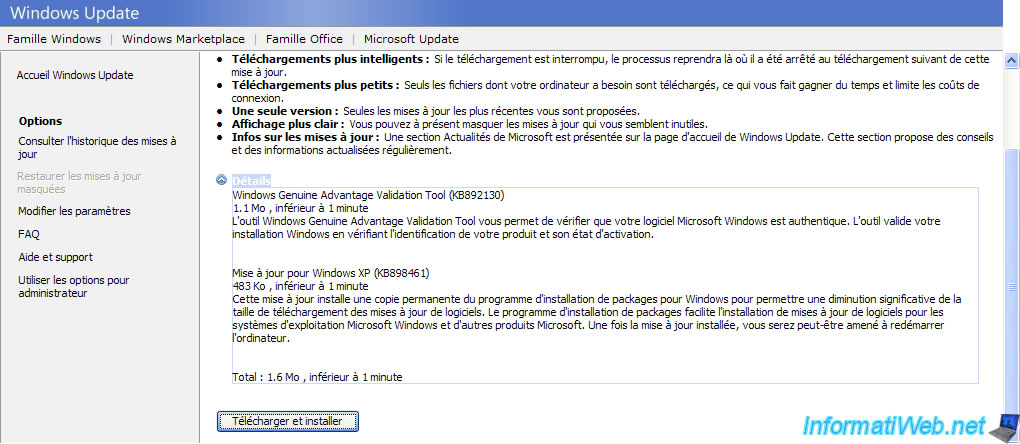
As you can see, the automatic updates system requires 2 downloads :
- Windows Geniune Advantage Validation Tool (KB892130) : a tool that allowed Microsoft to fight against the hacking of Windows XP
- Mise à jour pour Windows XP (KB898461) : an update to install other updates for Windows XP
Click on : Download and install.
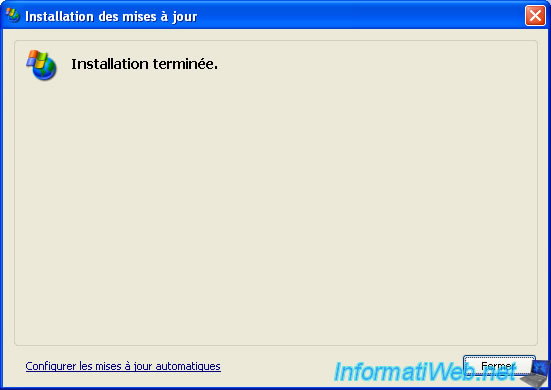
The Windows Update program installed on your computer will appear and download and install the updates indicated previously.

When the installation is complete, click Close.
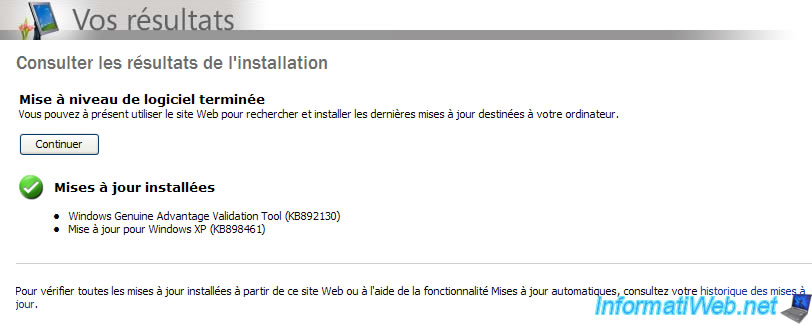
On the site, you will see the "Software Upgrade Completed" message appear.
Click Continue.
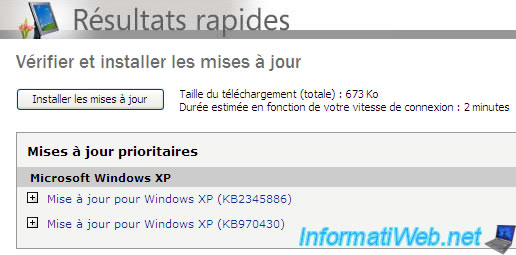
This time, many updates will be detected (including one to notify you of the termination of Windows XP support : KB2934207).
Click : Install updates.
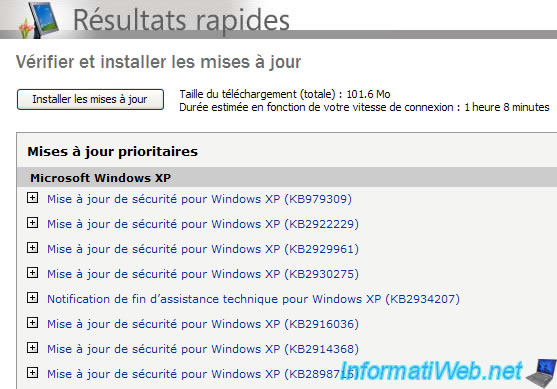
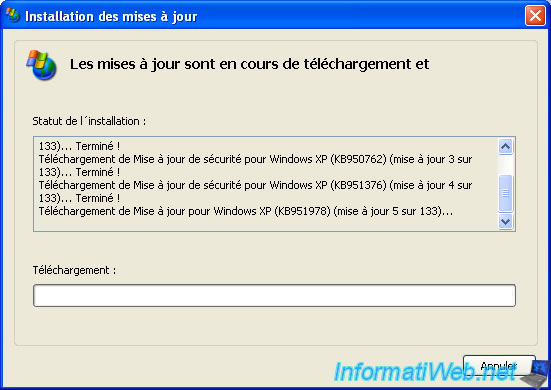
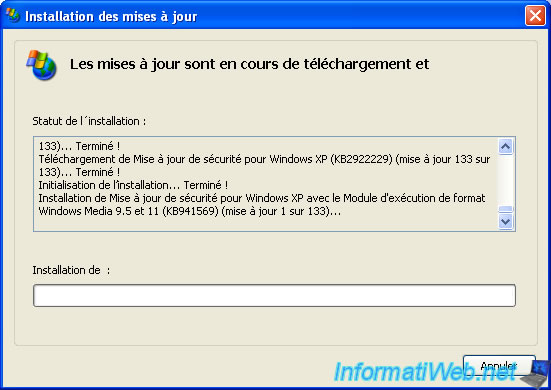
In our case, 133 priority updates will be downloaded and installed.
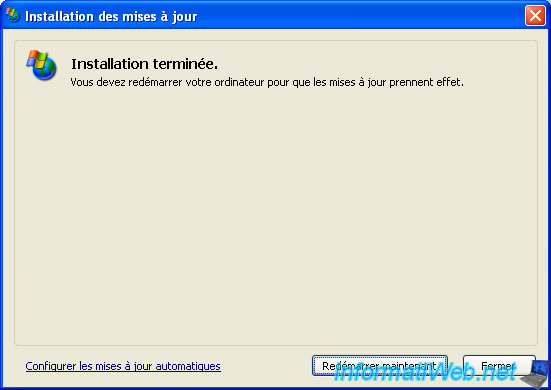
Once all the updates have been downloaded and installed, you will need to restart your computer.
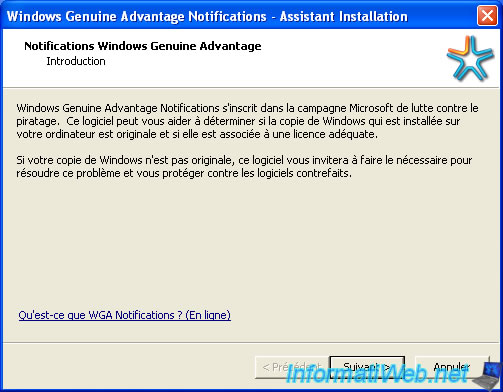
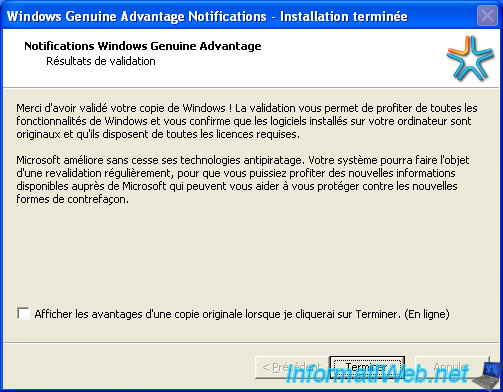
At startup, a "Windows Genuine Advantage Notifications - Installation Wizard" window will appear.
Just click Next at each step.
At the end, uncheck the "Show me some of the many benefits ..." box and click Finish.
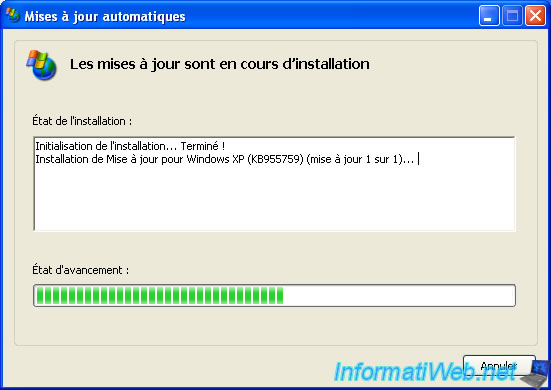
In the taskbar (next to the time), click the yellow icon indicating that updates are available.
In the "Automatic Updates" window that appears, click Install.

Wait while installing the update.
Then, restart again.
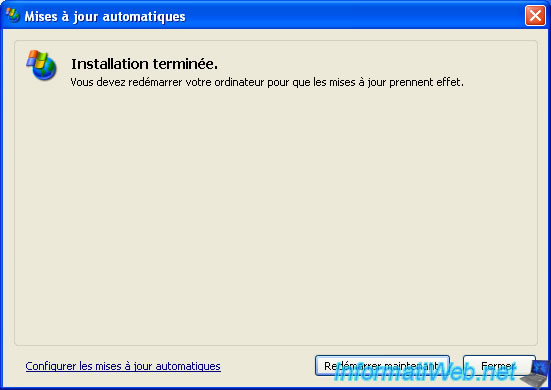
Continue to install the proposed updates.
And finally, the "No high-priority updates for your computer are available" message will be displayed.
Now, you can disable automatic Windows updates, as there will be no more updates available.

Share this tutorial
To see also
-

Windows 11/3/2013
Windows XP - Connect to a Wifi network
-

Windows 5/18/2022
Windows XP - Enable the Administrator account
-

Windows 12/25/2012
Windows XP - Install Windows XP on a SATA hard disk
-

Windows 1/8/2020
Windows XP - Update your install CD easily
No comment