- Windows
- Windows XP
- 25 December 2012 at 20:04 UTC
-

First "Windows XP" doesn't natively support SATA but only the IDE. We must therefore provide the driver to use your SATA hard drive.
Otherwise, this error will appear before the installation of Windows XP : Setup did not find any hard disk drive installed in your computer.
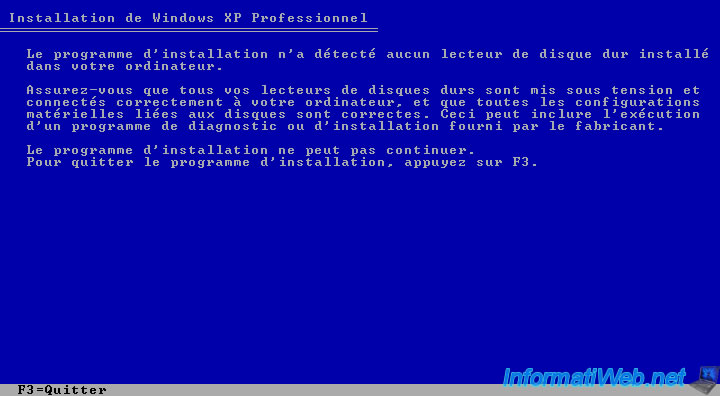
To install "Windows XP" on a hard disk "SATA", there are 3 possibilities :
- Either by changing the value of the SATA controller in the BIOS of the motherboard. To do so, follow our tutorial named "Change mode of hard disk controller"
- Either by using a driver floppy disk containing the SATA controller on your motherboard
- Either by integrating it in the installation CD of Windows XP
- Download the SATA driver of your motherboard
- Create the floppy
- Using the disk to install Windows XP
- Installing nLite
- Creating custom CD
1. Download the SATA driver of your motherboard
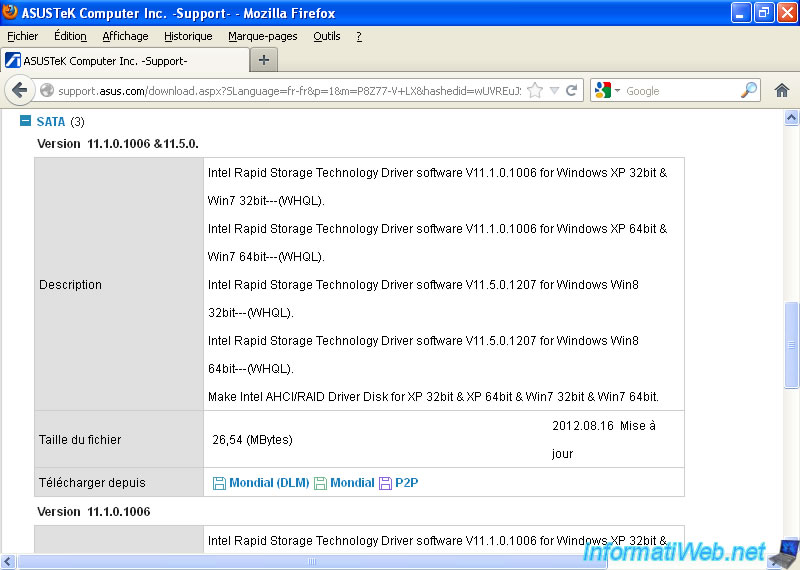
To download the SATA driver, go to the website of the manufacturer of your motherboard. Select Windows XP 32-bit (or 64-bit Windows XP if this is the case. But this version is very rare) as the operating system and download the driver "SATA", "HDD" or Hard Drive. For example : for motherboard ASUS P8Z77-V LX, the driver is in the SATA category and is named "Intel Rapid Storage Technology driver software". This software created by Intel is provided with a folder that contains our famous SATA drivers and their configuration files.
For more information about the drivers, read our tutorial "Windows - Download and install its drivers".
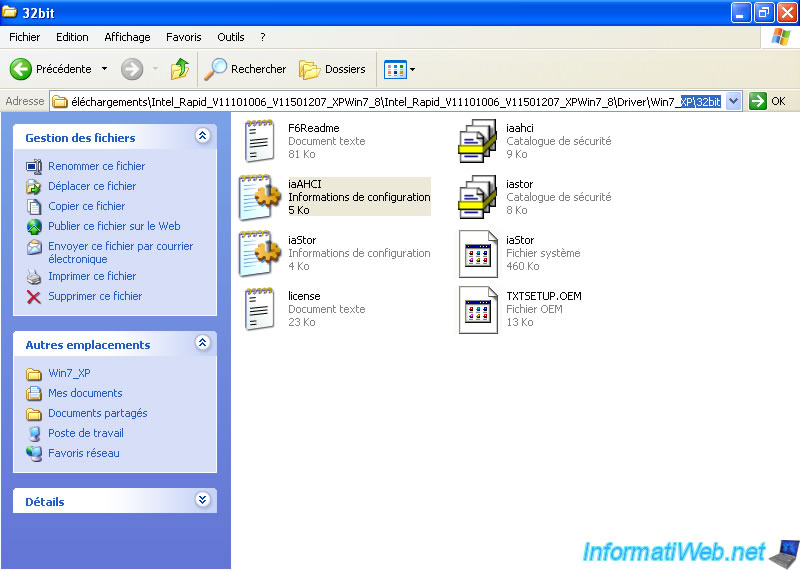
Unzip the downloaded file and go to the Driver folder -> Win XP -> 32 Bits. The folder tree can vary between manufacturers and versions of drivers.
This file usually contains files with the following extensions : sys (the driver), inf (the configuration file), sometimes pnf file (Installation information precompiled), sometimes a cat file (Security Catalog) plus sometimes some other files like dll, for example.
Note : AHCI mean Advanced Host Controller Interface and allows you to communicate with SATA devices.
Then, depending on the method you want to use :
- Follow steps 2 and 3 to use a floppy disk containing the SATA controller driver when installing Windows XP
- Follow steps 4 and 5 to include it in the installation CD of Windows XP
2. Create the floppy
To create the disk containing the SATA drivers, it is very simple. First, go to the work station (or Computer in Windows Vista / 7) and right click on the floppy drive. Then, click format.
Warning : this will erase the contents of the disk.
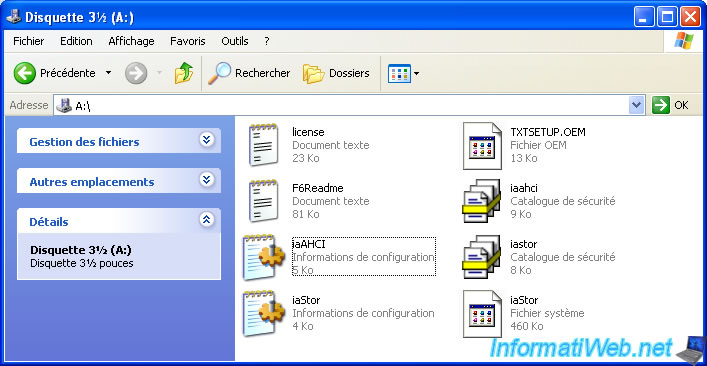
Then simply copy the contents of the folder containing the SATA driver on the diskette.
3. Using the disk to install Windows XP
When you want to install Windows XP, you need to press F6 to provide the SATA driver that will allow it to find your SATA hard drive and thus use.
Note : When you press F6 the loading process continues normally, but it will ask the driver before the menu "Installation, repair, leave".
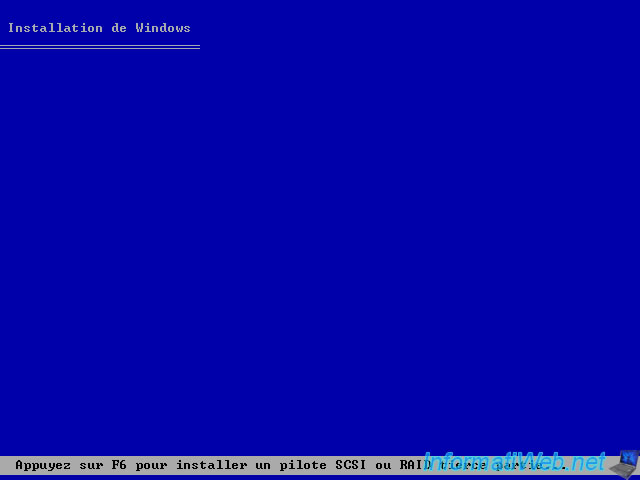
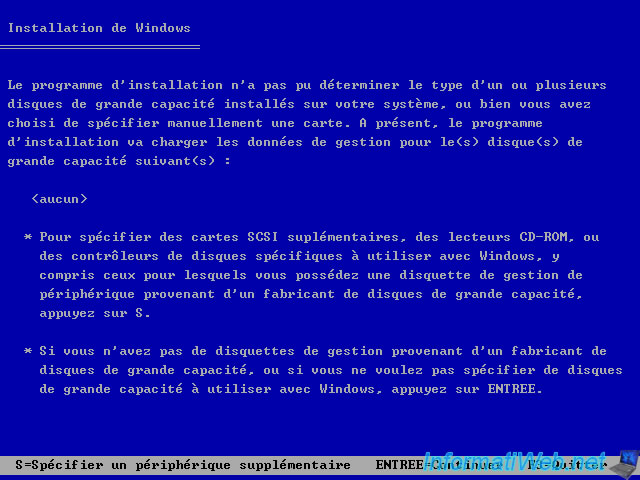
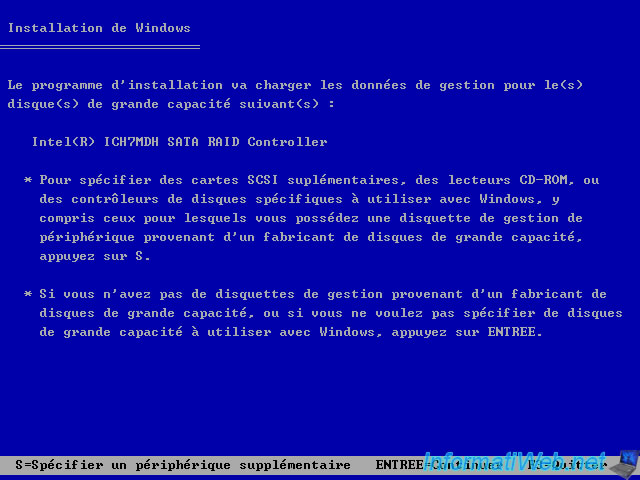
You arrive at this screen. Press the "S" key as shown in the bottom of the screen.
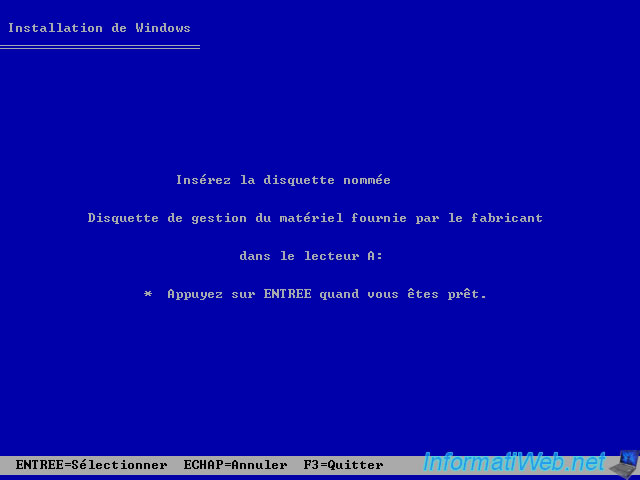
Insert the disk (if it is not already) and press ENTER.
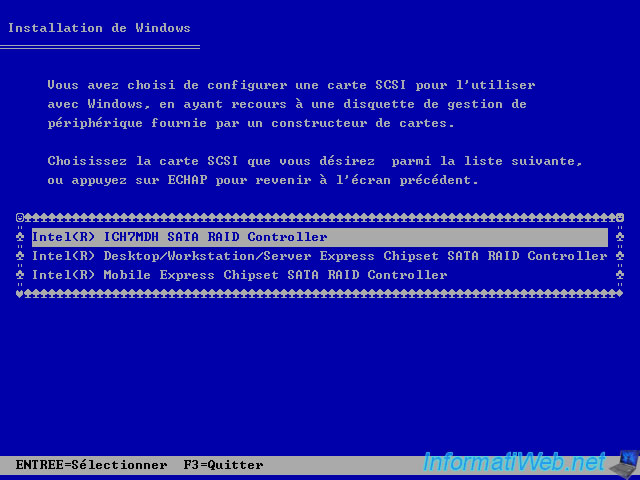
The wizard displays a list of storage drivers that were found on the disk. Generally, for SATA hard drives, use the driver that contains "ICH" in its name.
Select it using the arrow keys and press ENTER.
To specify additional drivers, press "S" otherwise press ENTER.
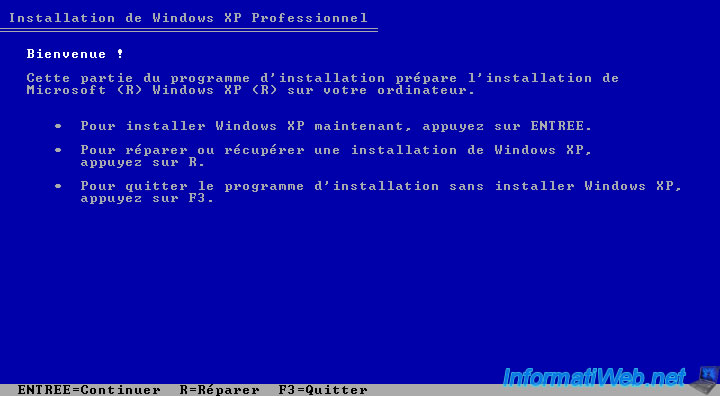
And you're on the menu "Installation, repair, leave." Press ENTER. If you've downloaded the correct driver the wizard should detect your hard drive and you can install Windows XP.
Note : If you do not know how to install Windows XP, read our tutorial "Windows XP - Format and reinstall".
4. Installing nLite
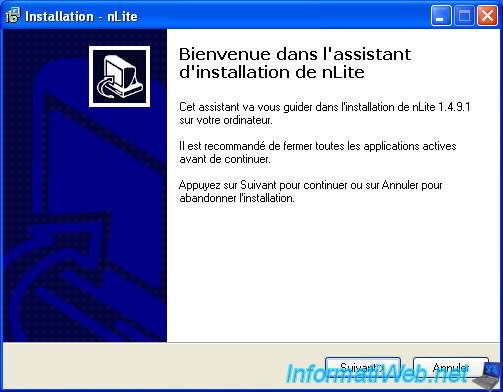
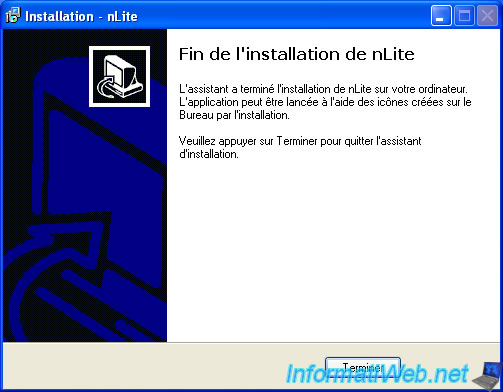
If you want to integrate the SATA driver into the Windows XP installation CD, you must use the software "nLite" (Free). To install it, nothing special.
5. Creating custom CD
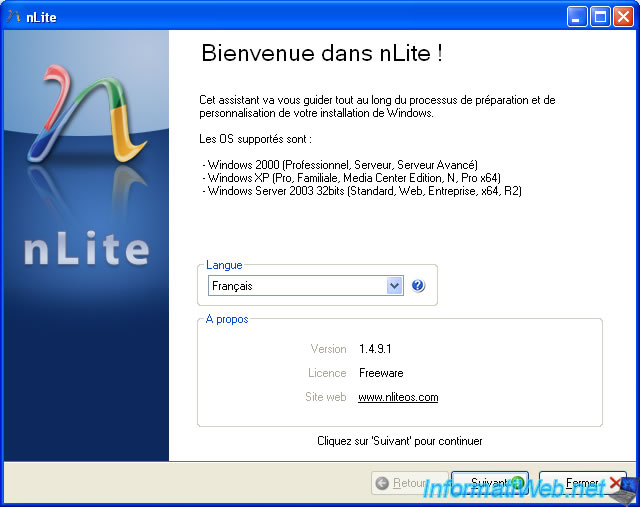
Run nLite, select your language and click "Next".
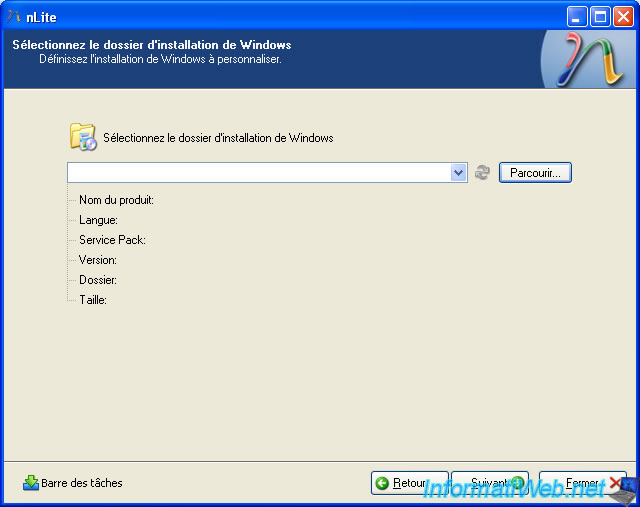
Select the folder containing the Windows XP installation files. If you select a read-only media such as a CD / DVD, the files are first copied to a folder you specify.
Click on "Browse".
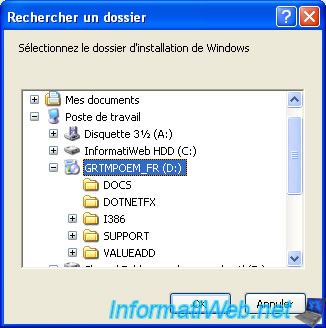
Select the folder containing the Windows XP installation files. In our case, the installation CD in our CD player.
Then select the folder to copy the installation files.

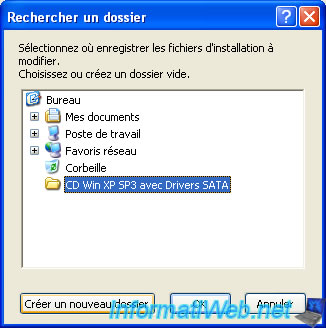
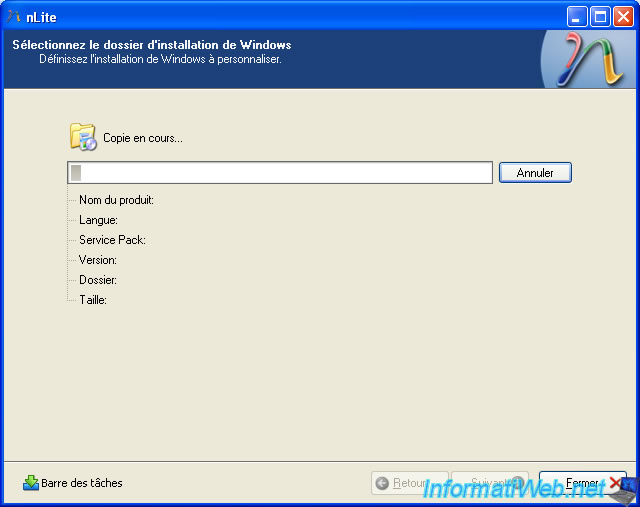
The installation files are copied to the selected folder.
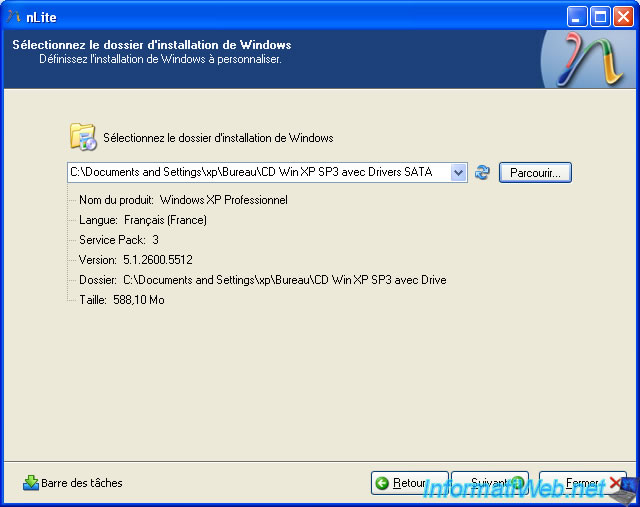
Once the files are copied you can see some information about your installation CD, like edition (Home or Professional), language (the most recent being SP3) integrated service pack CD, ...
Click "Next".
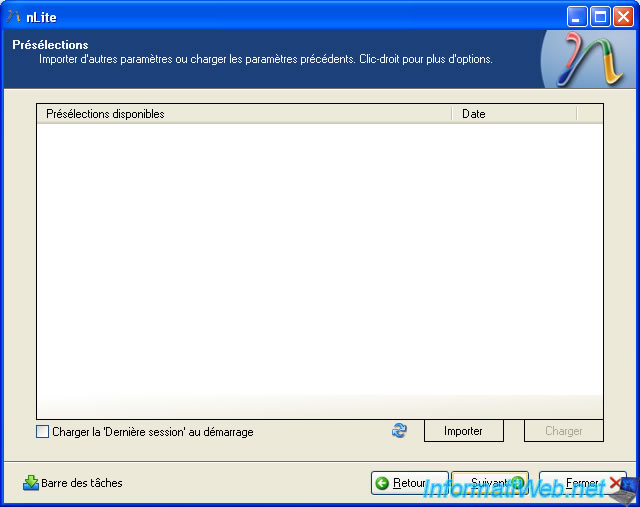
This part is for use settings previously saved with nLite. Click "Next".
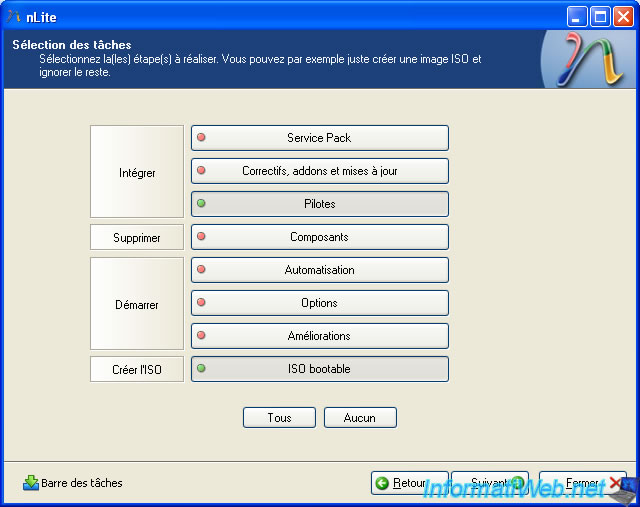
As you can see nLite can do many things. As integrate services packs, updates, drivers, some programs start at the end of the installation, ... and finally to create a bootable ISO to allow us to start the computer on our custom CD.
Click on "Drivers" and "Bootable ISO" and then "Next".
Click "Insert" -> "Basic Pilot".
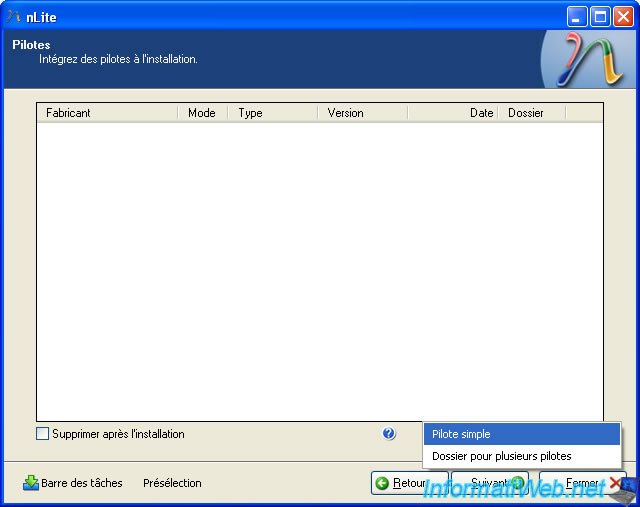
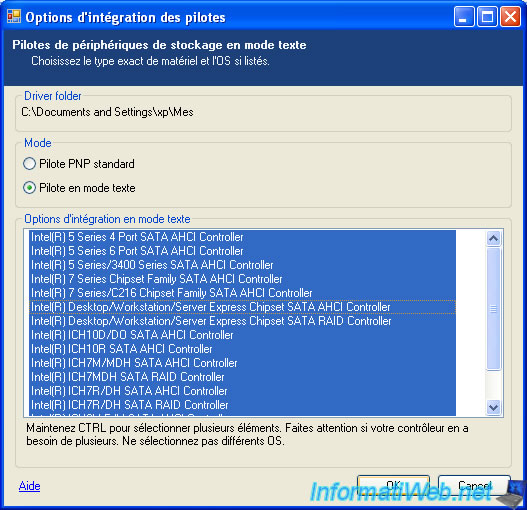
If you do not know which one to add, select them all by pressing "CTRL + ALT".
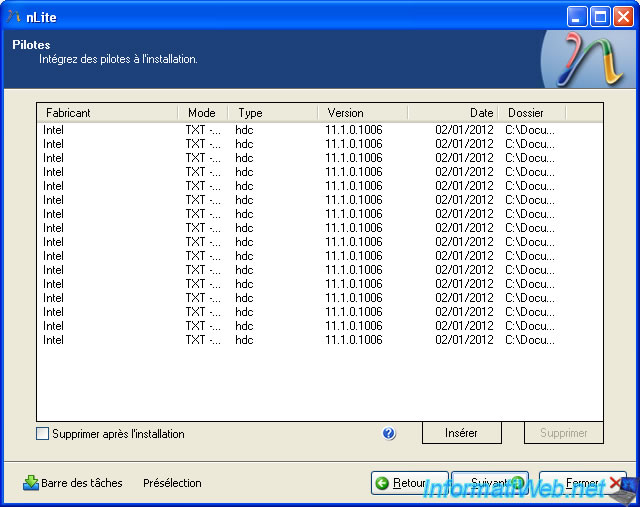
All selected drivers are displayed. Click "Next".
Click "Yes" to begin the process of customizing your Windows XP CD.

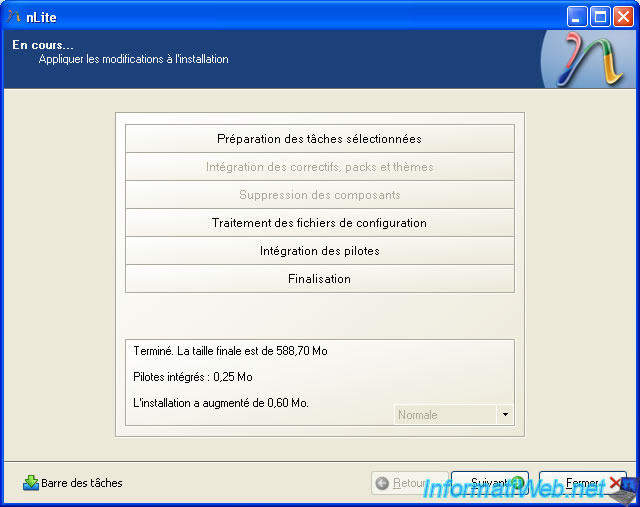
The wizard completes and integrates drivers customization.
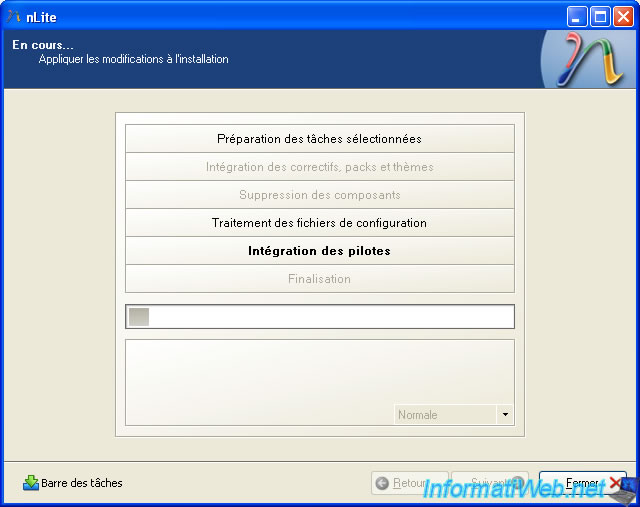
Once the process completes, the wizard tells you the total size of personalized CD and the size of each part of the customization. For example: you can see in our case that was added 0.25 MB drivers.
Click "Next".
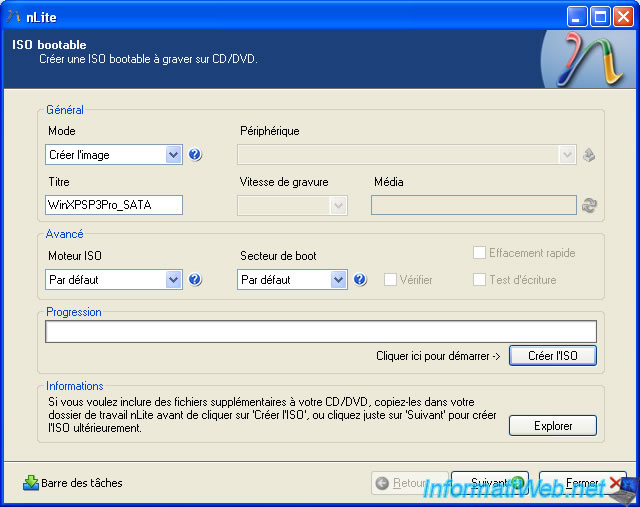
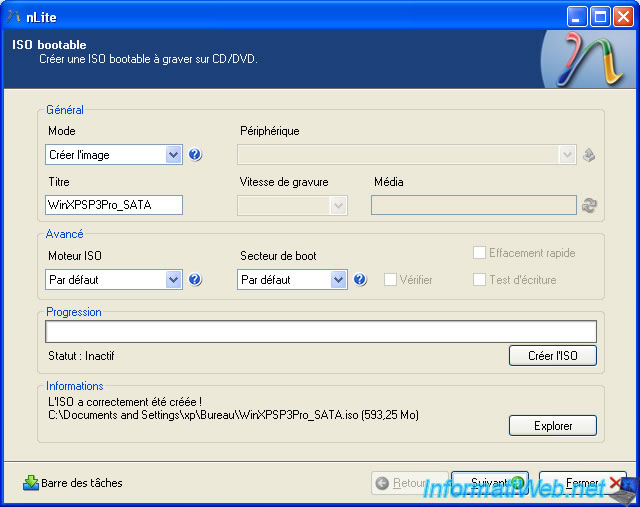
Now to create the iso this personalized CD for you to burn it to a CD and start the computer on it. Enter a title and click "Create ISO".
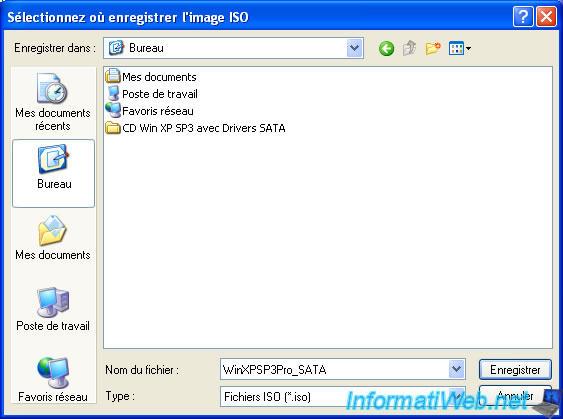
Select the location where you want to save the "iso" file.
Creating iso occurs.
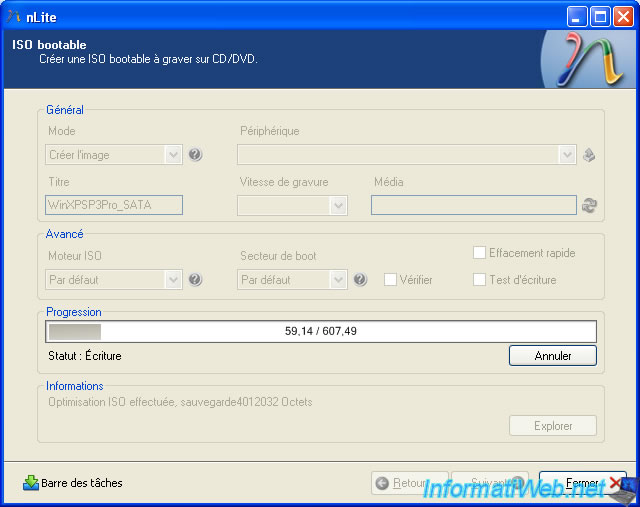
Once the ISO is created, click "Next".
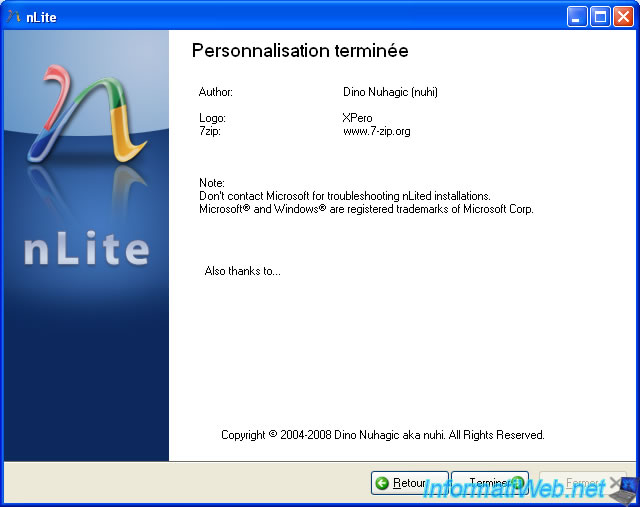
You can now install Windows XP on your SATA hard drive. Warning that the drivers (drivers) provided for a SATA motherboard does not always work with other motherboards. It depends on whether the SATA controller is supported by the driver used or not.
Share this tutorial
To see also
-

Windows 5/18/2022
Windows XP - Enable the Administrator account
-

Windows 6/16/2018
Windows XP - File sharing
-

Windows 3/14/2013
Windows XP - Repair installation of Windows
-

Windows 4/7/2012
Windows XP - Use a Bluetooth headset
You must be logged in to post a comment