Connect a SATA or IDE hard drive to USB 3.0 using a Nedis adapter
- Articles
- 18 November 2024 at 17:39 UTC
-

- 2/3
4. Using a SATA hard drive via USB 3.0
4.1. Connecting a SATA hard drive to USB
For this article, we used one of our SATA hard drives that we had set aside.
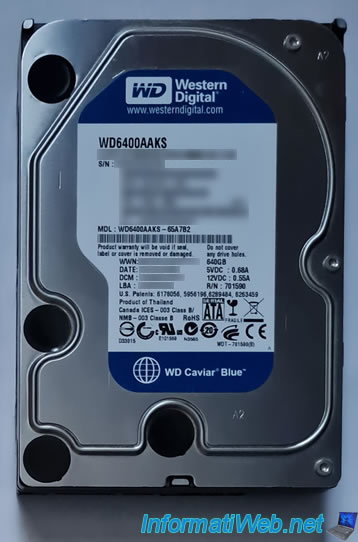
At the bottom, you can see that these are SATA connectors:
- the small connector for data transfer.
- the large connector for the power supply.
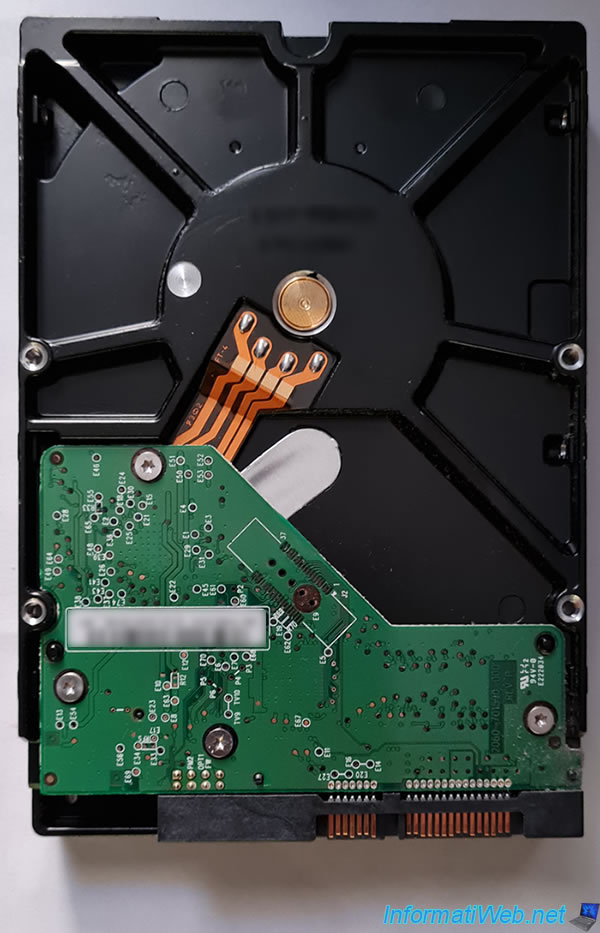
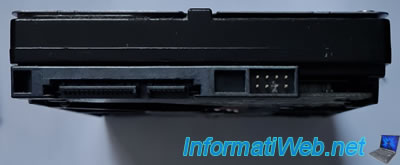
Here are these SATA connectors seen from the front.
Only the 2 gray plastic connectors are needed.
Don't worry about the rest, you'll never need it.
Your SATA hard drive must be plugged into the SATA connectors on the case.
This is what they look like.

Make sure the transformer is unplugged (hence the LEDs are all off) and plug your SATA hard drive into the box.
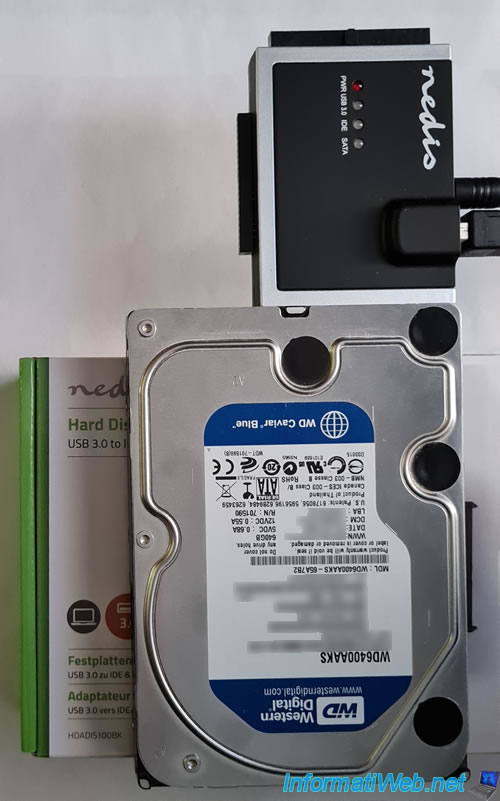
Then plug the transformer into the power outlet and the "PWR" (power supply) and "USB 3.0" LEDs will light up.
After a few seconds, the "IDE" LED will also light up.
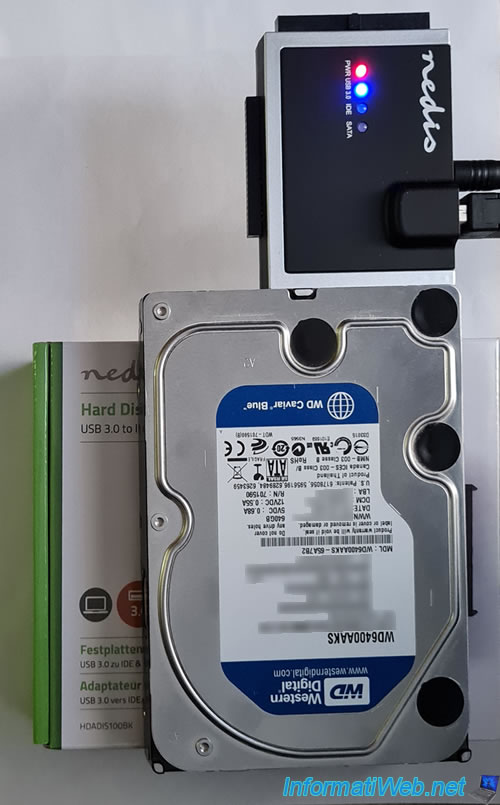
4.2. SATA hard drive connected via USB recognized by Windows 10
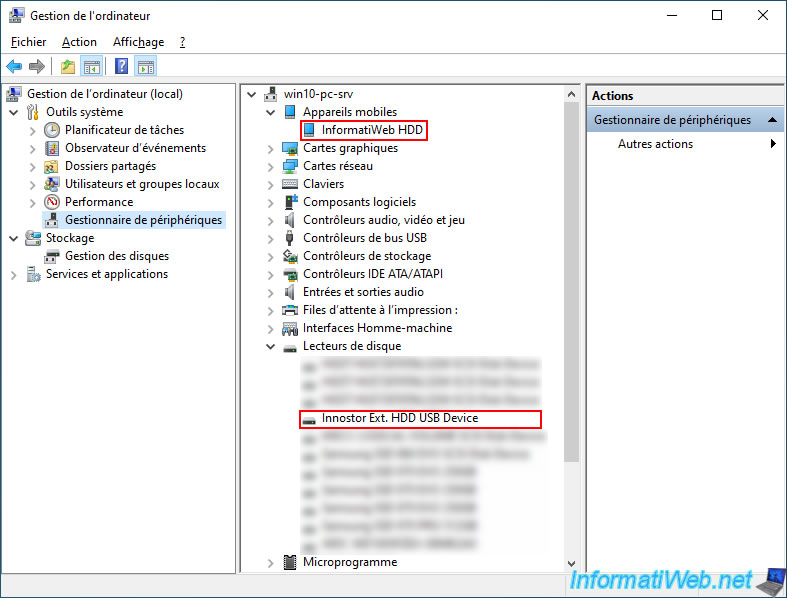
In device manager, you will see that your SATA hard drive will be recognized as an "Innostor Ext. HDD USB Device" disk drive.
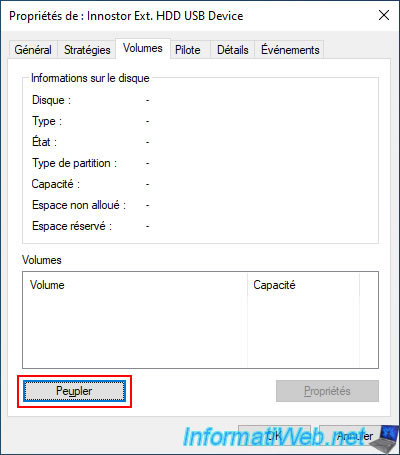
Right-click "Properties" on it, go to the "Volumes" tab and click the "Populate" button to see the partitions/volumes there.
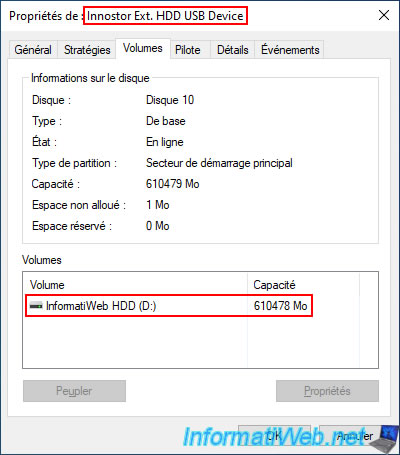
We see the partition of our SATA hard drive appear in the list of volumes present on this disk.
In file explorer, you will also see the partition of your SATA hard drive appear.
Important : if your SATA hard drive is new and it does not appear in file explorer, it is simply because it is not partitioned by default.
To partition it, refer to our tutorial: Windows Vista to 11 - Partitioning your hard drive.
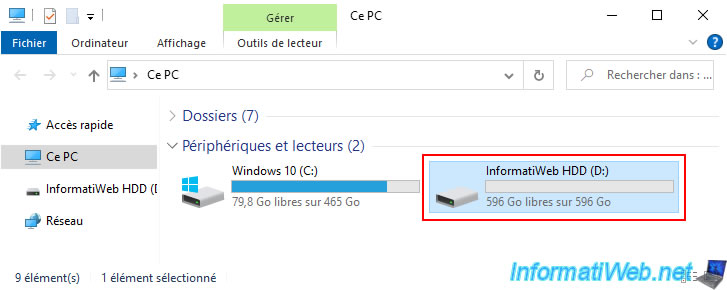
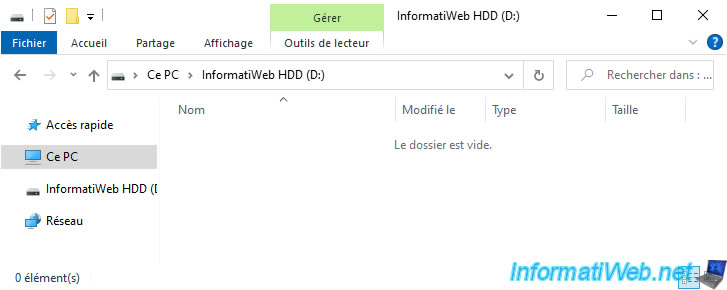
If you double click on it, you will be able to see what it contains.
Note: in our case, this hard drive is empty, because we are no longer using it at the moment.
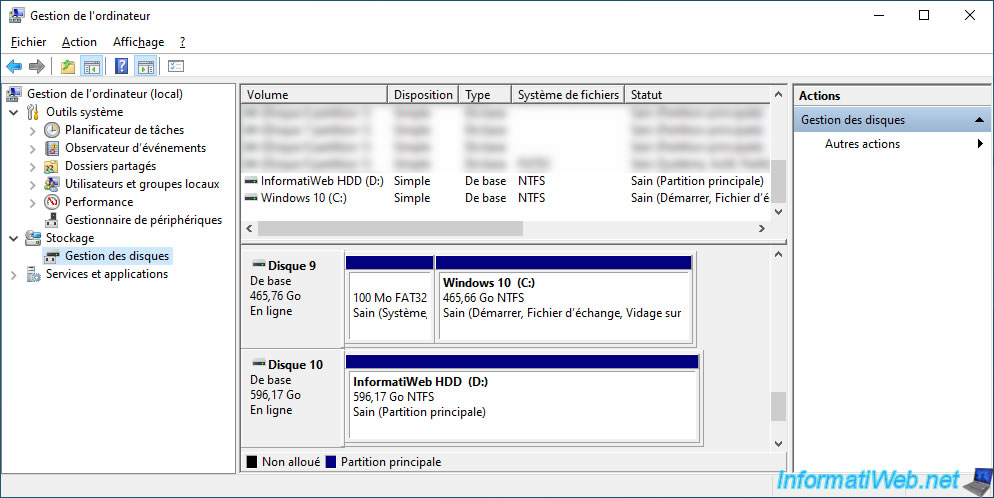
Although Windows recognizes it as a SATA hard drive (in Device Manager), it still recognizes it as a local hard drive (in Disk Management) and not as a removable drive.
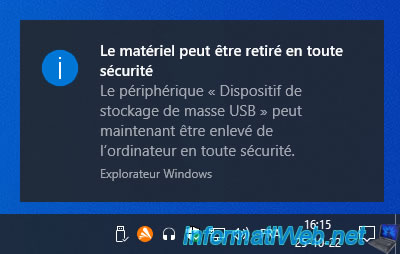
When you are finished using this hard drive, click the USB flash drive icon in the Windows taskbar and click "Eject Unknown USB Device".
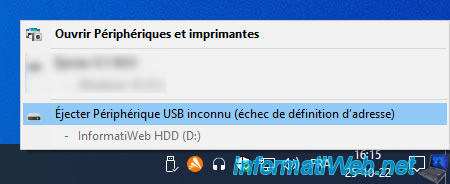
The "Safe To Remove Hardware" message will appear.
Note: this message may be different depending on the version of Windows you are using, but the goal remains the same.
5. Using a SATA SSD via USB 3.0
5.1. Connecting a SATA SSD to USB
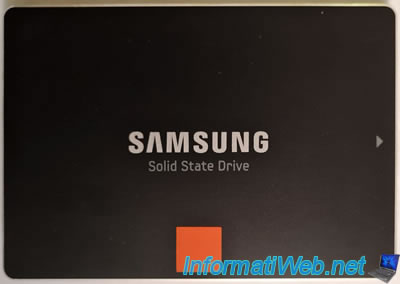
For this 2nd example, we recovered an old SSD that we used in a previous PC.
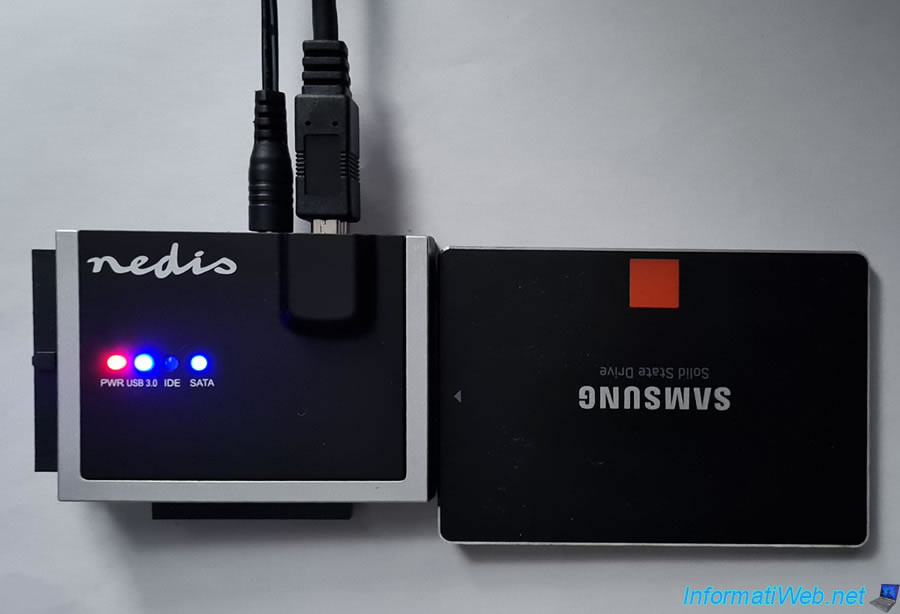
As you can see, this is a Samsung SSD (which is a very good brand of SSD).
As you can see, the connectors are the same.
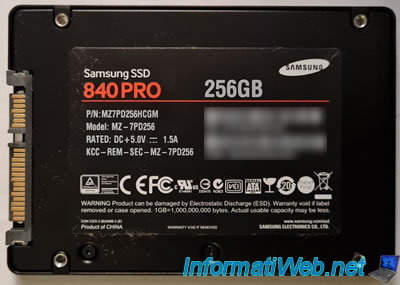
Same from the front.
![]()
The connection is therefore identical to that used previously for the SATA hard drive.
Important : always make sure to unplug the transformer before plugging your SATA SSD into the enclosure.
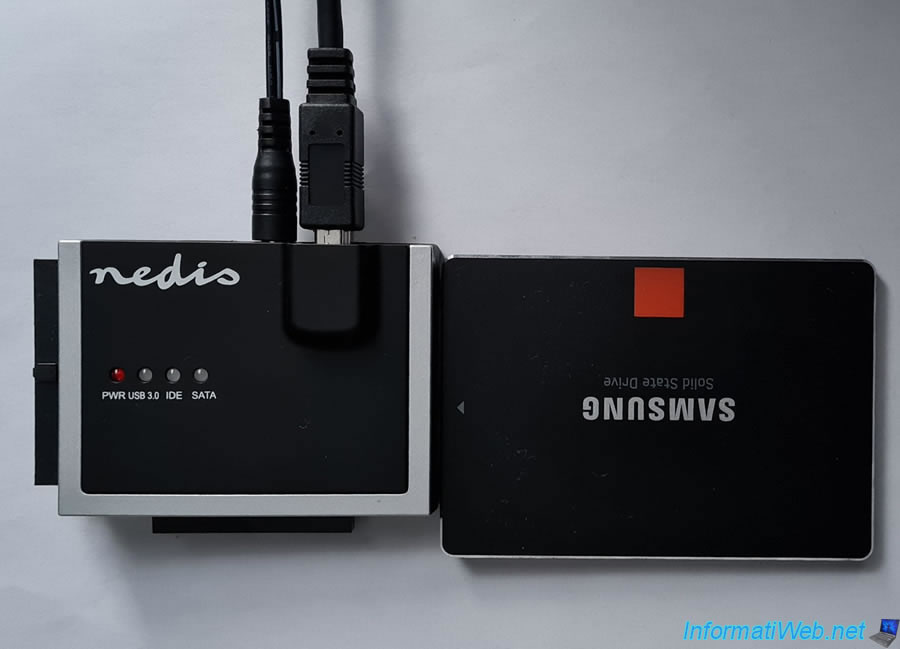
Once the SATA SSD is plugged in, plug in the transformer.
As expected, 3 LEDs light up:
- PWR: power supply to the box.
- USB 3.0: USB 3.0 cable plugged in.
- SATA: SATA SSD plugged in.
5.2. SATA SSD connected via USB recognized by Windows 10
Again, your SATA SSD will be recognized under the name "Innostor Ext. HDD USB Device".
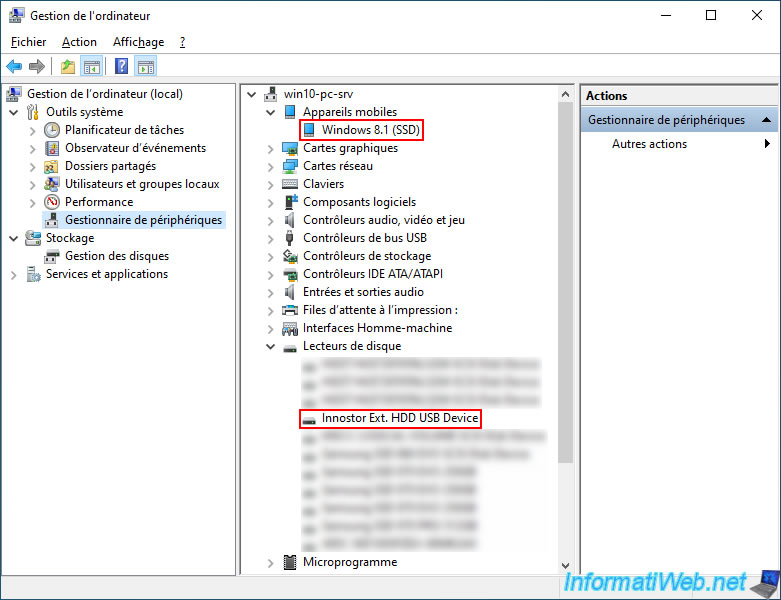
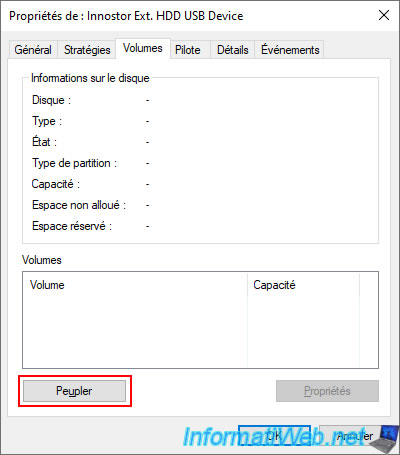
Right-click "Properties" or double-click on this device "Innostor...", go to the "Volumes" tab and click the "Populate" button to see its partitions/volumes.
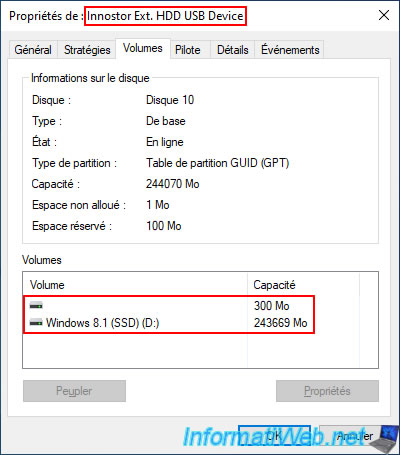
The partitions / volumes present on this SATA SSD appear in the list.
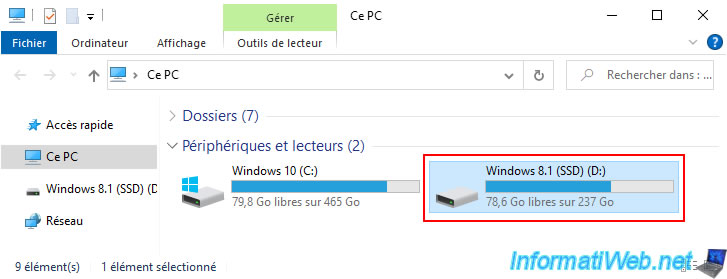
In file explorer you will also see this partition(s).
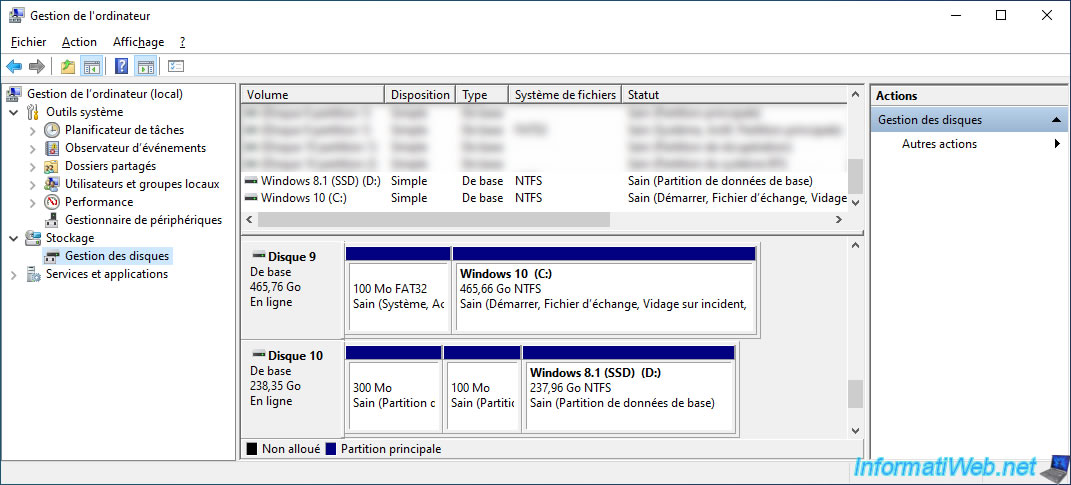
Note: in our case, the 1st 300 MB partition is a system partition and Windows 10 has therefore not assigned a letter to this partition.
Hence the fact that only one partition appears in the file explorer in our case instead of 2 partitions.
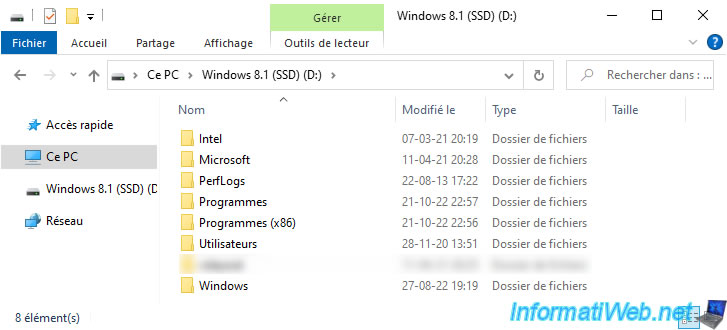
As expected, the contents of the SATA SSD appear.
Again, in Windows disk management, your SSD connected via USB will appear as a local disk and not as a removable disk.
Before physically unplugging your SATA SSD, remember to first eject it using the USB flash drive icon in the taskbar.

Windows 10 will tell you that it is safe to unplug your hardware.

Share this tutorial
To see also
-
Articles 9/24/2016
Bluetooth receiver KBT001081
-
Articles 9/23/2024
Intel NUC Skull Canyon - Install Windows 11
-
Articles 3/14/2017
Intel NUC Skull Canyon - Mounting
-
Articles 11/25/2024
WD My Passport - Encrypted external (USB) hard drive
No comment