Intel NUC Skull Canyon (NUC6i7KYK) - Install Windows 7 (with the USB 3.0 and NVMe support)
- Articles
- Intel NUC
- 27 March 2017 at 12:09 UTC
-

- 2/4
3. Add support for USB 3.0 and NVMe in Windows 7 x64 iso
To add Windows drivers and updates to the Windows installation DVD, Microsoft provide a command line tool named Dism.
Nevertheless, for this to be easier for you, let's use the free and open-source Dism GUI software that allows you to do the same but with a GUI.
Finally, the result will be identical, because this program simply uses the DISM program of Microsoft and runs this program in the background with the right parameters.
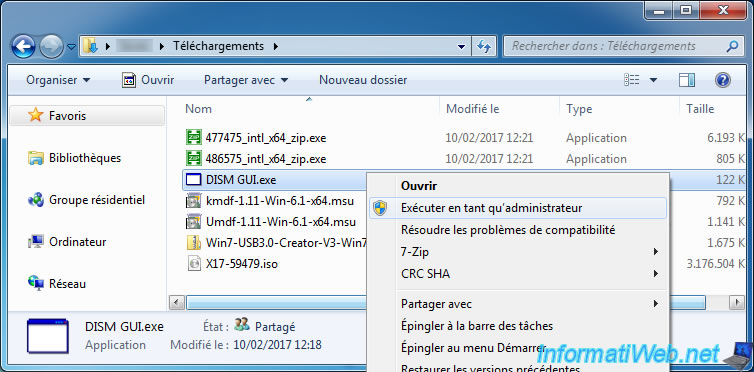
To begin, run Dism GUI as administrator (right click : Run as administrator).
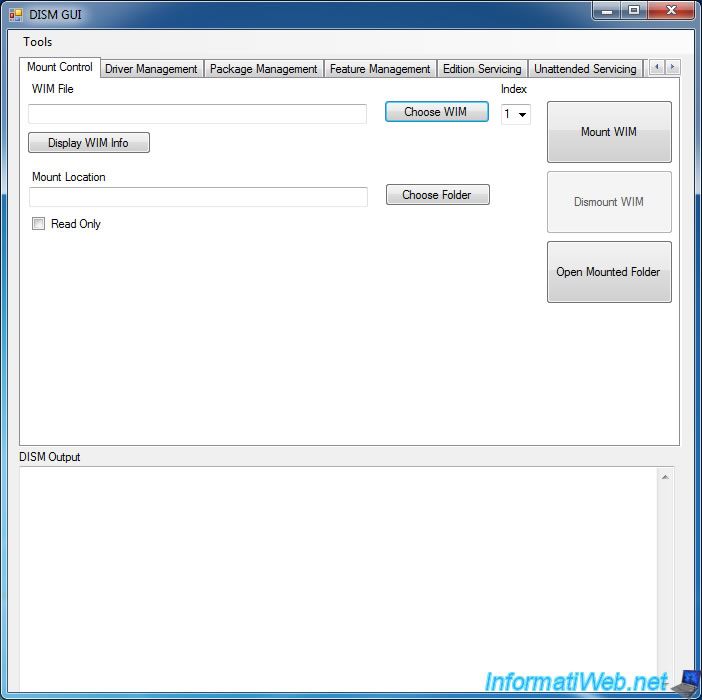
3.1. Mount the install.wim image
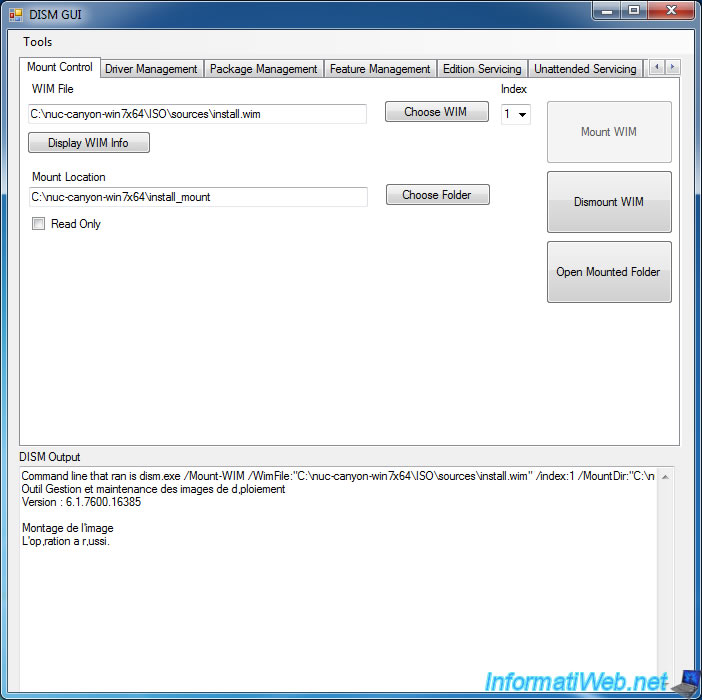
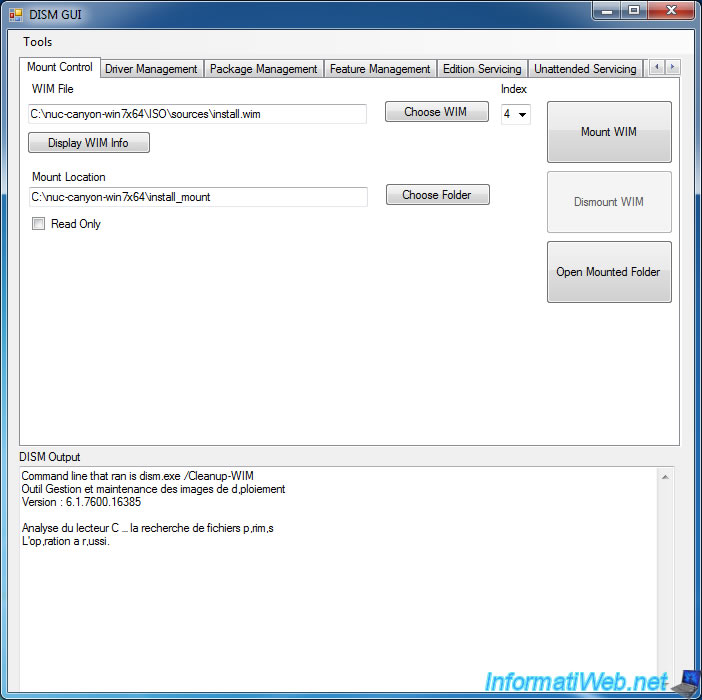
To get started, go to the "Mount Control" tab and click on "Choose WIM" button.
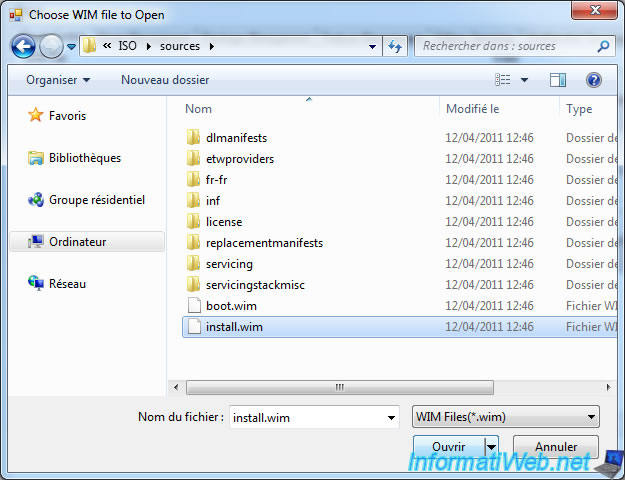
Choose the "install.wim" file in your "ISO/sources" folder.
Then, click "Choose Folder".
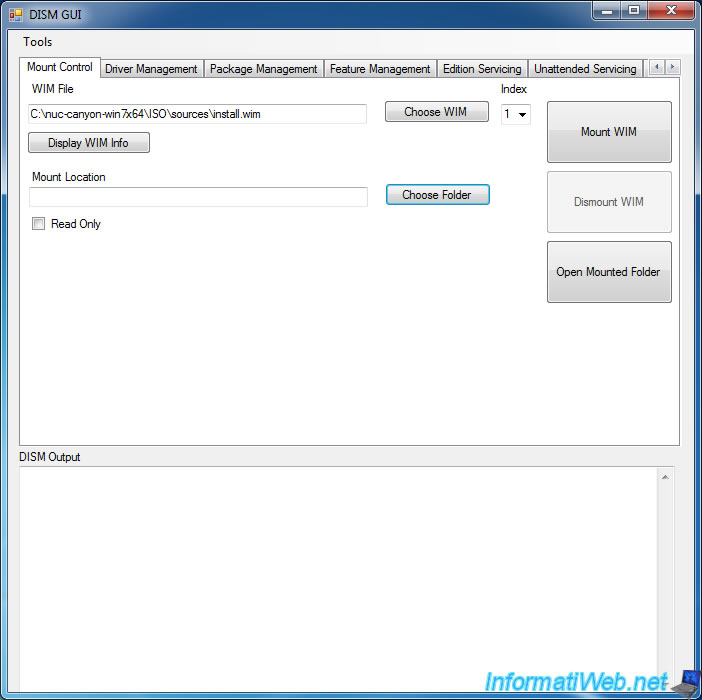
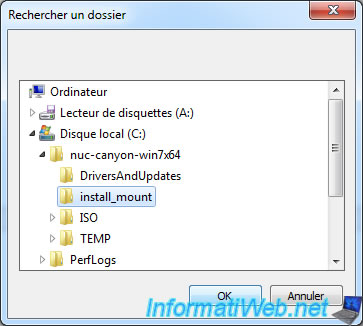
Select your "install_mount" folder.
Then, click "Display WIM Info" to list images present in the "install.wim" file of your Windows 7 x64 DVD.
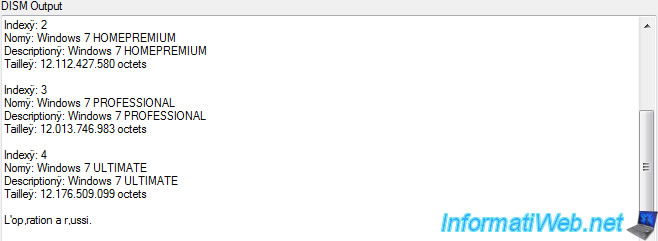
After a few seconds, DISM GUI will display the list of available images in this install.wim file.
As you can see, our official iso of Windows 7 x64 SP1 contains 4 editions numbered from 1 to 4 :
- Windows 7 HOMEBASIC = Windows 7 Home Basic
- Windows 7 HOMEPREMIUM = Windows 7 Home Premium
- Windows 7 PROFESSIONAL = Windows 7 Professional
- Windows 7 ULTIMATE = Windows 7 Ultimate
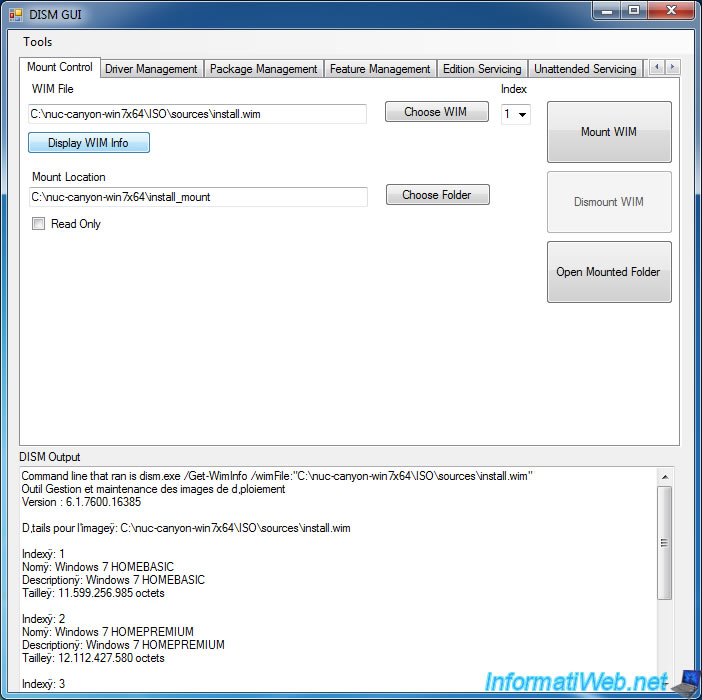
By default, DISM GUI will edit the image 1 (Windows 7 HOMEBASIC). As indicated at the top of the program (Index: 1).
Leave the index selection at 1 and click "Mount WIM".
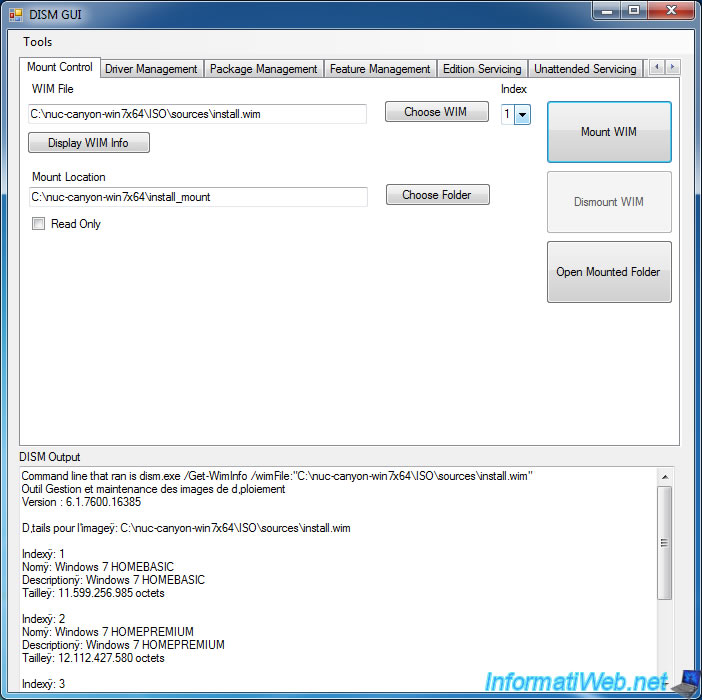
A "DISM is Running. Please wait ..." window appears.
Wait while DISM is mounting the desired image.
Note : it takes time, so wait until this window disappears.
As you can see at the bottom of the program, the image has been mounted.
3.2. Add USB 3.0 drivers in the installation image
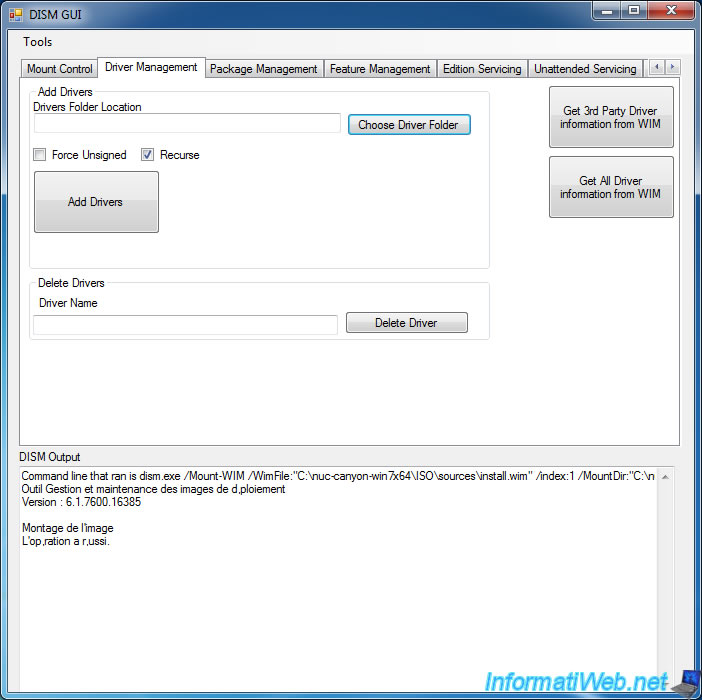
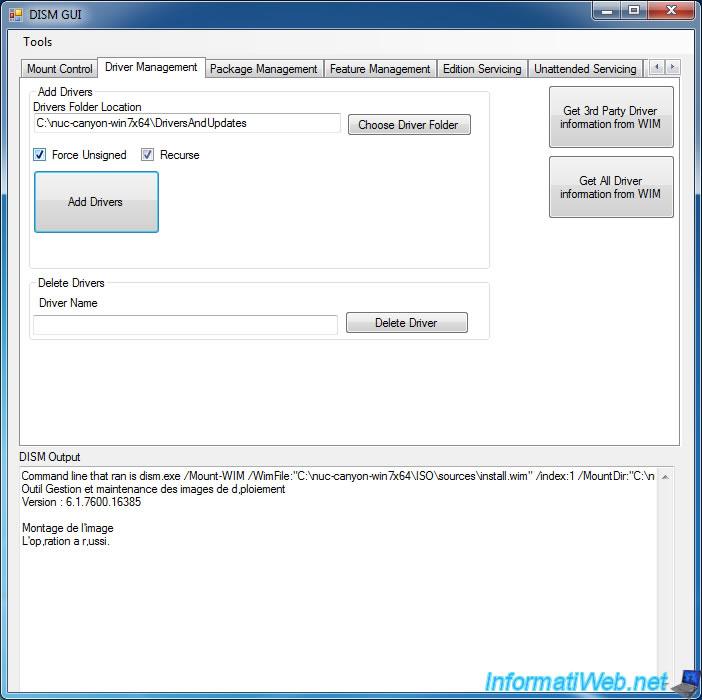
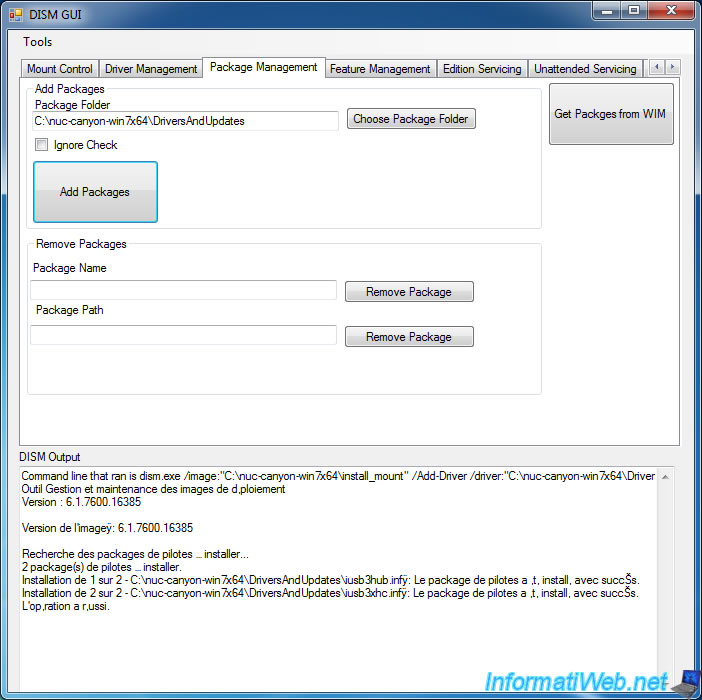
To add drivers to a Windows installation image, you must go to the "Driver Management" tab of the program.
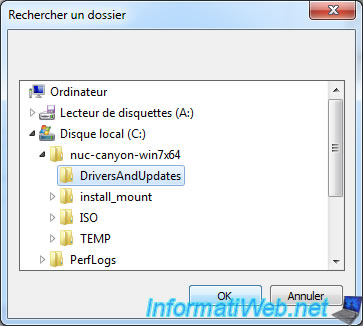
Click on the "Choose Driver Folder" button.
Select your "DriversAndUpdates" folder.
Check the "Force Unsigned" box and leave the "Recurse" checkbox selected.
Then, click Add Drivers.
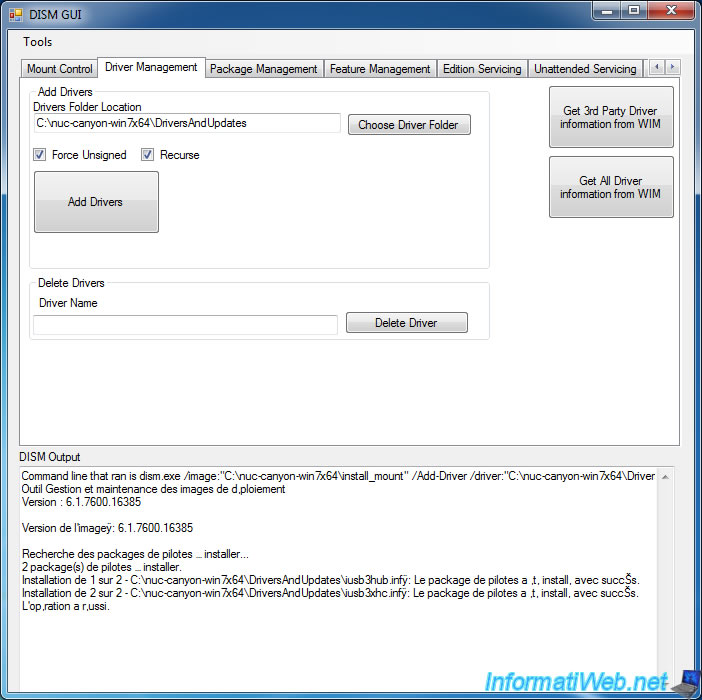
Wait while adding the drivers.
As indicated at the bottom of the program, DISM added 2 USB 3.0 drivers in the previously mounted installation image.
3.3. Add Windows updates in the installation image
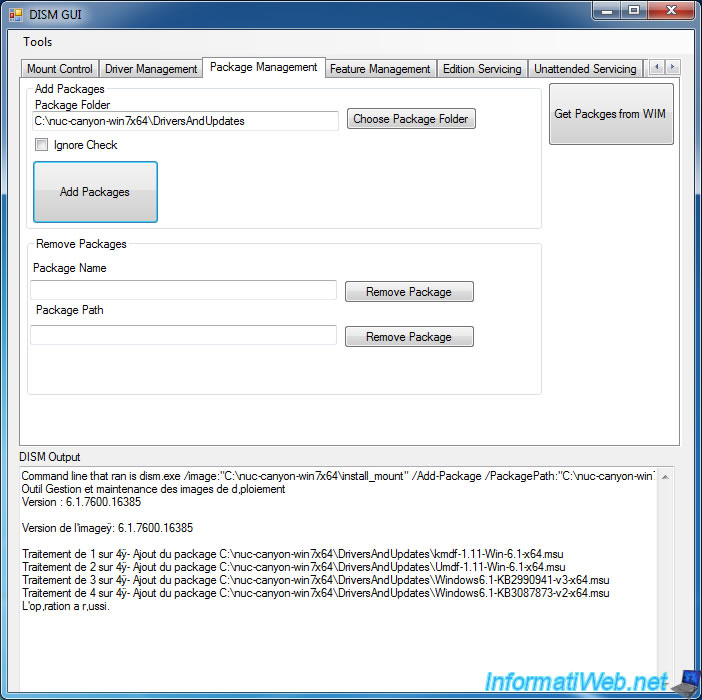
To add updates to a Windows installation image, you must go to the "Package Management" tab of the program.
Click on the "Choose Package Folder" button.
Note : don't check the "Ignore Check" box.
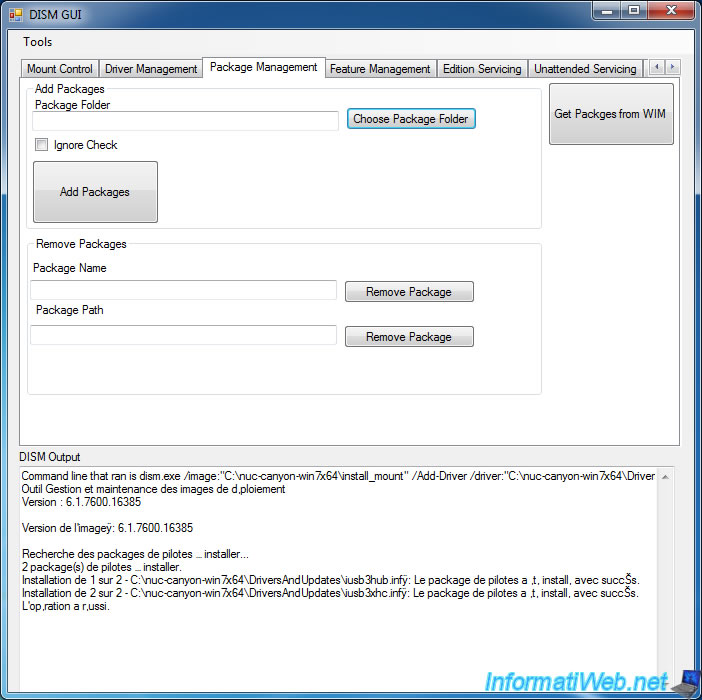
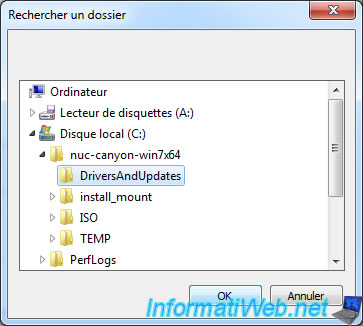
Select your "DriversAndUpdates" folder.
Click "Add Packages".
Wait while adding Windows updates.
As indicated at the bottom of the program, DISM added 4 Windows updates to the previously mounted installation image.
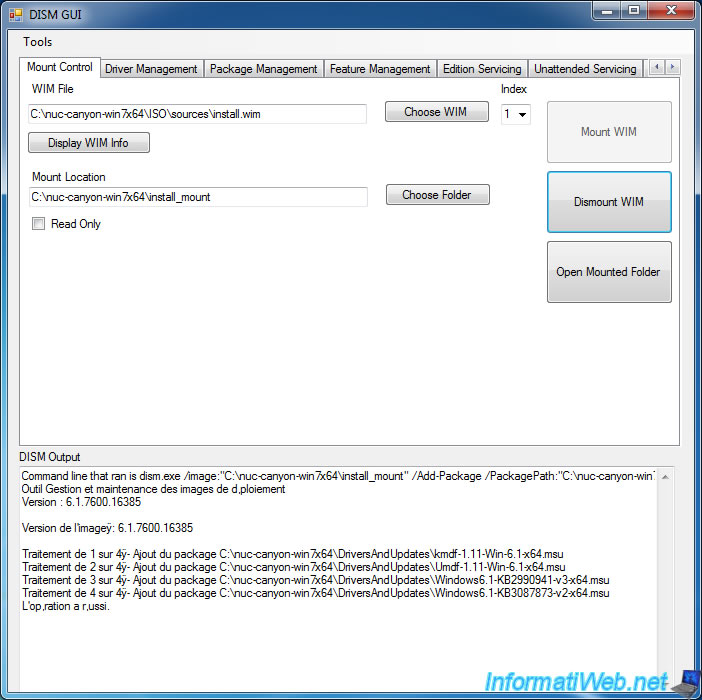
3.4. Unmount the wim image
Now that we have added the USB 3.0 drivers and necessary updates to the Windows 7 HOMEBASIC installation image, we can unmount the image by saving the changes.
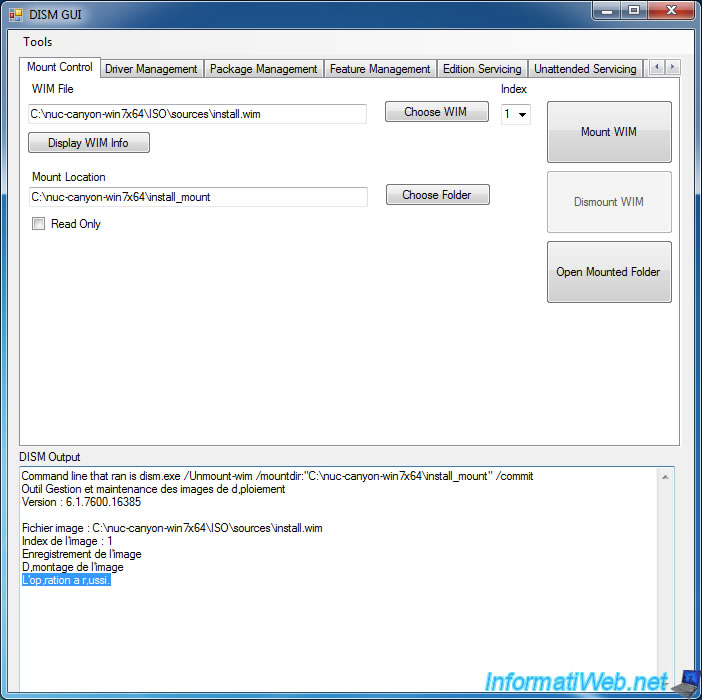
To do this, go back to the "Mount Control" tab and click "Dismount WIM".
Click "Yes" to apply the changes.
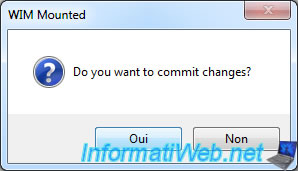
Wait while DISM unmount the image.
As shown at the bottom of the program, the image has been unmounted.
Note : check if the "Successful operation" message is present in the displayed message. If yes, it's good.
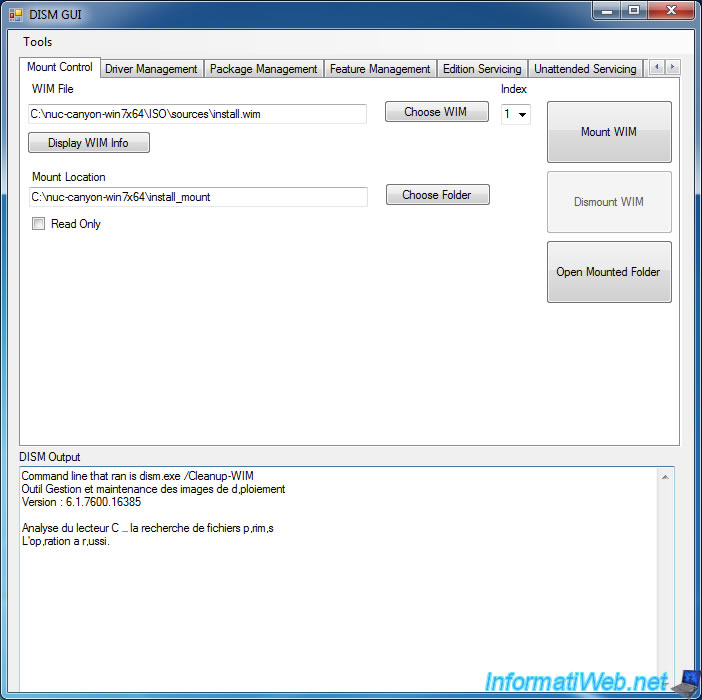
Go to the Tools menu and click on "Cleanup WIM".
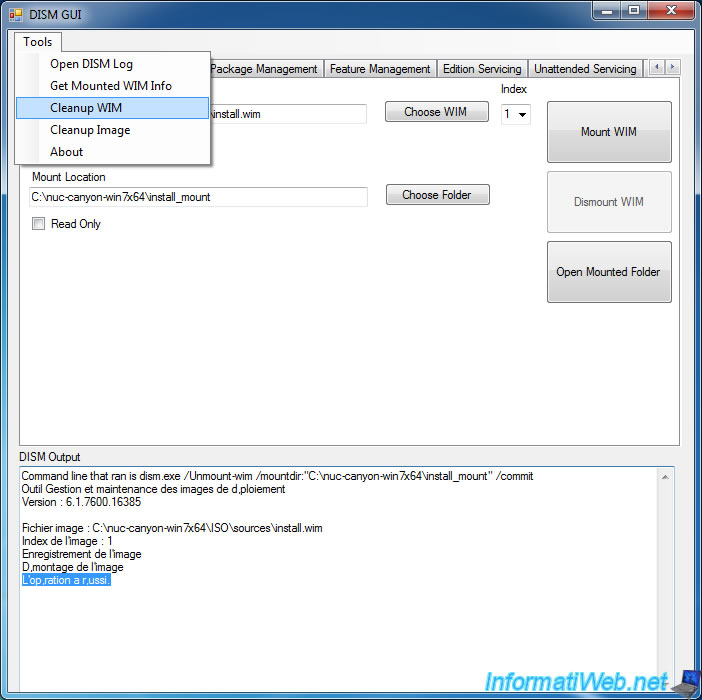
The "install_mount" folder has been cleaned.
3.5. Modification of install images of other editions of Windows 7
Now, USB 3.0 drivers and updates are present in the Windows 7 Home Basic installation image.
However, for this to work also with other editions of Windows, you will also have to perform these operations for other editions.
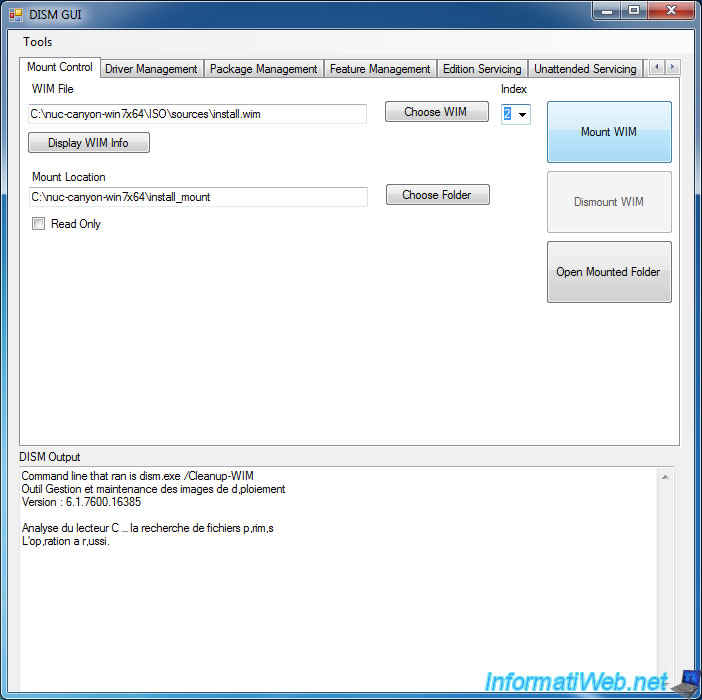
Pour cela, sélectionnez l'index 2 pour modifier l'édition "Familiale Premium" et cliquez sur "Mount WIM".
Ensuite, retournez à l'étape "3.2. Ajout des pilotes USB 3.0 dans l'image d'installation" du tutoriel.
To do this, select Index 2 to edit the "Home Premium" edition and click "Mount WIM".
Then, go back to the "3.2. Add USB 3.0 drivers in the installation image" step of the tutorial.
Note : these operations must be performed for the 4 installation images.
Once you have finished adding the Windows updates in image 4, don't forget to go back to the "Tools" menu and click on "Cleanup WIM".
Now, we have added the USB 3.0 drivers and the necessary updates in the 4 Windows 7 installation images.
3.6. Replace the boot image
To be able to install Windows 7 completely on your Intel NUC canyon, you will also need to use the boot image and the Windows 8 installation file.
Indeed, since the installer of Windows 8 natively supports USB 3.0, this will allow you to install Windows 7 without any problem.
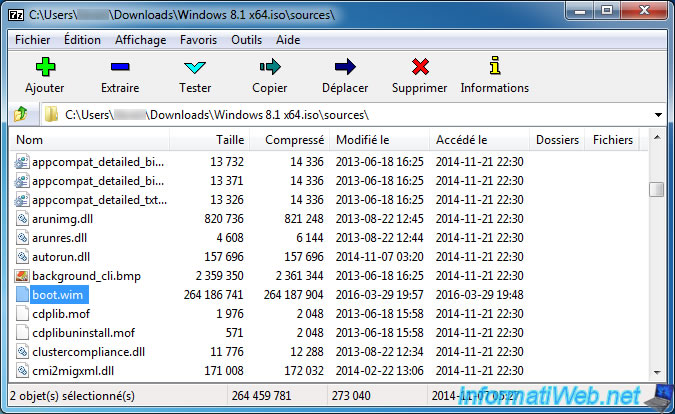
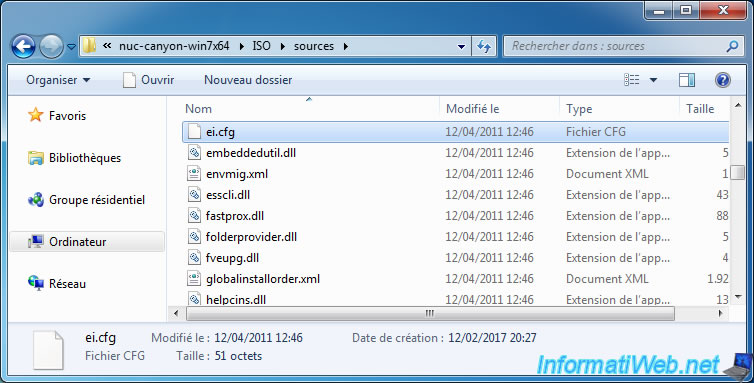
Open the Windows 8.1 x64 iso and go to the "sources" folder.
In this folder, you will find the following files :
- boot.wim : the boot image from Windows 8.1 x64
- setup.exe : the setup program of Windows 8.1 x64
Select these 2 files and click Extract.
Click the "..." button and select your "ISO/sources" folder.
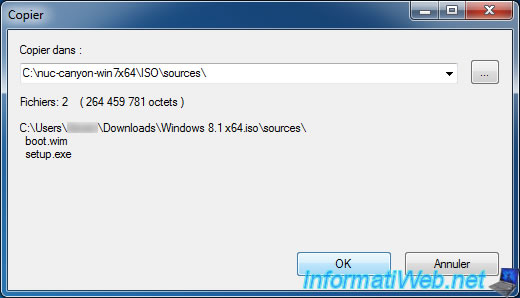
Confirm the replacement of the 2 files by clicking on "Yes for All".

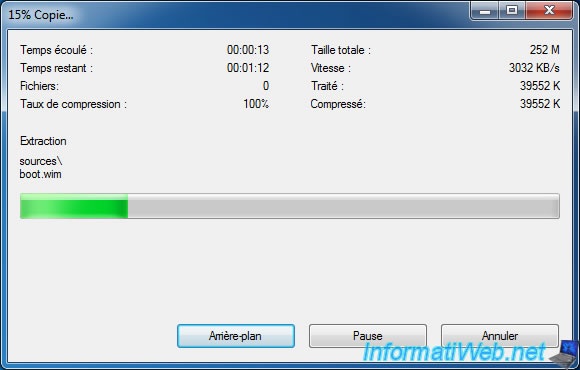
Wait while extracting the 2 files.
Optional : if you want to create an universal DVD of Windows 7 to install any edition present on your Windows 7 iso, simply delete the "ei.cfg" file present in the "sources" folder.
Share this tutorial
To see also
-

BIOS 6/10/2018
Flash the BIOS of your Intel NUC Skull Canyon
-

Articles 9/16/2024
Intel NUC Skull Canyon - Install Windows 10
-
Articles 9/23/2024
Intel NUC Skull Canyon - Install Windows 11
-
Articles 3/14/2017
Intel NUC Skull Canyon - Mounting
Show 4 comments