Intel NUC Skull Canyon (NUC6i7KYK) - Install Windows 7 (with the USB 3.0 and NVMe support)
- Articles
- Intel NUC
- 27 March 2017 at 12:09 UTC
-

- 3/4
4. Create the new iso file
To re-create the Windows 7 x64 bootable iso file, you can use the free ImgBurn program.
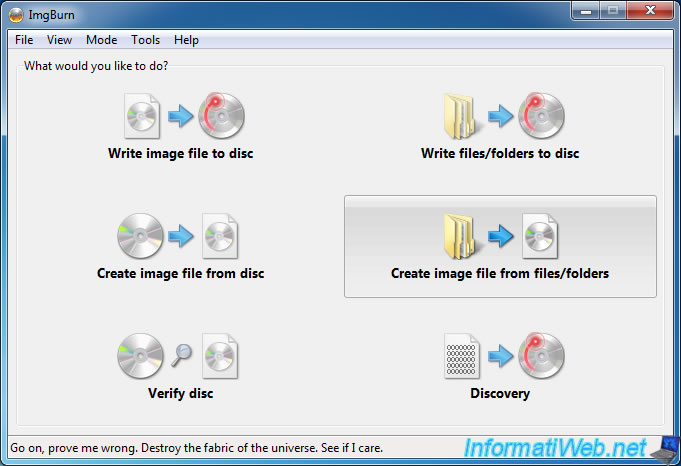
Install ImgBurn and refuse the additional software offered for installation, then click "Create image file from files/folders".
To begin, on the left side, click on the folder icon which is next to the list.
Select your "ISO" folder and click "Select Folder".
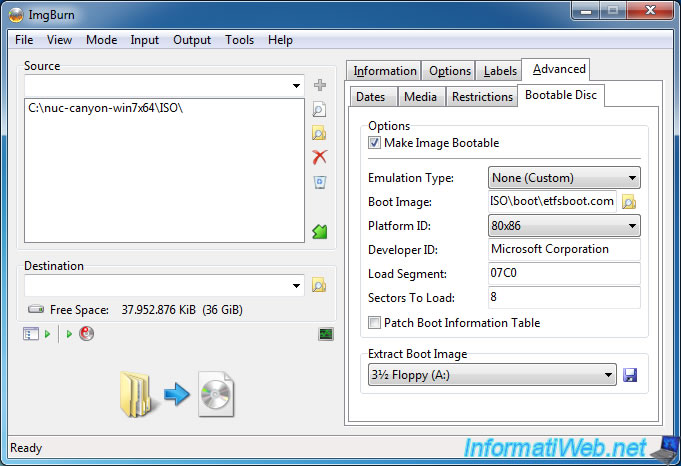
Then, in the right part, go to "Advanced -> Bootable Disc" and check the "Make Image Bootable" box.
For the information requested :
- Boot Image : select the "etfsboot.com" file present in your "ISO\boot" folder.
- Platform ID : 80x86
- Developer ID : Microsoft Corporation
- Load Segment : 07C0
- Sectors To Load : 8
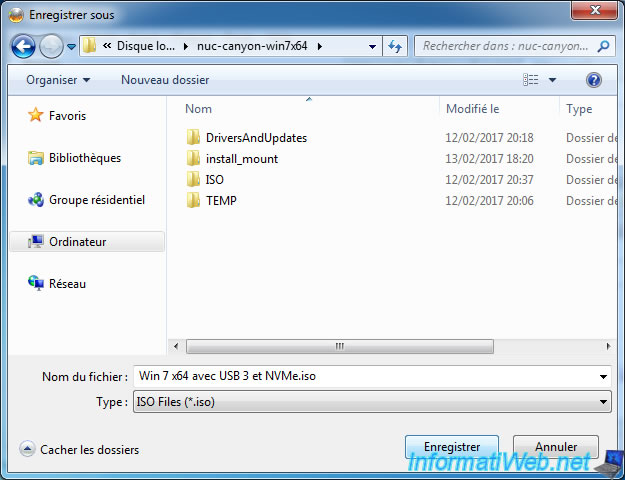
Then, for the "Destination" box, click on the folder icon on the right of the box.
Enter a name for your iso file and save it where you want.
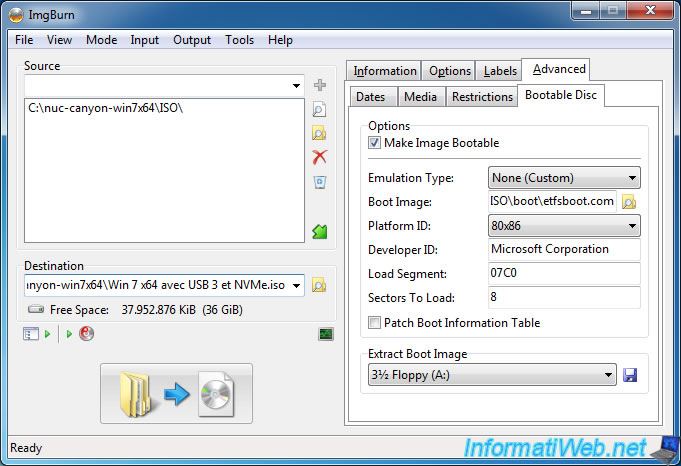
Finally, click on the large button at the bottom left.
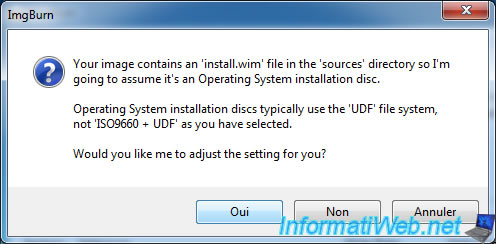
ImgBurn asks if it needs to adjust the settings because Windows uses a file system slightly different from the classic data disks.
Click Yes.
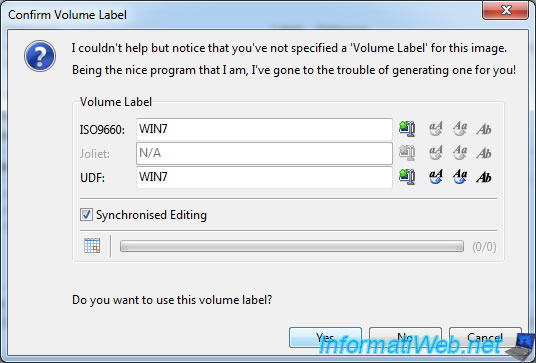
Check the "Synchronized Editing" box and enter a name for your disk.
For example : WIN7.
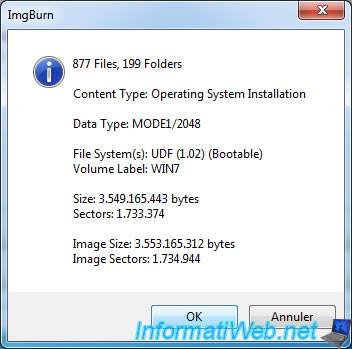
ImgBurn displays information.
Click OK.
ImgBurn starts creating your iso file.
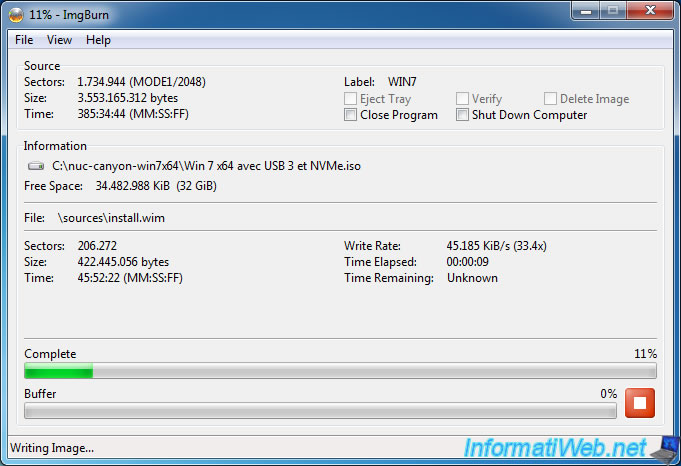
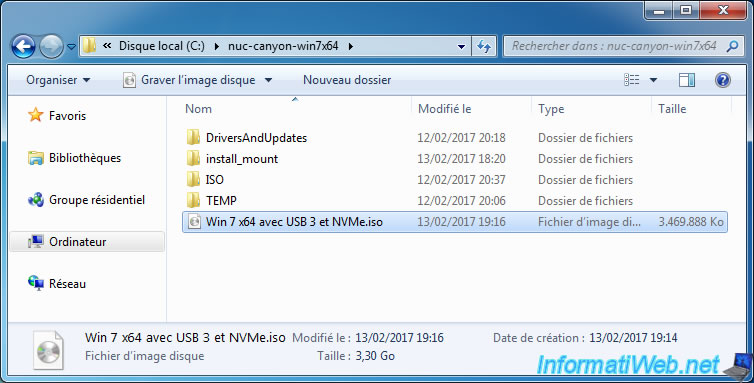
The creation of the iso file is complete.

Your iso file is created.
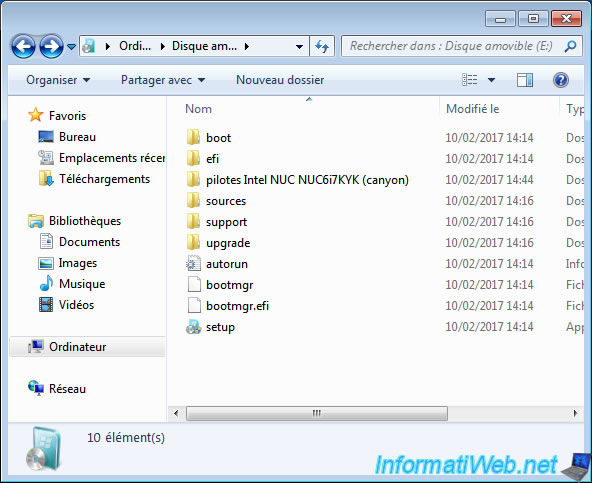
5. Create a bootable USB key of Windows 7
Since there is no CD/DVD drive on the mini PCs, you will need to create a Windows 7 bootable USB key to install it on it.
To do this, simply use the program "Windows USB/DVD Download Tool" and your new iso file.
This program is very easy to use, but if necessary, refer to step 1 of our tutorial : Install Windows 7 from an USB 3.0 key (plugged into an USB 3.0 port)
Then, it may be worthwhile to also store the drivers of your NUC on this new bootable USB key. (Once it has been created)
6. Configure the BIOS
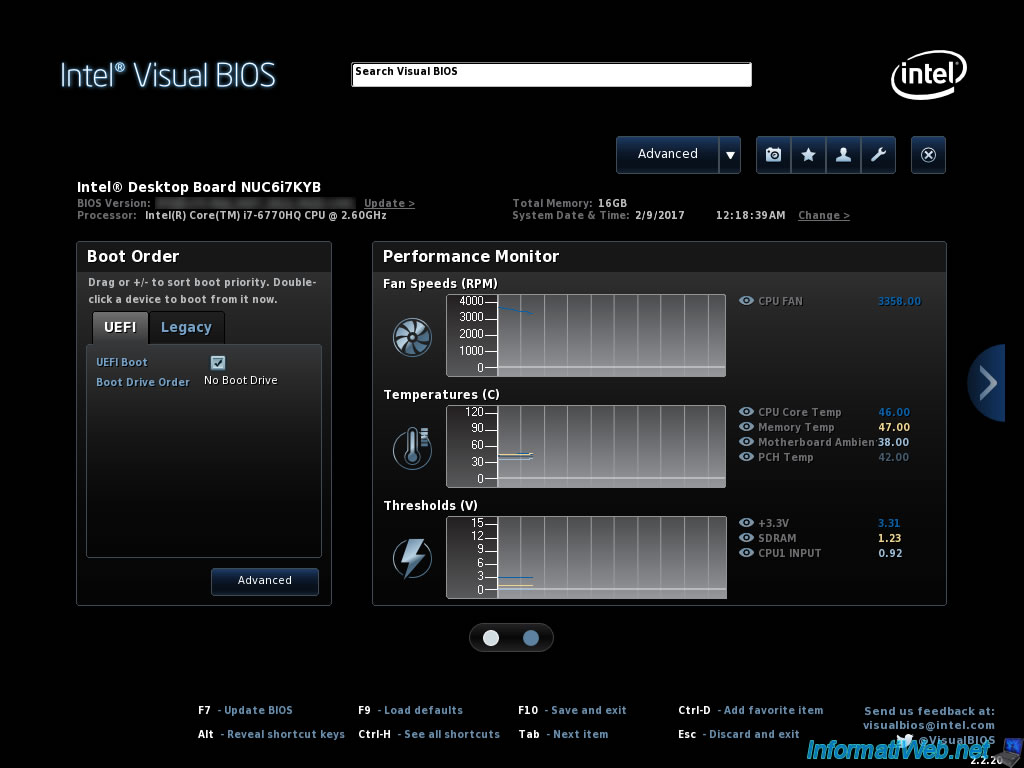
To boot on your bootable USB key and install Windows 7 on your NUC, you must first change some settings in your BIOS.
When starting your NUC, you will see this at the bottom right :
- F2 to Enter Setup
- F7 to Update BIOS
- F10 to Enter Boot Menu
Press F2 to configure the BIOS of your NUC.

Click on the "Advanced" button.
Then, in "Boot -> Boot Priority", uncheck the box "UEFI Boot" (on the left) and check the "Legacy Boot" box on the right.
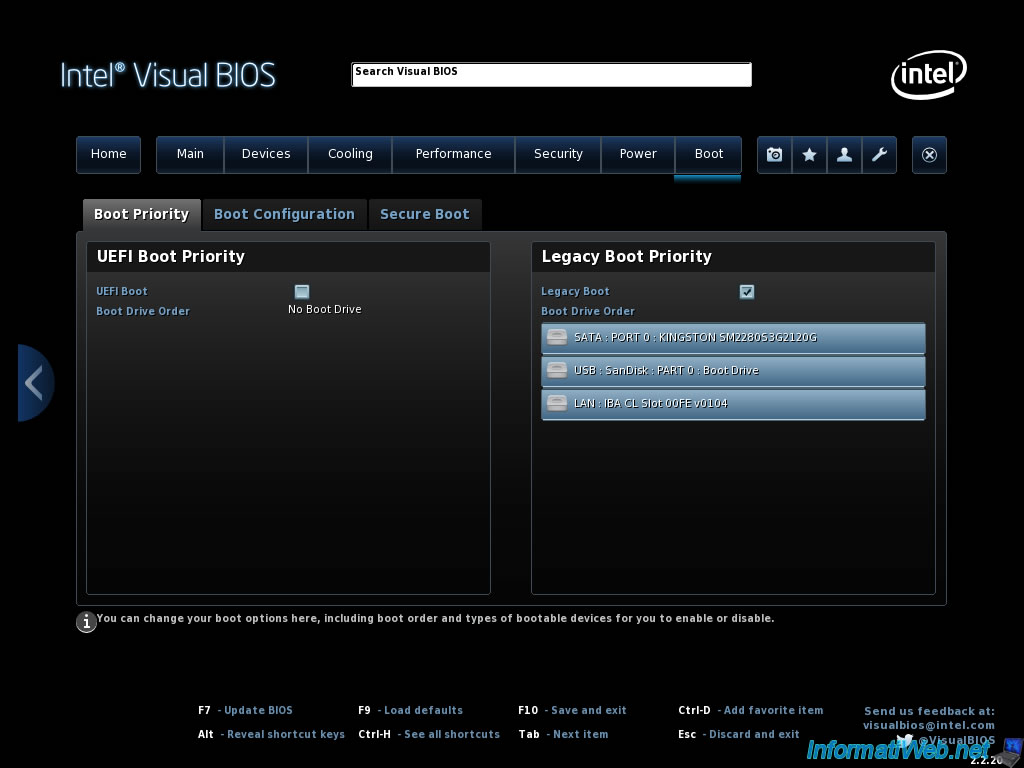
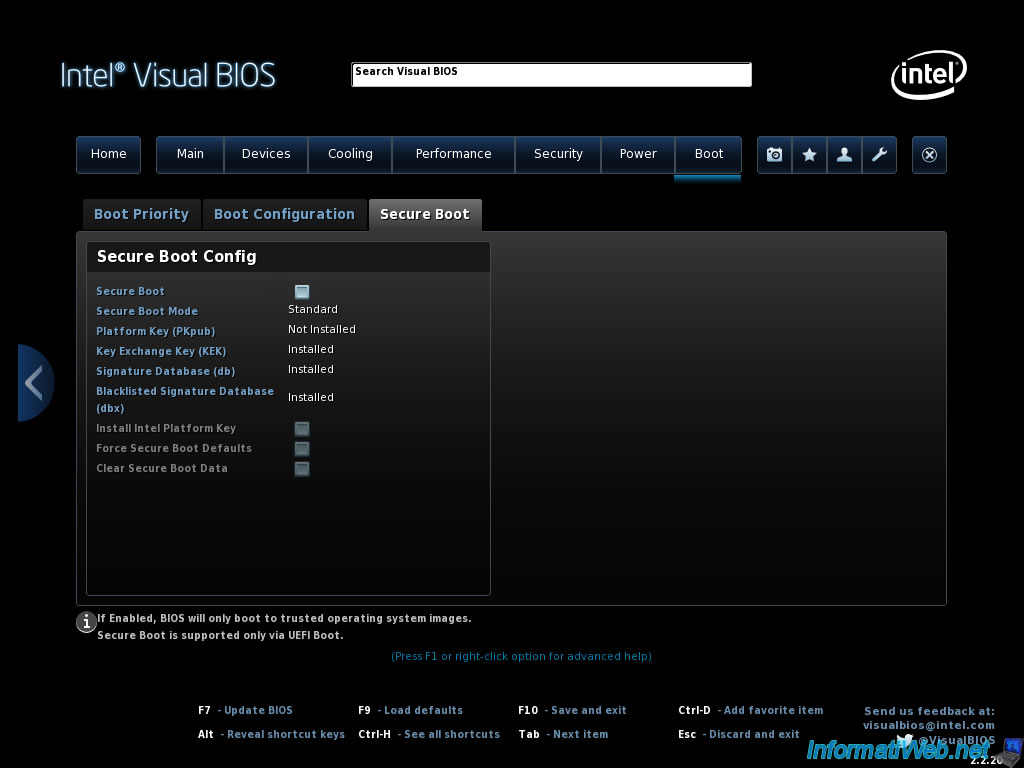
In "Boot -> Secure Boot", check that the "Secure Boot" box is unchecked.
This option is useful only when the PC starts in UEFI mode. Which will not be our case.
Finally, press "F10" to save and exit the BIOS.
The NUC restarts.
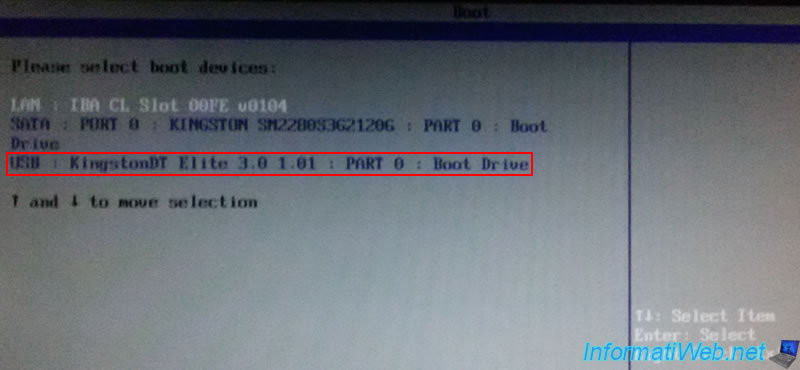
When restarting, press F10 repeatedly to display the BIOS boot menu.
Then, select your USB key and press Enter.
Share this tutorial
To see also
-
BIOS 6/10/2018
Flash the BIOS of your Intel NUC Skull Canyon
-
Articles 9/16/2024
Intel NUC Skull Canyon - Install Windows 10
-
Articles 3/14/2017
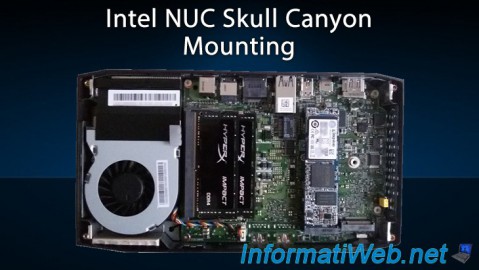
Intel NUC Skull Canyon - Mounting
-

Articles 3/7/2017
Intel NUC Skull Canyon - Unboxing
Show 4 comments