Intel NUC Skull Canyon (NUC6i7KYK) - Install Windows 7 (with the USB 3.0 and NVMe support)
- Articles
- Intel NUC
- 27 March 2017 at 12:09 UTC
-

- 4/4
7. Install Windows 7 on your Intel NUC canyon
Since we used the boot image and the Windows 8 setup program to fix the USB 3.0 driver issue, you will see the Windows 8 logo when you will boot on your USB key.
Nevertheless, you will see later that it's Windows 7 that will be installed.
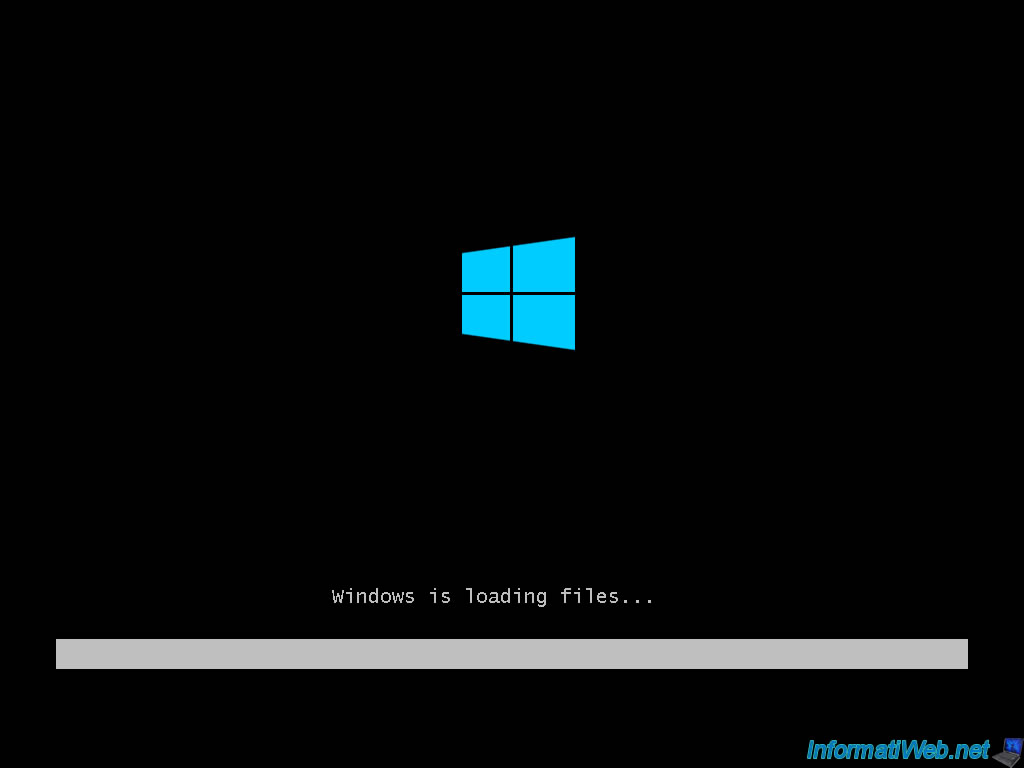
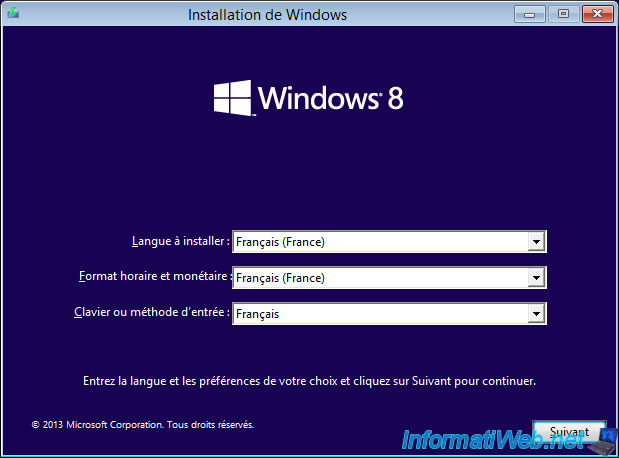
As expected, the Windows 8 Setup Wizard appears.
Select your country and language and click Next.
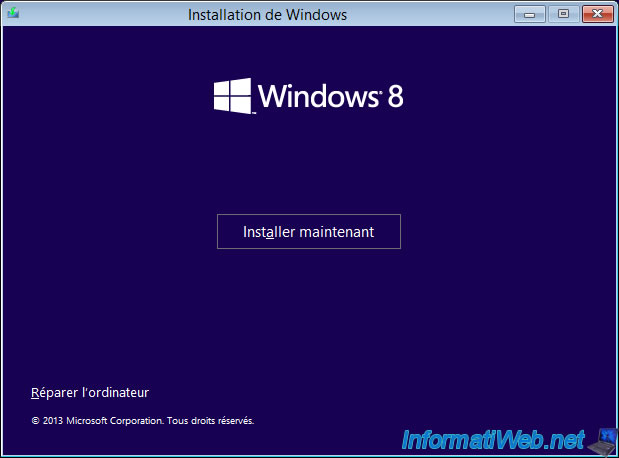
Click "Install Now".
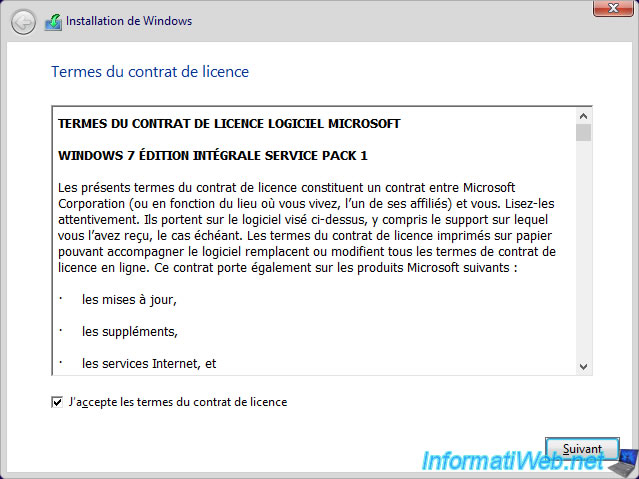
Since the "install.wim" file on the DVD always contains the Windows 7 installation images, you see that the displayed text is that of Windows 7.
Accept it and click Next.
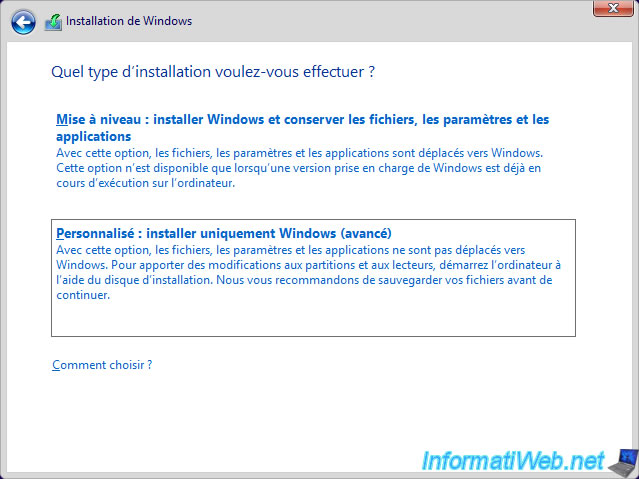
Click "Custom : Install Windows only (advanced)".
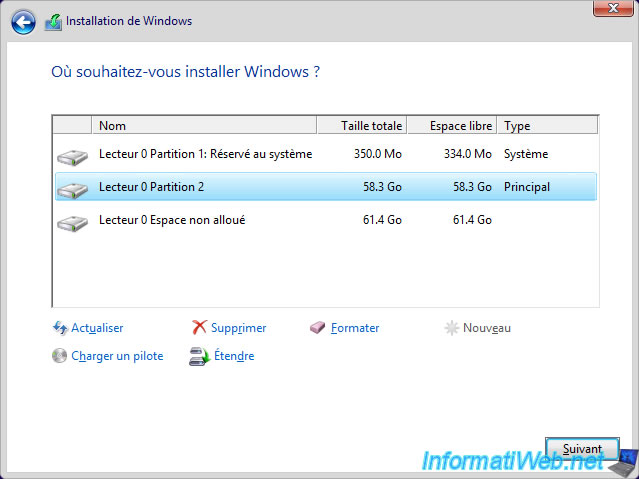
Preferably, create at least 2 partitions on your SSD.
One for Windows 7 and the other for your data. In case of a crash, you will have to format the partition where Windows is located and reinstall it on the same partition.
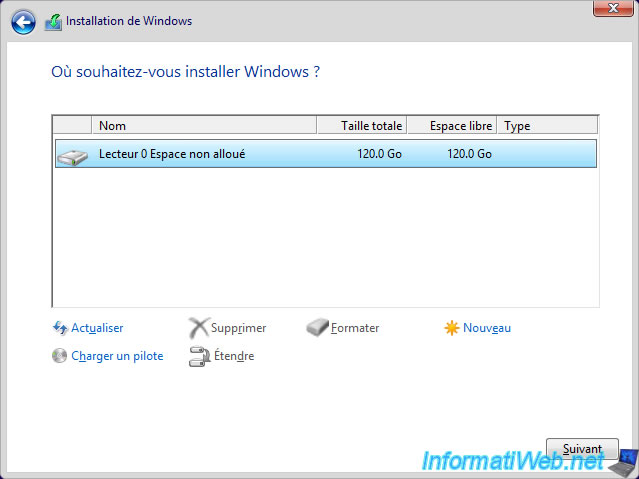
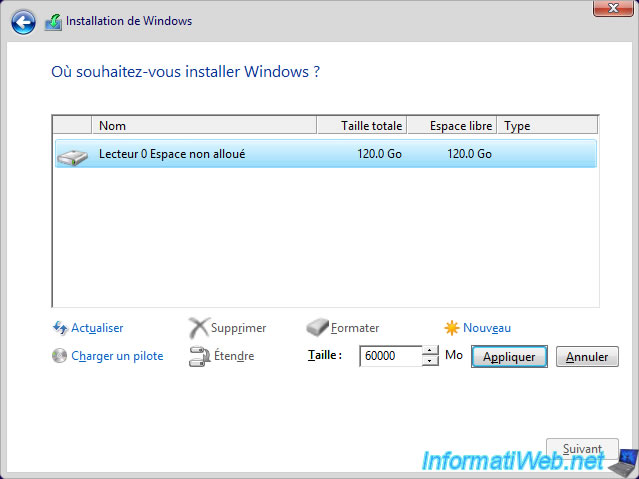
To do this, select the unallocated space of the SSD, click "New" and specify a size in MB.
Then, click Apply.
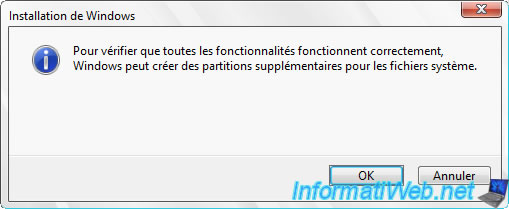
Windows offers to create a system partition, click OK.
Select your new partition and click Next.
The Windows 8 installation wizard copies the Windows 7 installation files (those of the install.wim file present in the USB key).
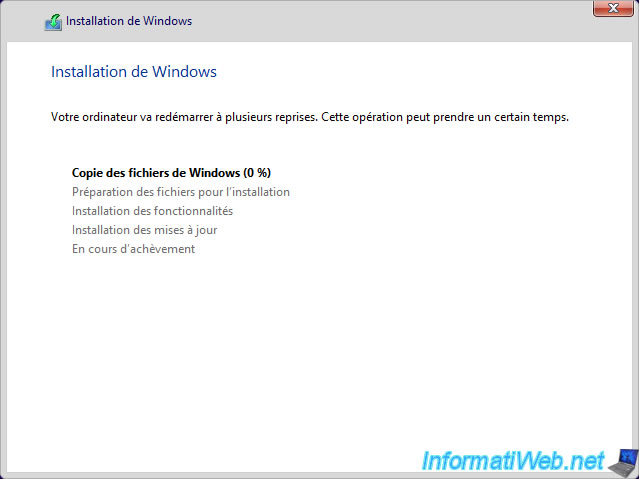
During installation, the computer restarts.
On startup, the computer starts on your SSD where the Windows 7 installation files are now located.
So, you will notice that the interface is now that of Windows 7.

The installation of Windows 7 continues with the installation program of Windows 7.
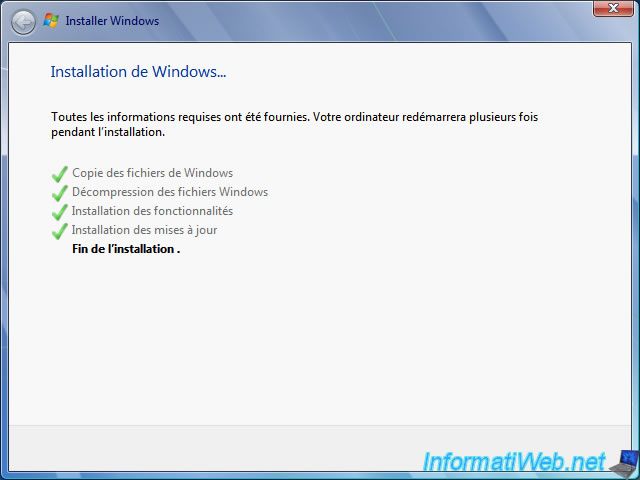
At the end of the installation, you will see that it is indeed Windows 7.
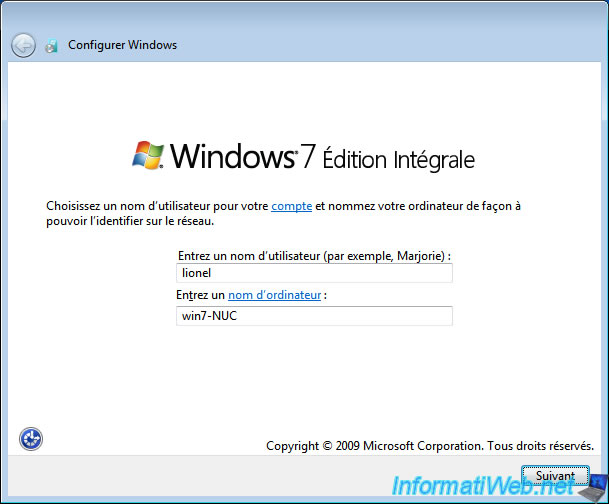
Enter a name for your PC and the new user to create.
8. Install Windows 7 x64 drivers of your Intel NUC canyon
By following our tutorial, it is possible that the Windows 7 SP1 is not installed. Even if it was integrated into the original DVD (which was our case).
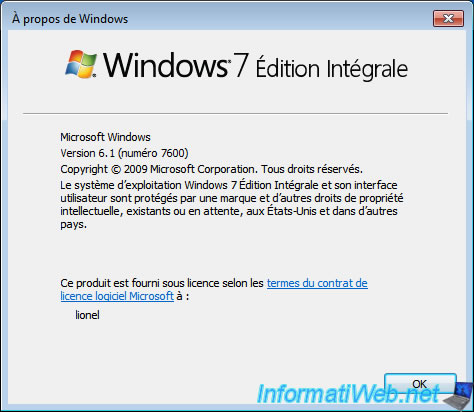
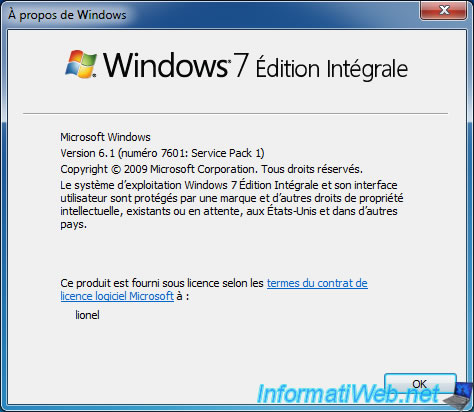
To check if the SP1 is installed, simply run the program "winver.exe" of Windows 7 from the start menu.
If "Service Pack 1" is not present, the SP1 is not installed.
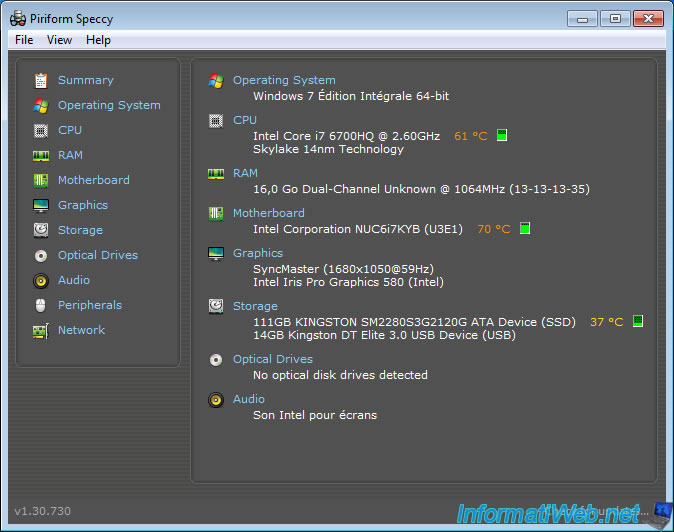
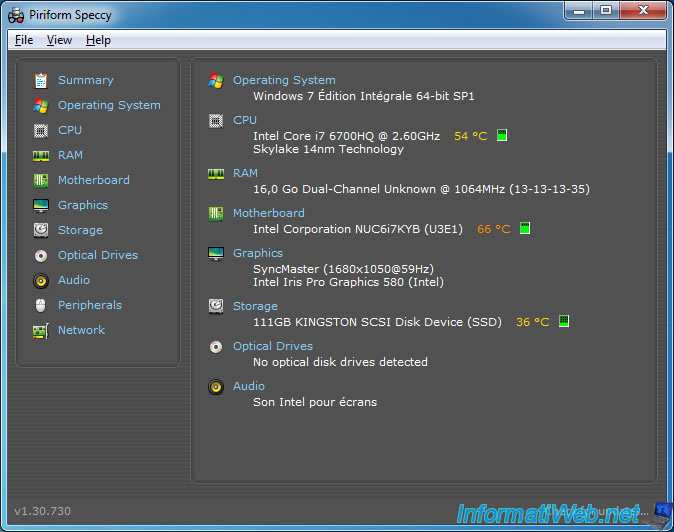
If you check with the Speccy program, you will see that "SP1" is not present at the end of the Operating System name.
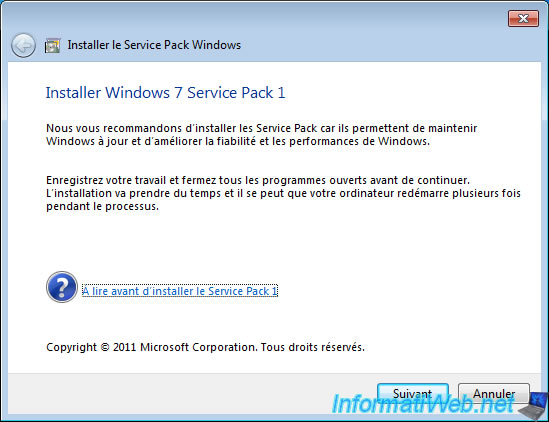
To install the drivers for your Intel NUC canyon, you will first need to install the Windows 7 SP1.
If you don't install it, the Intel Chipset Setup program will not start and the Bluetooth driver for Windows 7 will tell you that it requires at least Windows 7 SP1.
After installing the SP1, you will see that "Service Pack 1" will appear in the "winver.exe" program.
And the "SP1" word will appear at the end of the operating system name in Speccy.
Now that the Windows 7 SP1 is installed, we can install the drivers provided by Intel.
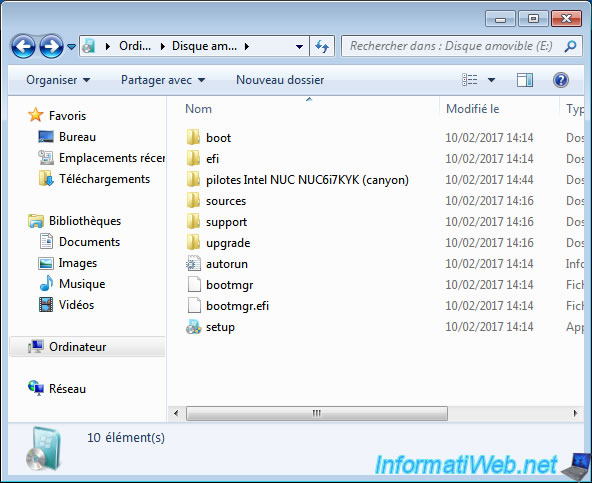
By ease, we had already copied these drivers on our Windows 7 bootable USB key.
Nevertheless, since the installation of the chipset and the USB 3.0 driver will cause the USB 3.0 ports to be shut down for a short time, it's strongly recommended that you copy the drivers to the hard disk before installing them.
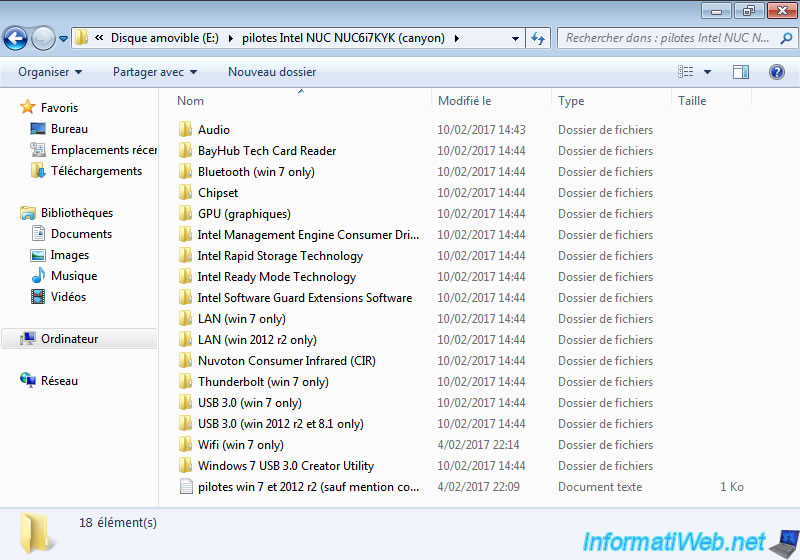
In our case, we chose this NUC because it is the only NUC that completely supports Windows 7 and Windows Server 2012 R2.
That's why you see "win 7 only" and "win 2012 r2 and 8.1 only".
For other drivers, it's that they are compatible with both versions of Windows.
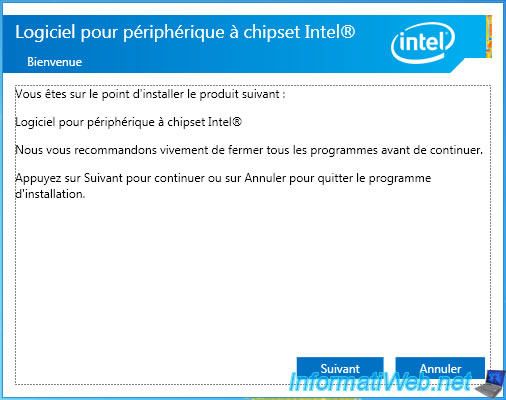
To install the drivers correctly, it's important to :
- start with the chipset : it's the chipset that connects all the components together. Without it, the other devices will not be detected.
- then, install the graphics driver (GPU) : to get the true resolution of your screen
For the rest, the order does not matter.
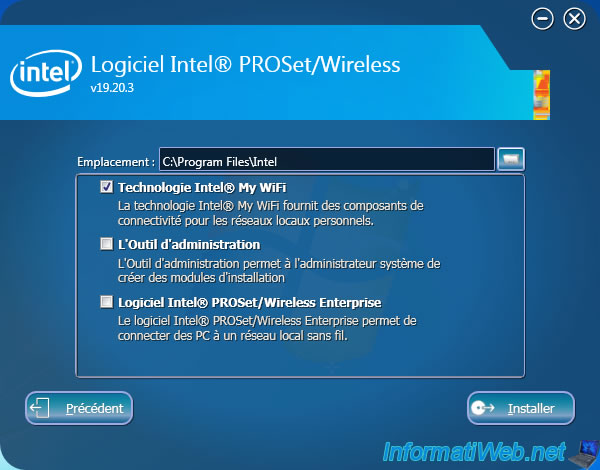
For the Wifi driver of this NUC, the program proposes to you to install :
- the driver: Intel My WiFi Technology
- additional software : the management tool and the Intel PROSet/Wireless Enterprise software
We recommend that you install only the Intel WiFi driver.
Indeed, if you also install their proprietary software, Windows may no longer detect Wifi networks, because you will have to connect to them via their program.
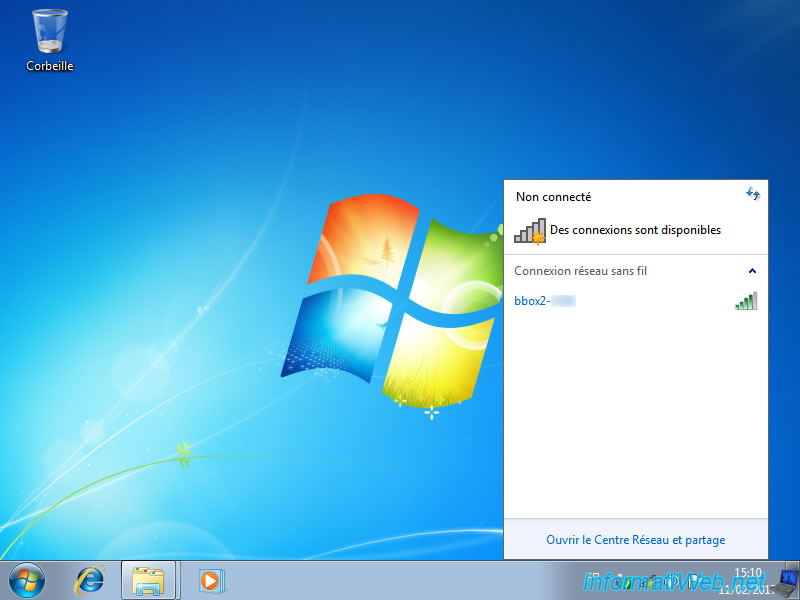
If the driver installs correctly, Windows will detect your Wifi network.
Try connecting to your wireless network to test this wireless connection.
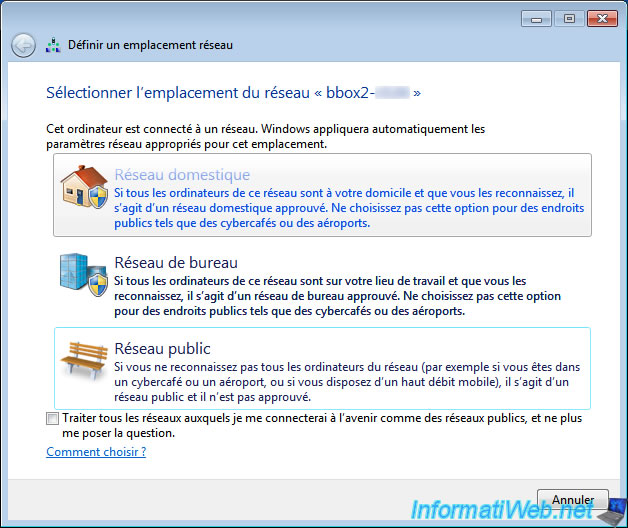
If the connection to your Wifi network is successful, Windows will ask you to choose a network location for this Wifi network.
If you are at home, choose "Home Network".
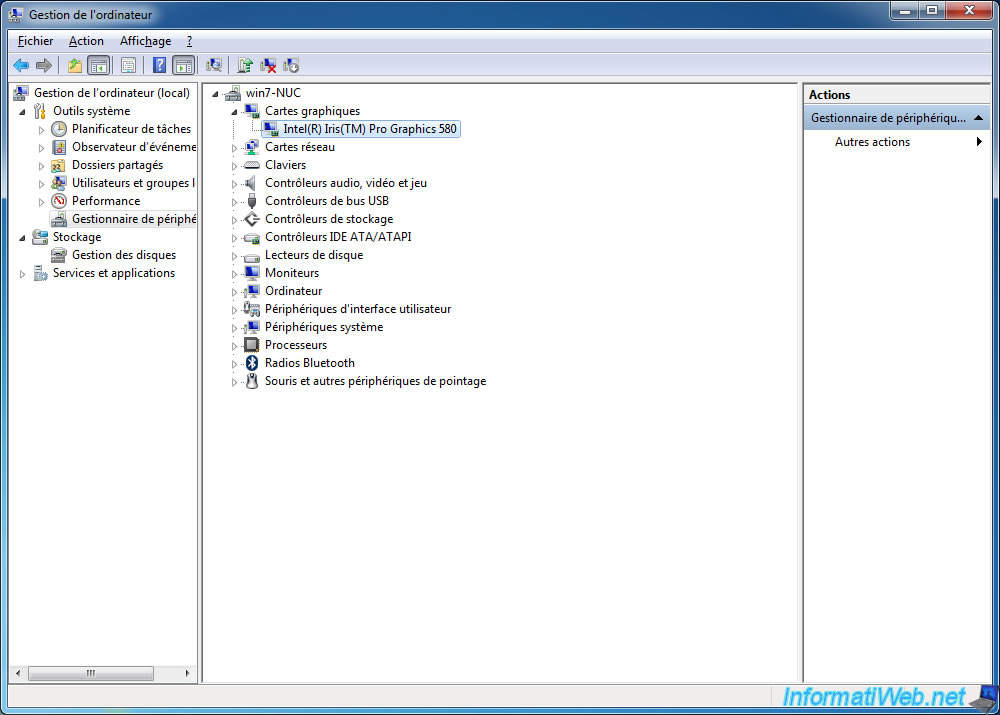
Once you have installed all drivers provided by Intel for your Intel NUC canyon, go to Device Manager.
To access it, go to the start menu and right click "manage" on computer. Then, click "Device Manager" in the list on the left.
If no yellow icon appears and the graphics card is not a standard VGA card, then your drivers are properly installed.
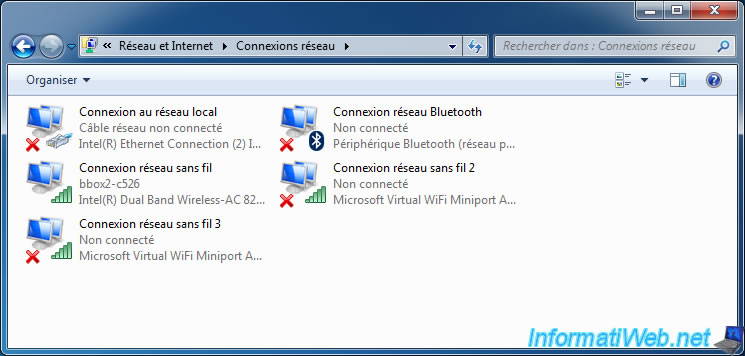
For network cards, you will see that you will have at least :
- the wired connection : Local Area Connection
- the wireless connection : Wireless Network Connection
- and a Bluetooth network connection : Bluetooth Network Connection
Share this tutorial
To see also
-
BIOS 6/10/2018
Flash the BIOS of your Intel NUC Skull Canyon
-
Articles 9/16/2024
Intel NUC Skull Canyon - Install Windows 10
-
Articles 9/23/2024
Intel NUC Skull Canyon - Install Windows 11
-
Articles 3/14/2017
Intel NUC Skull Canyon - Mounting
Show 4 comments