- Backup
- Acronis True Image
- 22 June 2026 at 07:47 UTC
-

Acronis Cyber Protect Home Office (True Image) is a very comprehensive backup software that also allows you to securely erase your hard drives or partitions (your choice).
- Disk to erase
- Securely erase your drive with Acronis DriveCleaner
- Data recovery not possible after secure erase
1. Disk to erase
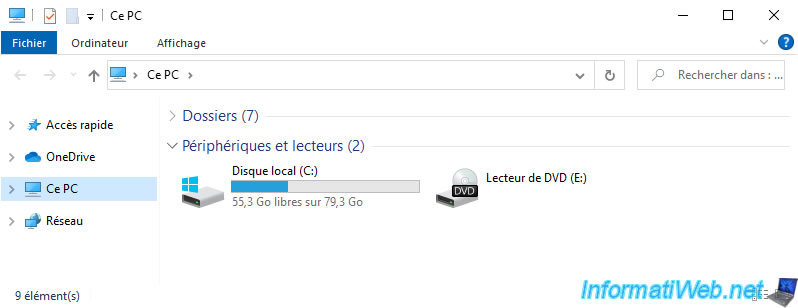
In our case, we have a 500GB disk with a single partition named "HDD2".
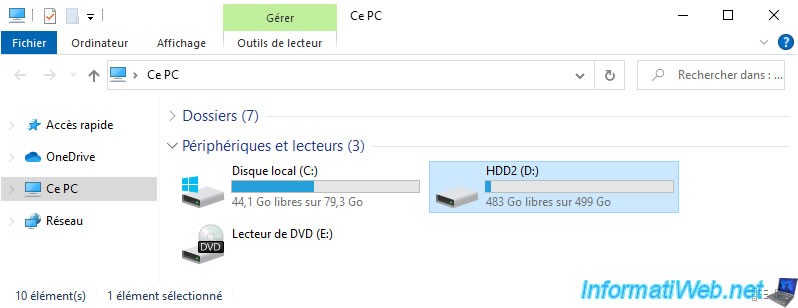
As you can see, it contains several files.
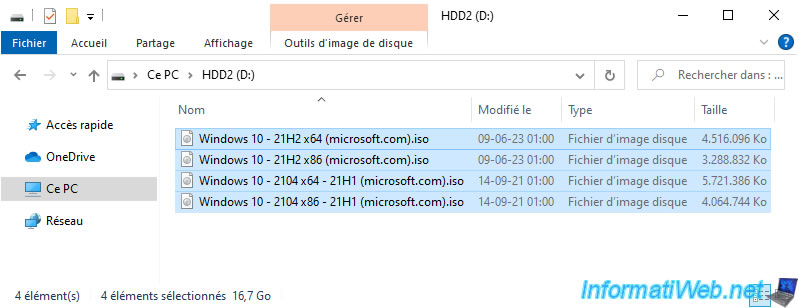
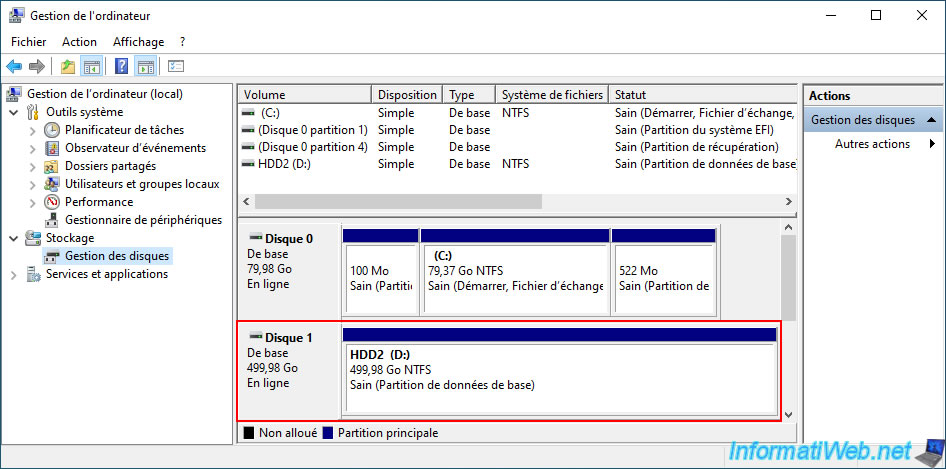
If we go to Windows disk management, we can see our 500GB disk with this single partition "HDD2".
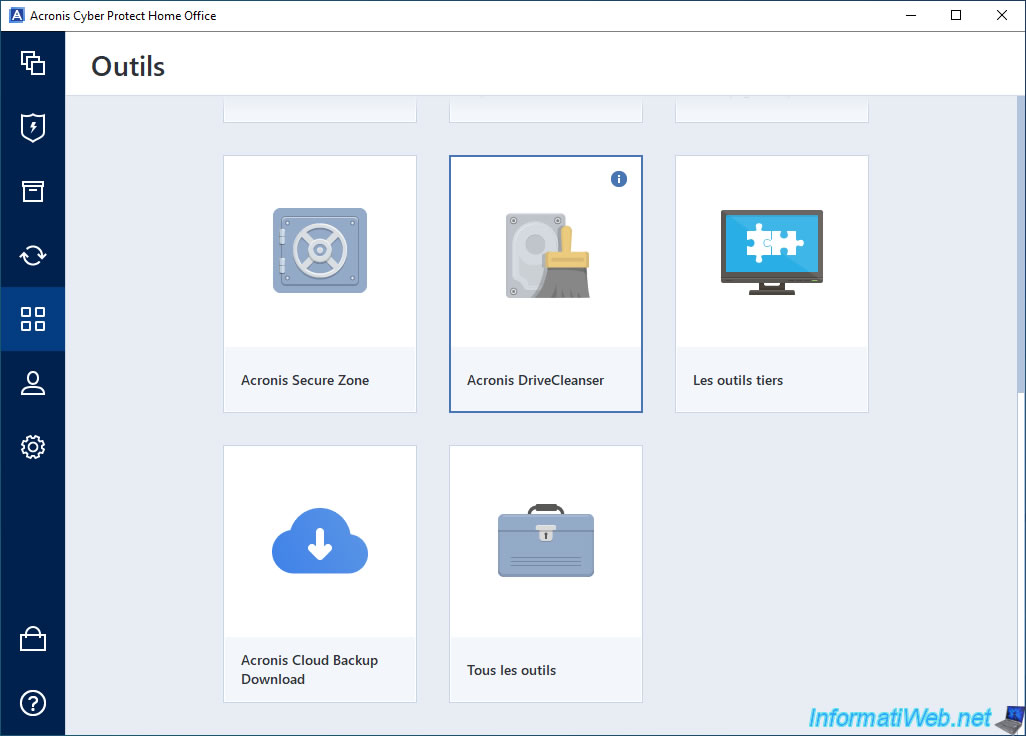
2. Securely erase your drive with Acronis DriveCleaner
To securely erase your disk, go to the "Tools" section of Acronis Cyber Protect Home Office (True Image) and launch the "Acronis DriveCleaner" tool.
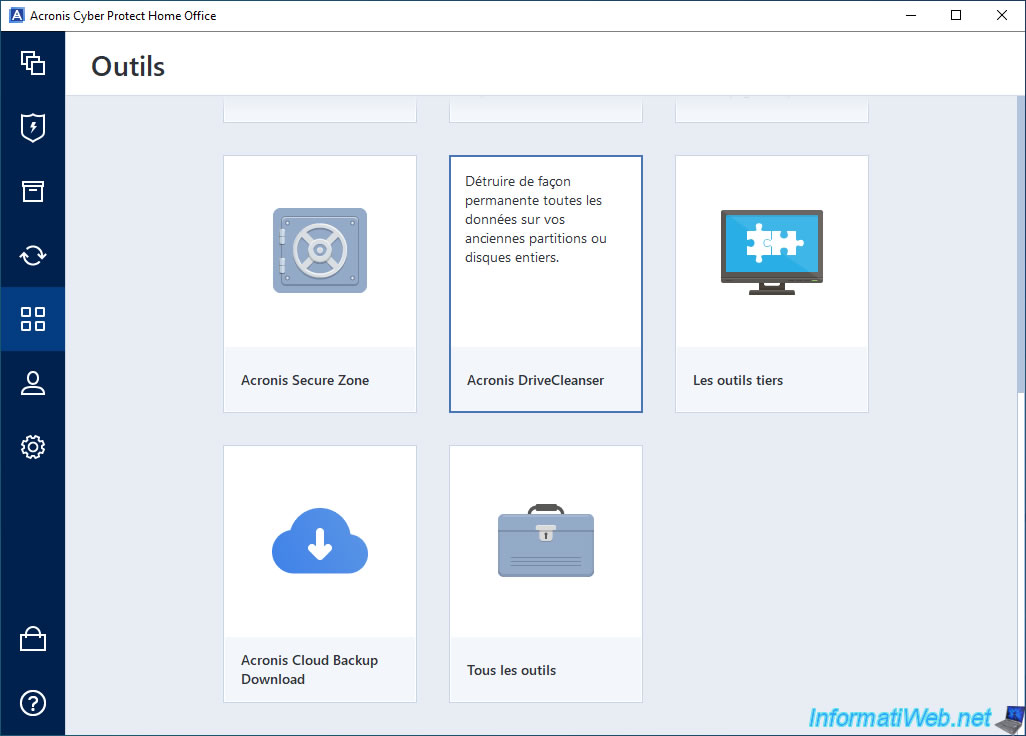
If you hover over the small "i" of this "Acronis DriveCleaner" tool, you will see that it allows you to permanently destroy all data present on your disks and partitions.
Which includes the fact that data recovery will not be possible later on this deleted disk and partitions.
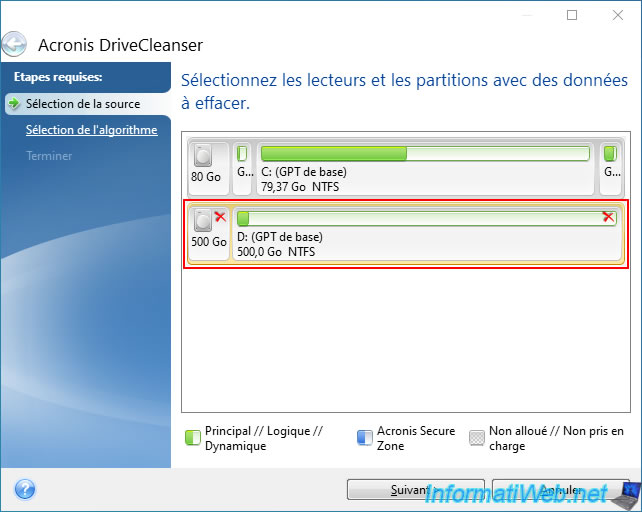
In the "Acronis DriverCleaner" window that appears:
- click on the icon of the disk to erase (on the left) to erase the entire disk (including the information present at the beginning of it, such as the list of partitions available on this disk, ...).
- or click on each partition to erase to erase only certain partitions of a disk.
A red cross will appear on the items (disk or partitions) that will be permanently deleted.
Then, click "Next".
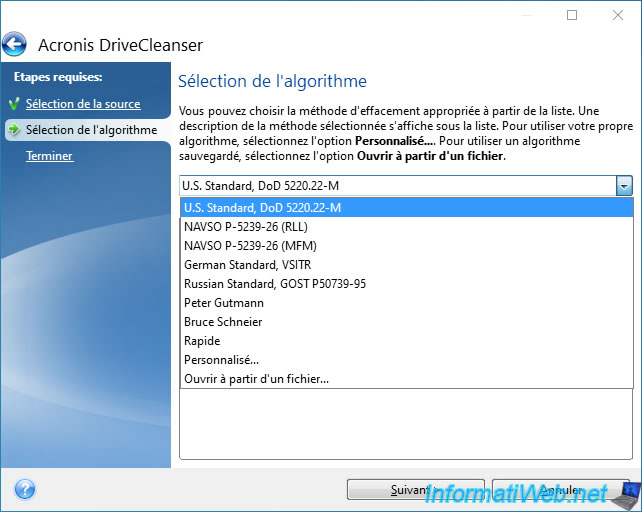
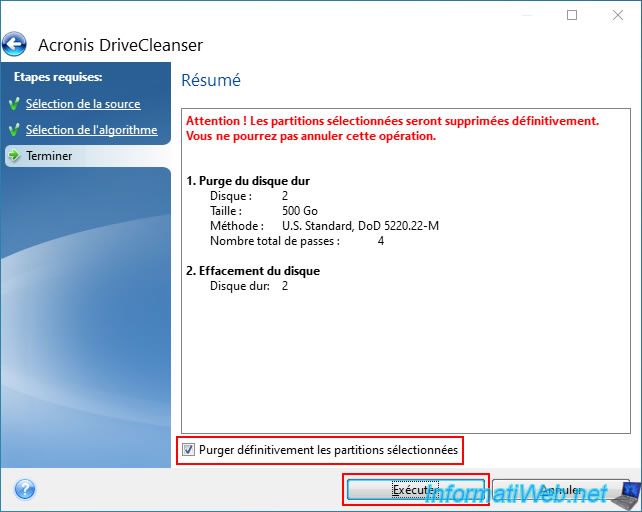
By default, Acronis DriveCleaner will use the "U.S. Standard, DoD 5220.22-M" erasure algorithm, which consists of writing random data 3 times on this disk or partitions to be erased to make any data recovery impossible.
Which is more than enough given that it is an algorithm coming from the American Department of Defense.
Source : Hard Disk Wiping methods - Acronis Cyber Protect Home Office - User Guide for Windows.

However, if you want, you can use another erasure algorithm.
Then, click "Next".
Check the "Permanently wipe selected partitions" box to confirm erasing data from the disk or desired partitions permanently and click "Execute".
Warning : data recovery will be impossible once the disk or partitions are erased.
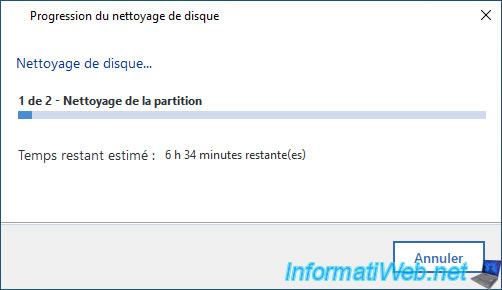
Please wait while your disk or partitions are permanently erased.
Warning : depending on the capacity of your hard drive or SSD, this process may take several hours.
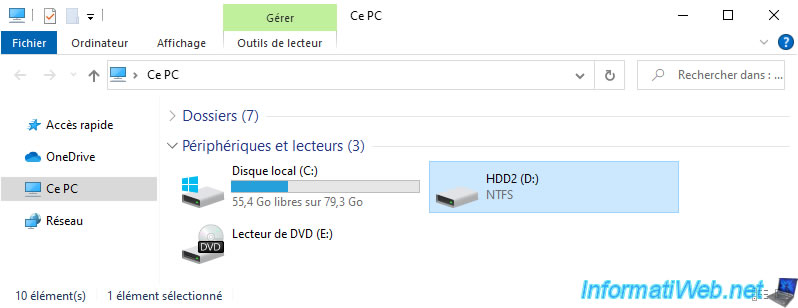
While your disk is being erased, the affected partitions will be inaccessible from file explorer (although their names will remain temporarily visible while your disk is being erased).
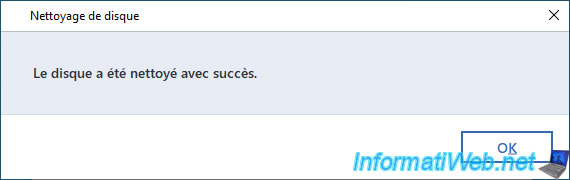
Once your disk or partitions have finished erasing, you will see the "The disk was successfully wiped" message appear.
If you open Windows file explorer, you will notice that the deleted partitions are gone.
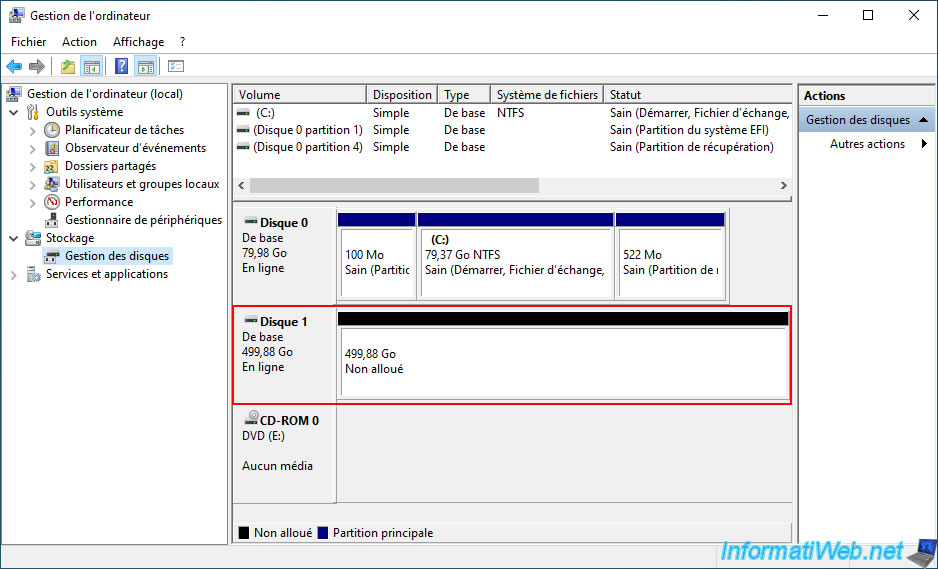
If you right click "Manage" on "This PC" and go to Windows disk management, you will see that the erased disk does not contain any partitions.
Hence the appearance of unallocated space on it.
3. Data recovery not possible after secure erase
Now that the contents of your disk have been securely erased, you will notice that data recovery will be impossible on it.
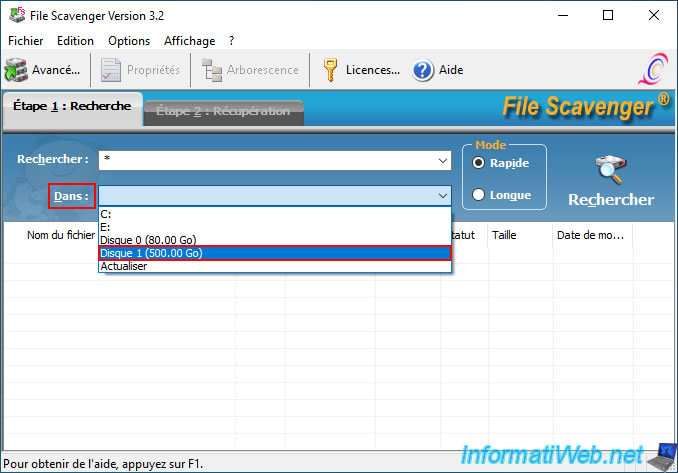
For this test, we used the professional recovery software "File Scavenger" which allows you to perform data recovery on a disk (even if its partitions have been erased).
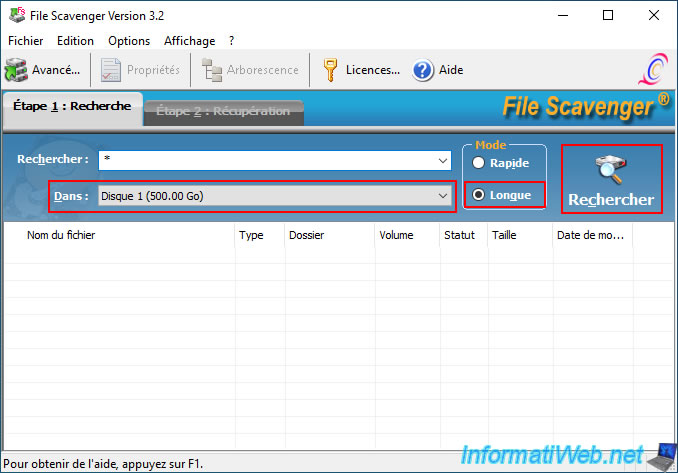
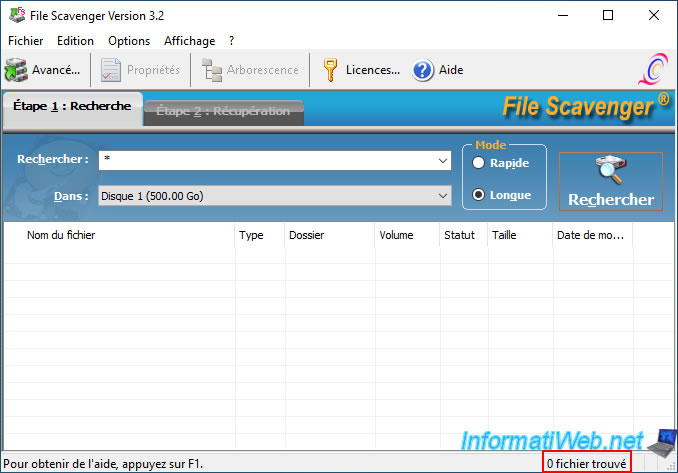
Choose "Long" mode (to increase the chances of being able to recover data, even if it is impossible in this case) and click on "Search".
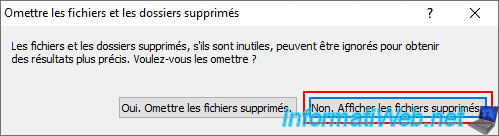
Click the "No. Show deleted files" button to attempt to recover deleted data from your disk.
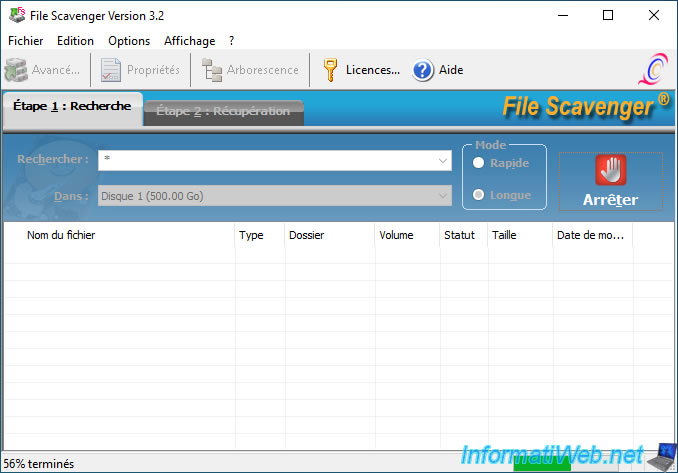
Wait while you attempt to recover data from your disk.
As expected, once the data recovery is complete, you will find that no files were found.
Share this tutorial
To see also
-

Backup 9/11/2025
Acronis True Image - Backing up your smartphone to Acronis Cloud
-
Backup 12/22/2025
Acronis True Image - Clone a disk (manual mode)
-
Backup 11/13/2025
Acronis True Image - Fix archiving issue: Error opening configuration file
-
Backup 2/16/2026
Acronis True Image - Rescue Media - Create media (Win PE version) on Win 7
You must be logged in to post a comment