Presentation of Malekal Live CD (Win7PESE) features
- Live CD
- Malekal Live CD
- 23 December 2024 at 08:59 UTC
-

- 5/5
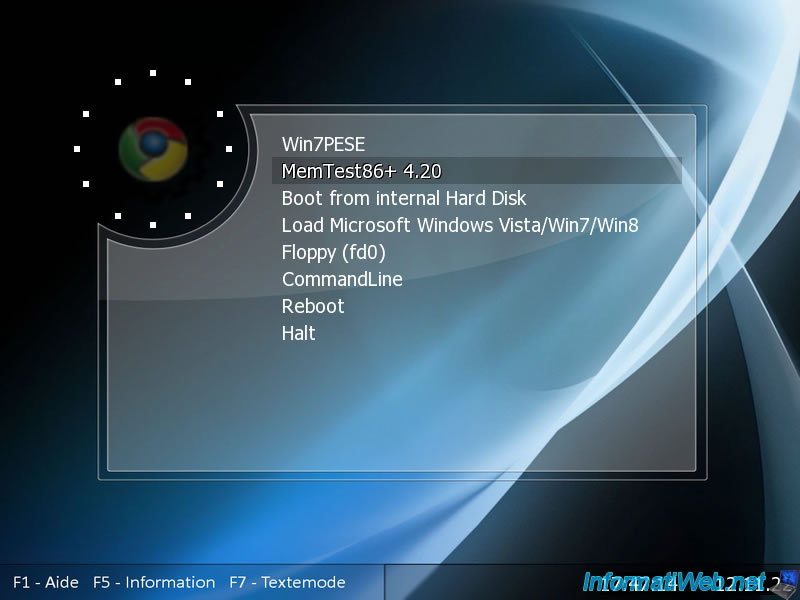
2. MemTest86+ 4.20 (test your RAM)
In the Malekal Live CD boot menu, you will find a "MemTest86+ 4.20" option to test your RAM sticks.
This is very practical in the event of repeated and/or random blue screens.
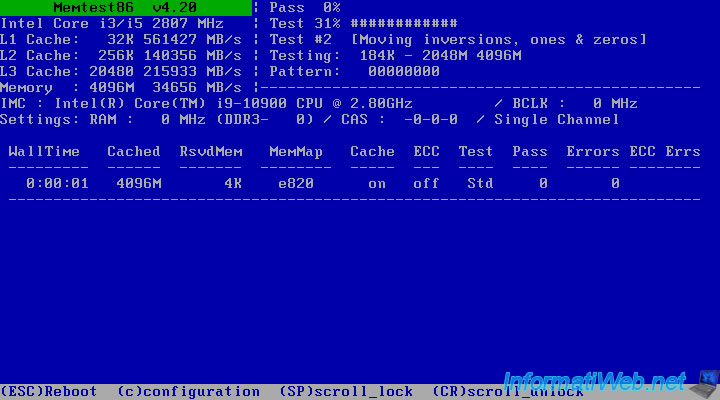
Wait a few seconds while the Memtest86 program starts.

Wait while the test runs.
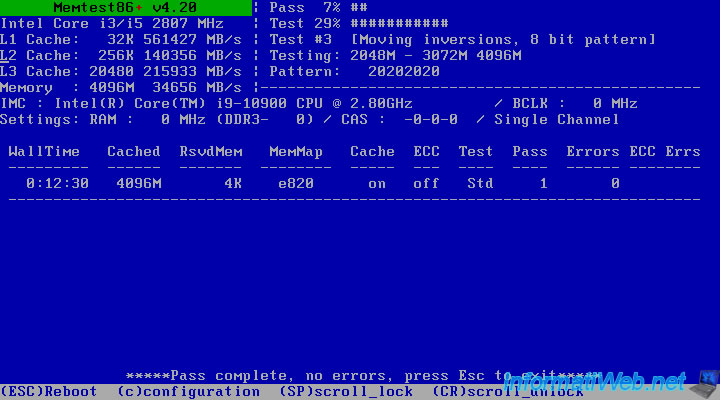
The "Pass" line at the very top must reach 100% at least once before you get the result.
Once the test is complete, you will see a message appear at the bottom
If your RAM sticks are still good, this message will be displayed :
Plain Text
*****Pass complete, no errors, press Esc to exit*****
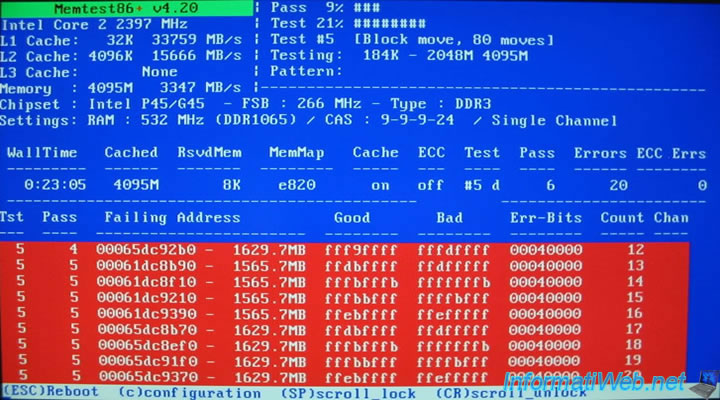
If there is a problem with your RAM sticks, red lines will appear.
In this case, remove all RAM sticks from your motherboard and test the sticks one by one.
If errors appear with a RAM stick, remove it and place it in another slot on the motherboard.
Indeed, the problem can also be the location where it's located.
3. Boot from internal Hard Disk (boot on windows)
To boot to your Windows installation (found on your hard drive), choose one of these options :
- Boot from internal Hard Disk : attempts to boot to the 1st hard drive (where your Windows installation usually resides).
- Load Microsoft Windows Vista/Win7/Win8 : allows you to boot to the "BOOTMGR" boot manager used by Windows Vista / 7 / 8.
The purpose of these 2 options is the same, but from a technical point of view, the command used is not the same.
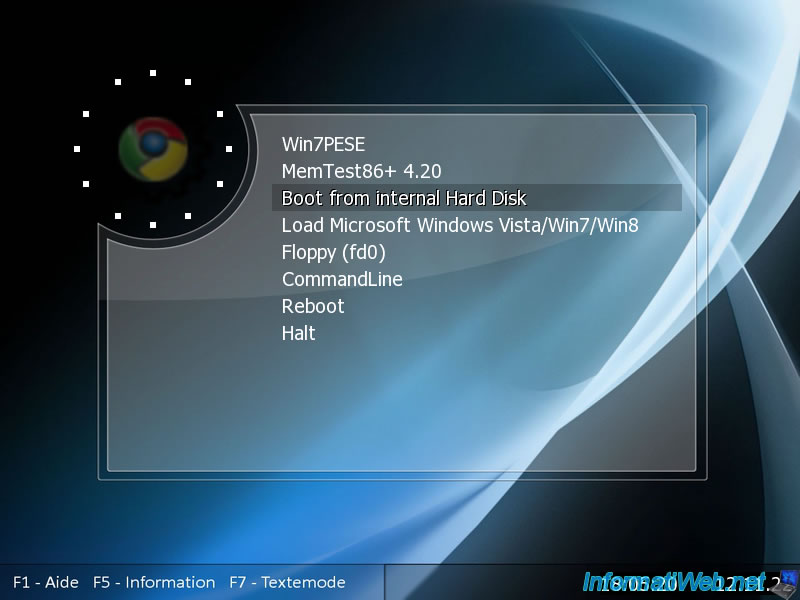
In both cases, your computer should boot to your Windows 7 installation.

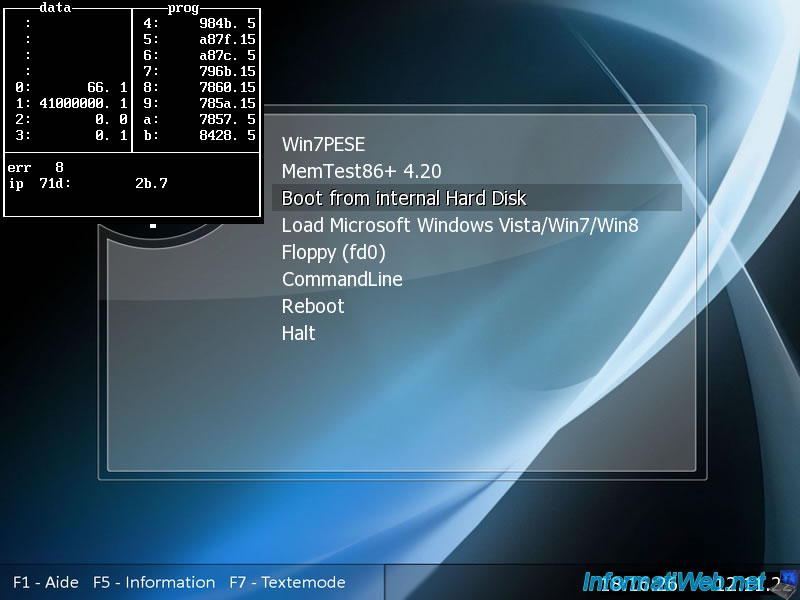
For the curious (geeks), just press the F7 key when this menu appears to switch to text mode.
Then, press Enter when you see this black block appear.
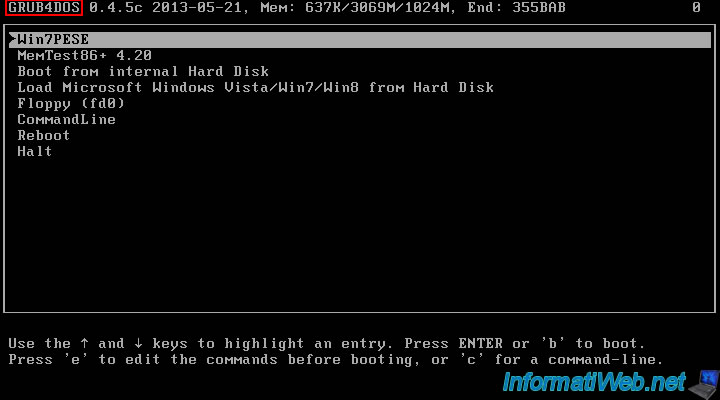
The boot menu of this live CD appears in GRUB4DOS mode (which is a boot manager widely used on live CDs).
The advantage of this boot manager is that you can see the commands behind the various menu options.
For example, select the "Boot from internal Hard Disk" line and press the "e" key (as shown at the bottom of the screen).
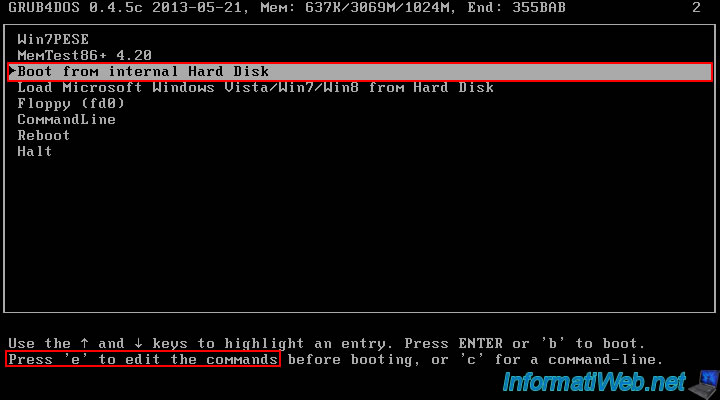
As you can see, this boot manager will attempt to boot on the 1st hard drive (hd0) of your computer.
Note : press "Esc" to return to the boot menu.

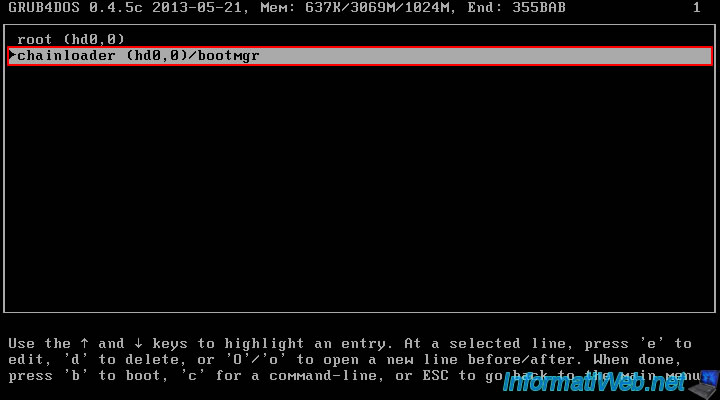
Do the same with the "Load Microsoft Windows ..." line.
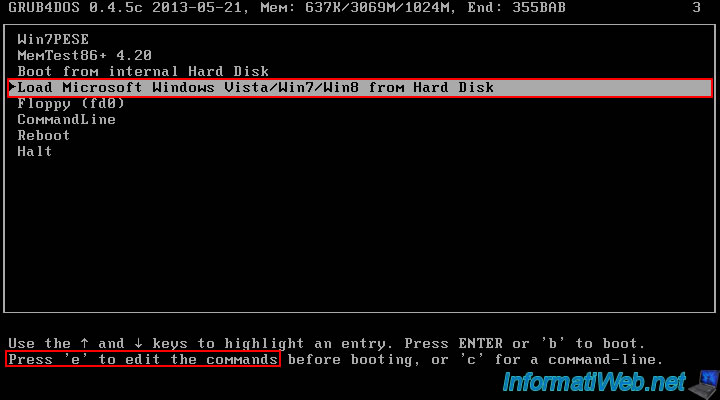
This time, the boot manager will try to start on the "bootmgr" file located on the 1st partition (hd0,0) of the 1st hard disk (hd0) of your computer.
This makes it possible to ignore a possible problem which would be located in the MBR of this hard disk.
Indeed, in normal times, information is in the MBR to indicate to the computer on which partition of the hard disk is which boot loader (in this case : bootmgr).
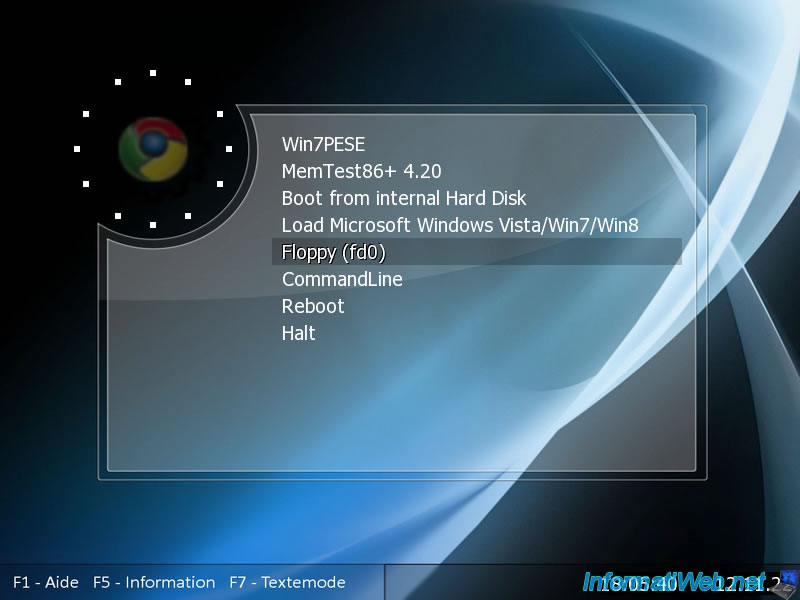
4. Floppy (boot from floppy disk)
The "Floppy (fd0)" boot option will allow you to boot from a bootable floppy disk in the 1st floppy disk drive.
If a boot diskette is in your computer's floppy disk drive, your computer will boot from it.
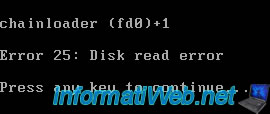
Otherwise, an error will appear :
Plain Text
chainloader (fd0)+1.
Error 25: Disk read error.
5. CommandLine (command line)
For the experts, you will be able to access the "command line" mode of grub.

The GRUB4DOS "grub" command line appears.

Note that you can return to the boot menu in "GRUB4DOS" mode if you wish by simply pressing the "Esc" key.

6. Reboot / Halt (reboot / shut down)
The last 2 live CD options obviously allow you to :
- Reboot : reboot your computer.
- Halt : shut down your computer.

7. Information
At the bottom of the screen, you will find 3 options (the 1st of which is useless in this case).
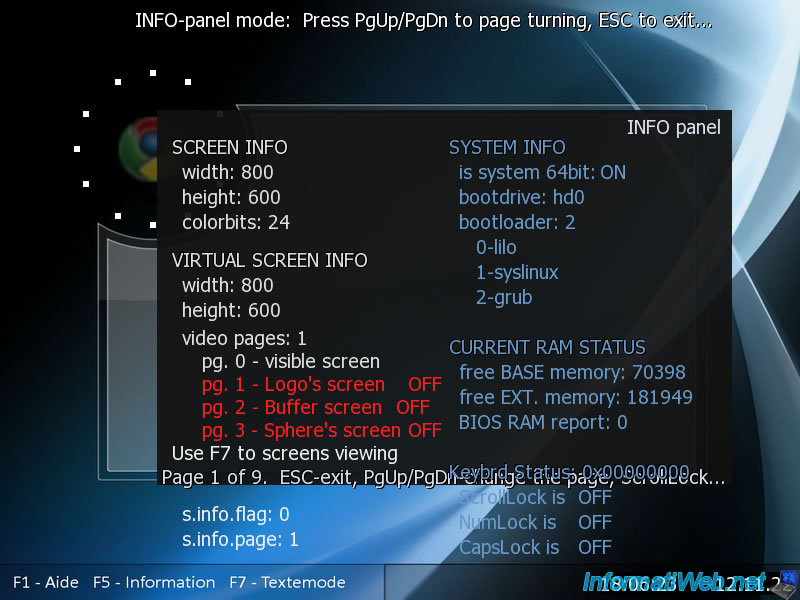
However, you can get some information by pressing "F5".

You will see, for example :
- the screen resolution
- whether the system is 64-bit compatible or not
- what is the boot hard drive. Generally, the 1st hard disk : hd0.
8. Textmode (menu in GRUB4DOS mode)
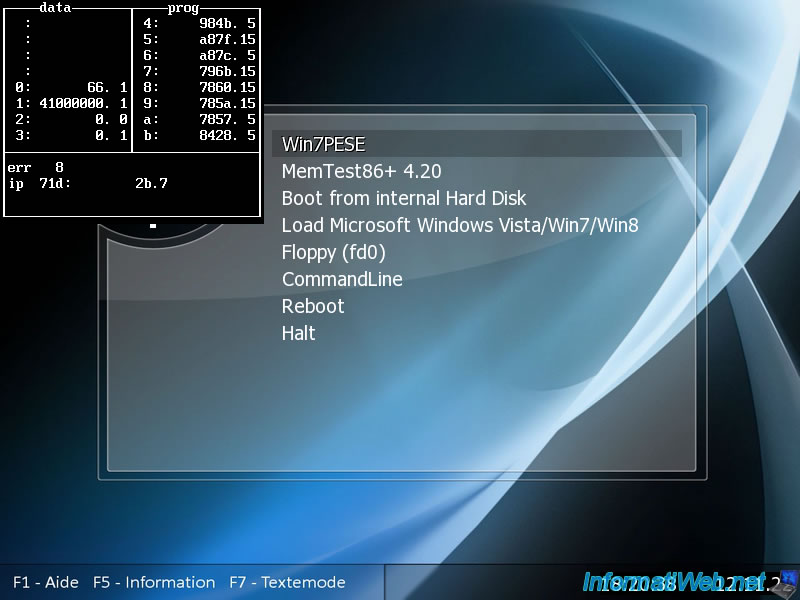
Finally, you will find a "Textmode" option at the bottom of the screen accessible by pressing the F7 key.
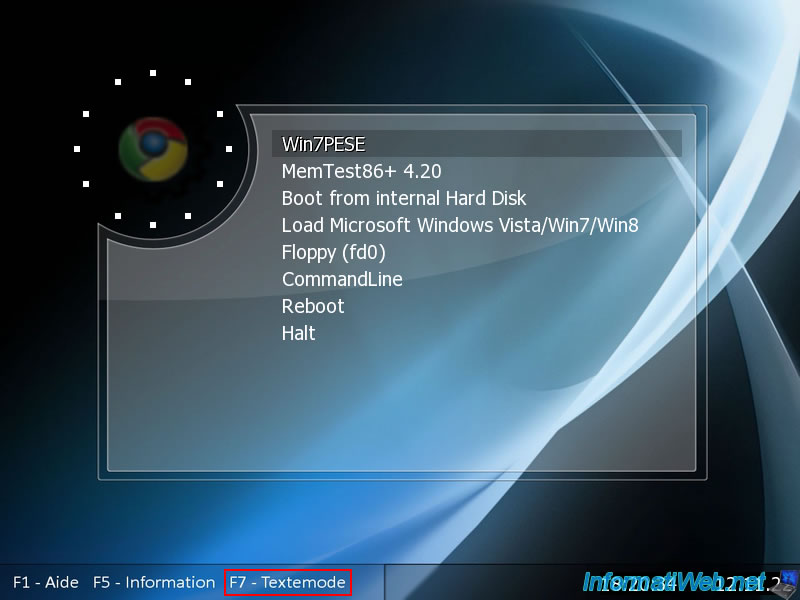
A black square will appear on the screen.
Just press Enter.
The boot menu will appear on a black background thanks to the GRUB4DOS boot manager.
Share this tutorial
To see also
-
Live CD 1/6/2025
Malekal Live CD - Presentation of the live CD (Win10PESE v1607) features
-
Live CD 1/13/2025
Malekal Live CD - Presentation of the live CD (Win10PESE v1709) features
-
Live CD 12/30/2024
Malekal Live CD - Presentation of the live CD (Win8PESE) features
-
Live CD 1/16/2025
Malekal Live USB - Presentation of the live USB 2024 (Win11) features
No comment