- Live CD
- Malekal Live CD
- 16 January 2025 at 16:32 UTC
-

- 1/8
Malekal Live USB 2024 is a new version of the Malekal live CD which is now based on a Windows PE environment in Windows 11 Enterprise v22H2 version.
This live CD, which you can also use as a bootable USB key, will allow you to use many system tools (including all the tools from the Nirsoft company), tools to know all the details of your hardware (processor, graphics card, hard drives, ...), shortcuts to common Windows system tools (such as: winver, chkdsk, ping, tracert, ...).
- Starting Malekal Live USB 2024
- Boot into your Malekal Live USB 2024 bootable USB key
- Malekal Live USB 2024 Windows PE environment partitions
- Change keyboard layout
- Programs : Accessibility
- Programs : Accessories
- Programs : Apps
- Programs : Components
- Programs : File Tasks
- Programs : HD Tasks
- Programs : HW Info
- Programs : Multimedia
- Programs : Network
- Programs : Office
- Programs : OpenVPN
- Programs : Recovery (data recovery)
- Programs : Registry
- Programs : Security
- Programs : System Tools
- Programs : Tweaks
- Programs : Windows Tools
- Control Panel
1. Starting Malekal Live USB 2024
To start, download "Malekal Live USB 2024".
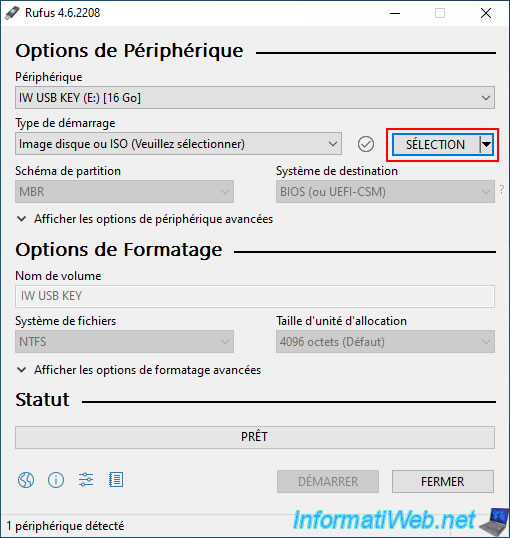
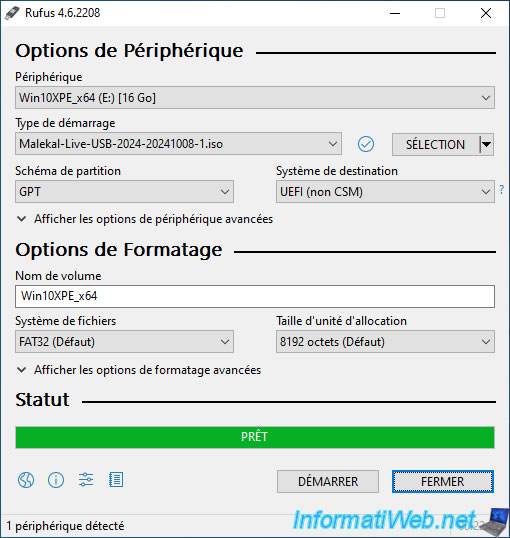
Then, download the small utility "Rufus" and launch it.
In the Rufus window, click the "Select" button.
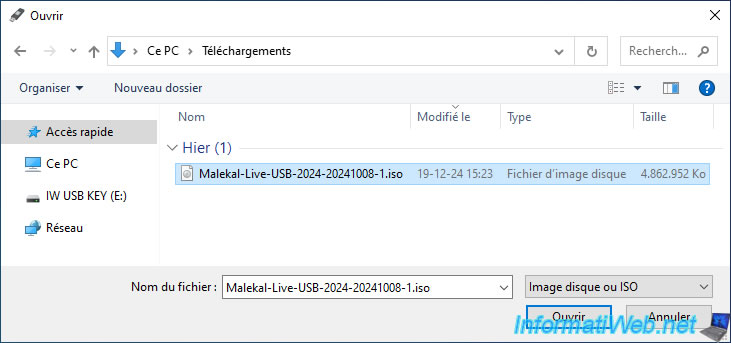
Select the ISO file "Malekal-Live-USB-2024-20241008-1.iso" you just downloaded and click "Open".
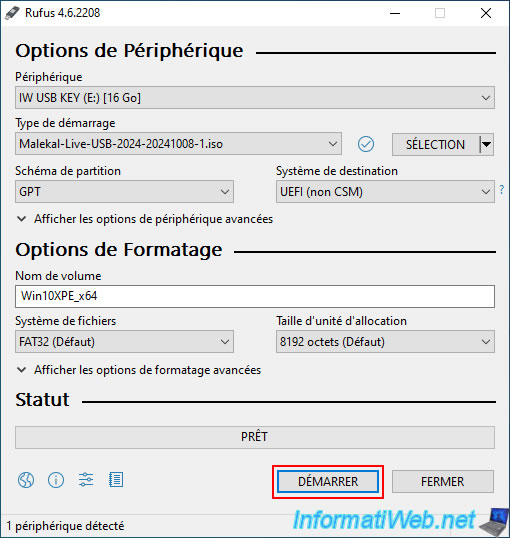
Rufus automatically adjusts its settings to create a bootable USB key of Malekal Live USB 2024.
Click "Start".
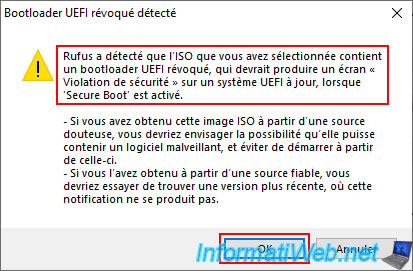
Ignore the warning about the detected revoked UEFI bootloader by clicking OK.
Warning : you may need to disable Secure Boot (for UEFI boot) in your motherboard's UEFI firmware to boot without issues to your Malekal Live USB 2024 bootable USB key.
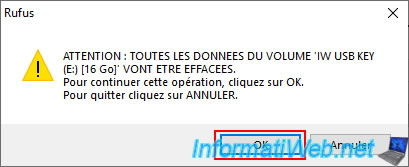
Warning : as Rufus said, all data on your USB key will be erased.
Click OK.
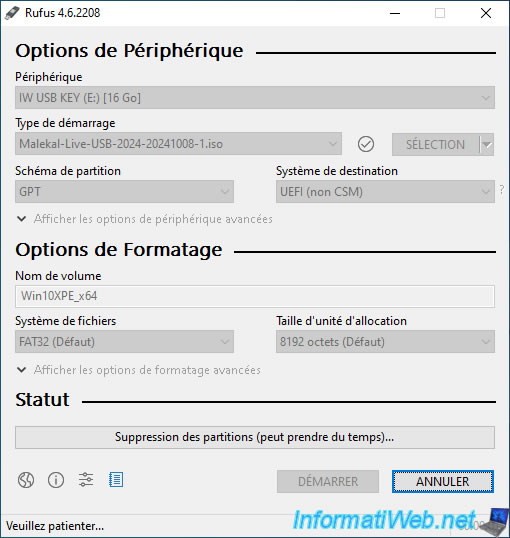
Rufus will delete the partition on your USB key and create a new one (fitting the ISO file you selected earlier).
In this case, Rufus will create a GPT partition table on your USB key so that you can boot from it in UEFI mode.
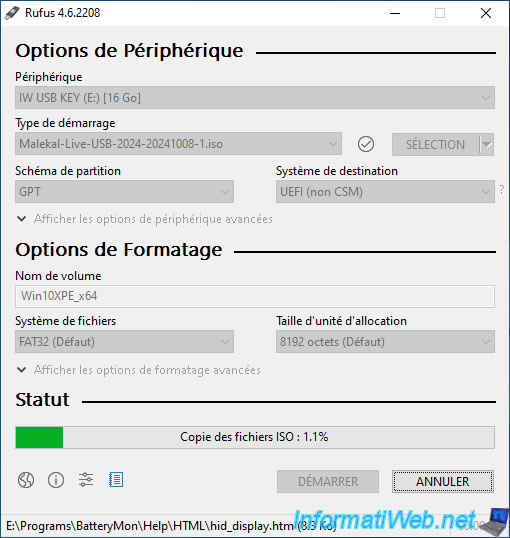
Then, Rufus will copy all files contained in the previously selected ISO file to your USB key.
Including all programs that come with "Malekal Live USB 2024".
Important : Malekal Live USB 2024 contains many utilities, some of which will be detected by Windows Defender (and probably other antiviruses).
Make sure that your antivirus does not delete the files that were copied to your USB key or restore these files from the quarantine area of your antivirus to your USB key (adding an exception if necessary).
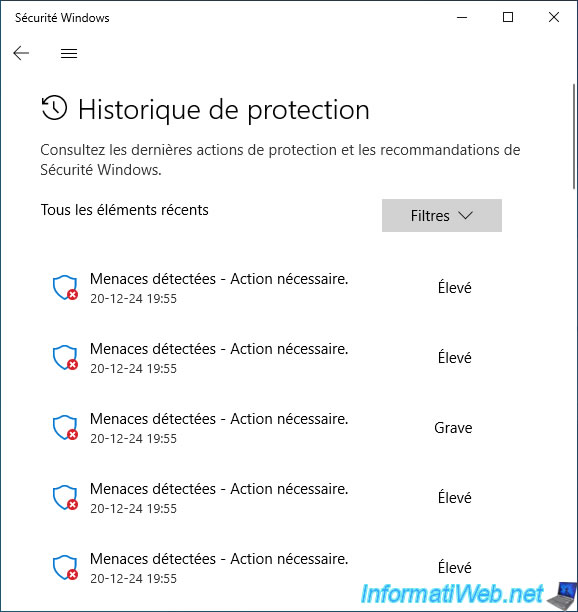
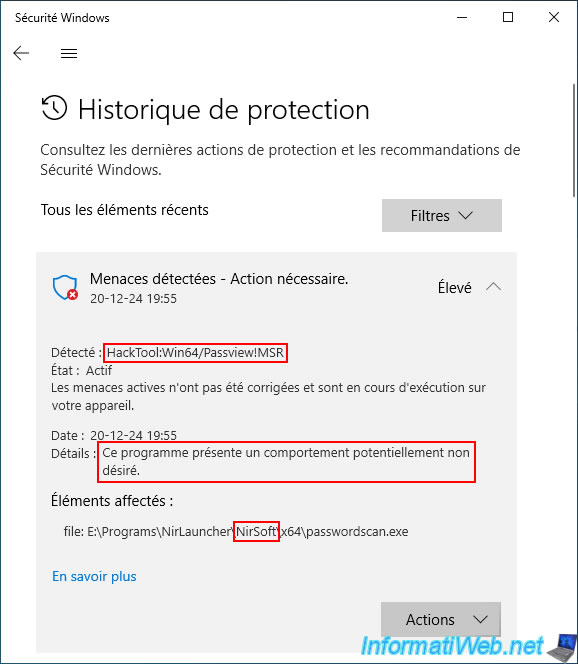
If you look at the details of these detections, you will see that Windows Defender has detected mainly NirSoft tools.
Indeed, these are known to allow you to recover your passwords stored in your web browsers, delete the one from the Windows session, recover your Wi-Fi key, ...
Which is a behavior very similar to that of a virus that would try to recover them without your knowledge.
However, in this case, it is you who recovers them and not a malicious person.
You can therefore add exceptions for these tools.
Warning : you must obviously use these tools only on your own PC or on another PC with the authorization of its owner (if you are a computer technician and you repair the PC of a friend or a client).
Note that, by default, Windows Defender does not seem to delete the detected files, but simply waits for your decision.
If you do nothing, the detected files should therefore be on your USB key.
Once your bootable USB key of "Malekal Live USB 2024" is created, the message "Ready" will appear in Rufus.
Click "Close".
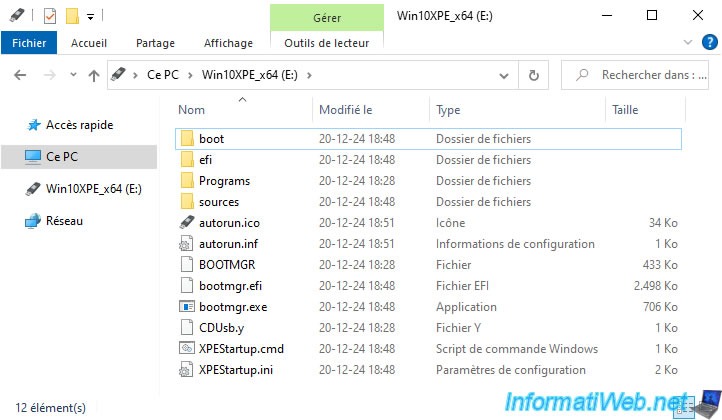
In File Explorer, go to the "This PC" section and you will see that your USB key has been renamed to "Win10XPE_x64".
You will notice that its icon has also changed.
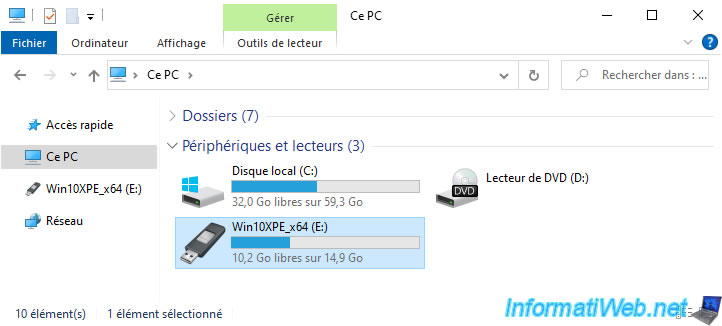
Here is the content of your bootable USB key of "Malekal Live USB 2024".
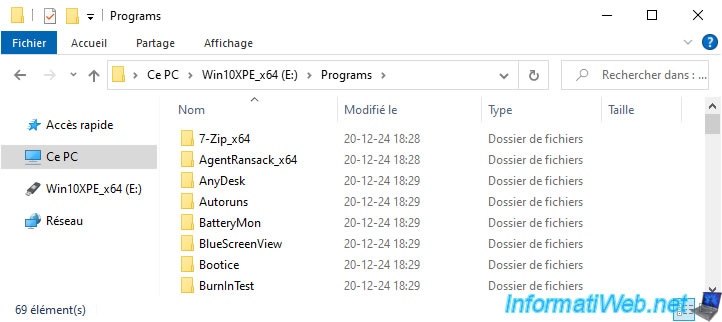
In the "Programs" folder, you will find many folders with lots of system utilities that will be accessible from this "Malekal Live USB 2024".
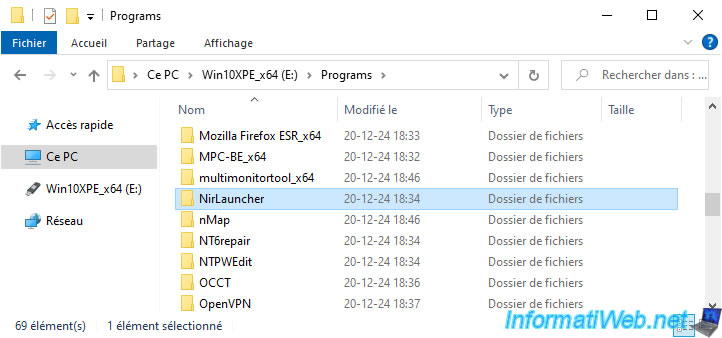
You will find in particular the folder "NirLauncher" containing all the programs of NirSoft, several of which have been detected by your anti-virus.
But, again, these are false positives.
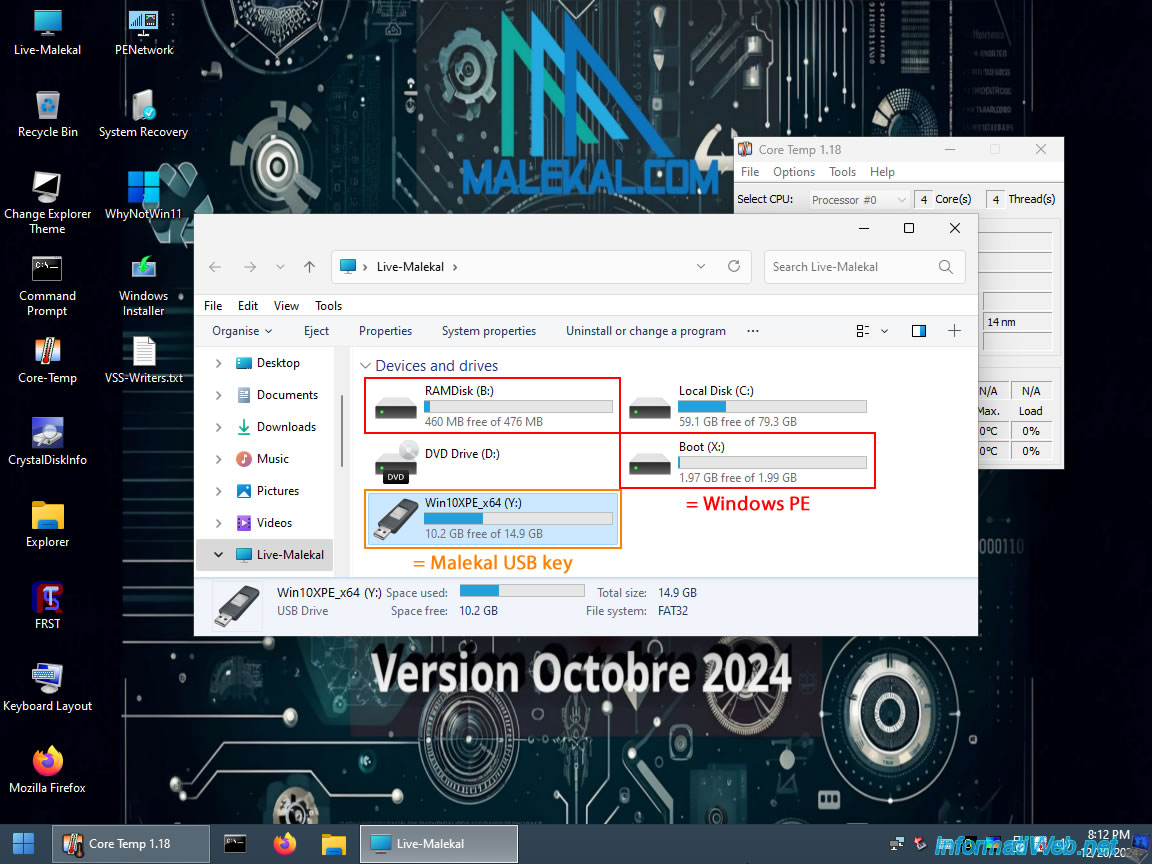
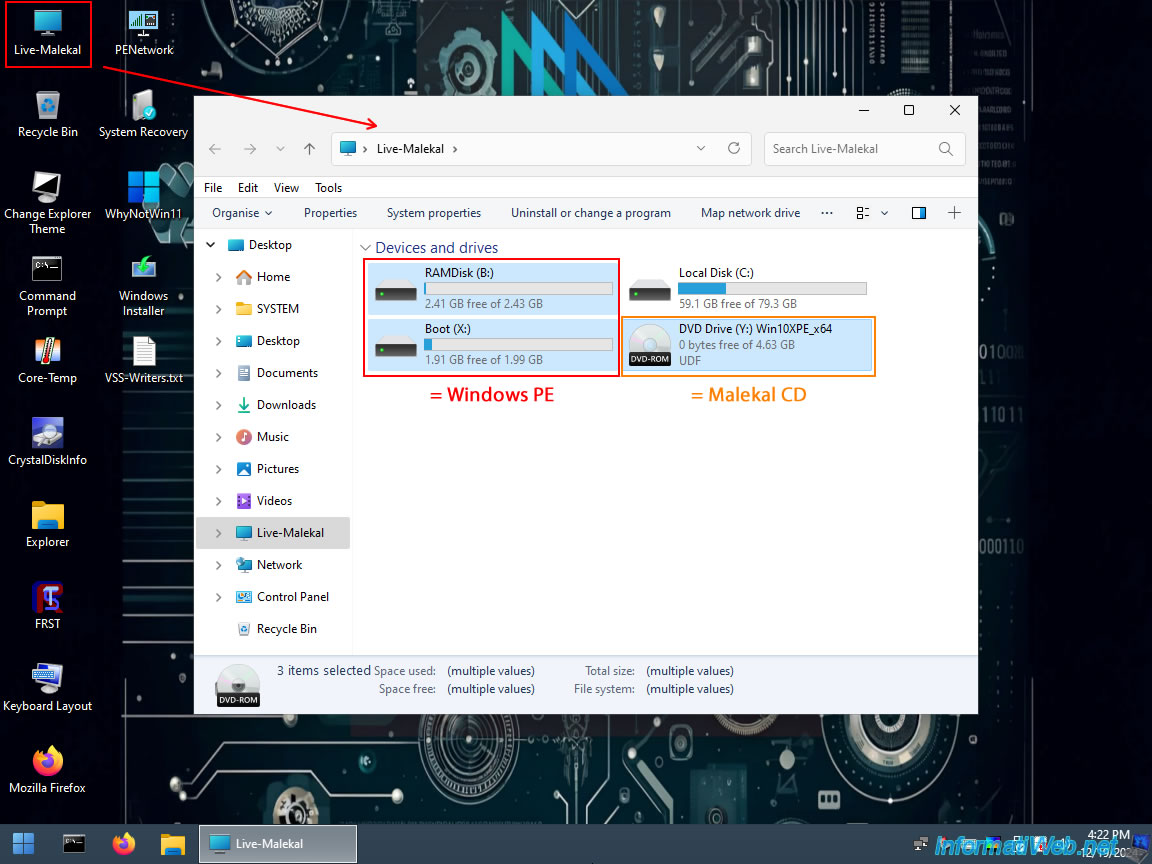
Once you have booted your computer on your USB key, open the file explorer (via the "Live-Malekal" shortcut on the desktop) and you will see this.
The "RAMDisk (B:)" and "Boot (X:)" partitions are those of the Windows PE environment used by Malekal Live USB 2024.
The "Win10XPE_x64 (Y:)" partition corresponds to your bootable USB key of Malekal Live USB 2024.
2. Boot into your Malekal Live USB 2024 bootable USB key
To boot your computer on your Malekal Live USB 2024 bootable USB key, configure your motherboard's UEFI firmware to boot first on your USB key.
To do this, refer to our tutorial: Change the BIOS boot priority.
If your computer boots to your Malekal Live USB 2024 bootable USB key, you will see the message "Loading files ..." appear.

Then, you will see the Windows 11 logo appear.
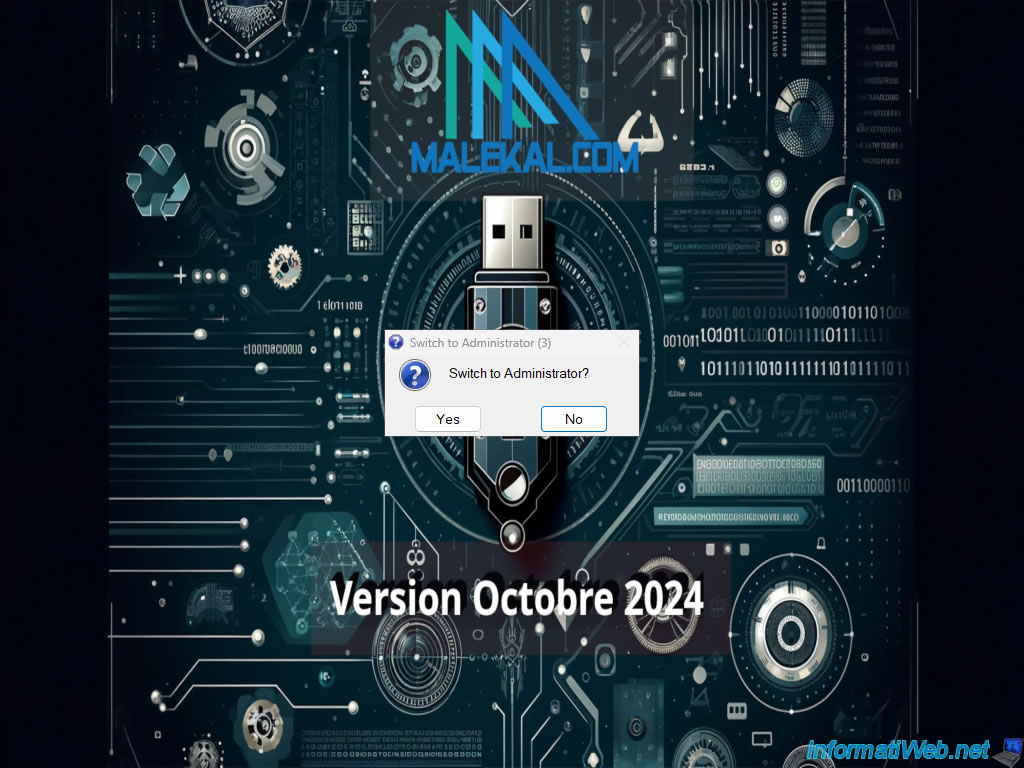
![]()
A small "Switch to Administrator" window will appear for 5 seconds with 2 options:
- Yes: you will be logged in as an administrator on Windows PE.
- No (default choice): you will be logged in with the Windows PE "System" account.
This changes almost nothing, except for the "Teamviewer" utility which seems to only work if you are in "Administrator" mode (according to our tests).
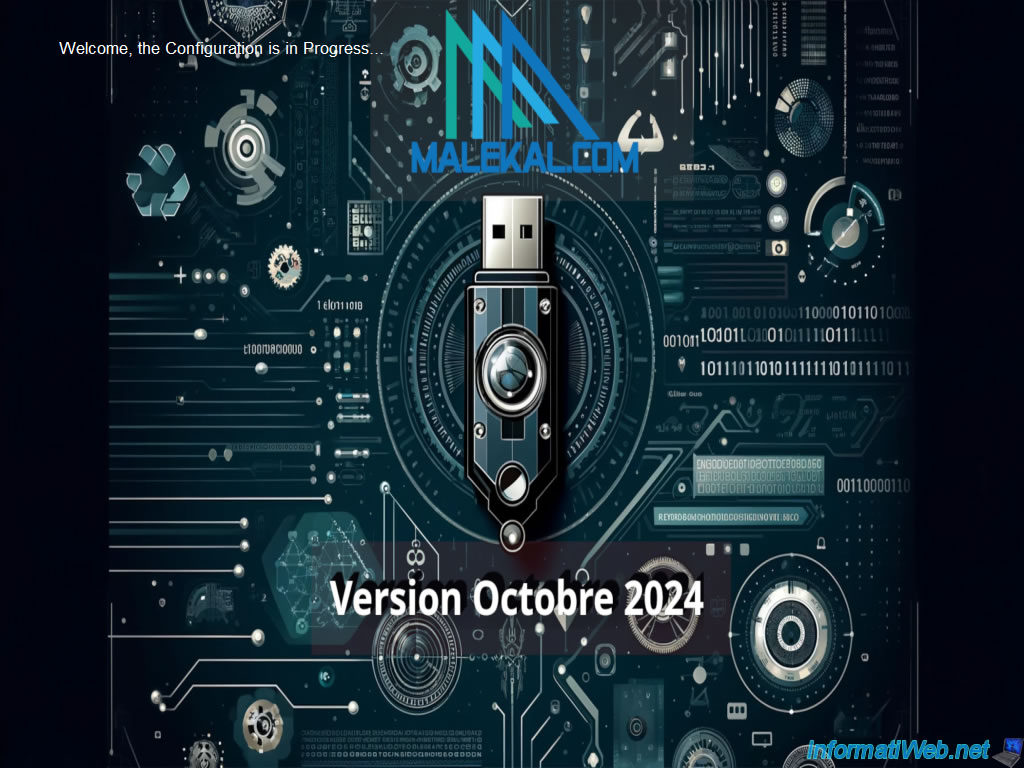
Then, the message "Welcome, the Configuration is in Progress..." will appear for a few seconds.
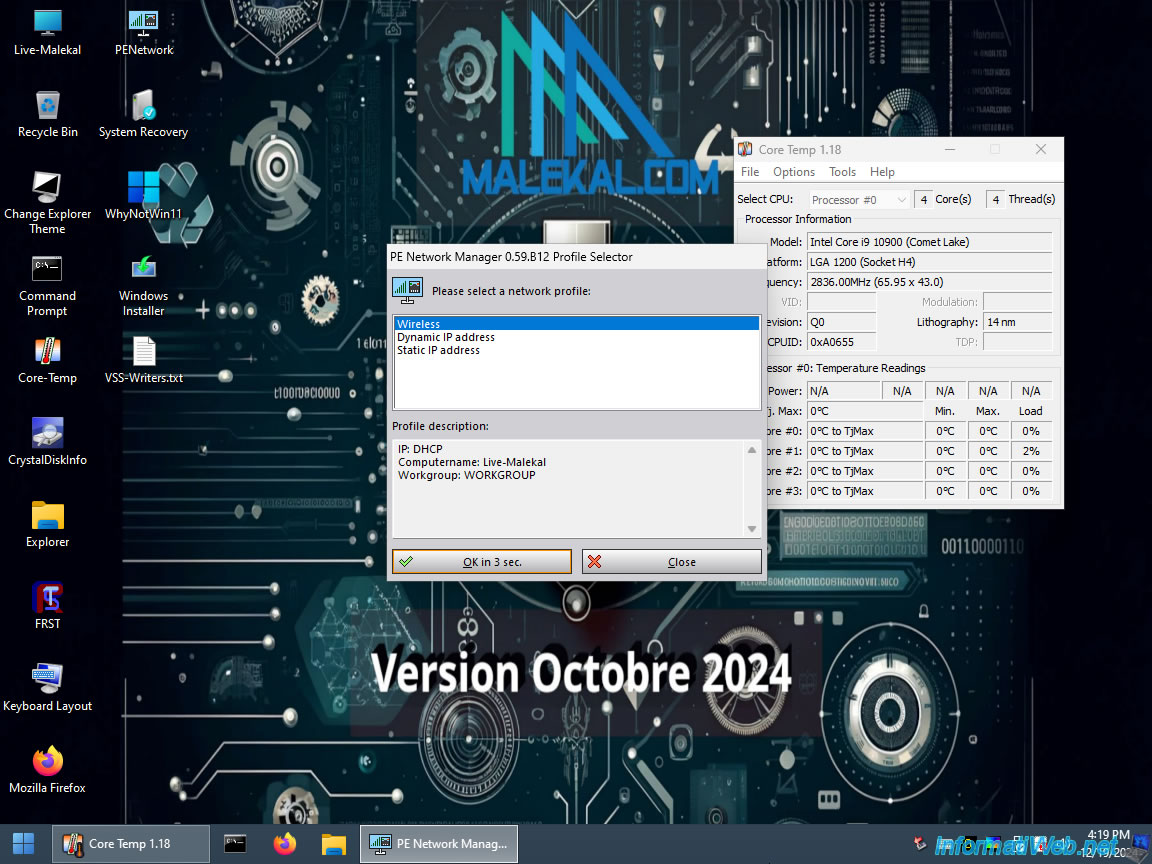
The desktop will appear and the "PE Network Manager" utility used on all Windows PE-based live CDs will appear for a few seconds.
This allows you to access the network and the Internet (if applicable) from this Windows PE environment.
Note: your network card must obviously be natively supported by this live CD for this to work, which should be the case if your PC is not too recent.
Otherwise, ask the author of this live CD to add yours by going to the page "Live USB Malekal : ChangeLog / intégration de pilotes - Malekal.com forum".
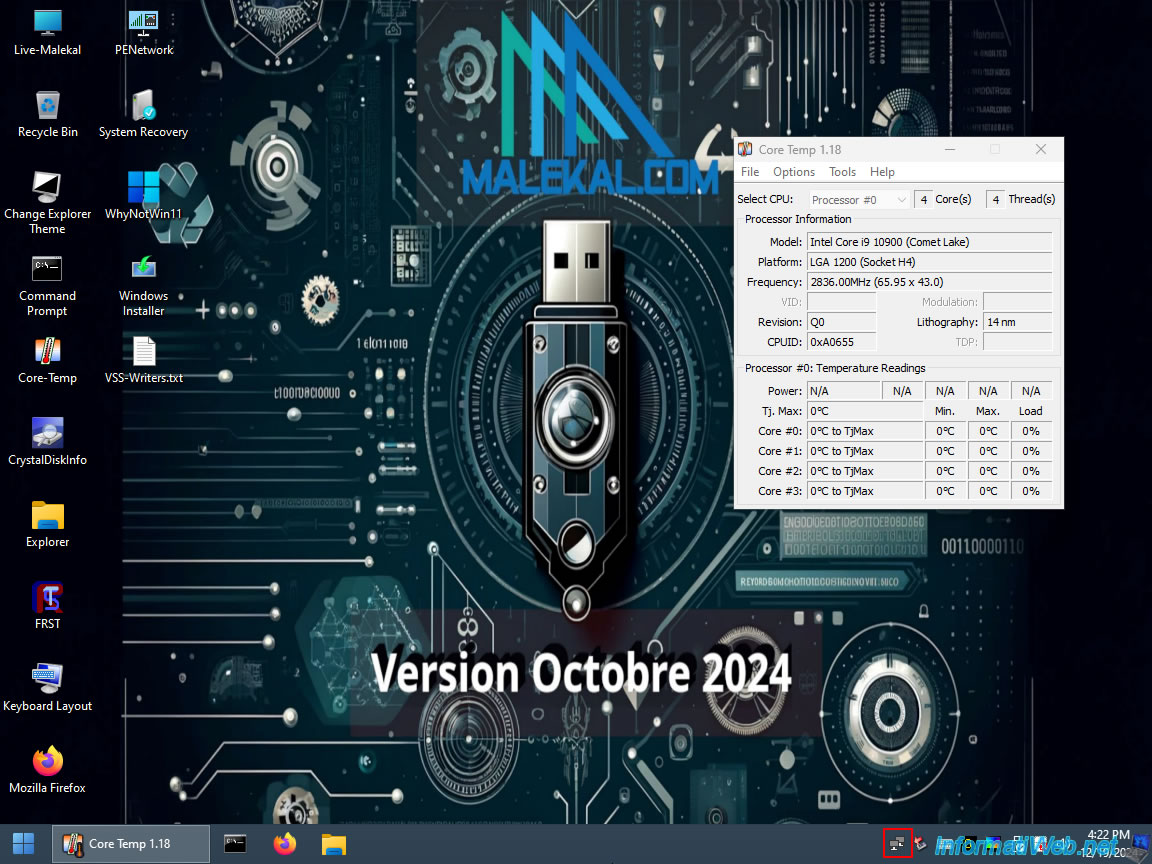
Once the network is initialized, you will see an additional icon appear in the Windows PE taskbar (next to the time).
This is what "Malekal Live USB 2024" looks like.
3. Malekal Live USB 2024 Windows PE environment partitions
Open the file explorer by double-clicking on the "Live-Malekal" shortcut on the desktop.
As you can see, you have more partitions than usual:
- RAMDisk (B:): virtual partition whose contents are temporarily stored in your computer's RAM.
- Boot (X:): virtual partition also present in your computer's RAM.
This contains the current folders of a Windows installation and corresponds to the partition where Windows PE is located.
The contents of this virtual partition are in fact the contents of the "sources\boot.wim" file of your "Malekal Live USB 2024" USB key (or the "Malekal-Live-USB-2024-20241008-1.iso" ISO file used). - Local Disk (C:): your Windows installation present on your physical hard drive.
- DVD Drive (Y:): our CD/DVD drive where the "Malekal Live USB 2024" ISO file is located.
Note that we performed this tutorial in a virtual machine to make it easier and faster for us.
It is therefore normal that Malekal Live USB 2024 is loaded from a DVD player and not from a USB key.
However, this does not change the operation of Malekal Live USB 2024 and be aware that it is impossible to burn "Malekal Live USB 2024" to a DVD, because the ISO file is much too large (unless you use a dual-layer DVD and a DVD burner that supports burning this type of DVD).
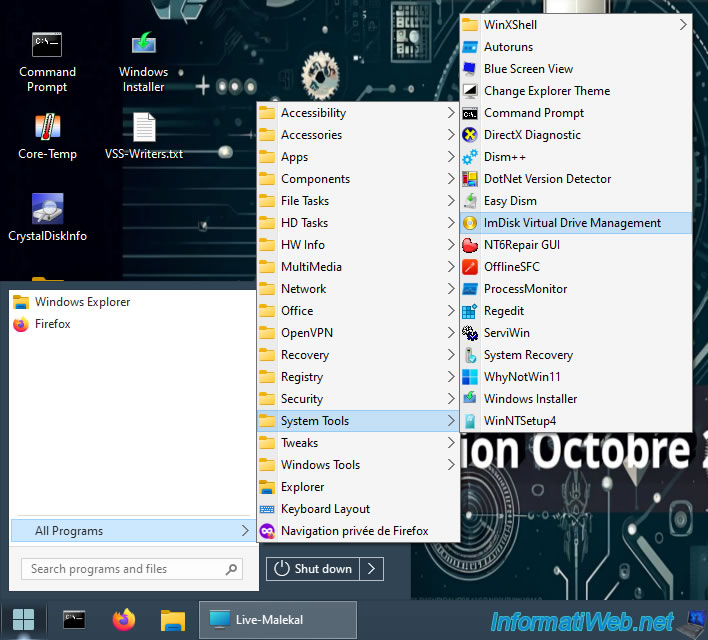
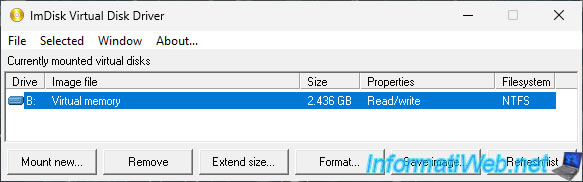
For the "RAMDisk (B:)" partition, this is a partition automatically created in your computer's RAM via the "ImDisk Virtual Drive Management" program (available via the start menu in: All Programs -> System Tools).
As you can see, this disk was created in virtual memory (in other words: your computer's RAM).
Share this tutorial
To see also
-
Live CD 1/6/2025
Malekal Live CD - Presentation of the live CD (Win10PESE v1607) features
-
Live CD 1/13/2025
Malekal Live CD - Presentation of the live CD (Win10PESE v1709) features
-
Live CD 12/23/2024
Malekal Live CD - Presentation of the live CD (Win7PESE) features
-
Live CD 12/30/2024
Malekal Live CD - Presentation of the live CD (Win8PESE) features
You must be logged in to post a comment