- MultiBoot
- Windows 11
- 12 August 2024 at 18:47 UTC
-

Previously, we told you how to create a multiboot with Windows 10 and 11 on VHDX virtual hard disks.
Good news ! From Windows 11, you can now upgrade Windows from the Windows 11 new version installation DVD even when Windows is installed on a virtual disk (VHDX).
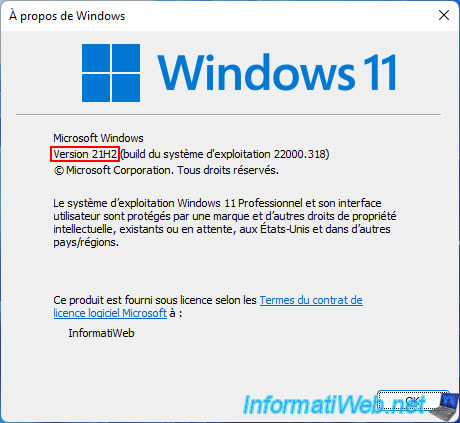
To know your current version of Windows 11, launch the "winver.exe" program.

As you can see, we are currently using the 1st version of Windows 11: 21H2.
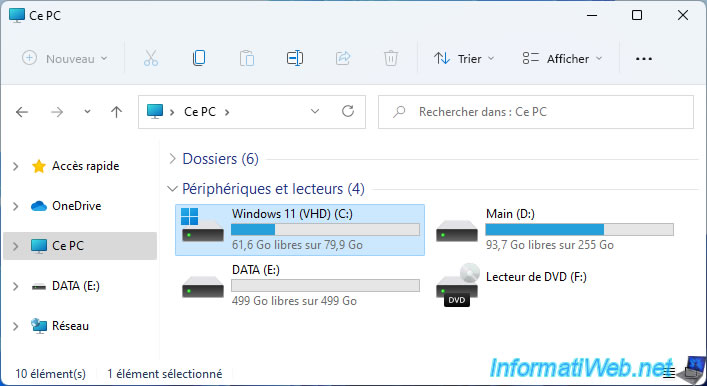
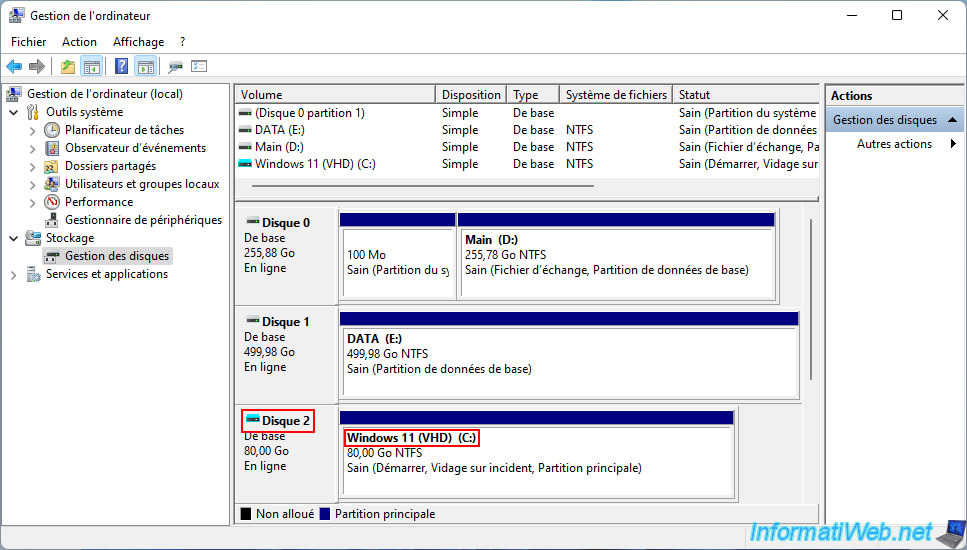
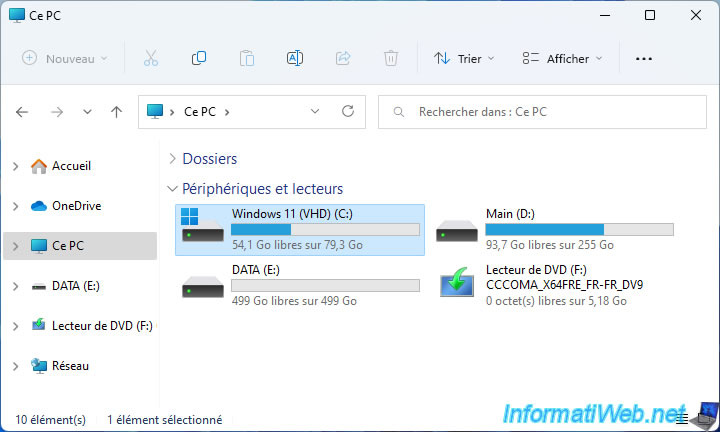
As a reminder, in our case, Windows 11 is installed on a "win11.vhdx" virtual hard disk located in the "Main" partition (which is a partition of the physical hard disk).
But, when you boot into Windows 11, the Windows 11 installation appears with the "Windows 11 (VHD) (C:)" partition.
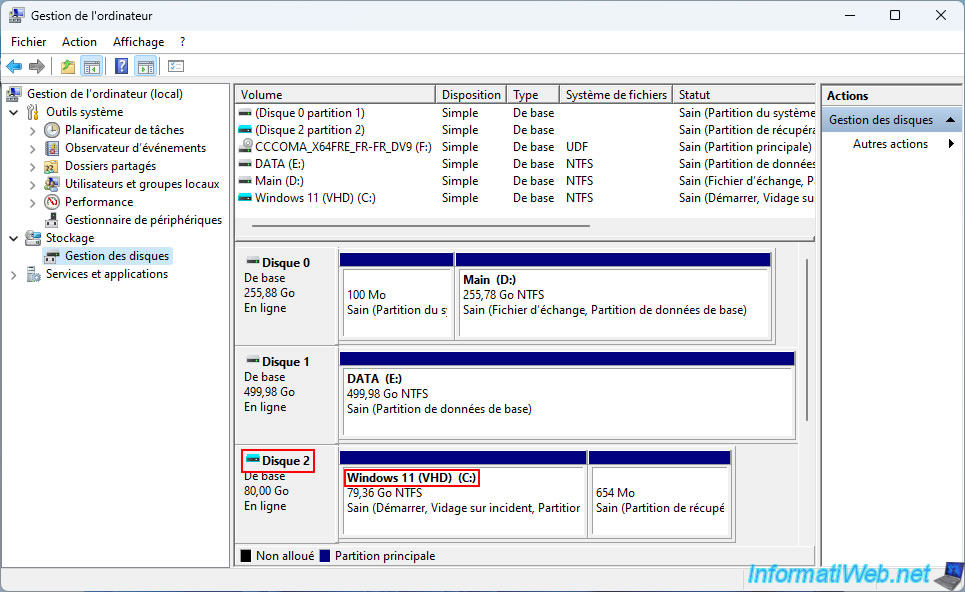
Right click "Manage" on "This PC".
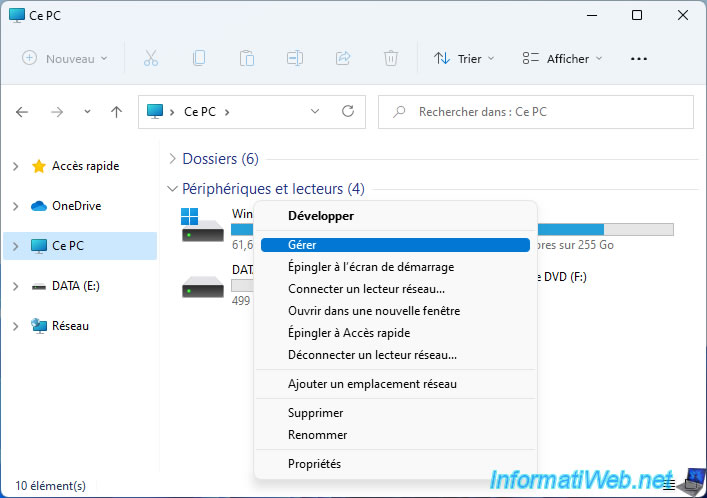
In Windows Disk Management, you will be able to see that Windows 11 is installed on a virtual disk (hence the turquoise blue icon displayed instead of gray).
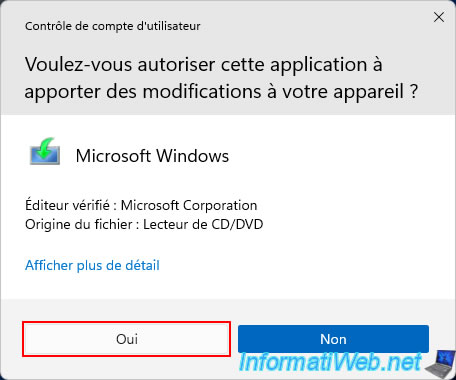
Insert the Windows 11 new version installation DVD and double click on your DVD drive.
Click "Yes" when the "User Account Control" window appears.
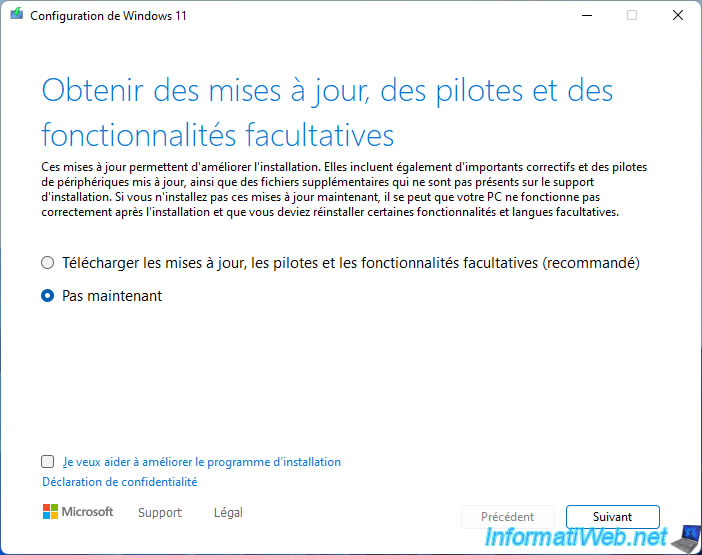
In the "Windows 11 Setup" program that appears, click the "Change how Windows Setup downloads updates" link.
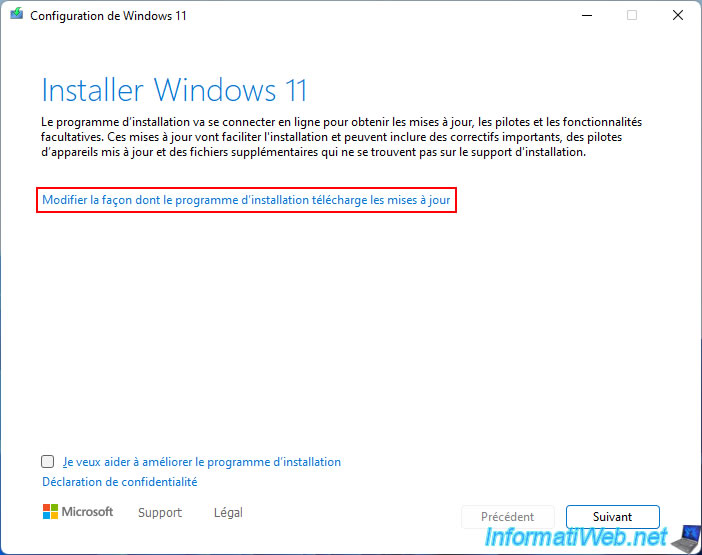
To speed up this tutorial, we have chosen not to download updates when upgrading from Windows 11.
Wait while your PC is checked.

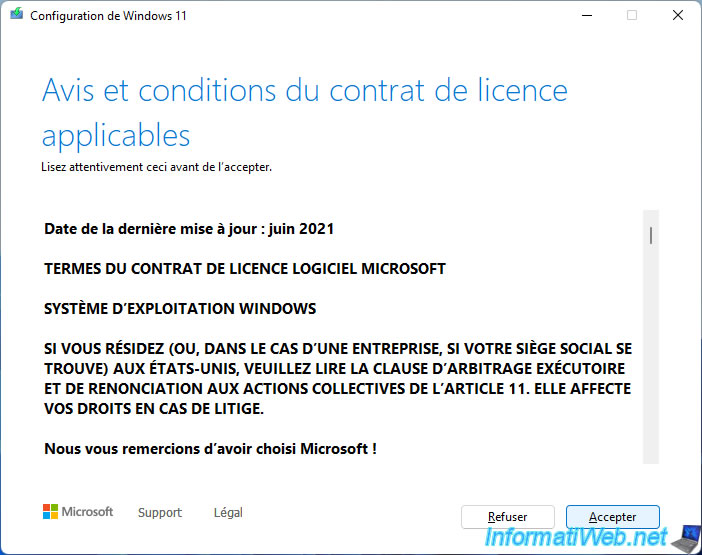
Accept the Windows 11 License Agreement.
A second check is carried out.
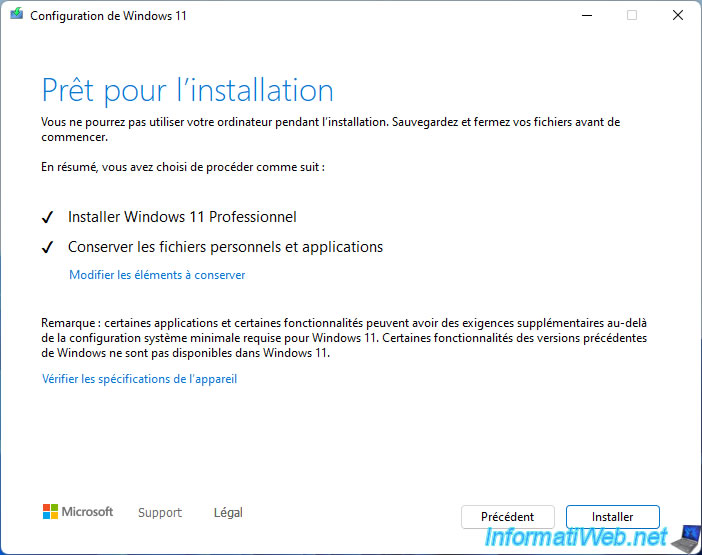
Generally, the wizard will allow you to upgrade Windows 11 (preferably in the same edition) while keeping your personal files and applications.
Although you can change this behavior if you wish by clicking the "Change what to keep" link.
Click Install.
The installation of Windows 11 begins.
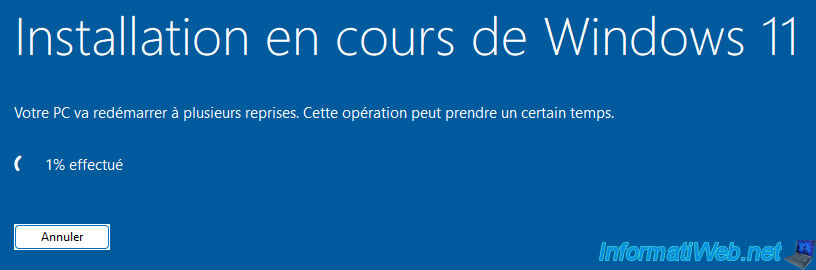
Then, your PC will restart automatically.

During the upgrade, several messages will appear:
- Updates are in progress.
- Installing updates.
- This operation may take a few minutes.

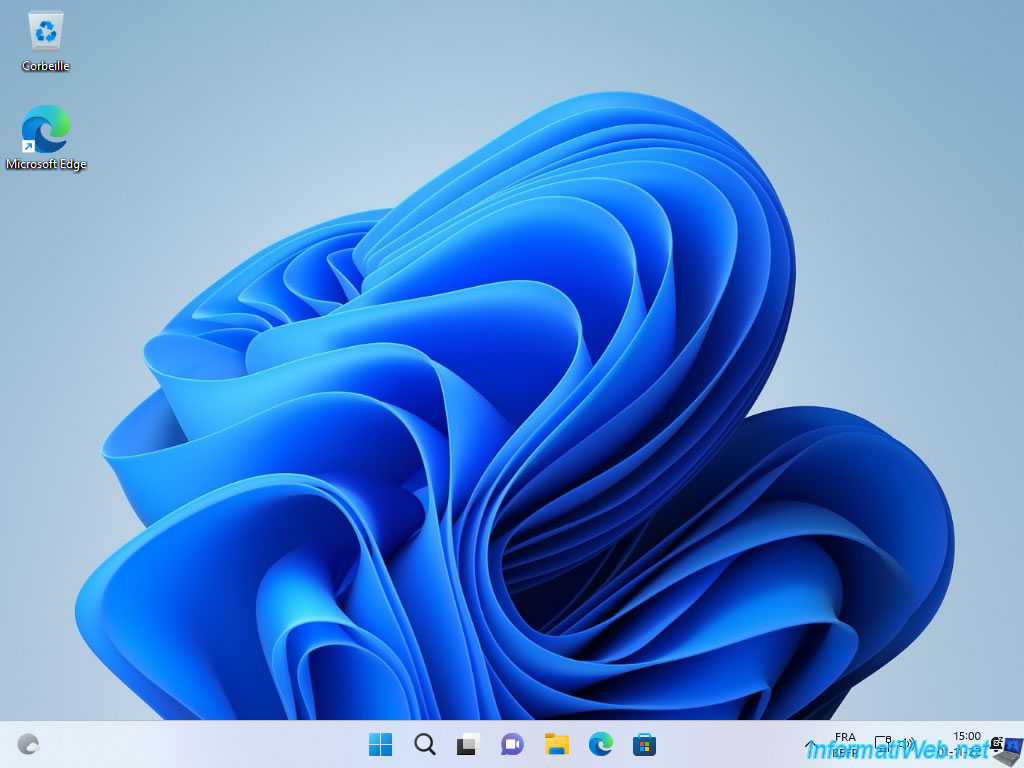
Once the upgrade is complete, you will be back to Windows 11.
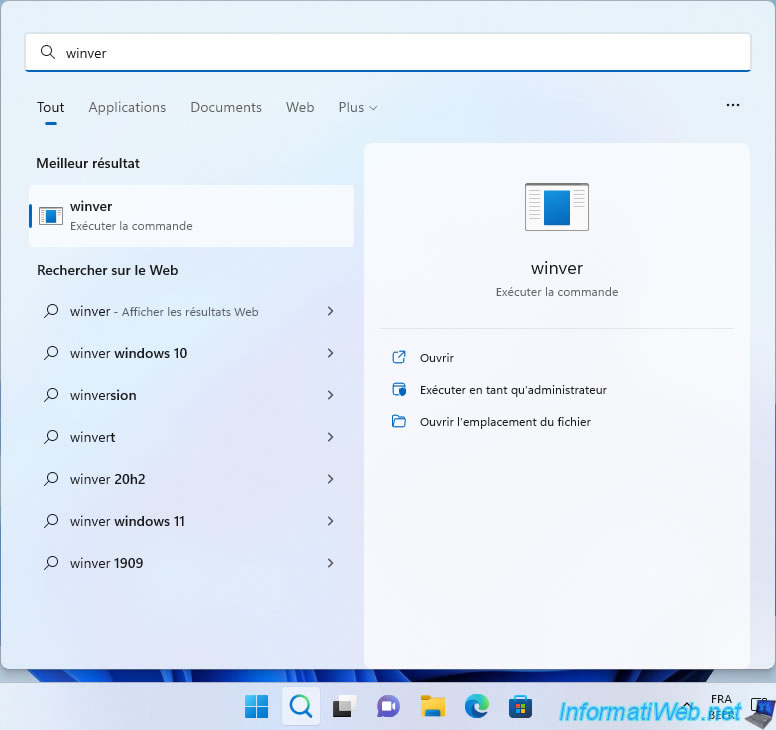
Run the "winver.exe" program again.
In our case, we are now using the new 22H2 version of Windows 11.
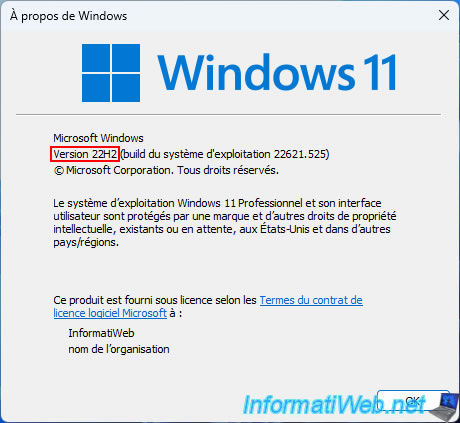
As you can see, it is still the installation of Windows 11 present on a virtual hard disk.
In Disk Management, you can see that Windows 11 still sees it as a virtual disk (hence the turquoise blue icon displayed instead of gray).
Share this tutorial
To see also
-
Windows 1/30/2025
Windows 11 - Disable window snapping suggestions
-

Windows 11/4/2024
Windows 11 - Use a Bluetooth headset
-
Windows 3/17/2025
Windows 11 / 10 / 8.1 / 8 - Expand a simple storage space (software RAID 0)
-
Windows 5/26/2025
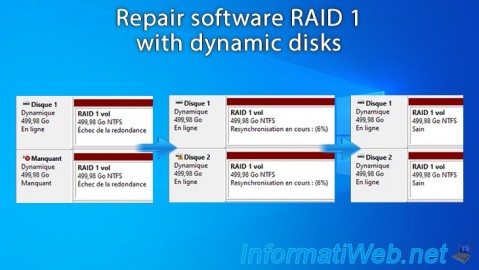
Windows 11 / 10 / 8.1 / 8 / 7 - Repair software RAID 1 with dynamic disks
You must be logged in to post a comment