- Windows
- Windows 8 / 8.1, Windows 10, Windows 11
- 24 March 2025 at 14:31 UTC
-

- 1/2
Since Windows 8, you can create storage spaces with different types of resilience.
In particular, you can create a storage pool and a storage space with a "two-way mirror" resilience.
This makes it easy to create a software RAID 1 with 2 physical disks to protect your data against the loss of a physical disk.
To do this, refer to step "5.1. Create a two-way mirror storage space (RAID 1)" of our tutorial on creating storage spaces on Windows 8 to 11.
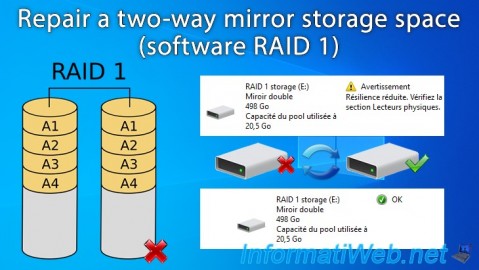
However, in the event of a failure of one of the physical disks used for your "two-way mirror" storage space (software RAID 1), you will have to replace the faulty disk with a new physical disk.
Then, you will have to start repairing the missing disk on the new disk that you have plugged into your computer.
Here is how to rebuild your missing disk for a "two-way mirror" storage space (software RAID 1).
Tutorial made on Windows 10 version 2104 and also tested with Windows 11 v21H2, 8.1 Pro and 8 Pro.
- Create a two-way mirror storage space (software RAID 1)
- Data accessible during physical disk failure
- Add a new physical disk to your two-way mirror storage space (software RAID 1)
- Rebuild missing disk of two-way mirror storage (software RAID 1)
- Remove the faulty physical disk from a two-way mirror storage (software RAID 1)
1. Create a two-way mirror storage space (software RAID 1)
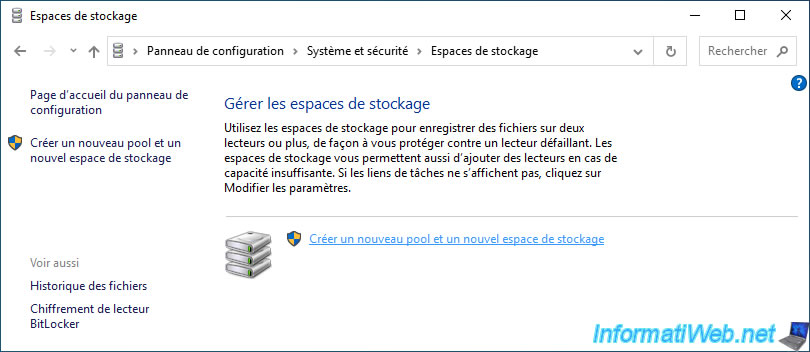
On Windows, to create a "two-way mirror" type storage space (software RAID 1), go to the "System and Security -> Storage Spaces" section of the control panel, then click on the "Create a new pool and a new storage space" link.
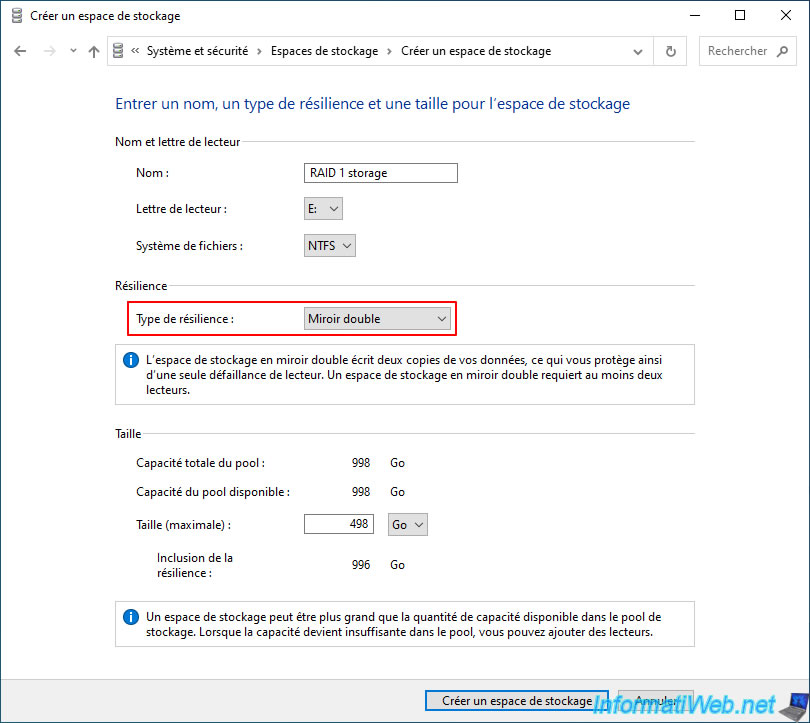
Then, you choose the resilience type "Two-way mirror" for this storage space.
This helps protect your data against the failure (breakdown) of a physical drive (physical disk).
So usually, you would see "OK" status for your "Two-way mirror" storage space and a green square at the top left of your storage pool.
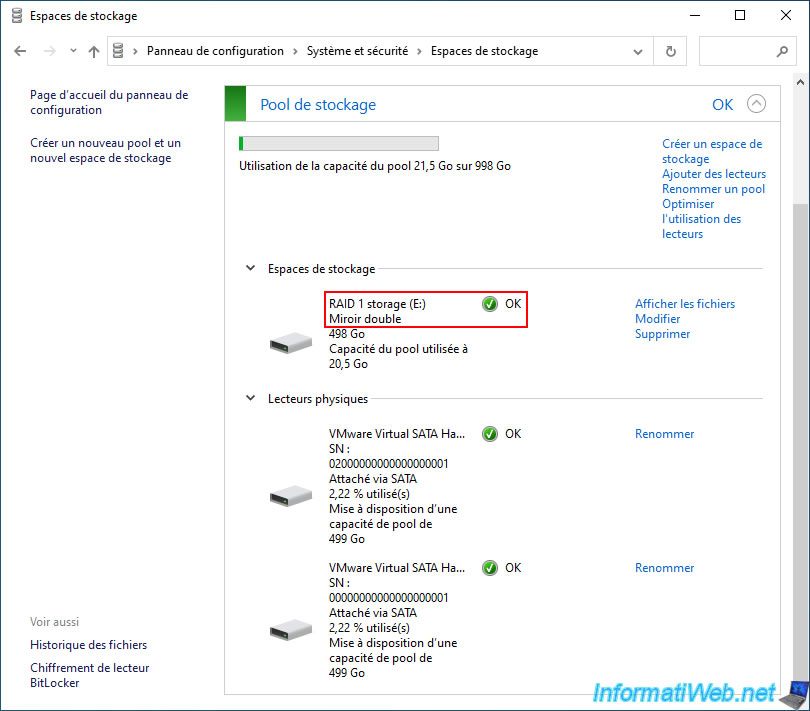
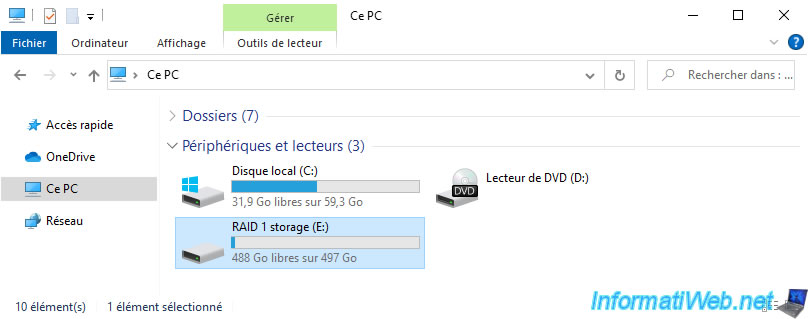
As expected, this is accessible and usable from Windows file explorer.
2. Data accessible during physical disk failure
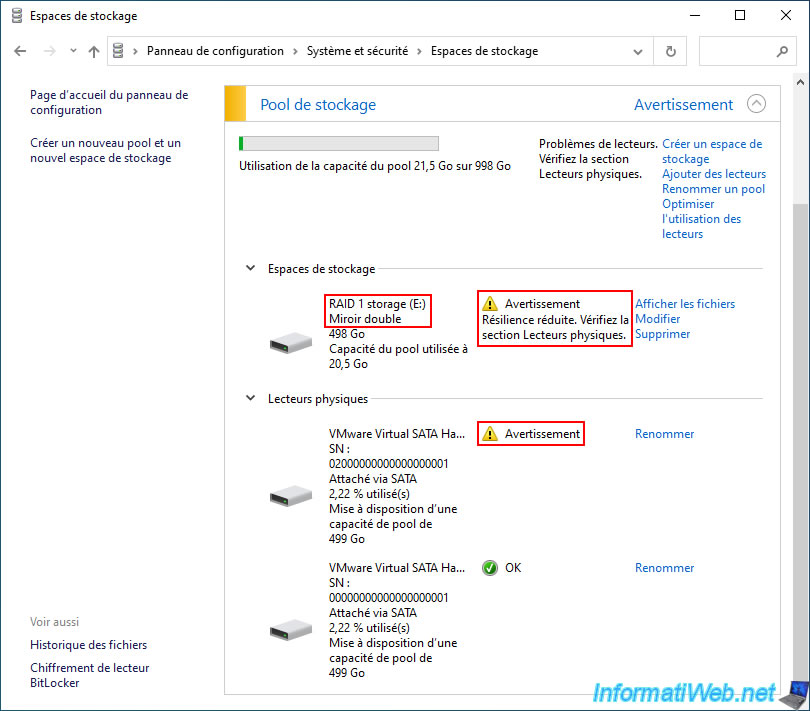
If a single physical disk used by your "two-way mirror" storage space fails, Windows will display a warning for your storage pool, your storage space (e.g. RAID 1 storage) and the physical disk concerned.
As Windows tells you, resilience is reduced.
Indeed, in the case of "two-way mirror" storage, the data remains available thanks to the other disk whose status is currently "OK".
Indeed, in the case of a software RAID 1, the same data is stored on all the disks used for this storage pool.
Warning : if the other physical disk also fails, then you will lose all your data.
Hence the importance of replacing the faulty disk as quickly as possible to avoid getting to that point.
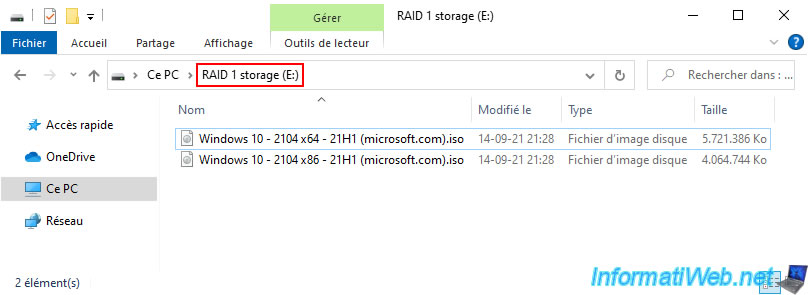
As expected, your "RAID 1 storage" still appears in file explorer at the moment.
The files are still there.
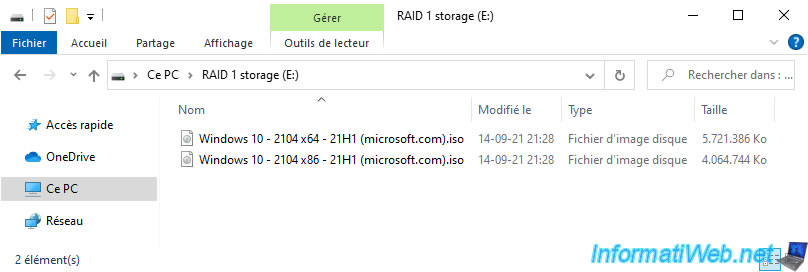
Given the type of storage space used, you will still be able to use this data or copy it elsewhere if you wish.
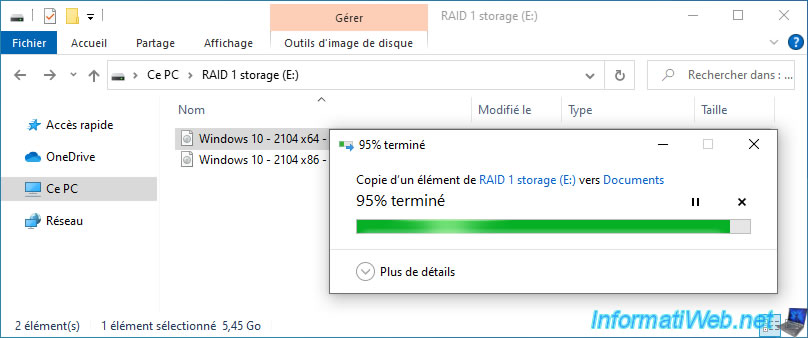
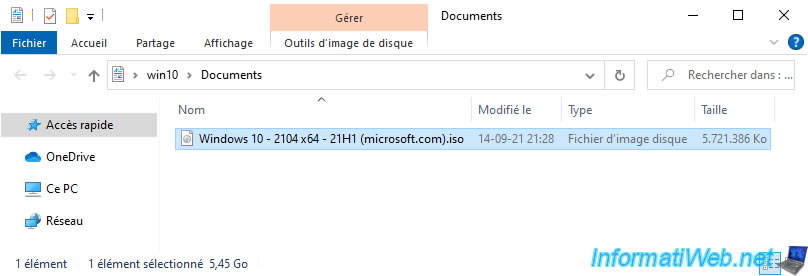
As expected, the file was copied to another location without any issues, despite the failure of a physical disk for this "RAID 1 storage" storage space.
3. Add a new physical disk to your two-way mirror storage space (software RAID 1)
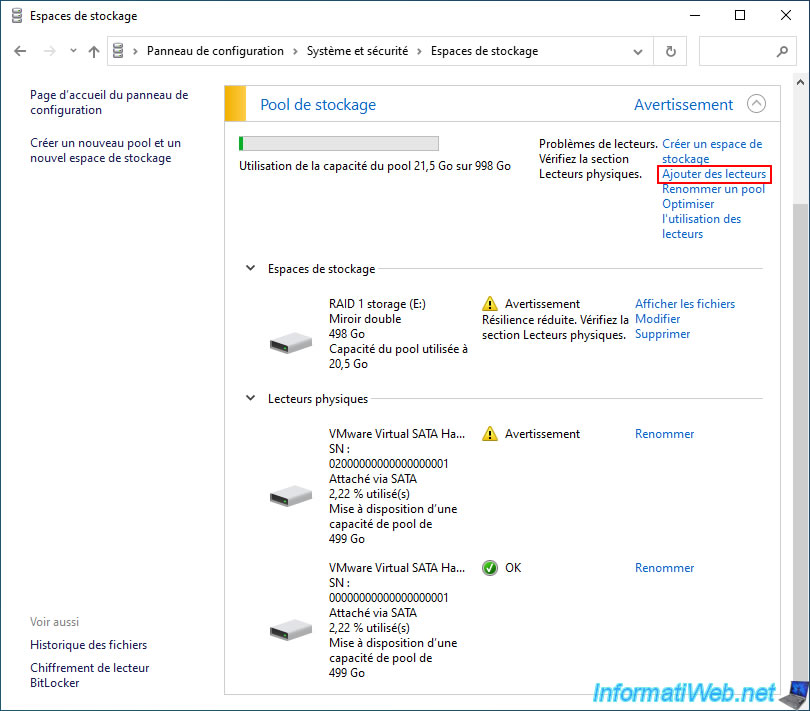
To rebuild the missing drive for your "two-way mirror" (software RAID 1) storage space, unplug the failed physical drive and plug in a new blank drive in its place.
Then, turn your computer back on and click the "Add drives" link (outlined in red in the image below) located at the top of the "Storage pool" section.
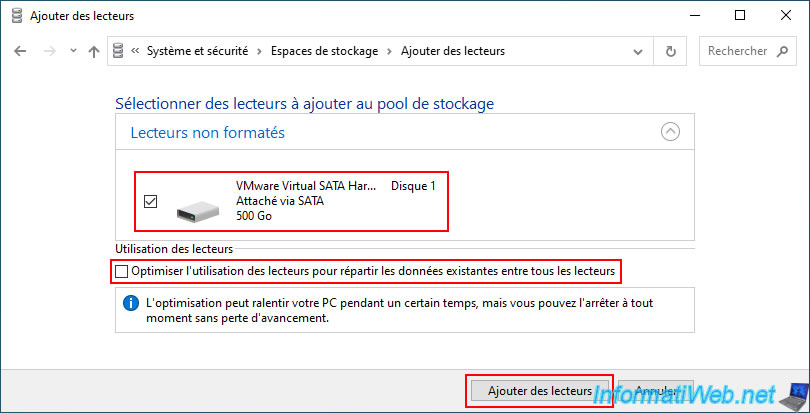
In the "Select drives to add to the storage pool" step:
- select the blank disk you just added in your case
- uncheck the "Optimize drive usage..." box, because it has no purpose in this case. Except to slow down the repair of your storage space.
- click on the "Add drives" button.
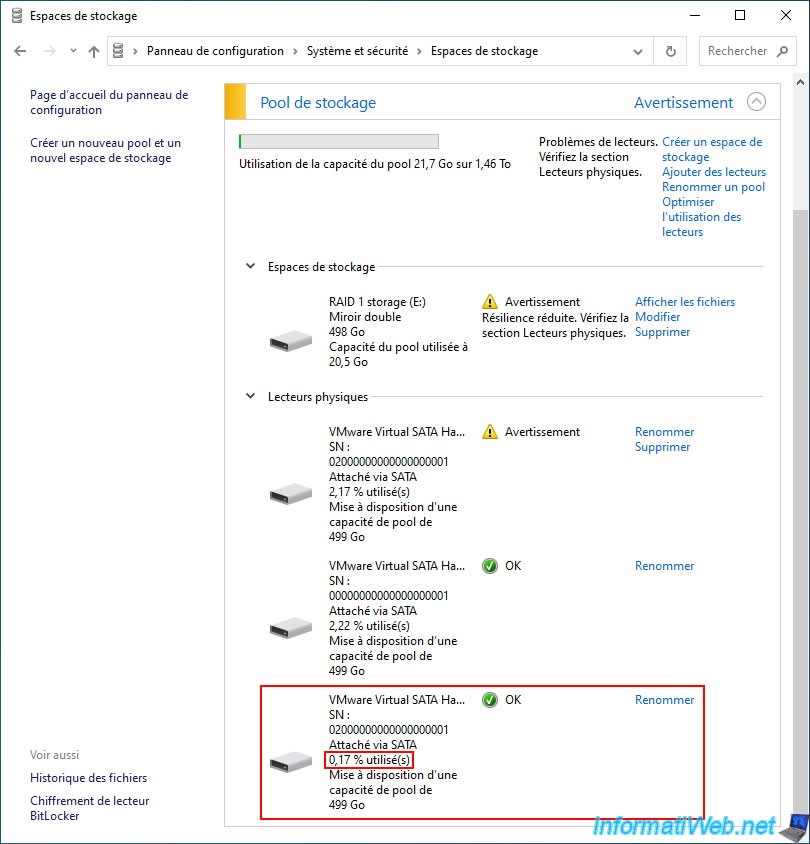
Your new physical disk appears in the list of physical drives in your storage pool, but your storage space remains in "Warning" status.
If you look at the used space on the physical disks displayed here, you will quickly find the one you just added.
In our case, it is the last physical disk in the list with only 0.17% used.
Share this tutorial
To see also
-
Windows 12/17/2012
Clean Windows safely
-
Windows 2/6/2025
Windows 10 - Change file explorer shortcuts
-
Windows 4/14/2025
Windows 11 / 10 / 8.1 / 8 - Upgrade a storage space (software RAID)
-
Windows 5/26/2025
Windows 11 / 10 / 8.1 / 8 / 7 - Repair software RAID 1 with dynamic disks
You must be logged in to post a comment