Clone a VirtualBox 7.0 / 6.0 / 5.2 virtual machine (VM)
- Virtualization
- 25 August 2018 at 11:01 UTC
-

- 2/2
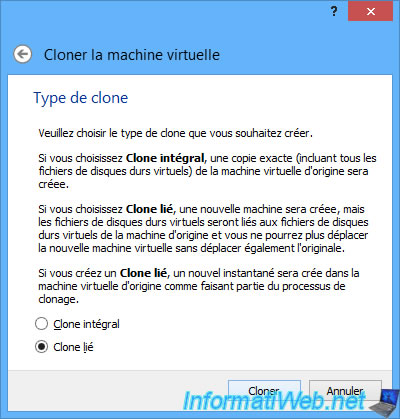
2. Linked clone
To save disk space on your host PC, it's also possible to create linked clones.
That is, the new virtual machine will be based on the original one.
As before, it's recommended to check the "Reinitialize the MAC address of all network cards" box to avoid network problems if you want to use your 2 virtual machines simultaneously.
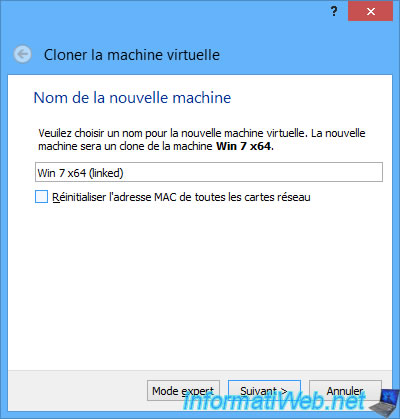
This time, we will select : Linked clone.
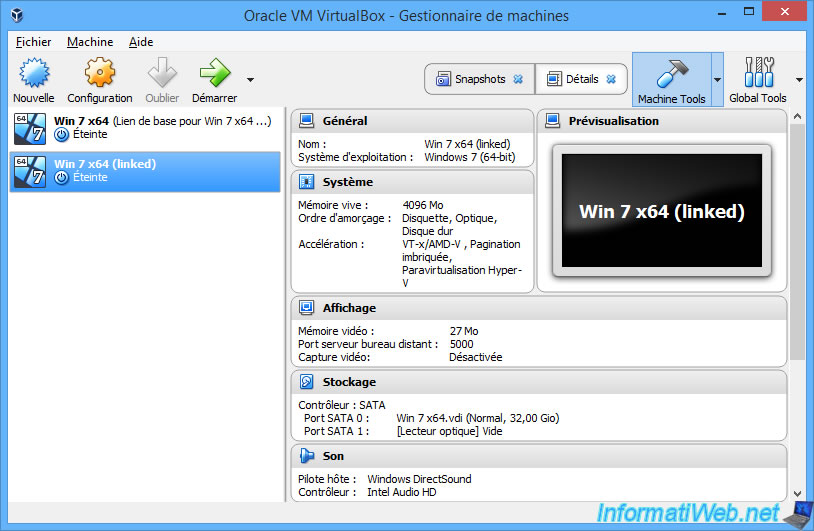
Almost instantly, you will have a 2nd virtual machine that will appear in VirtualBox.
To better understand how linked clones work, we looked at which folders and files were created by VirtualBox.
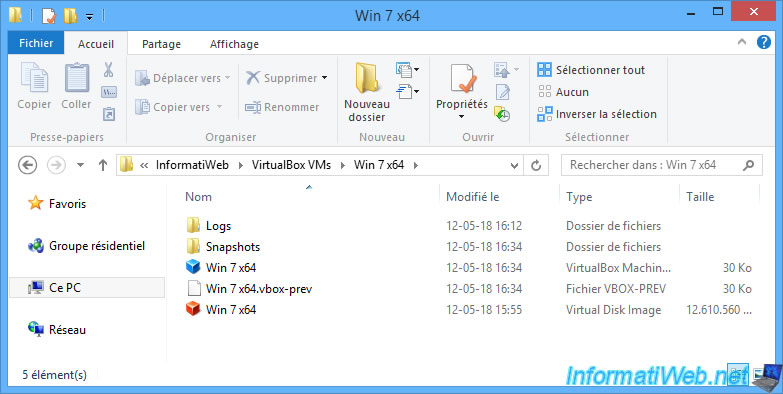
As you can see, we have 1 folder per virtual machine.
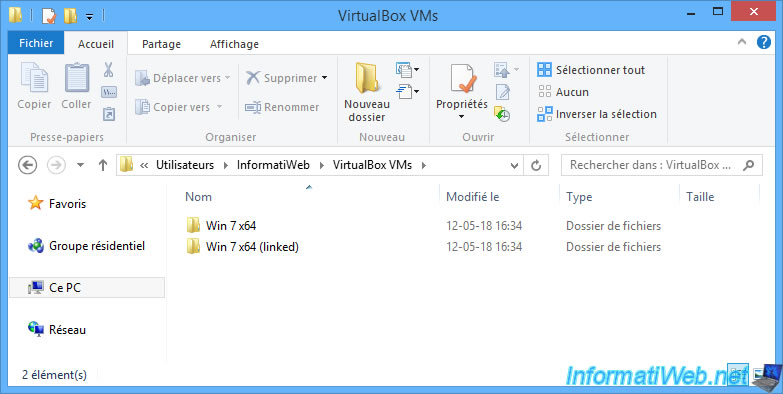
The folder of the original VM contains :
- a configuration file : Win 7 x64.vbox
- a virtual hard disk : Win 7 x64.vdi
- a "Snapshots" folder
- and more
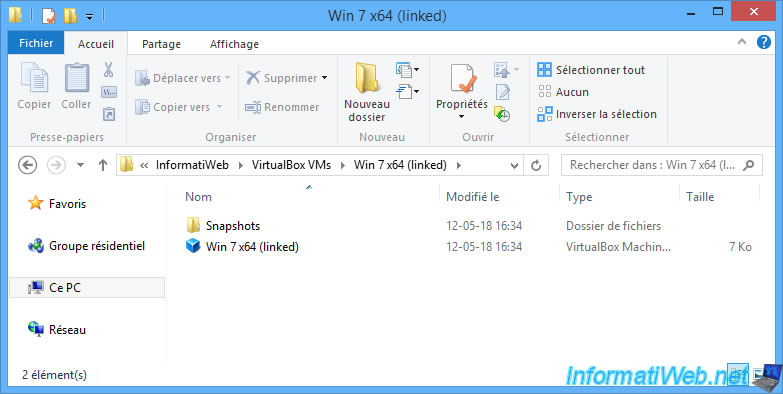
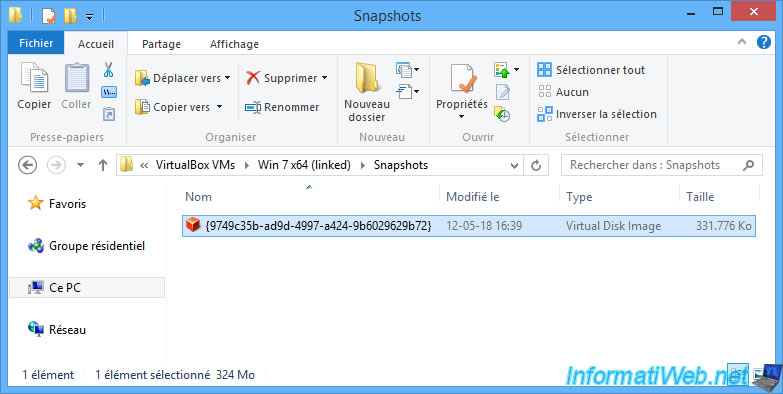
For the virtual machine created with the "Linked clone" option, you will see that there is only :
- a configuration file : which allows VirtualBox to know how much RAM must be allocated to this virtual machine, ...
- a "Snapshots" folder
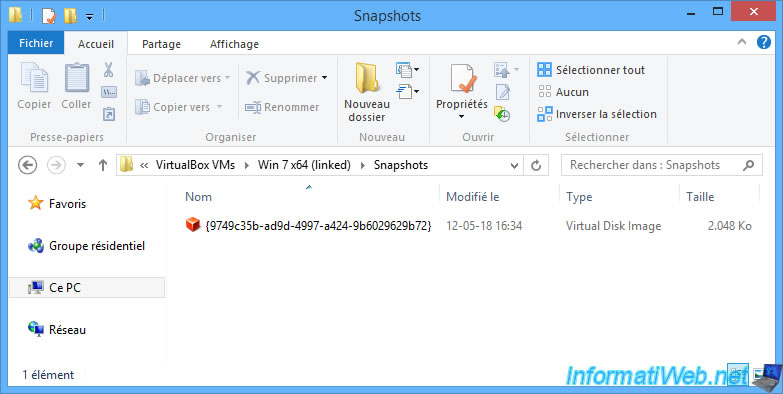
In the "Snapshots" folder of the linked clone, you will find a virtual hard disk of at least 2 MB.
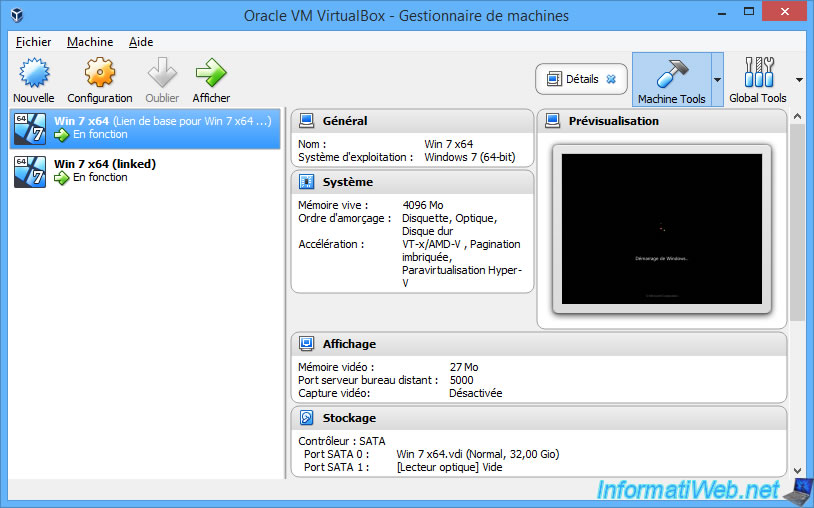
As you can see, although the linked clone doesn't seem to have a virtual hard drive, we can still start our 2 virtual machines at the same time.
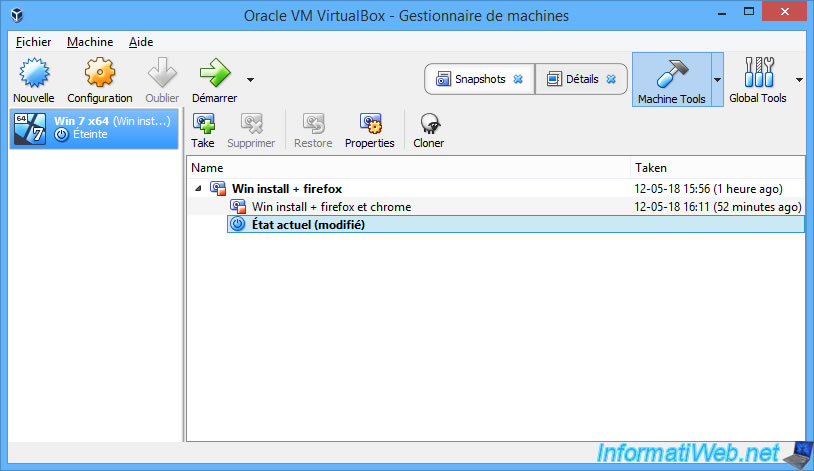
As you can see in the snapshots of the original virtual machine, VirtualBox created a "Linked Base for Win 7 x64 and Win 7 x64 (linked)" snapshot.
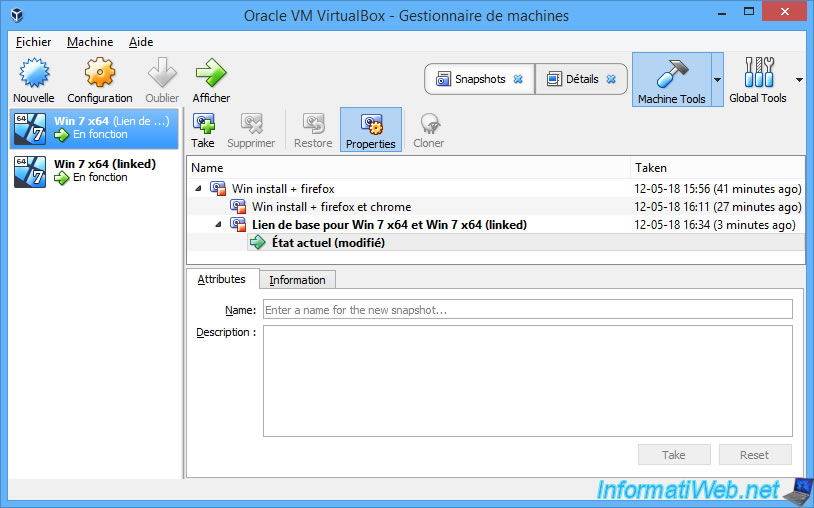
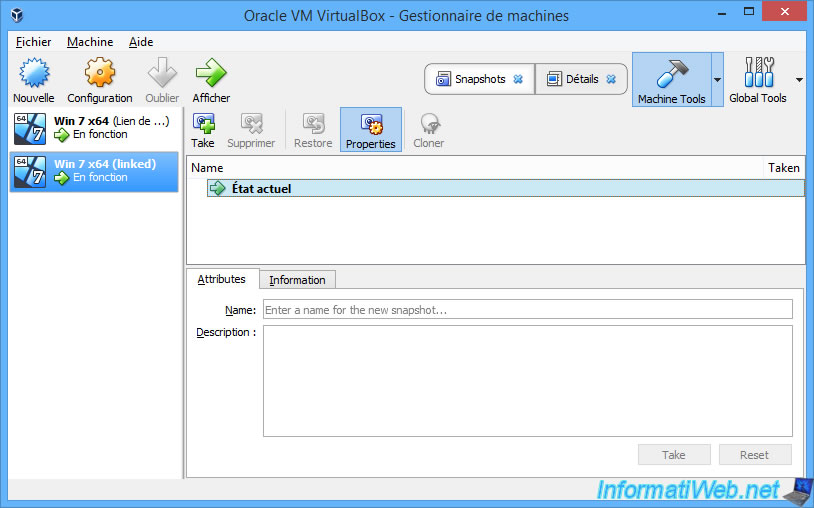
For the linked clone, there is no snapshot for the moment.
We are simply at the current state of this virtual machine.
To better understand where this virtual machine's data is, you can go to the "Storage" section of the linked clone.
As you can see, your linked clone uses a differentiation storage, whose virtual hard disk is that of the base machine.
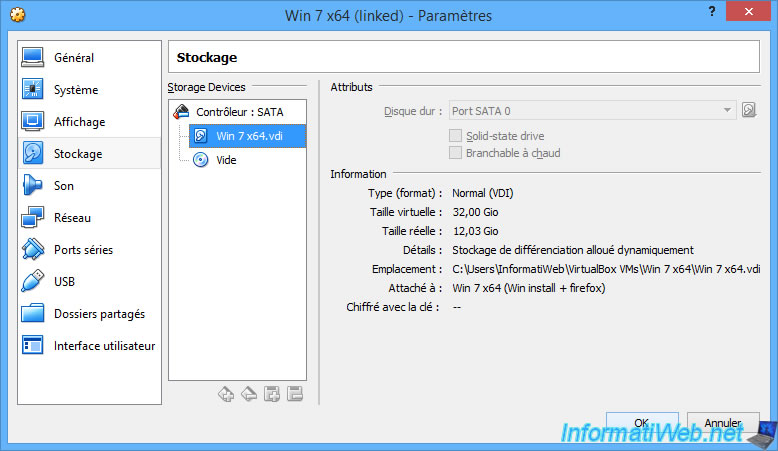
But in reality, your linked clone doesn't just use the virtual hard disk of your original virtual machine.
Indeed, the linked clone is based on 2 virtual hard disks :
- that of your base virtual machine : because it contains, among other things, the operating system installed in the original virtual machine
- a special virtual hard disk (stored in the folder of your linked clone) that contains only the differences (compared to the base one) and thus the new data stored in the new virtual machine (the linked clone)
While this may be interesting, it also means that the linked clone will not work without the original virtual machine.
Which means that :
- if the virtual hard disk of the original VM is damaged or deleted, both virtual machines will not be able to start
- if you want to transfer your virtual machine to another computer, you will have to copy the 2 folders (that of the original virtual machine + the one of the linked clone)
To delete a linked clone, you can right-click "Delete" on it.
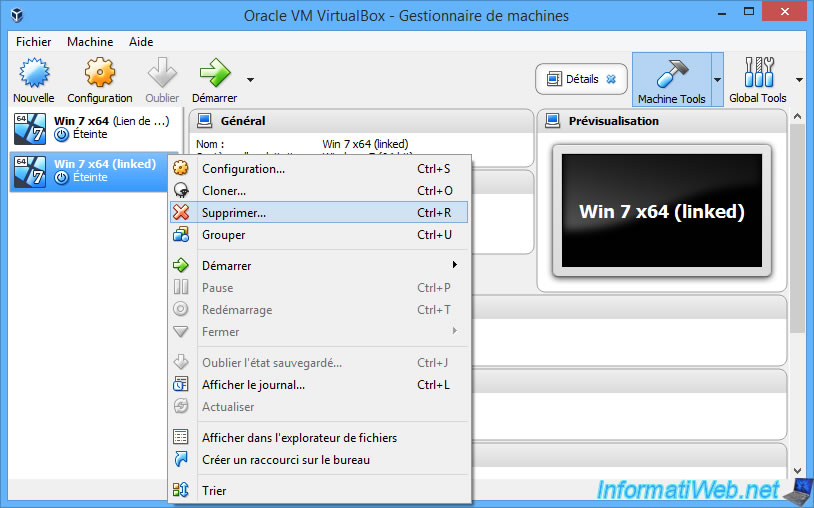
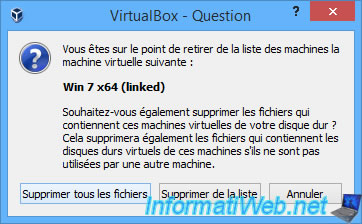
If the original virtual machine still exists, you can click "Delete all files" to delete the linked clone.
Indeed, as indicated by VirtualBox, the virtual hard disks used by this virtual machine will be deleted only if they are not used by another virtual machine.
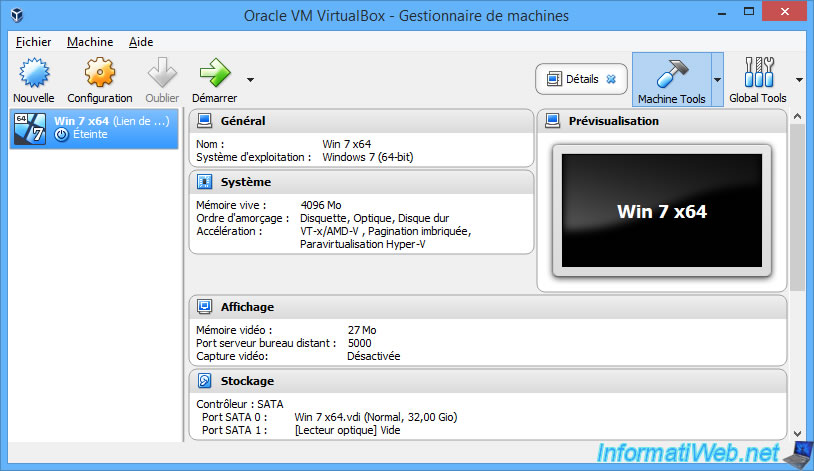
Now, only the original virtual machine remains.
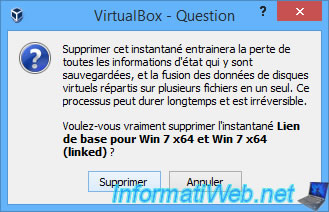
To recover a little space on your physical hard disk, you can delete the snapshot "Linked Base ..." if you wish.
VirtualBox will delete only the data that has become useless without changing the current state of your original virtual machine.
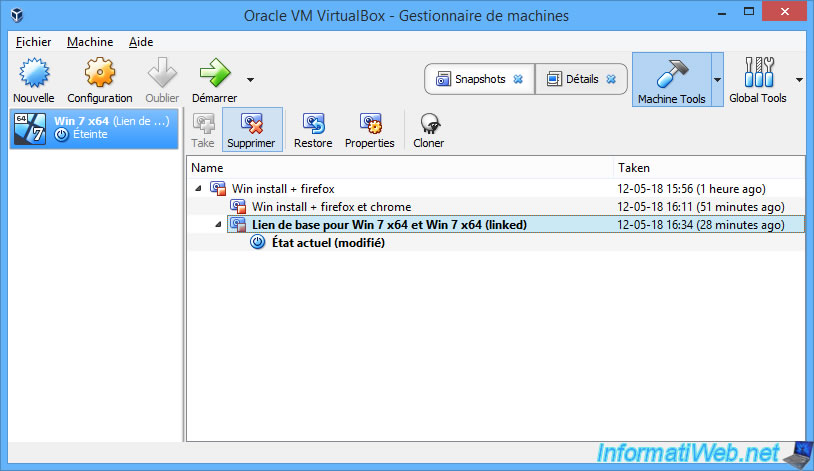
Confirm the deletion of this snapshot.
Now, there is no trace left of the linked clone in VirtualBox and on the hard disk of your host PC.
Share this tutorial
To see also
-

Virtualization 8/30/2019
Hyper-V - Coexistence with VirtualBox or VMware Workstation
-
Virtualization 7/22/2018
VirtualBox - Configure settings of your VMs
-

Virtualization 11/6/2020
VirtualBox - Connect an USB key to a VM
-
Virtualization 8/18/2018
VirtualBox - Create snapshots of a virtual machine
No comment