How to use and configure the different network access modes of a VirtualBox 7.0 / 6.0 / 5.2 virtual machine
- Virtualization
- 15 September 2018 at 15:26 UTC
-

- 2/2
4. Internal Network
As the name suggests, this network access mode allows you to create an internal network to interconnect your virtual machines with each other.
This also means that your virtual machines will not have access to the Internet and they will not receive an IP address either, because there is no DHCP server for this type of network.
To summarize, this is to connect your virtual machines on a simple switch (a kind of multi-plugs, but for network cables). There is no gateway (and therefore no Internet) and no distribution of IP address (because there is no DHCP server in the switches).
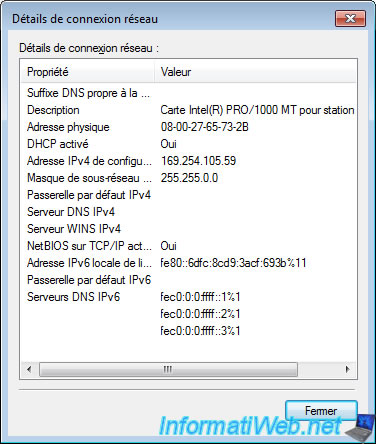
As said before, when you choose this type of network, your virtual machine will not receive any IP address.
Windows will automatically assign an APIPA IP address.
In other words, because your virtual machine has not received an IP address and you have not set a static IP address for it, Windows will assign it a random IP address of the type : 169.254.x.x.
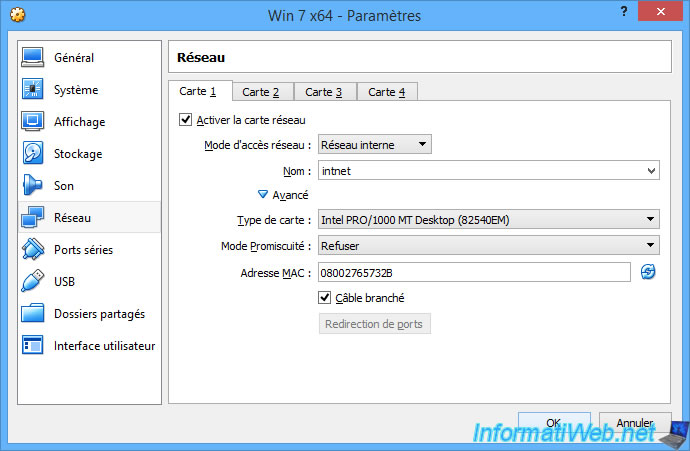
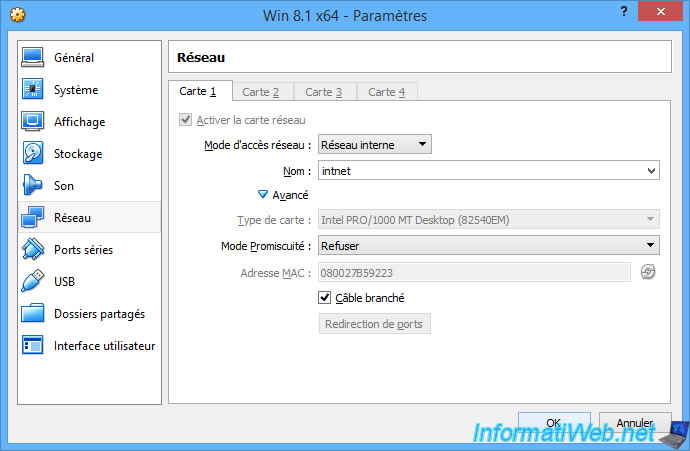
To explain how to use this type of network, we created a second virtual machine and we also connected it on the same internal network : intnet.
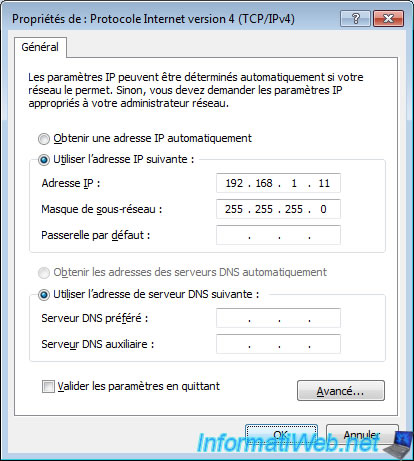
To allow 2 machines to communicate together, they must have an IP address in the same class of IP addresses.
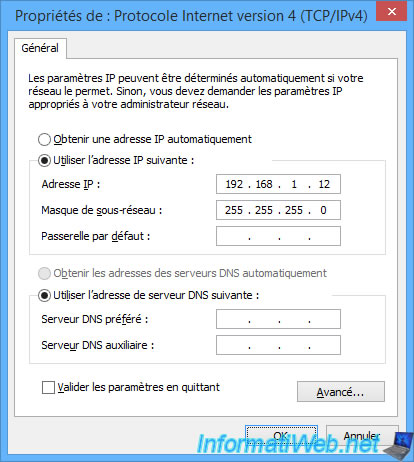
In our case, we will assign :
- the "192.168.1.11" IP address to our 1st VM
- the "192.168.1.12" IP address to our 2nd VM
- the "255.255.255.0" subnet mask for our 2 VMs
In this case, these will be class C IP addresses.
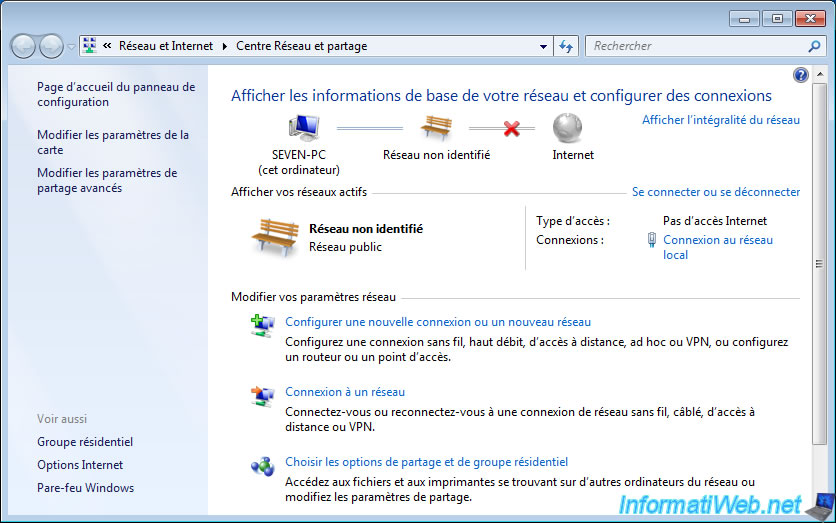
By default, since there is no gateway defined on the network adapters of our virtual machines, Windows might choose "Public Network" by default because of "Unidentified Network".
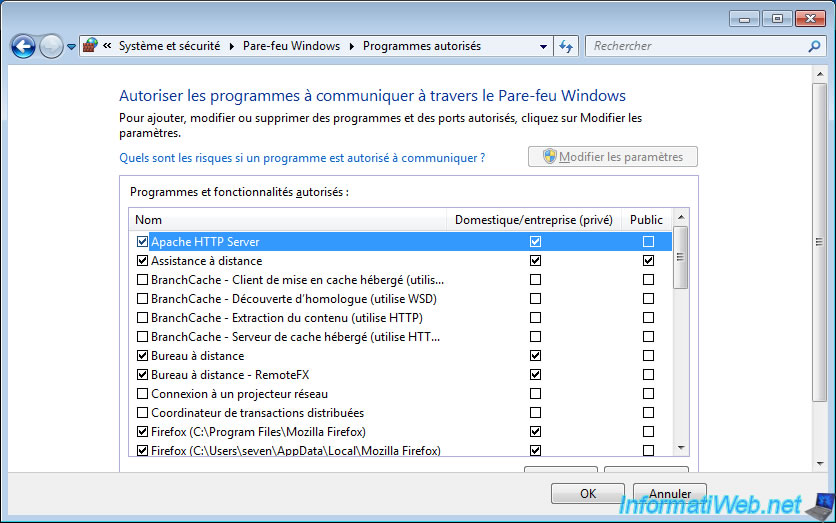
The problem is that by default, we had authorized the web server for networks of type : Home/Word (Private).
In order for your web server to be accessible from the 2nd VM, you will need to :
- allow the web server for public networks
- or better : change the type of network detected by Windows
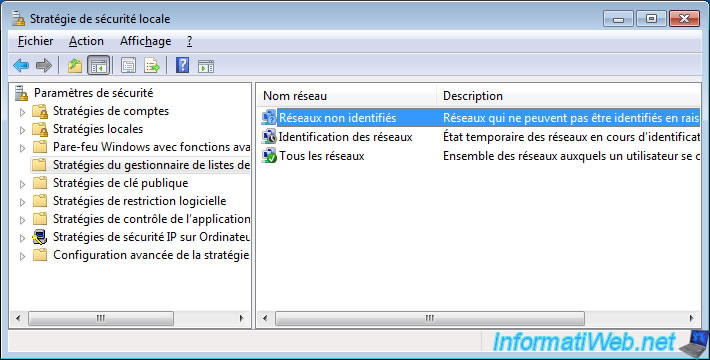
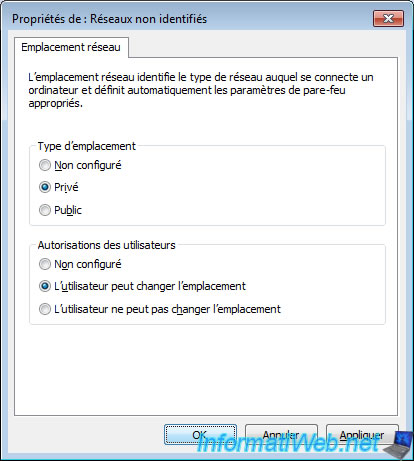
To change the network type to private, open the "Local Security Policy" program.

Go to "Network List Manager Policies" and double-click on : Unidentified Networks.
Select :
- Network type : Private
- User permissions : User can change location
Then, click OK and close the "Local Security Settings" program.
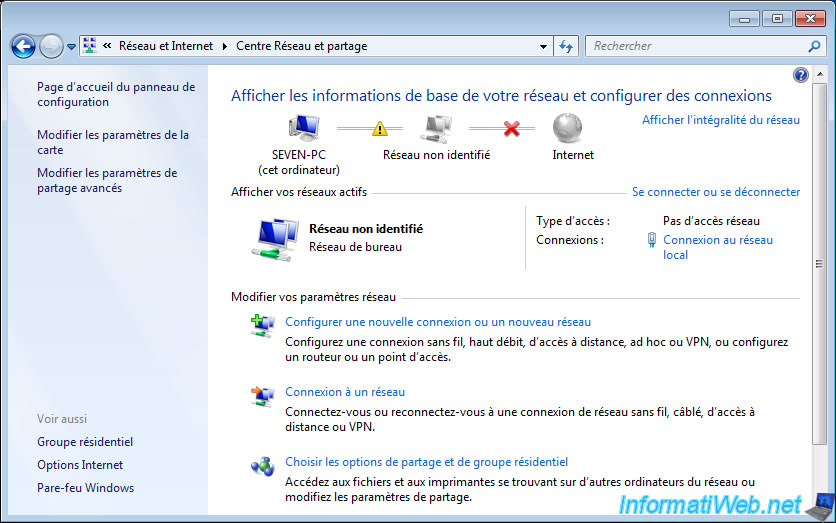
Then, disable the network adapter for your virtual machine, and then re-enable it.

Now, Windows will identify by default your unidentified network as : Work Network.
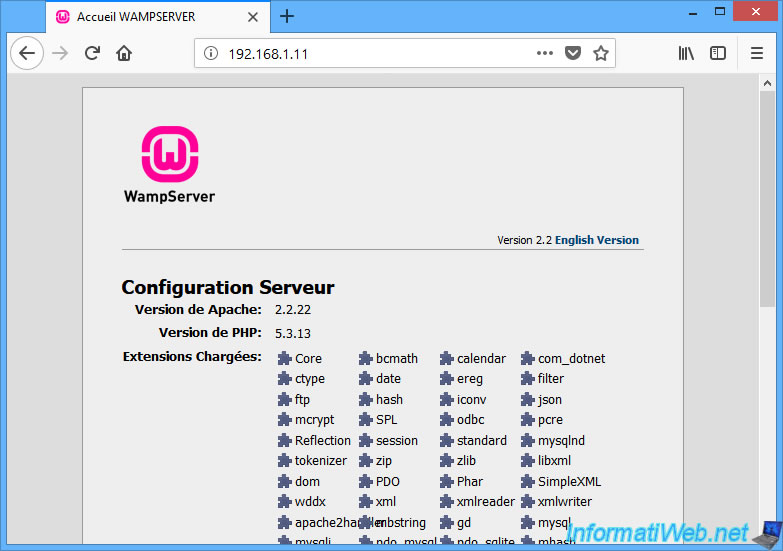
This will allow remote access to the web server installed in your virtual machine.
Now we have access to the web server of our 1st virtual machine from our 2nd virtual machine.
5. Host-only Adapter
The "Host-only Adapter" network access mode is used to create a network between the virtual machine and the host machine.
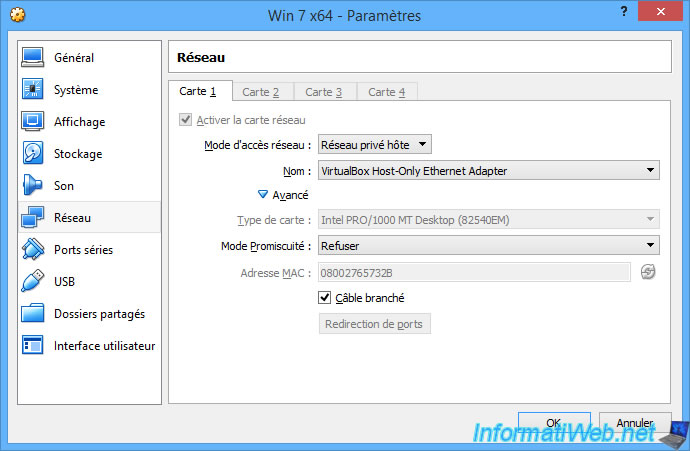
This means that your virtual machine will only communicate with the host machine and will not have access to the Internet.
Moreover, it's impossible to access the Internet without knowing the gateway.
Note : without a DNS server, it's impossible to know the IP address corresponding to a domain name like : google.com.
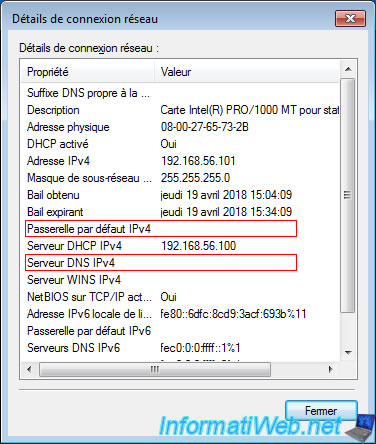
To change the settings of the "Host-only Adapter" mode, simply access the properties of the "VirtualBox Host-Only Ethernet Adapter" network adapter.
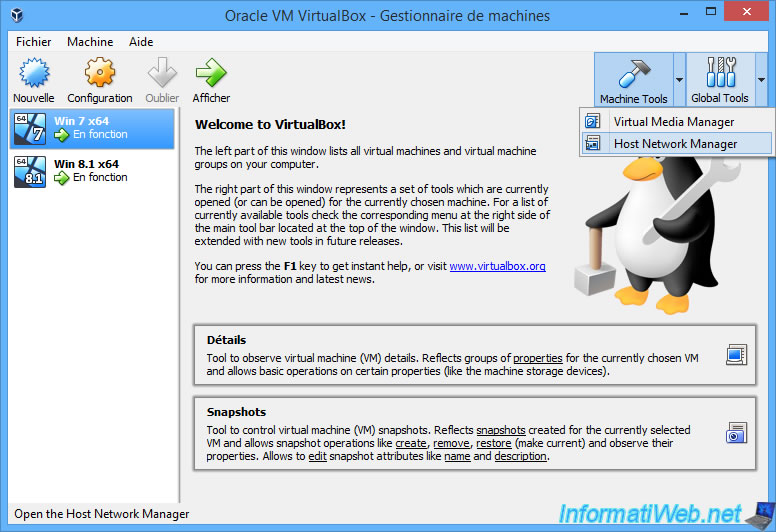
For this, in VirtualBox, click : Global Tools -> Host Network Manager.
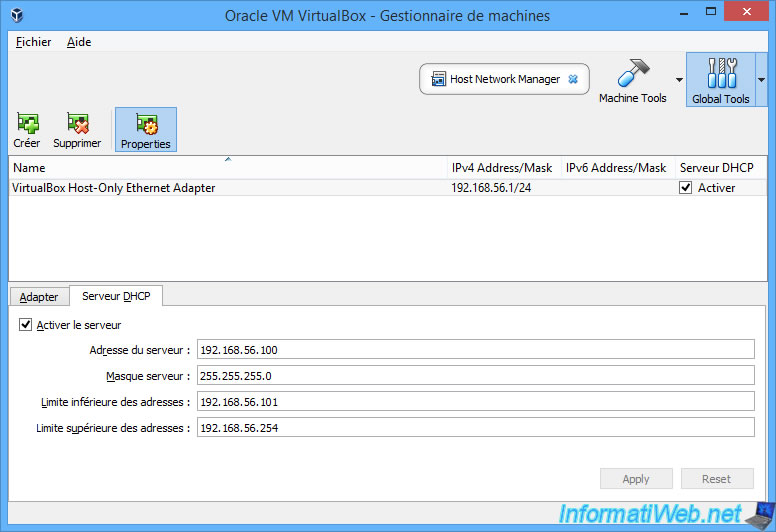
Then, select the "VirtualBox Host-Only Ethernet Adapter" network adapter and click on the "Properties" icon.
In the "DHCP Server" tab, you can change the range of IP addresses to be distributed if you wish.
As expected, the virtual machine doesn't have access to the Internet through this network access mode.
Indeed, it can only speak with the host machine (your physical PC).

6. Generic driver
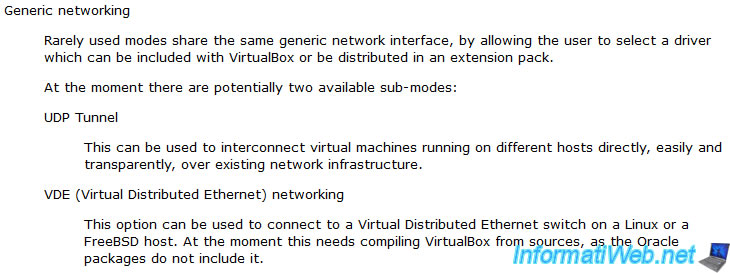
Finally, there is a last network access mode named : Generic Drivers.
Nevertheless, it's reserved for experts and/or developers.
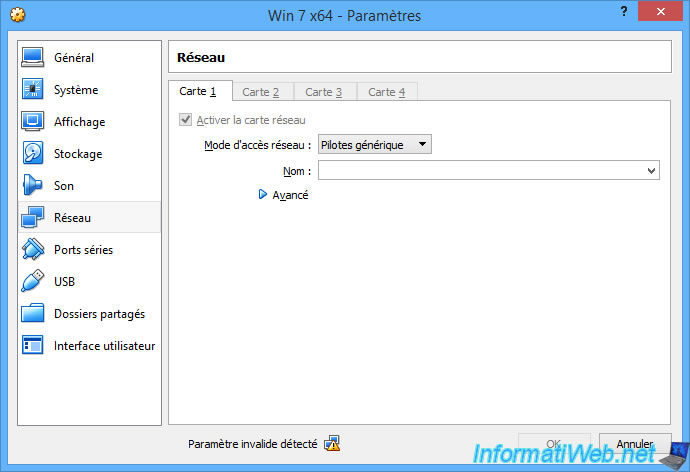
Indeed, thanks to this mode of network access, you will be able to :
- create an UDP tunnel to interconnect your virtual machines to each other.
- connect your virtual machine to a VDE (Virtual Distributed Ethernet) switch network running under Linux or FreeBSD.
However, as stated in the VirtualBox manual, VDE support is not included by default in the binary (exe) files provided by Oracle.
To be able to use it, you will have to recompile VirtualBox from the sources.
7. Cloud Network
Since version 6.1 of VirtualBox, you have the possibility of using a new type of network called "Cloud Network".
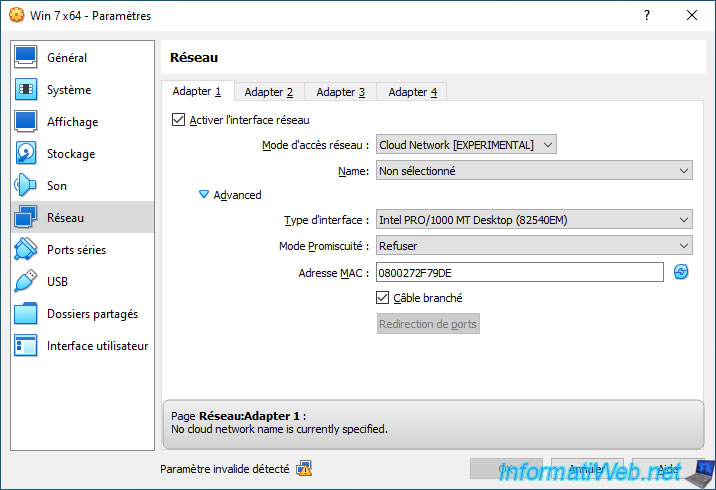
This new type of network is used to connect a local virtual machine to a subnet of a remote Oracle Cloud Infrastructure instance.
If you select this network access mode, you will see that an error will appear by default, because no Cloud network is selected or present by default.
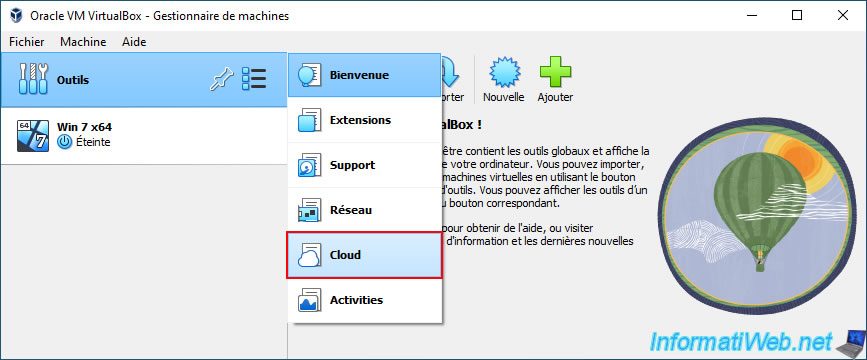
To learn more about this Cloud feature, go to : Tools -> Cloud.
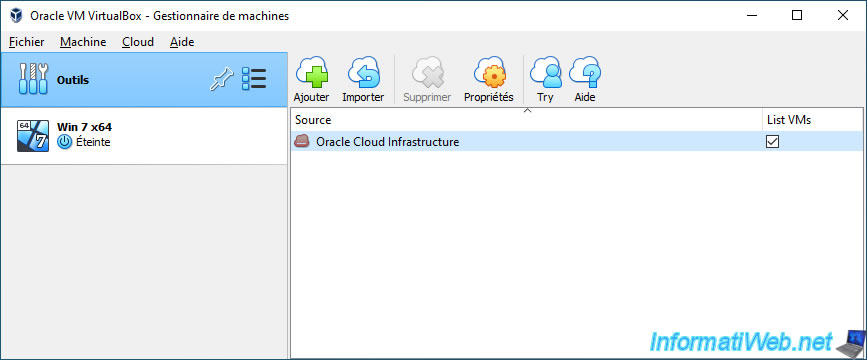
In this "Cloud" section, you will see a default source called "Oracle Cloud Infrastructure".
Then, go to : Tools -> Network.
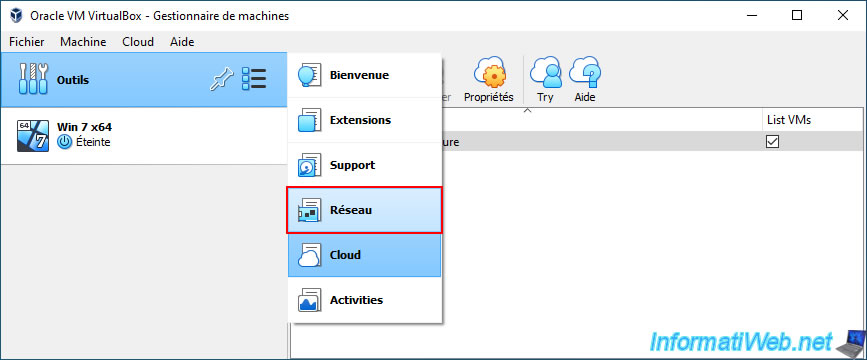
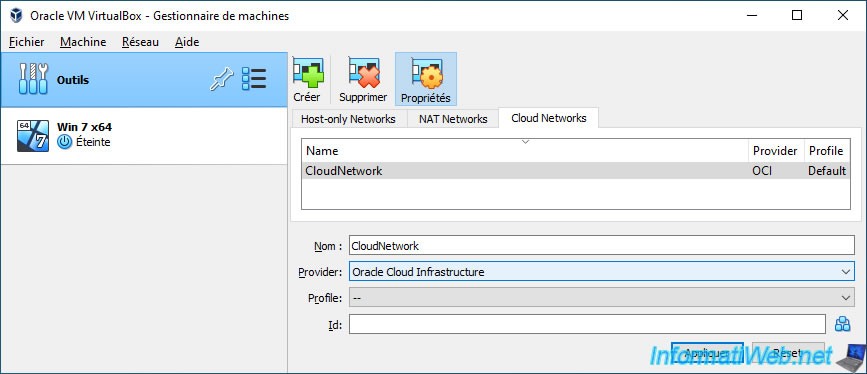
As you can see, a new "Cloud Networks" tab has appeared.
In this tab, you will be able to create new cloud networks provided by Oracle Cloud Infrastructure.
Note that this feature obviously requires an account for access to Oracle Cloud Infrastructure services.
Share this tutorial
To see also
-
Virtualization 8/30/2019
Hyper-V - Coexistence with VirtualBox or VMware Workstation
-

Virtualization 8/25/2018
VirtualBox - Clone a virtual machine (VM)
-

Virtualization 7/22/2018
VirtualBox - Configure settings of your VMs
-

Virtualization 11/6/2020
VirtualBox - Connect an USB key to a VM
No comment