- Virtualization
- 13 November 2020 at 19:21 UTC
-


Thanks to VirtualBox, you can very easily record the screen of your virtual machine and thus quickly make video tutorials without having to use external programs, such as OBS, Camtasia, ...
One of the advantages of the video capture provided by VirtualBox is that it can also record the screen during the reboot of a virtual machine (therefore outside of Windows).
- Configure and activate the automatic video capture
- Manually enable and disable video capture
- Edit a video recorded with VirtualBox
1. Configure and activate the automatic video capture
To configure video capture of a virtual machine, select it and click Configuration.
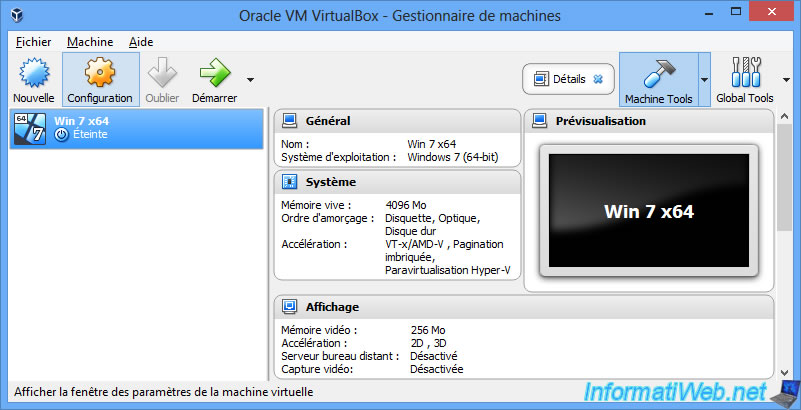
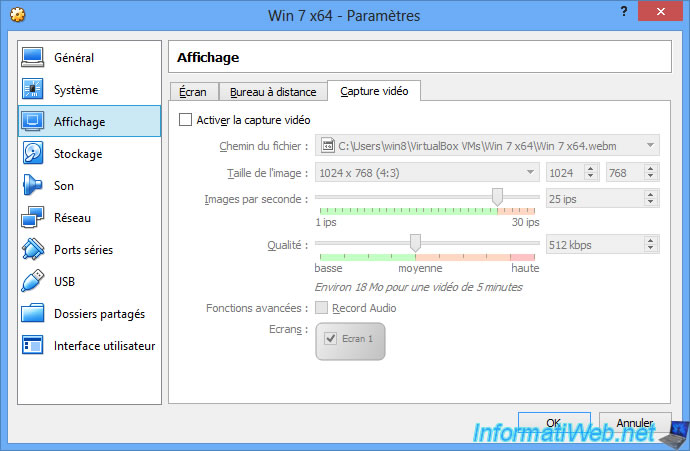
Then, go to : View -> Video Capture.
As you can see, VirtualBox allows you to choose :
- the name of the destination video file (in webm format only)
- the video resolution (among the preset ones or a custom resolution) : for example : 1024x768 (4:3), 1280x720 (16:9), ...
- the number of frames per second : the more frames per second, the smoother the video will be. But the more there are, the faster the video size will increase.
- video quality (image / audio)
- whether or not you also want to record the audio by checking or not the "Record Audio" box
- which screen of the virtual machine you want to record : by default, there is only one
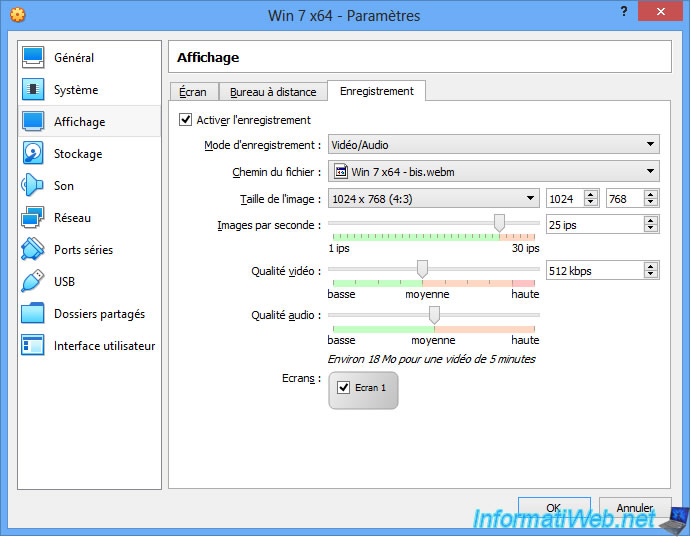
Since version 6 of VirtualBox, you will also be able to :
- choose to record only audio, video or both
- set the recording quality for video and audio separately
Note : the only video format available is always WebM.
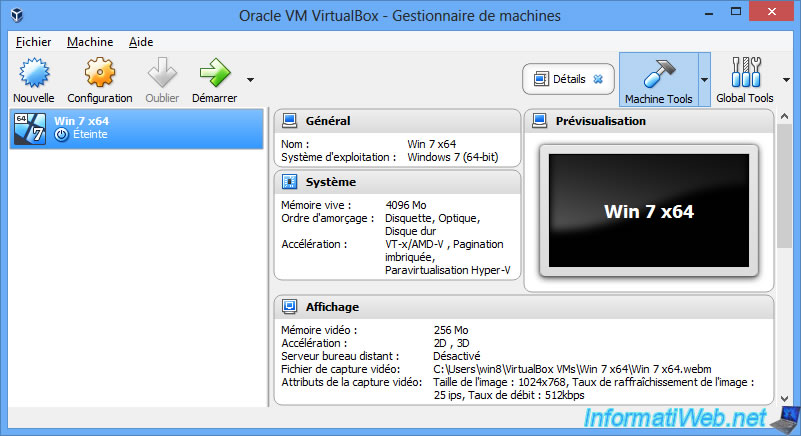
Once video capture is enabled, you will see additional information appearing in the virtual machine details :
- Video capture file
- Video capture attributes
- Image size
- and more
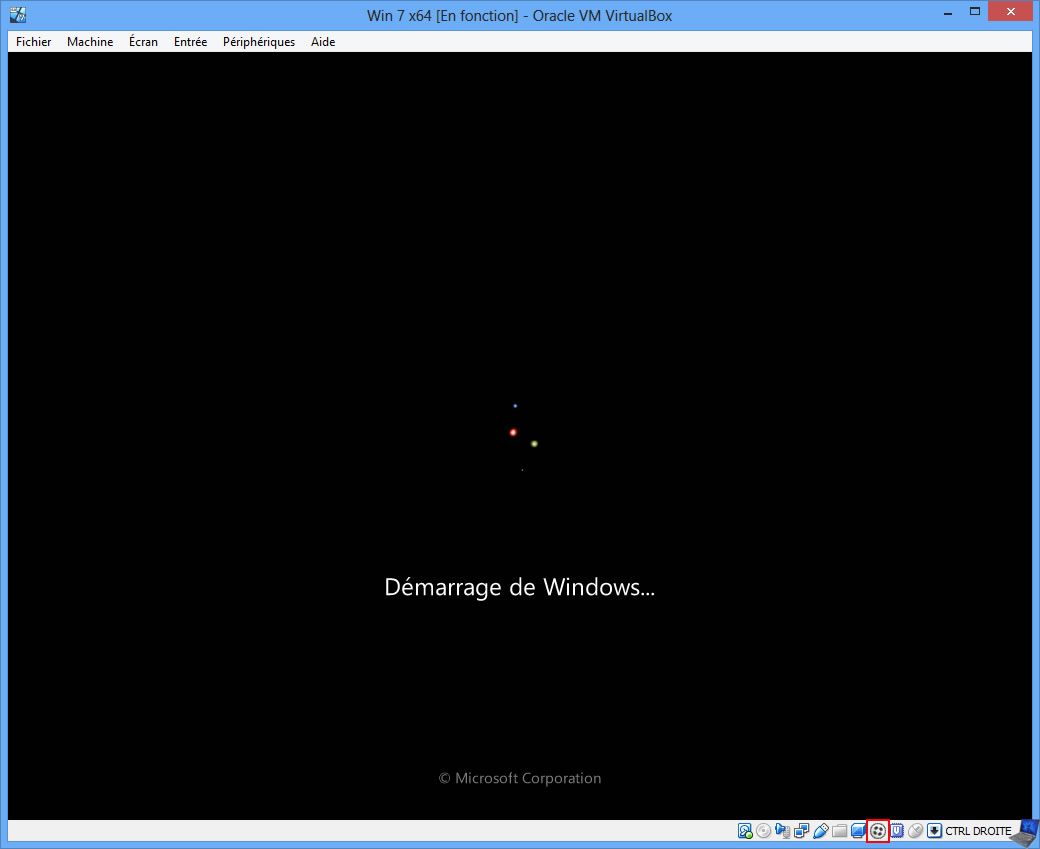
As video capture is enabled in the configuration of your virtual machine, screen recording will start automatically when the virtual machine starts.
Hence the appearance of an animated gray wheel (and framed in red on the image) at the bottom of the virtual machine.
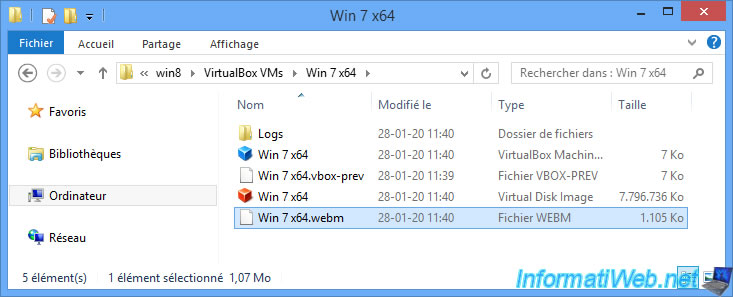
In the virtual machine folder, you will find, by default, your video file created by VirtualBox.
2. Manually enable and disable video capture
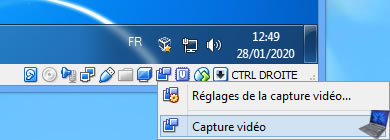
Note that it's also possible to manually start and stop video capture from a virtual machine started beforehand.
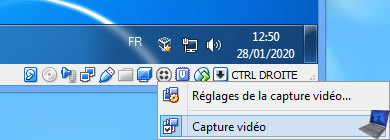
To do this, right click on the icon representing a screen with a camera and click on "Video Capture".
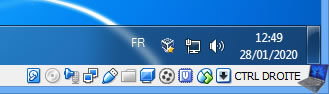
The animated gray wheel appears to indicate that the video capture is in progress.
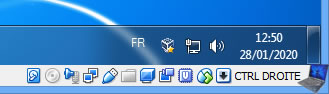
To stop video capture, right click on the gray animated wheel and click on "Video Capture" again to uncheck this option.
The gray wheel disappears and the blue icon reappears.
3. Edit a video recorded with VirtualBox
After capturing video, you may want to be able to edit the created video to cut unwanted parts, for example.
For this, there are professional software like Adobe Premiere Pro or Sony Vegas Pro which are used by your favorite Youtubers, but to start, VirtualDub is preferable.
Indeed, it's free, open-source, very easy to use and can support the WebM format thanks to a small plugin which is also free and open-source.
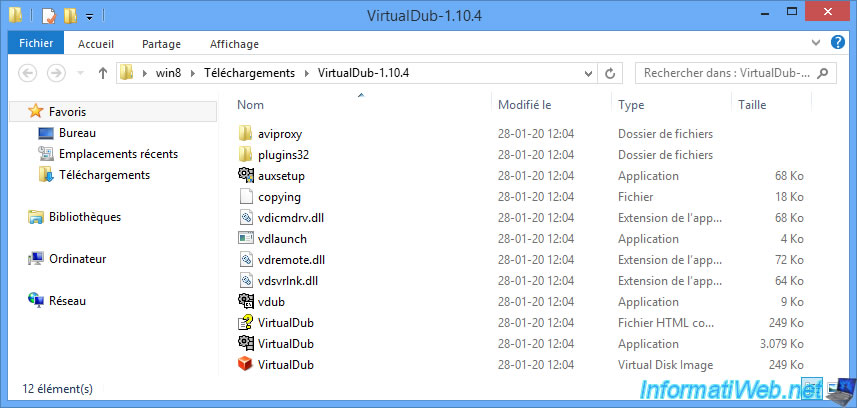
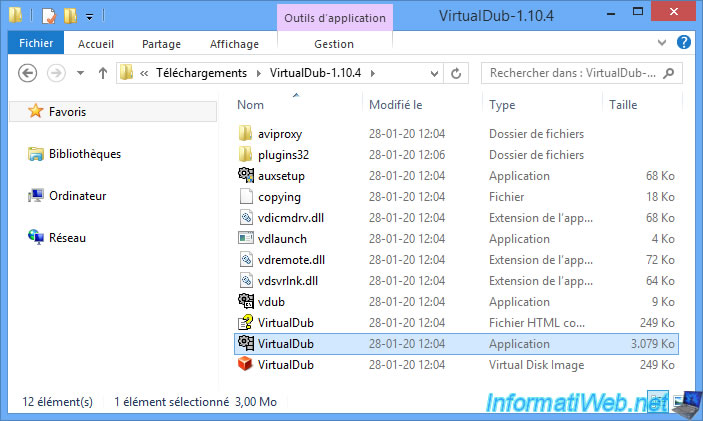
In short, download VirtualDub in 32-bit or 64-bit (if you have a 64-bit processor and OS).
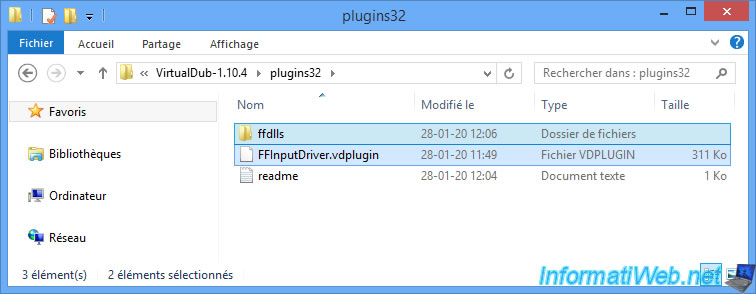
The contents of the zip file for the 32-bit version look like this and the plugins should be stored in the "plugins32" folder.
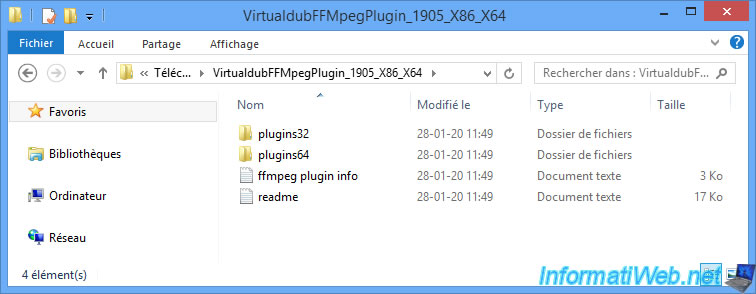
Then, download the "Virtualdub FFMpeg Input Plugin" plugin which will allow you to load many video file formats (including Google's WebM) using FFMpeg.
As you can see, the plugin is available in 32-bit and 64-bit.
Finally, copy the contents of the "plugin32" (if you are using the 32-bit version of VirtualDub) or "plugin64" (for the 64-bit version of VirtualDub) folder from the plugin to the "plugin32" or "plugin64" folder of VirtualDub.
Launch VirtualDub by launching the "VirtualDub.exe" program (for the 32-bit version) or "Veedub64.exe" (for the 64-bit version).
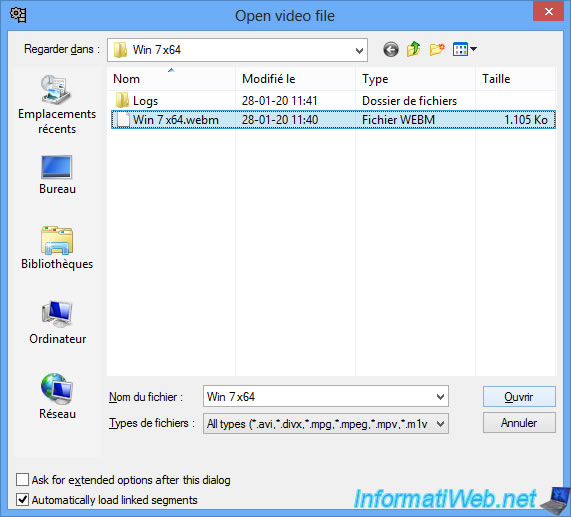
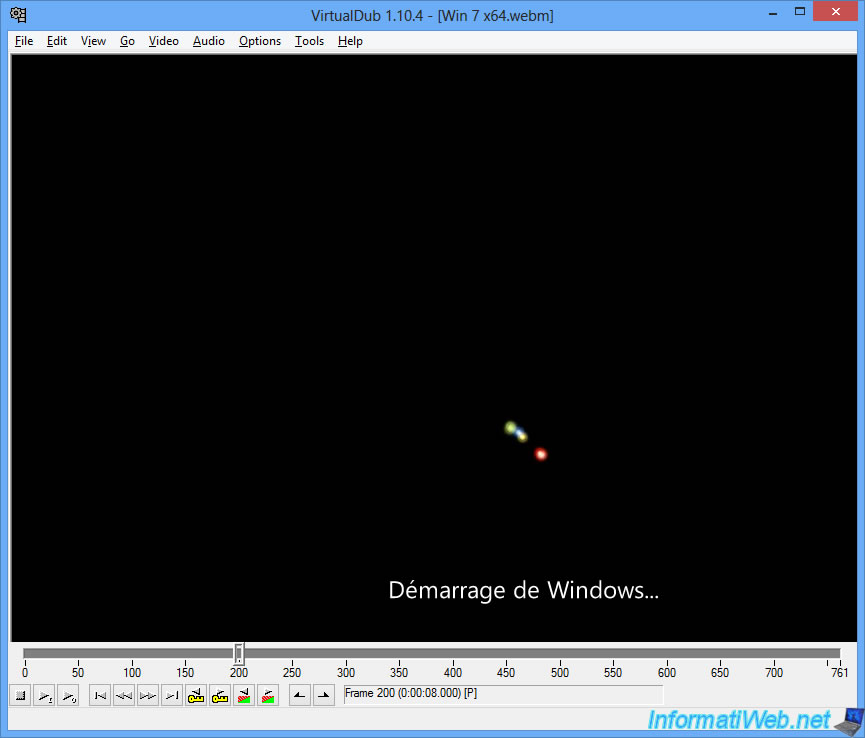
Now that the plugin is installed in VirtualDub, you can load your video in WebM format.
However, VirtualDub only supports the avi format for saving video and you will need a third party codec to encode the video.
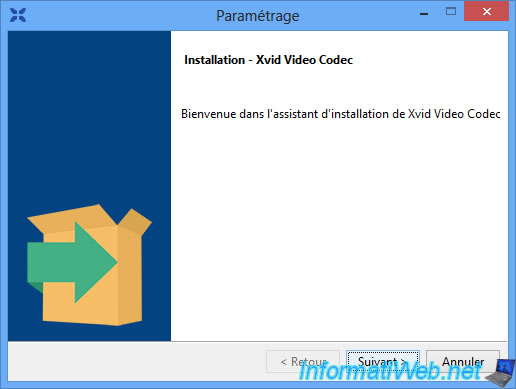
For example : Xvid MPEG-4 Codec
To install it, just click Next at each step.
Then, restart VirtualDub and go to : Video -> Compression.
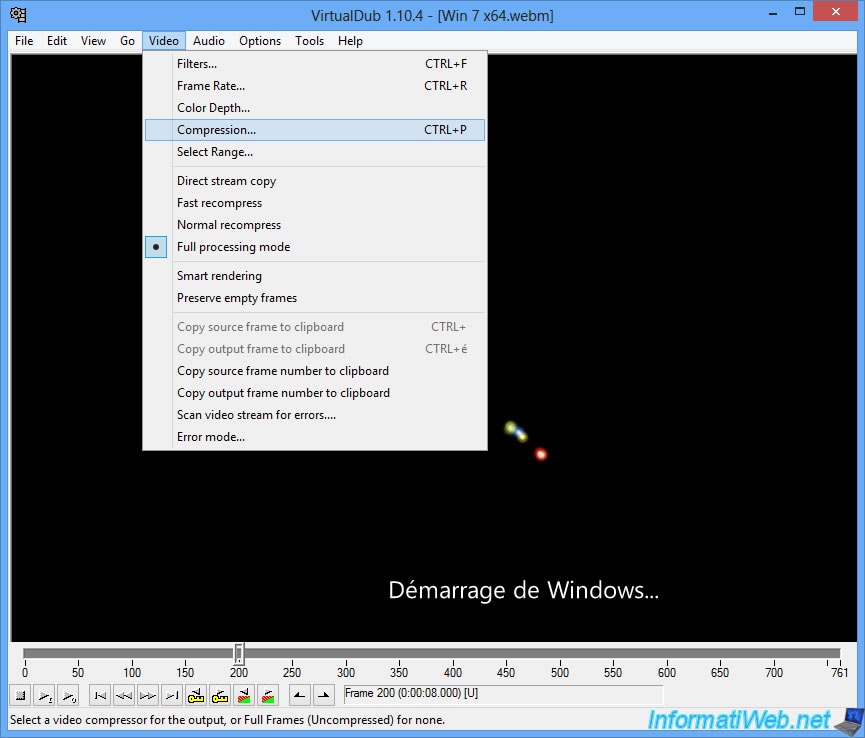
Select the "Xvid MPEG-4 Codec" codec you just installed and click OK.
If you don't select a codec here, the saved video will be several GB.

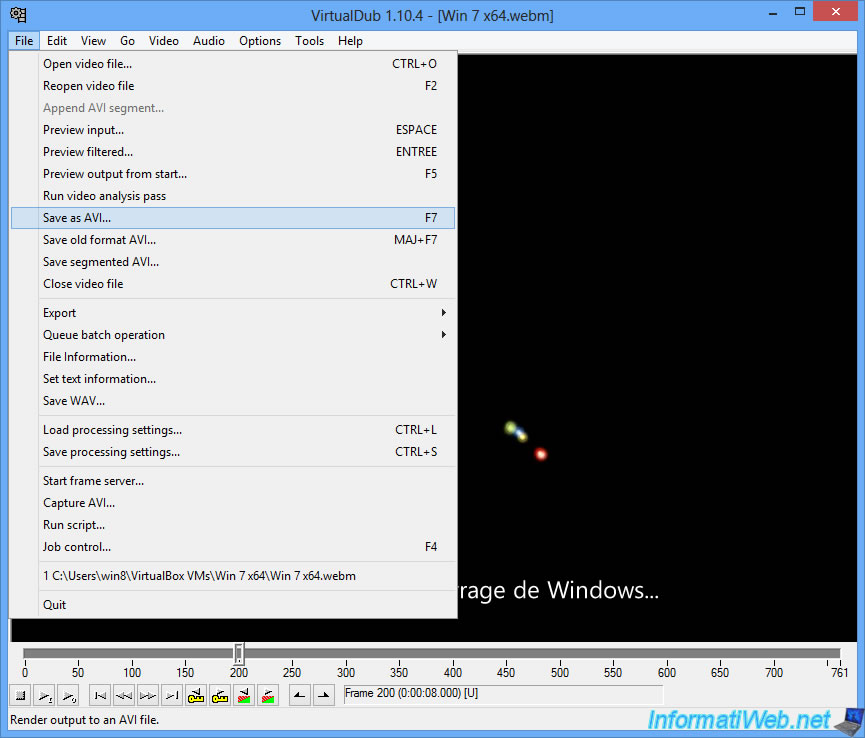
Once you have finished editing the video, click : File -> Save as AVI.
Share this tutorial
To see also
-

Virtualization 8/30/2019
Hyper-V - Coexistence with VirtualBox or VMware Workstation
-
Virtualization 8/25/2018
VirtualBox - Clone a virtual machine (VM)
-
Virtualization 7/22/2018
VirtualBox - Configure settings of your VMs
-

Virtualization 11/6/2020
VirtualBox - Connect an USB key to a VM
You must be logged in to post a comment