- Virtualization
- 28 November 2022 at 10:08 UTC
-

- 1/3
VirtualBox is a virtualization solution currently developed by Oracle and which allows you to create virtual machines even more easily since its new version 7.0.
Indeed, you can select the edition to install, define the name of the 1st user, ... when creating the virtual machine.
Then, the installation will be done without any intervention on your part.
- Install VirtualBox 7
- Install the VirtualBox 7 extension pack
- Create a virtual machine
- Automatic installation of the guest operating system (Windows 10)
- Fix Windows regional options
- Remove the image used for the unattended installation
1. Install VirtualBox 7
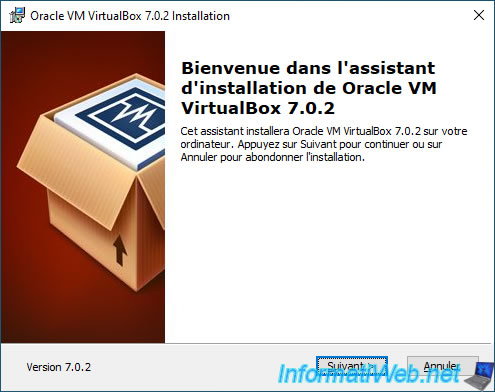
Download VirtualBox 7 and run the downloaded installer file.
The "Oracle VM VirtualBox 7.x.x Installation" program appears.
Click Next.
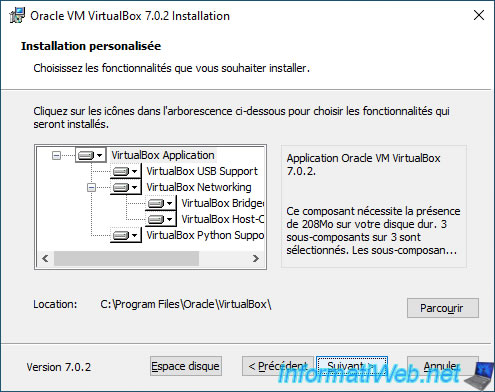
On VirtualBox 7, the components used are always the same.
Click Next.
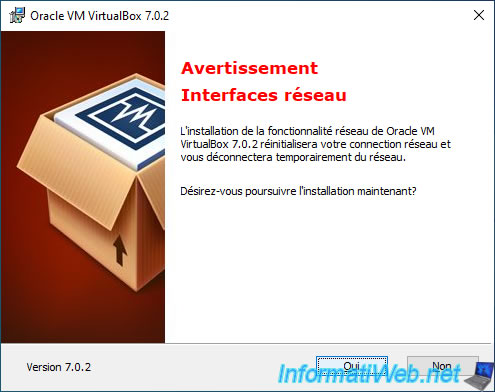
When installing VirtualBox, your network connection will be reset.
Hence the appearance of this warning to avoid cutting off an important download that is in progress (for example).
This is due to the installation of virtual network cards on the physical PC which will be used to provide network and/or Internet access to your VirtualBox virtual machines.
Click Yes.
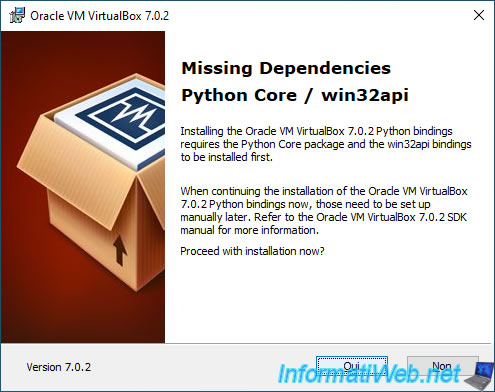
Since VirtualBox 7, a "Missing Dependencies Python Core / win32api" step will appear.
Click Yes to automatically install the necessary dependencies.
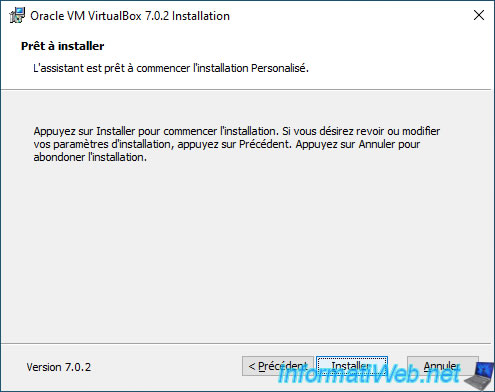
Then, click Install.
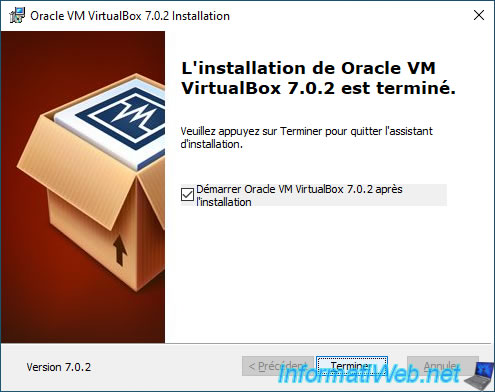
VirtualBox 7 has been installed.
Click Finish.
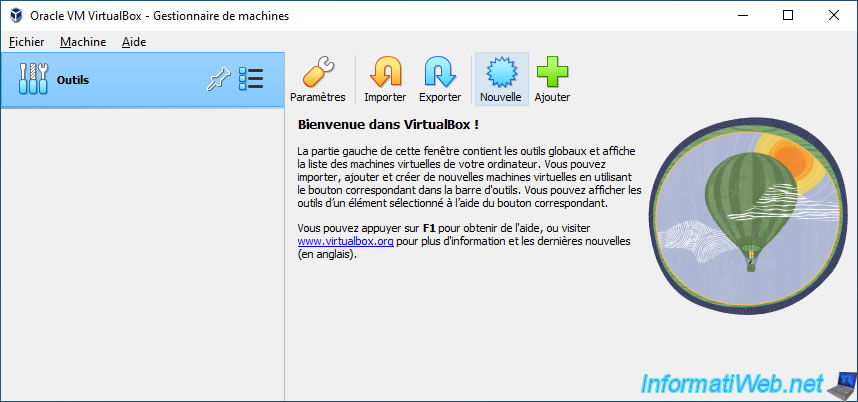
VirtualBox 7 appears.
As you can see, the interface has changed slightly from older versions of VirtualBox.

2. Install the VirtualBox 7 extension pack
To benefit from all the features of VirtualBox, you must also download and install the VirtualBox 7 extension pack.
To do this, download the "VirtualBox 7.x.x Oracle VM VirtualBox Extension Pack" available on the VirtualBox download page and double click on the downloaded file to open it with VirtualBox.
Note that since version 7 of VirtualBox, USB support is now part of VirtualBox.
It's therefore no longer present in the extension pack.
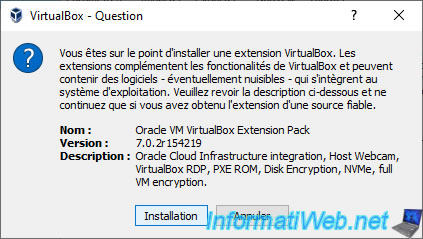
As you can see, the expansion pack allows you to add the following features :
- Oracle Cloud Infrastructure integration : integration with Oracle Cloud Infrastructure.
- VirtualBox RDP : the VRDP protocol which allows you to control a VirtualBox virtual machine remotely using the Windows "Remote Desktop" (RDP) client.
- Host Webcam : allows access to the webcam of the physical PC from a virtual machine.
- PXE ROM : network boot support.
- Disk Encryption : virtual hard disk encryption.
- NVMe : NVMe storage controller support.
- full VM encryption : full virtual machine encryption.
Click on : Installation.
Scroll down to the bottom of the displayed VirtualBox license so that the "I accept" button activates and click on this button.
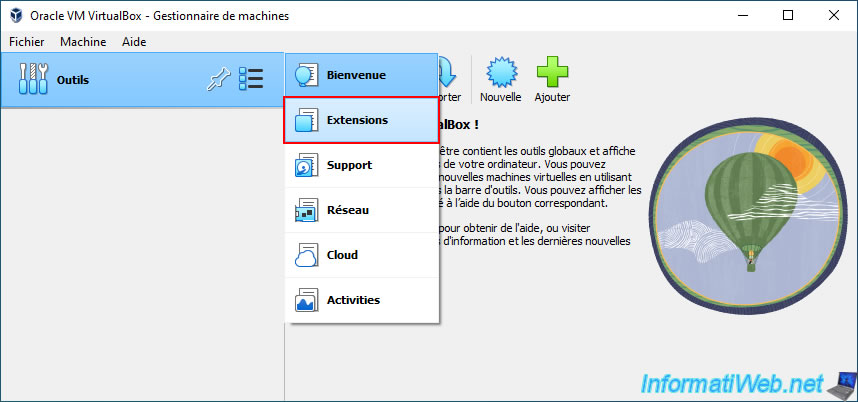
Click on the "Menu" button located to the right of "Tools" and click on "Extensions".
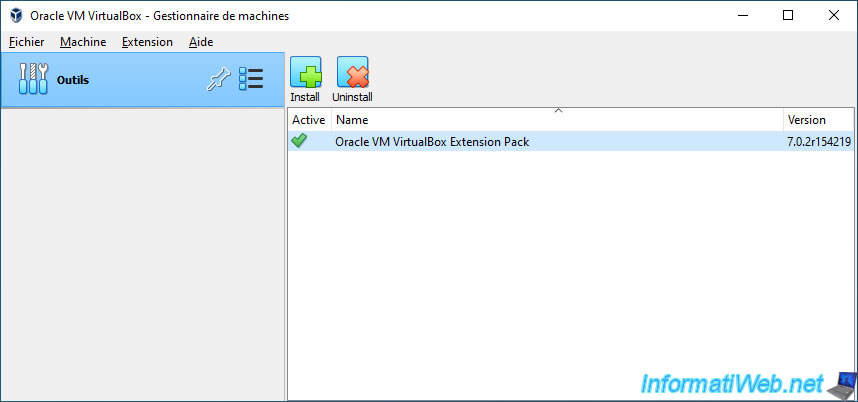
The installed extension pack appears : Oracle VM VirtualBox Extension Pack.
3. Create a virtual machine
To create a new virtual machine on VirtualBox, make sure you are in the "Tools" section, then click on the "New" button.
As you can see, VirtualBox allows you to virtualize different types of operating systems :
- Microsoft Windows
- Linux
- Mac OS X
- and many others : Solaris, BSD, IBM OS/2, ...
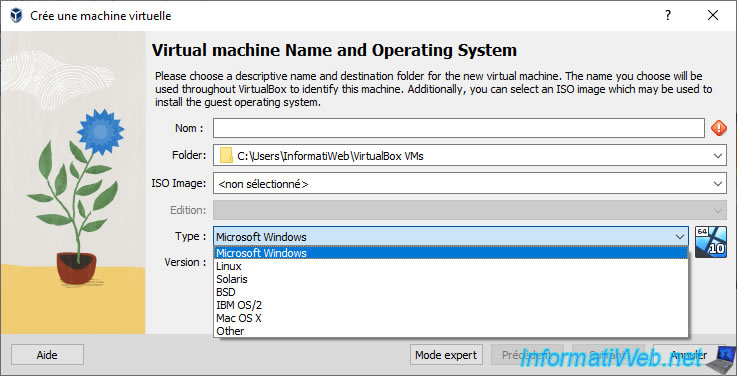
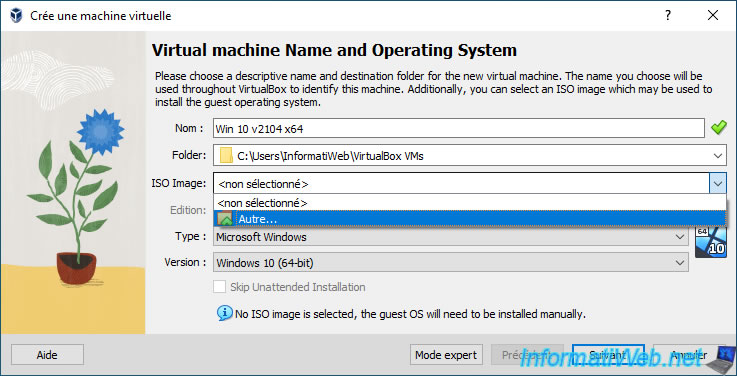
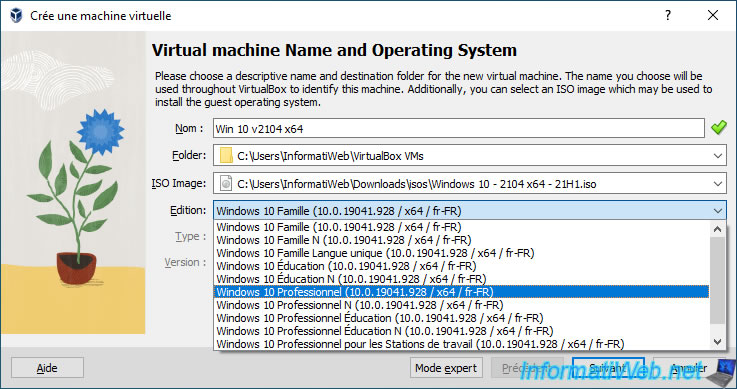
To get started, provide a name for your new virtual machine and change the folder where you want to store it if you wish.
By default, your virtual machine will be created in a "VirtualBox VMs" subfolder of your user directory.
In "ISO Image", click "Other" to select the OS ISO file you want to install.
Then, the previously selected ISO files will automatically appear in this "ISO Image" list.
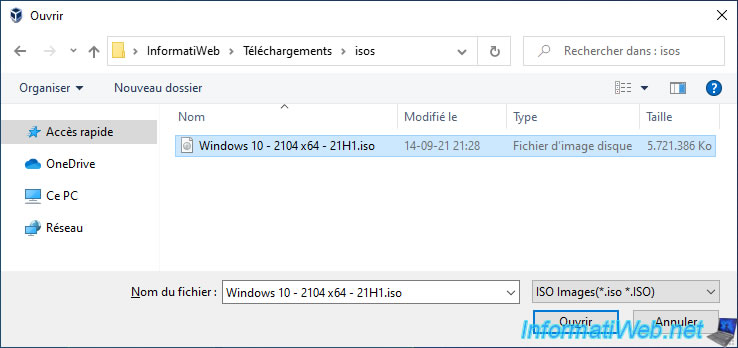
Select the operating system ISO file you want to install in your virtual machine.
In our case, the ISO file of Windows 10 v2104 (21H1) x64.
Once the ISO file has been selected, a list of editions may appear in "Edition".
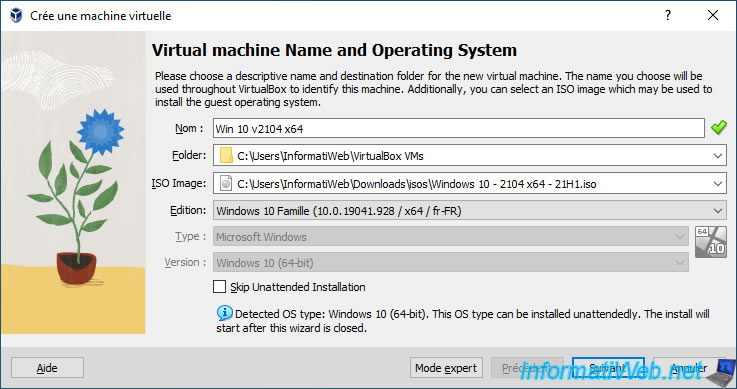
As you can see, the Windows 10 ISO file allows you to install multiple editions.
But, if you have a serial number of Windows 10, it's important to select the edition that corresponds to it.
Otherwise, this serial number will not work.
For this tutorial, we will install the "Professional" edition of Windows 10.
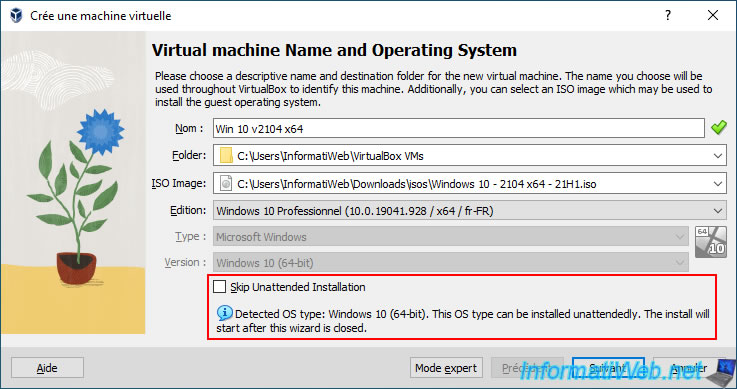
As you can see, the type (Microsoft Windows, in this case) and version (Windows 10 (64-bit)) were automatically selected by VirtualBox based on the name of your virtual machine.
Finally, since VirtualBox 7, you have the option of installing an operating system by providing the necessary information when creating the virtual machine.
This allows VirtualBox to automatically install and configure the guest operating system (the one installed in the virtual machine) without you needing to intervene during the installation.
To leave this automatic system enabled, leave the "Skip Unattended Installation" box unchecked.
As you can see, VirtualBox tells you that in this case the operating system can be installed and configured automatically.
Plain Text
Detected OS type: Windows 10 (64-bit). This OS type can be installed unattendedly. The install will start after this wizard is closed.
Click Next.
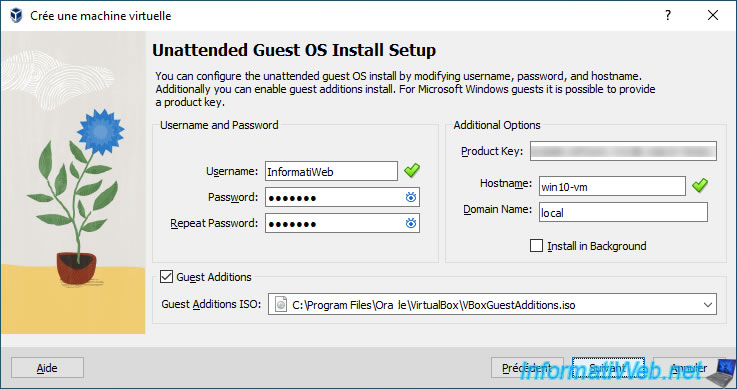
At the "Unattended Guest OS Install Setup" step, you will see that VirtualBox has already set some defaults.
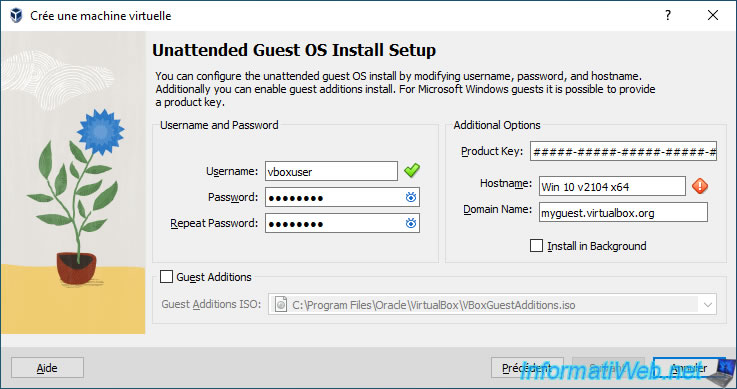
It's up to you to modify them as you wish :
- Username and Password : credentials of the 1st account that will be created in the guest operating system.
- Additional Options :
- Product Key : serial number of the operating system to install (generally : that of Windows).
- Hostname : the name under which this virtual machine will appear on the network.
On Windows, this is the NETBIOS name. - Domain Name : domain name (if applicable) to which this computer belongs.
Otherwise, specify for example : local. - Install in Background : indicates that the virtual machine will be launched in the background (without graphical interface) thanks to the "Headless" mode of VirtualBox.
- Guest Additions : when this box is checked, it automatically inserts the VirtualBox Guest Additions ISO file (or in other words, your virtual machine's drivers CD) into the virtual machine's CD/DVD drive.
Which also helps to automatically install the drivers for your virtual machine after installing the guest operating system.
Note that the path of this ISO file is already filled in by default by VirtualBox. So, all you have to do is check the "Guest Additions" box.
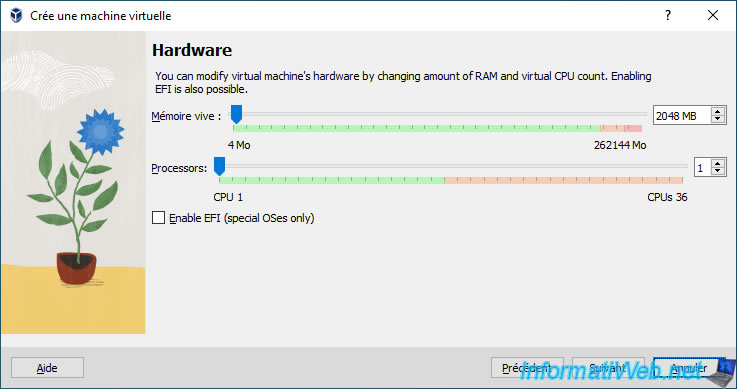
At the "Hardware" step, you will need to select the amount of random access memory (RAM) and processor cores you want to allocate to your virtual machine.
By default, these settings are adapted according to the operating system that you want to install in your virtual machine.
In addition, VirtualBox shows you the values not to exceed according to your physical hardware thanks to the colors : green, orange and red.
You can also choose whether or not to enable EFI (if the guest operating system supports it).
In the case of Windows, EFI is supported from Windows 7. But secure boot (which can be enabled separately) is only available since Windows 8.
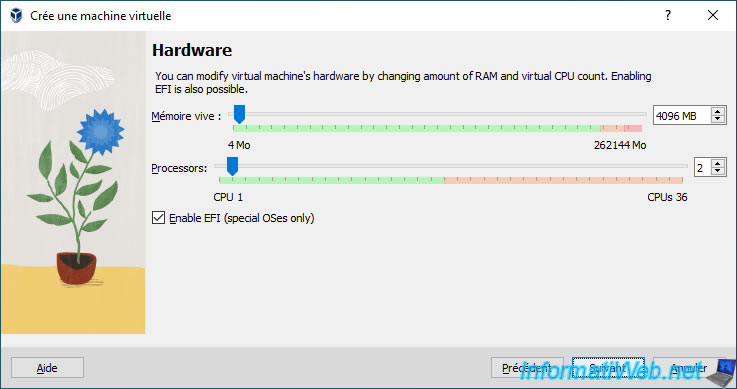
In our case, we will allocate 4 GB (4096 MB) of RAM, 2 CPU cores and enable booting in UEFI mode by checking the "Enable EFI (special OSes only)" box.
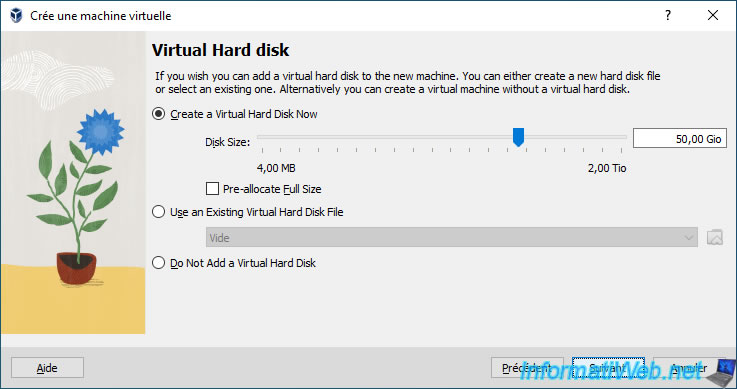
At the "Virtual Hard disk" step, leave the "Create a Virtual Hard Disk Now" option selected to create a new virtual hard disk.
Again, the default size of this will be adapted automatically by VirtualBox depending on the operating system you want to install in your virtual machine.
However, also take into account the space required for the programs you want to install there.
Note : if needed, you can add additional virtual hard disks to your virtual machine later.
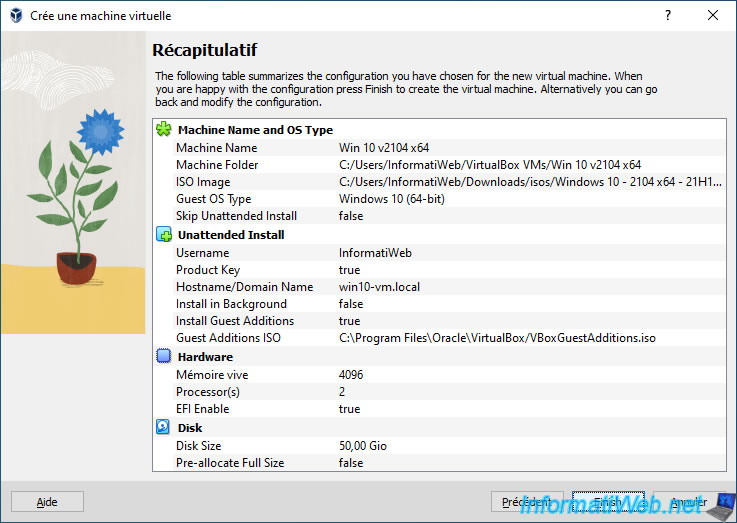
A summary of your virtual machine configuration appears.
Click Finish.
Share this tutorial
To see also
-

Virtualization 8/30/2019
Hyper-V - Coexistence with VirtualBox or VMware Workstation
-
Virtualization 8/25/2018
VirtualBox - Clone a virtual machine (VM)
-
Virtualization 7/22/2018
VirtualBox - Configure settings of your VMs
-

Virtualization 11/6/2020
VirtualBox - Connect an USB key to a VM
You must be logged in to post a comment