- Virtualization
- 05 December 2022 at 18:59 UTC
-

- 1/2
Since VirtualBox 7, you can quickly create and install the guest operating system of your virtual machine thanks to the "unattended" mode.
However, this system is not perfect, so you might want to manually install the guest operating system, just like you would on a normal computer.
- Create a virtual machine
- Install Guest OS (Windows 10)
- Install drivers (guest additions) of your VirtualBox virtual machine
- Protect your virtual machine against viruses
1. Create a virtual machine
To get started, select "Tools" (on the left), then click the "New" button (on the right).
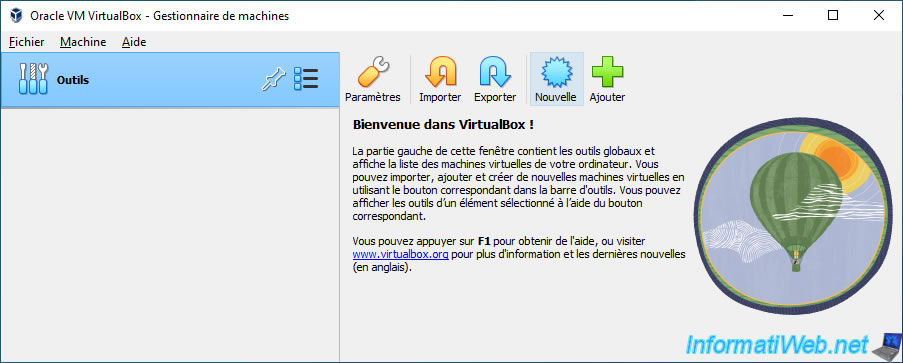
The "Create Virtual Machine" wizard appears and allows you to :
- Name : specify a name for your virtual machine.
The name under which it will appear in VirtualBox. - Folder : choose the location where you want to store your new virtual machine.
By default, the "C:\Users\[current user name]\VirtualBox VMs" folder. - ISO Image : select the ISO file of the operating system installation DVD (Windows, Linux, ...) that you want to install in your virtual machine.
- Edition : the edition of Windows you want to install (if multiple editions are present on the installation DVD selected above).
- Type : the type of operating system you want to install (Windows, Linux, ...).
This value will be selected automatically based on the name you specify for your virtual machine. - Version : the version of the operating system you want to install (Windows 10, Windows 8.1, Linux kernel version, ...).
Again, this value will usually be selected automatically based on the name of your virtual machine. - Skip Unattended Installation : checking this box disables the automatic configuration of the guest operating system.
This will allow you to install it manually.
To get started, provide a name for your virtual machine, change the location where you want to store it if you want, then select the "Other" option from the "ISO Image" list.
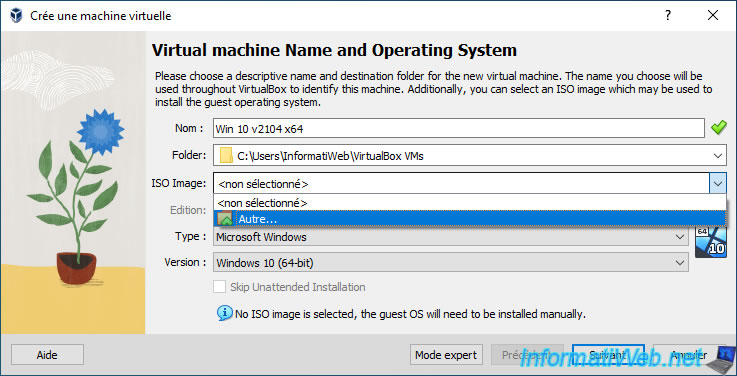
Select the operating system ISO file you want to install in your virtual machine.
In our case, the Windows 10 v2104 (21H1) ISO file.

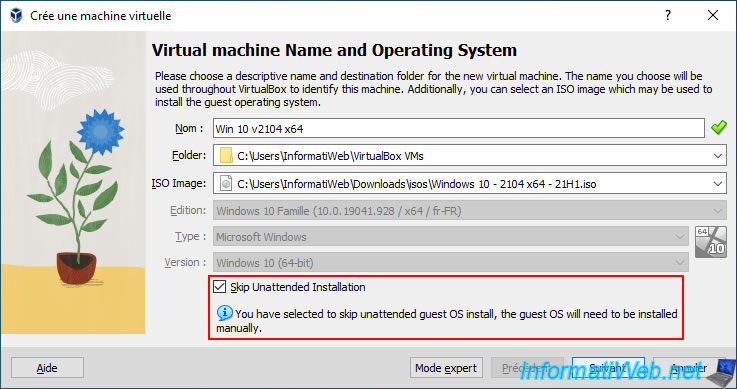
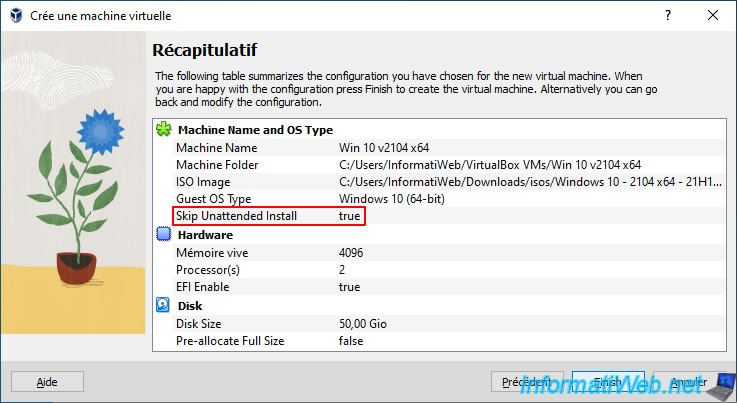
To be able to install the operating system manually, check the "Skip Unattended Installation" box.
Which will display the message :
Plain Text
You have selected to skip unattended install, the guest OS will need to be installed manually.
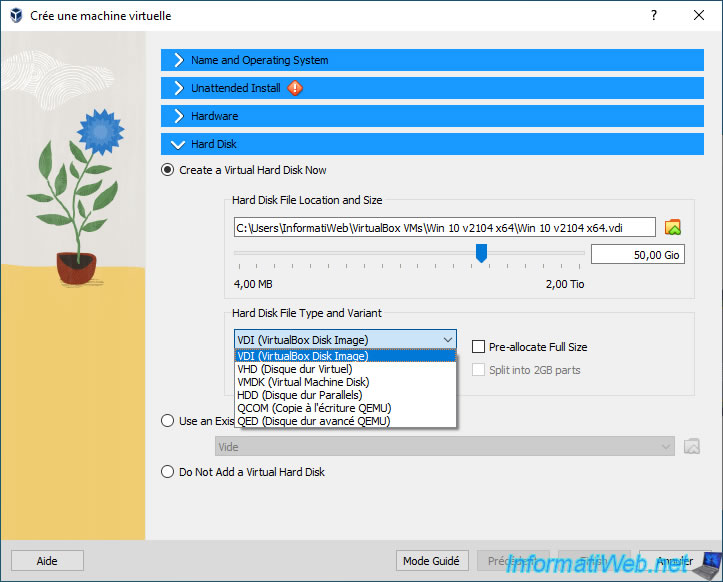
Note : if you wish to choose the type of virtual hard disk that will be created, you must now click on the "Expert Mode" button.
If you clicked on the "Expert Mode" button, all the steps for creating a virtual machine will appear at once.
It's only in this expert mode that you will be able to choose the type of virtual hard disk to create :
- VDI (VirtualBox Disk Image) : format used by default by VirtualBox.
- VHD (Virtual Hard Disk) : format used by Microsoft Hyper-V.
- VMDK (Virtual Machine Disk) : format used by VMware virtualization solutions.
- HDD (Parallels Hard Disk) : format used by the Parallels virtualization solution (not very well-known).
- QCOW (QEMU Copy-On-Write) : format used by the QEMU open-source emulation/virtualization solution.
- QED (QEMU enhanced disk) : format also used by QEMU.
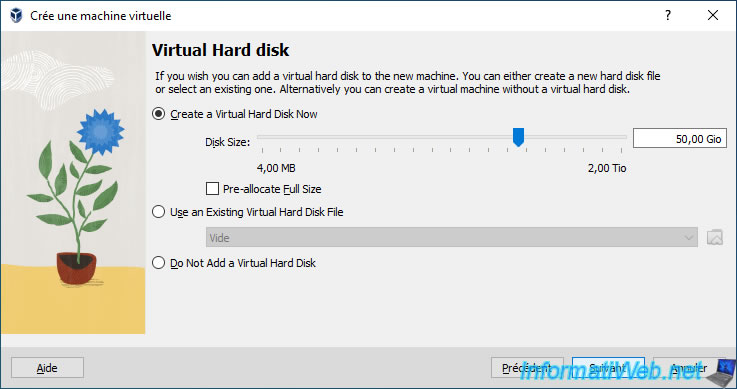
If you check the "Pre-allocate Full Size" box, you can preallocate the space necessary for the maximum size of the virtual hard disk on your physical hard disk.
The goal is to improve performance and ensure that you don't run out of disk space on the physical hard drive.
However, this also means that a 50 GB virtual hard disk will still take up 50 GB of disk space on the physical hard disk. Even if this one is empty for the moment.
If you leave the "Pre-allocate Full Size" box unchecked, the space will not be pre-allocated.
This means that the file representing this virtual hard disk will grow according to the data you add to it and its maximum size will be the one you select here.
Finally, the "Split into 2GB parts" box is only available for the "VMDK" (Virtual Machine Disk) format used by VMware and allows you to create a virtual hard disk which will be composed of several 2 GB files to facilitate its transfer via an USB key, for example.
Indeed, it allows to store a large virtual hard disk without any problem on a USB key while the FAT32 file system is limited to 4 GB per file.
However, in theory, the performance is supposed to be worse than when the virtual hard disk is stored on the physical disk in a single file.
VirtualBox selects default values that are appropriate for the operating system you want to install in your virtual machine.
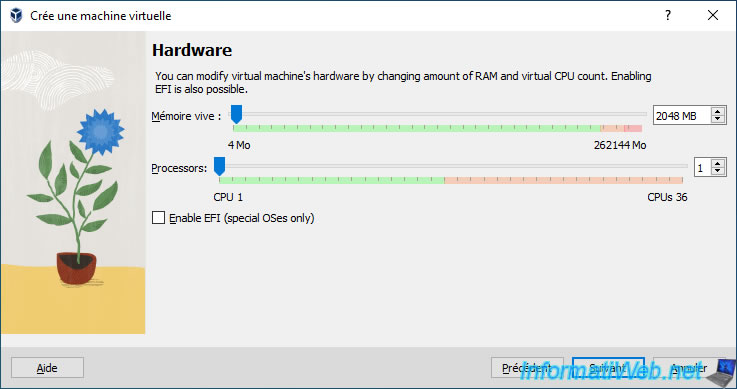
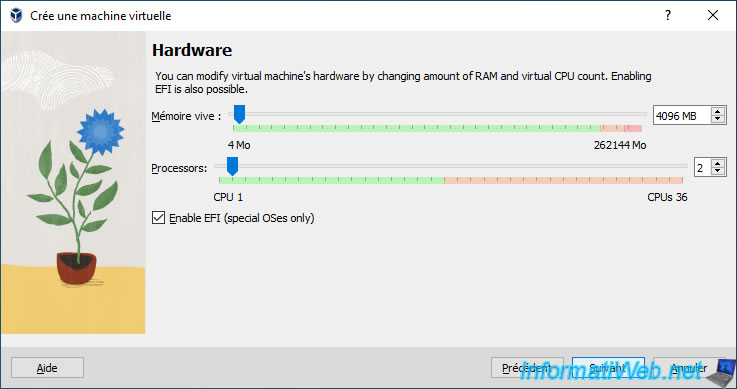
In our case, we usually allocate 4 GB of RAM to Windows 10.
You can also allocate 2 CPU cores instead of one to make Windows 10 run smoother.
But, it depends on how many cores your physical processor (CPU) has.
In our case, we have a processor with 36 logical cores, as you can see below.
To make the operating system boot in UEFI mode, check the "Enable EFI (special OSes only)" box.
In this case, a GPT partition table will be used for the virtual hard disk on which the virtual machine will boot.
In the case of Windows, the EFI firmware is supported since Windows 7. On the other hand, secure boot (available in the settings of the virtual machine) is only supported from Windows 8.
If you don't check the box, the virtual machine will boot in LEGACY BIOS mode and an MBR partition table will be used.
If you want to see the difference between installing Windows in EFI mode and in LEGACY BIOS mode, check out our tutorials :
By default, the wizard will adapt the default size of the virtual hard disk depending on the operating system you want to install.
A summary of the virtual machine configuration appears.
Click Finish.
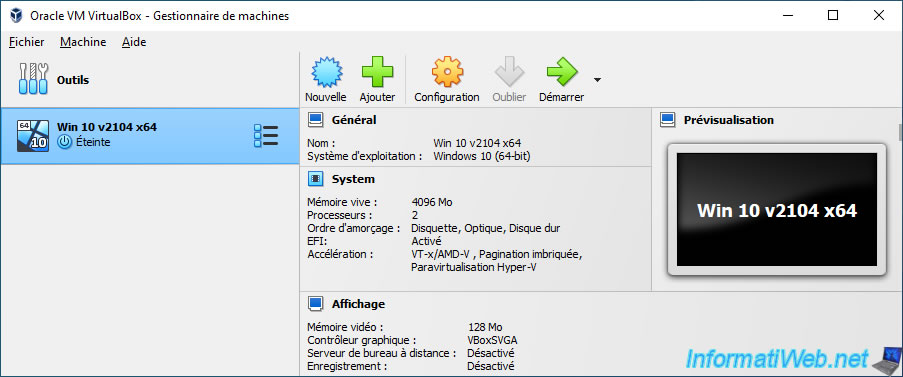
The virtual machine has been created.
2. Install Guest OS (Windows 10)
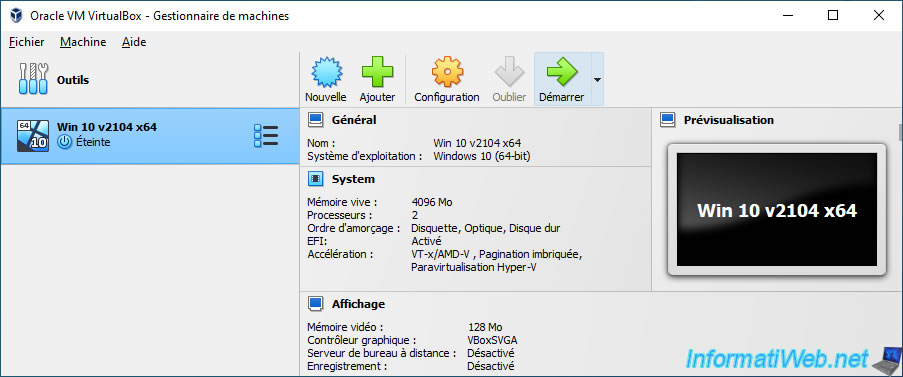
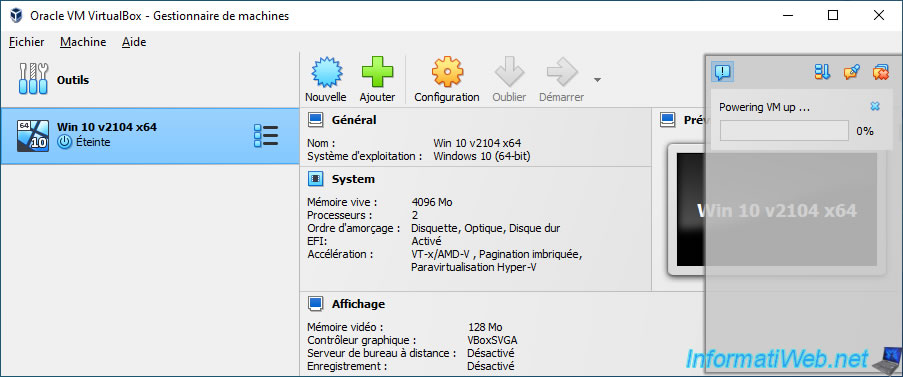
Start your VirtualBox virtual machine.
While starting your virtual machine, you will see the "Powering VM up" message appear in the VirtualBox 7 interface.
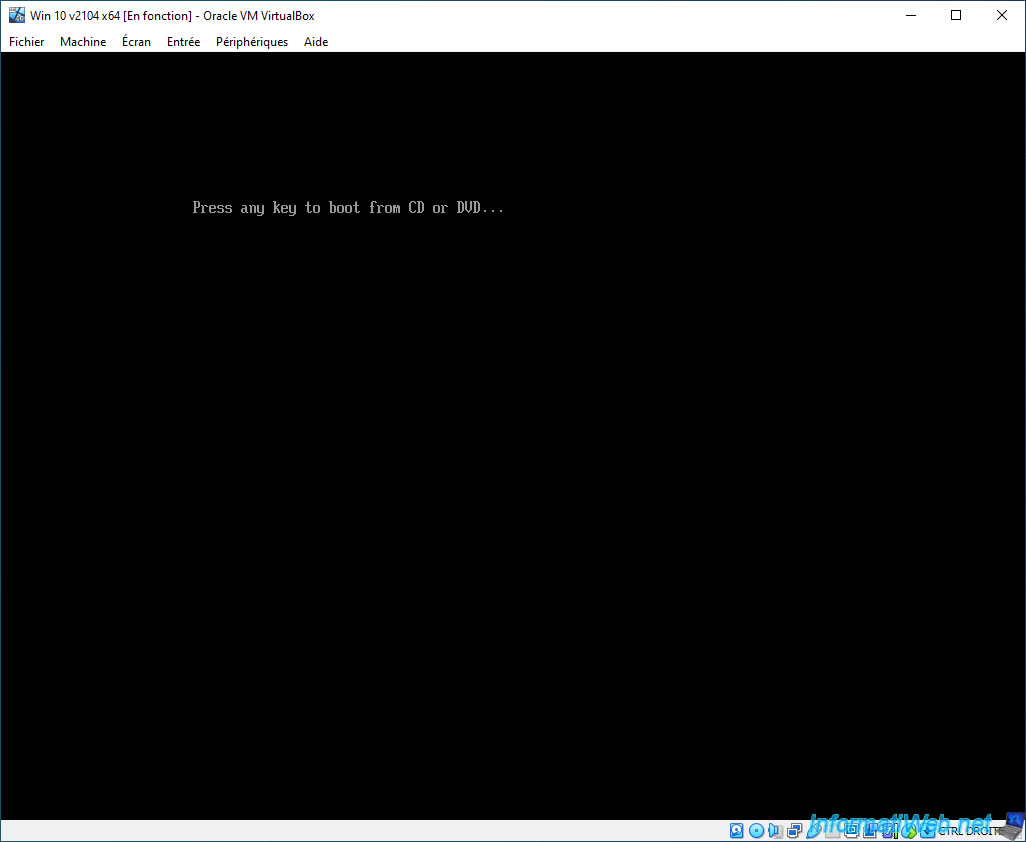
Click on the screen of your virtual machine to ensure that the keyboard and mouse are captured by virtual machine, then if this message appears, press Enter.
To remove the mouse from the screen of your virtual machine (as long as the VirtualBox guest additions are not installed in it), simply press the "CTRL" key located at the bottom right of the keyboard.
This key is indicated at the bottom right of this window.
The operating system logo will appear (if booting in LEGACY BIOS mode) or the VirtualBox logo will appear (if booting in EFI mode).
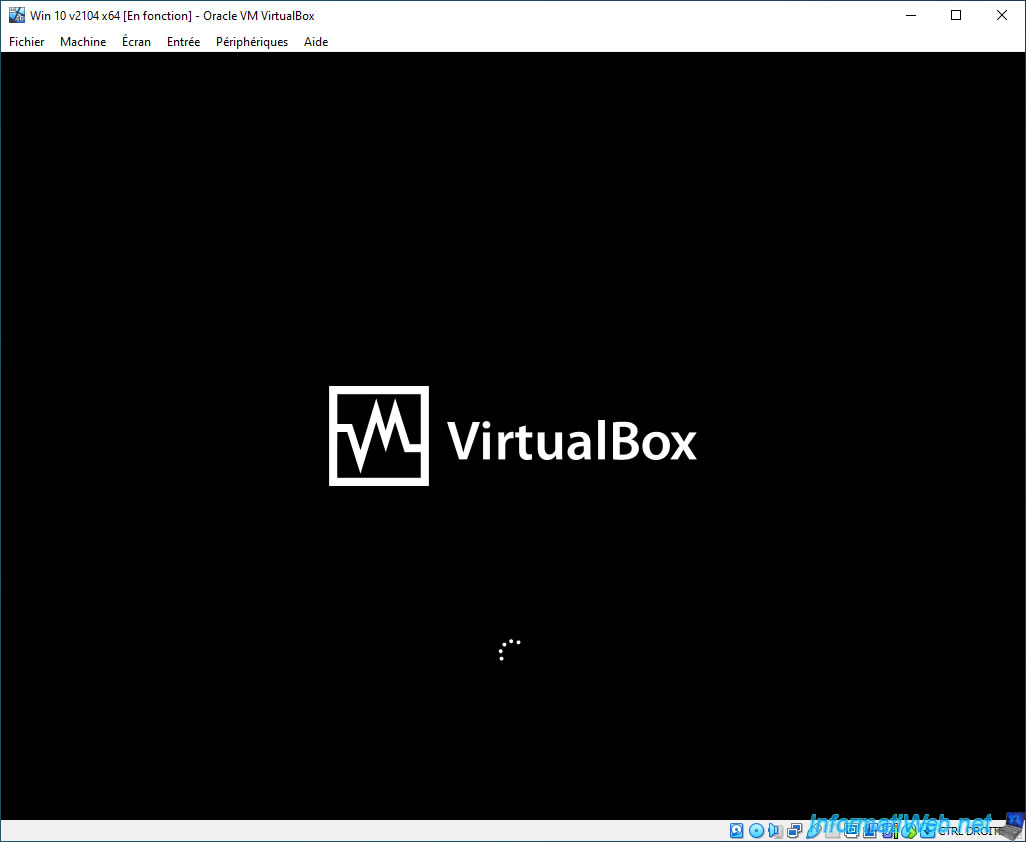
In our case, we had inserted the ISO file of the Windows 10 installation DVD.
So, it's the Windows 10 installer that appears.
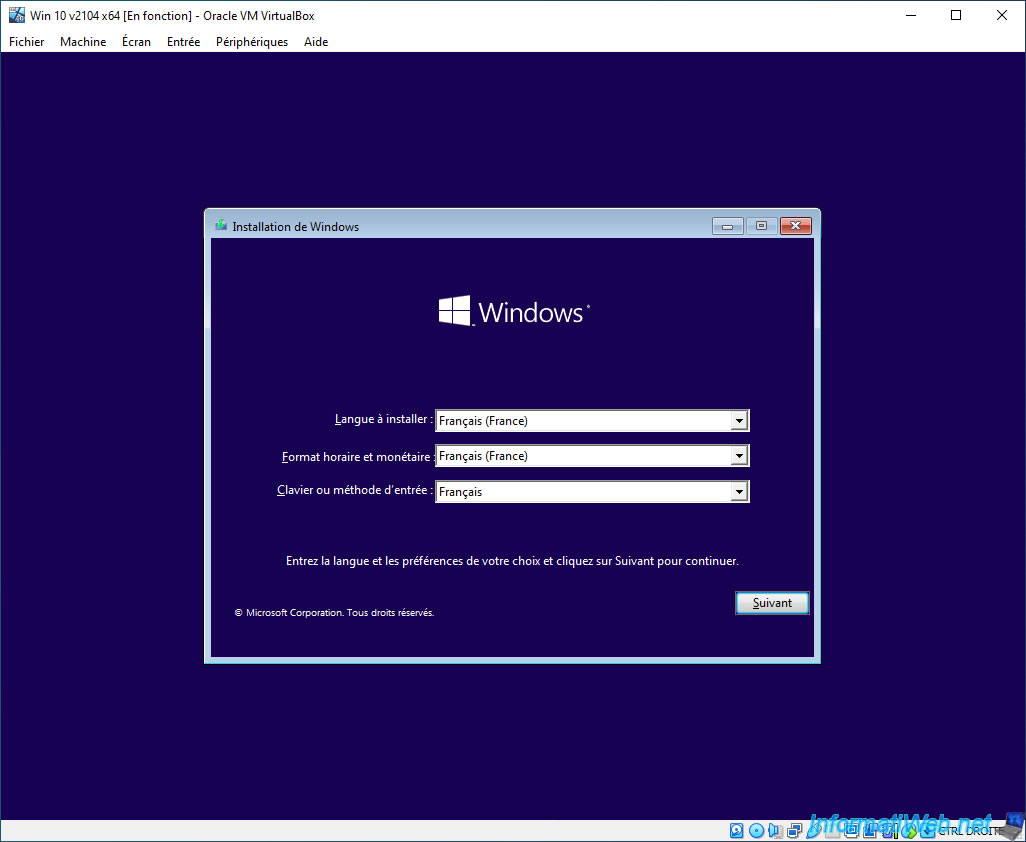
Select your language and country, then click Next.
If you need help installing a version of Windows, refer to our tutorials :
- Windows XP - Formatting and reinstalling
- Windows Vista / 7 - Formatting and reinstalling
- Windows 8 / 8.1 - Formatting and reinstalling
- Windows 10 - Formatting and reinstalling
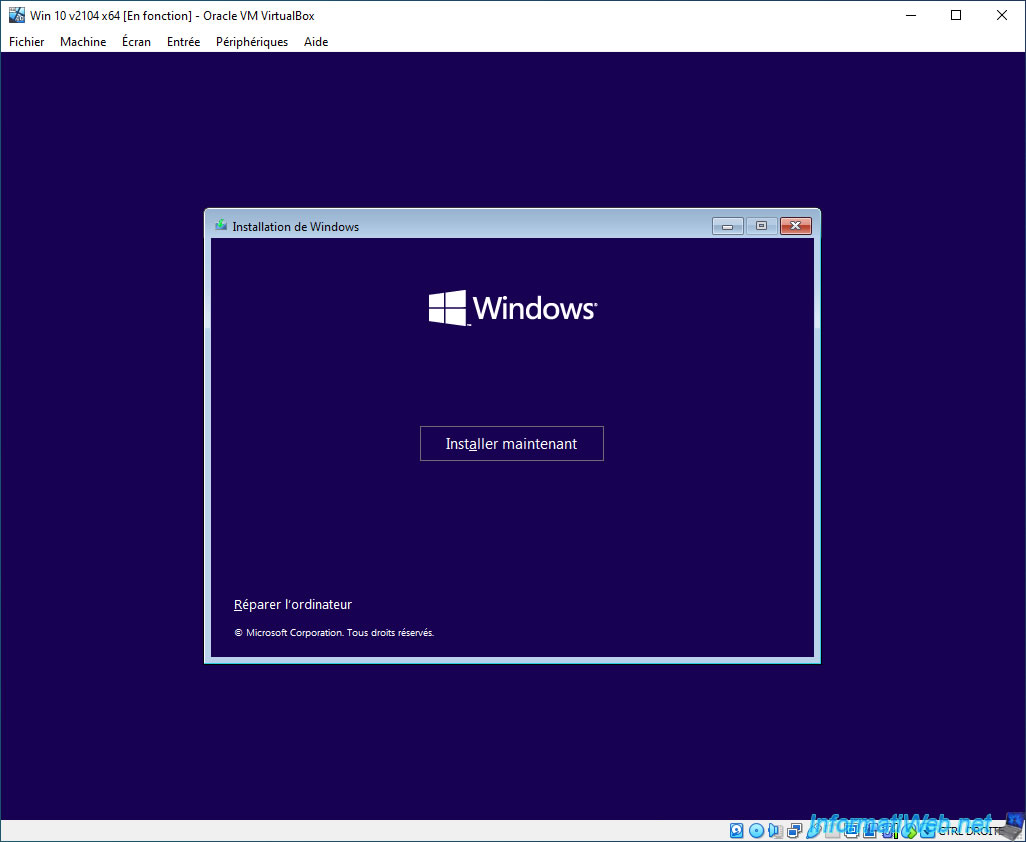
Click : Install now.
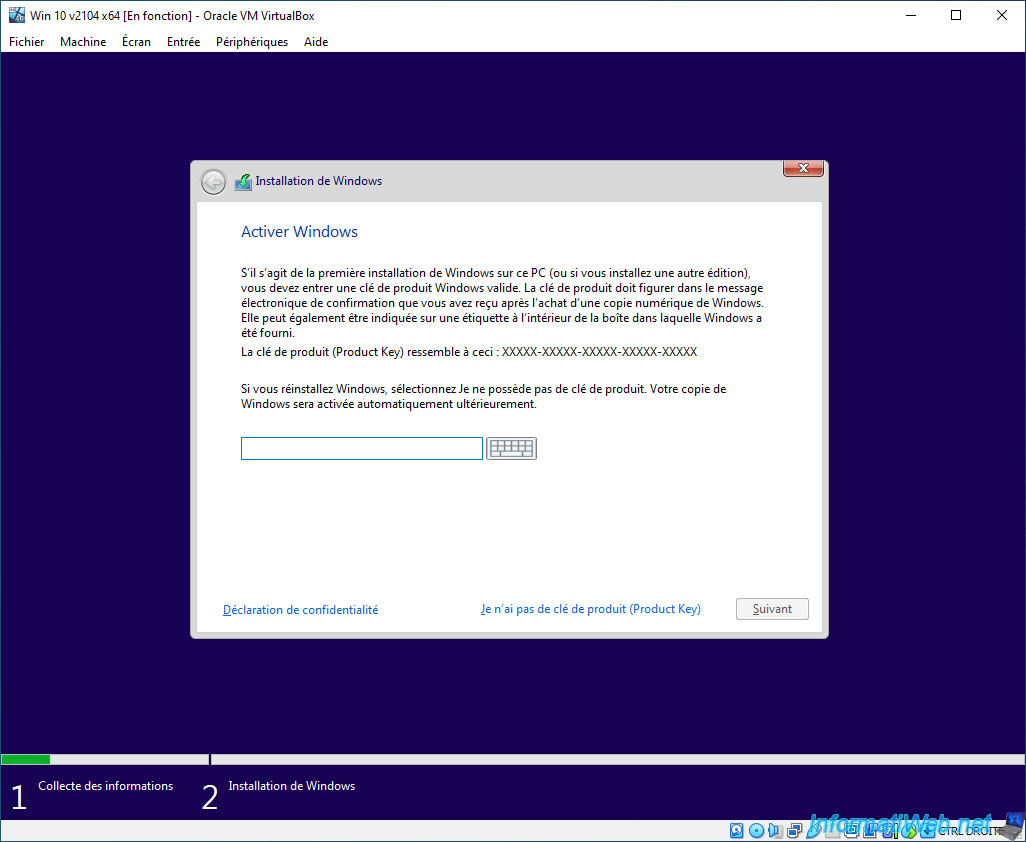
Provide the Windows serial number if the wizard asks you for it and you have one.
Otherwise, click on the "I don't have a product key" link displayed at the bottom of the window to install Windows as a trial version.
Either way, you can activate Windows later with a valid serial number.
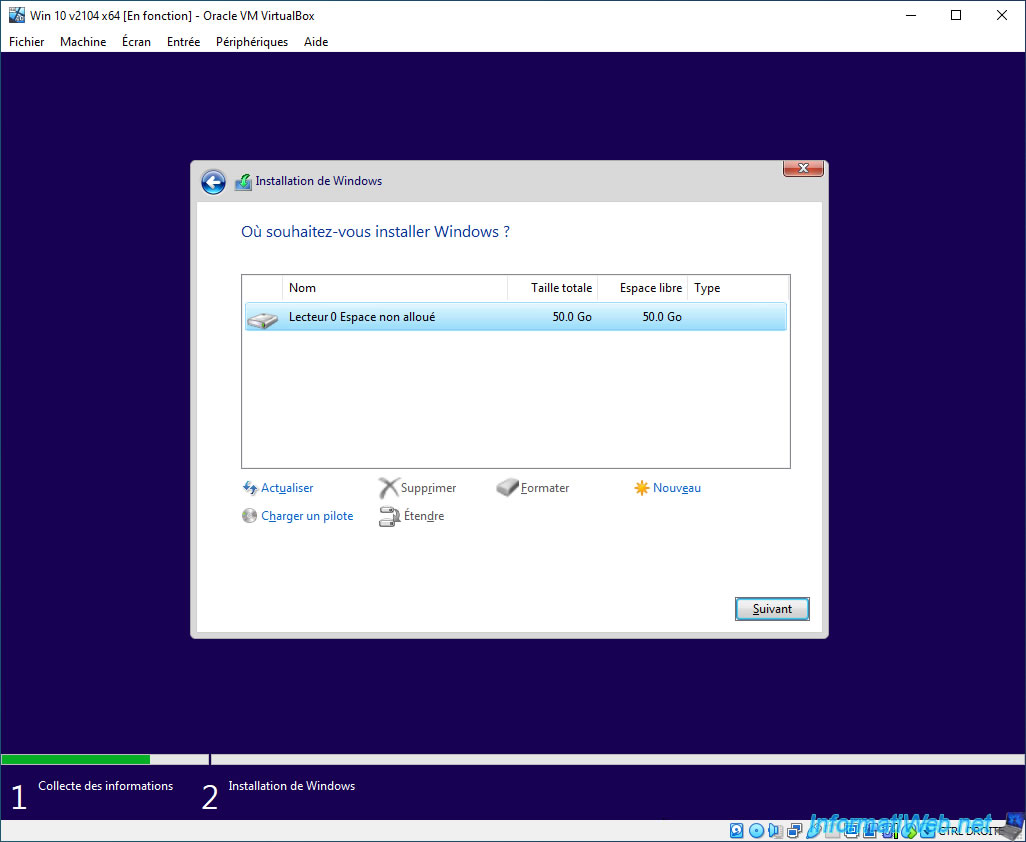
Partition the virtual hard disk if desired or simply select the unallocated space that appears and click Next.
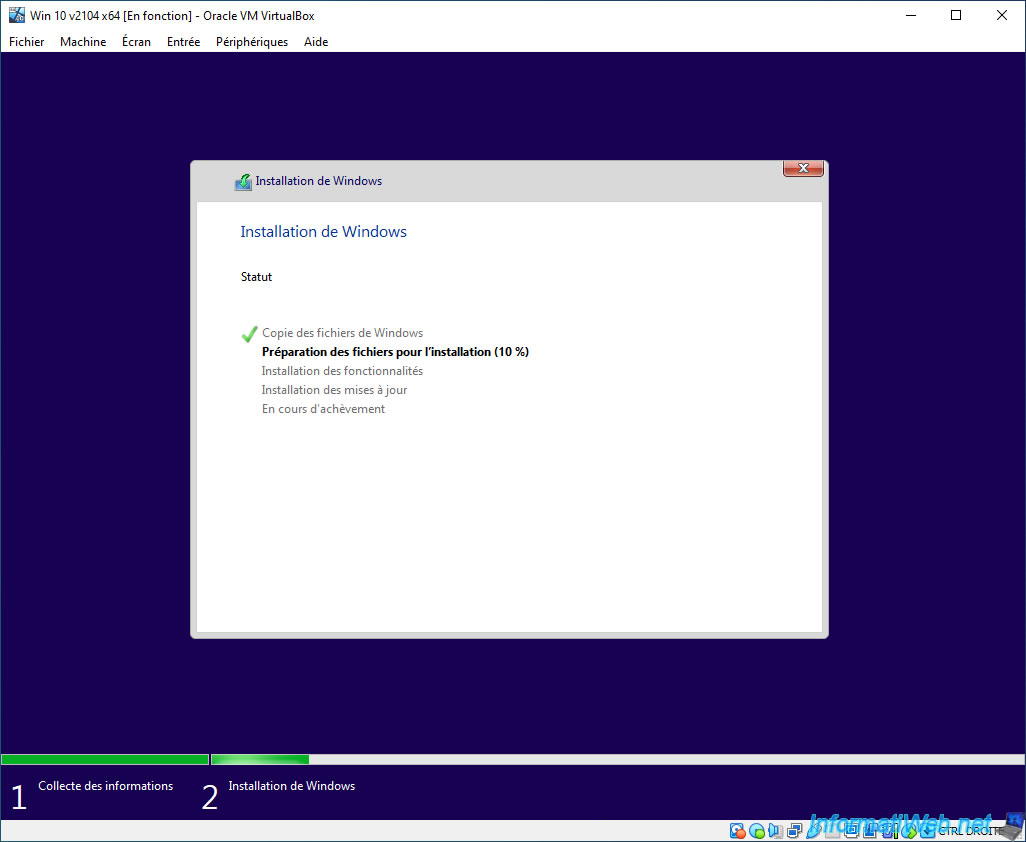
Wait while Windows installs.
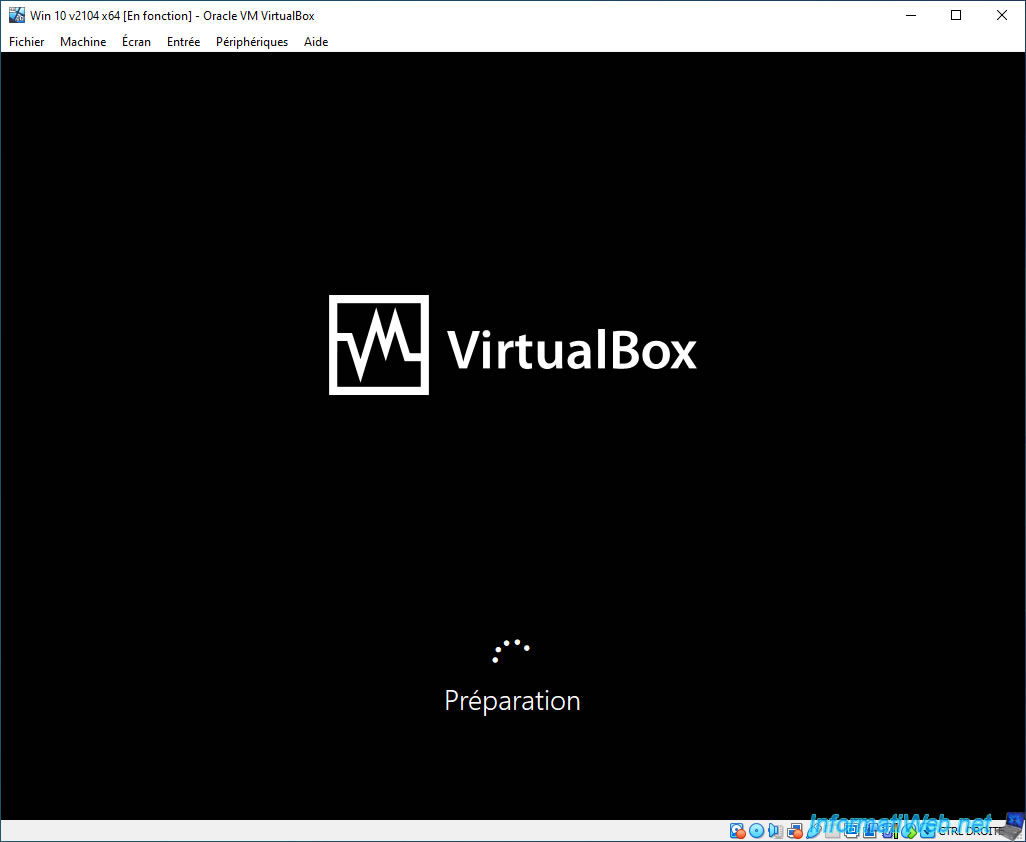
After installing Windows, various messages will appear.
Then, the Windows configuration steps will appear.
These steps vary between Windows versions, but just follow what is indicated.
If necessary, refer to the formatting tutorials mentioned above.

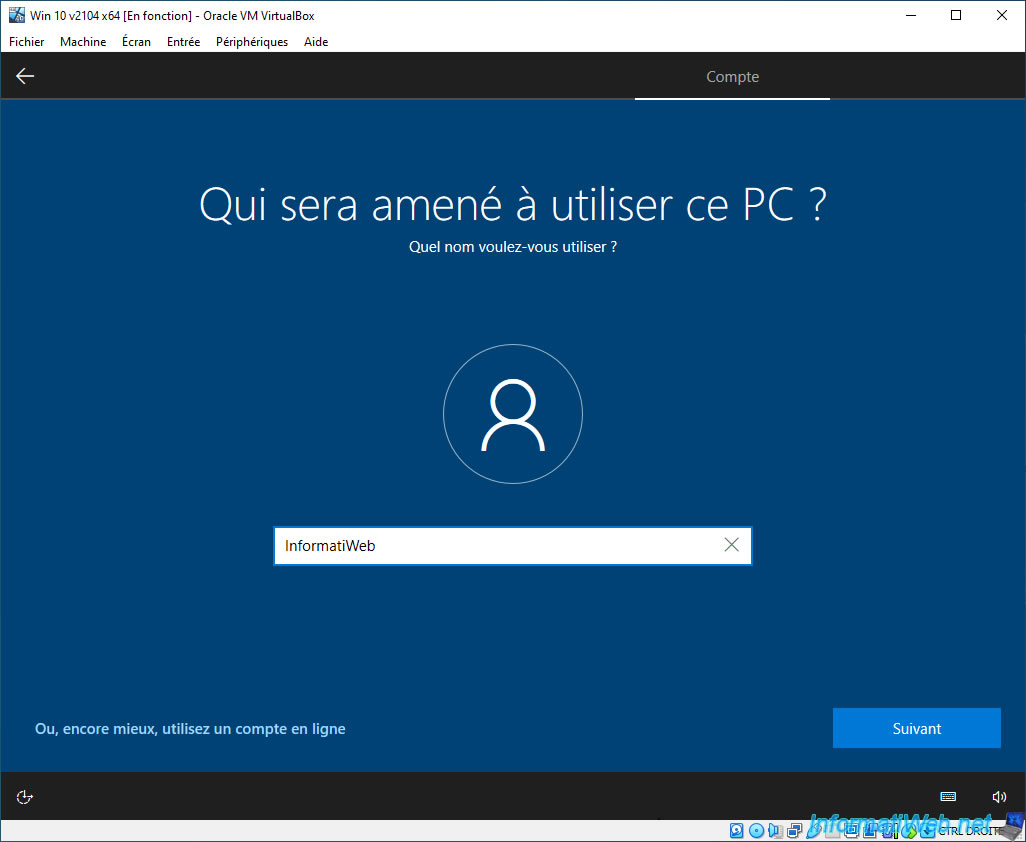
Specify the name of the user to be created in the guest operating system.
Windows has been installed.

Share this tutorial
To see also
-

Virtualization 8/30/2019
Hyper-V - Coexistence with VirtualBox or VMware Workstation
-
Virtualization 8/25/2018
VirtualBox - Clone a virtual machine (VM)
-
Virtualization 7/22/2018
VirtualBox - Configure settings of your VMs
-

Virtualization 11/6/2020
VirtualBox - Connect an USB key to a VM
You must be logged in to post a comment