- Virtualization
- Windows 10, Windows 11
- 12 February 2024 at 18:55 UTC
-

Since Windows 10 v1703, a new feature named "Hyper-V Quick Create" has appeared.
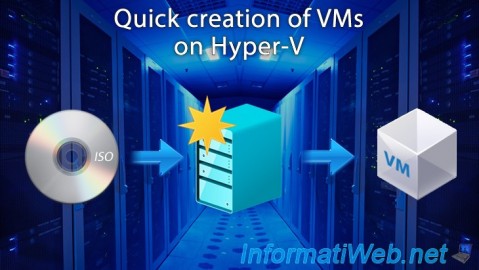
This new feature allows you to quickly create a new virtual machine by selecting an ISO image (the installation DVD of the desired OS), then specifying only a name for it, as well as the virtual network on which you want connect it.
This feature is accessible through the Hyper-V Manager.
Since Windows 10 v1709, it's also possible to use this feature using the new shortcut "Hyper-V Quick Create". This also provides access to a gallery of VMs ready to be downloaded.
Important : this "Hyper-V Quick Create" feature is only available on client versions of Windows from version "1703".
You will therefore not find this feature on Windows Server.
Source : Create a Virtual Machine with Hyper-V on Windows 10 Creators Update | Microsoft Learn.
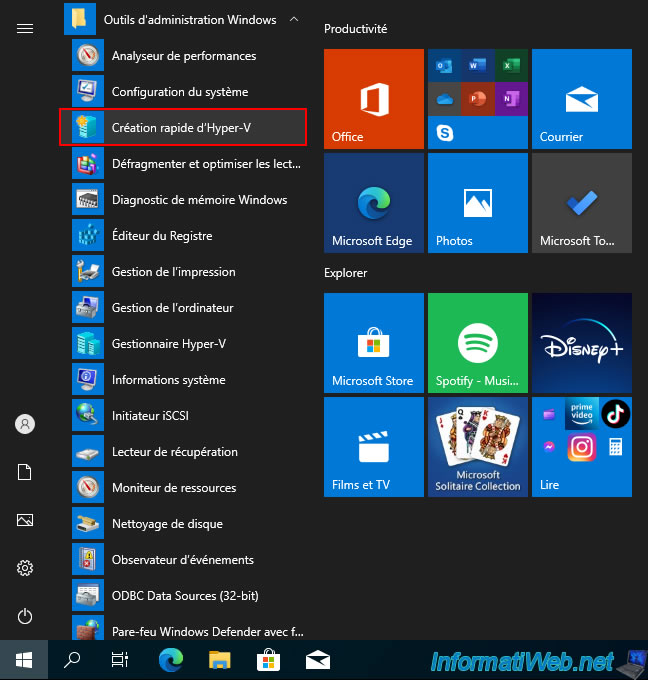
If you are on Windows 10 v1709 or later, open the Windows 10 start menu and click : Windows Administrative Tools -> Hyper-V Quick Create.
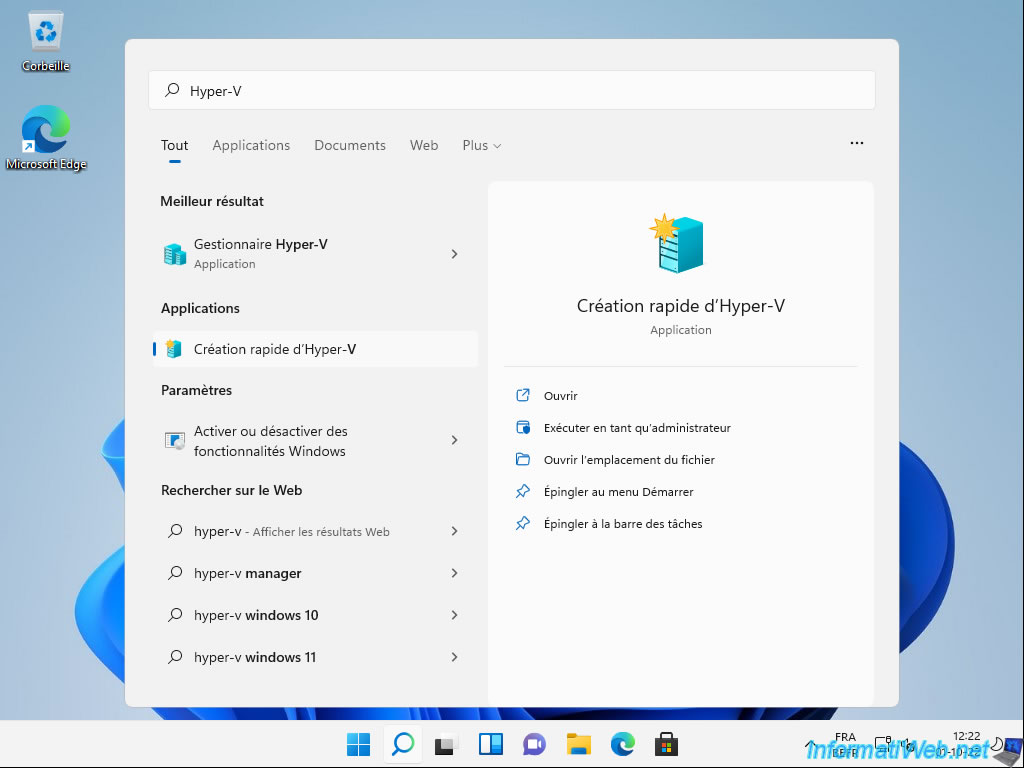
On Windows 11, open the start menu, search for "Hyper-V" and click on "Hyper-V Quick Create".
If you are on Windows 10 v1703 or later, open the Windows 10 start menu and click on : Windows Administrative Tools -> Hyper-V Manager.
Next, select your Hyper-V server in the left column and click "Quick Create" in the "Actions" column (right).
On Windows 11, open the start menu, search for "Hyper-V" and launch the "Hyper-V Manager".
Next, click on "Quick Create" in the right column as explained above.
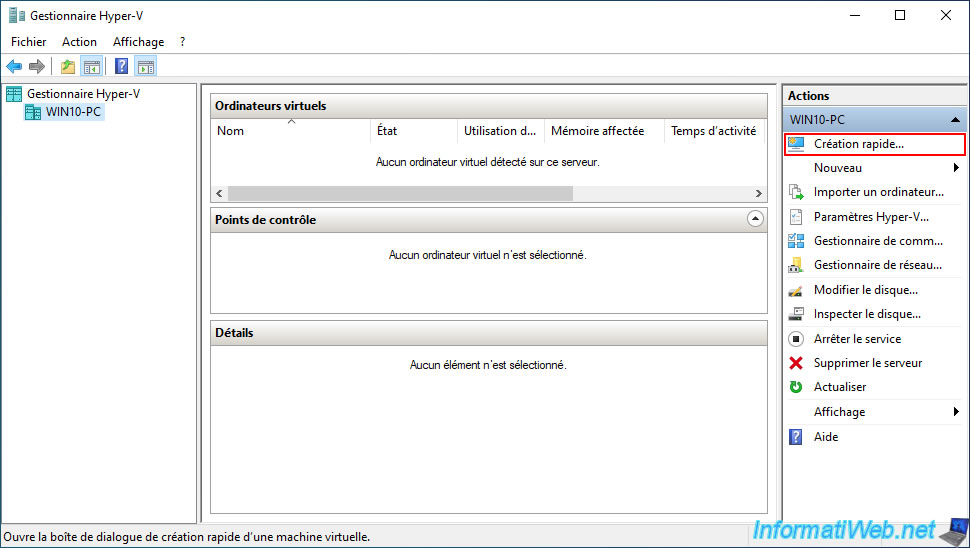
In both cases, you will get this "Create Virtual Machine" window.
Select "Local installation source" (on the left), then click on the button : Change Installation Source.
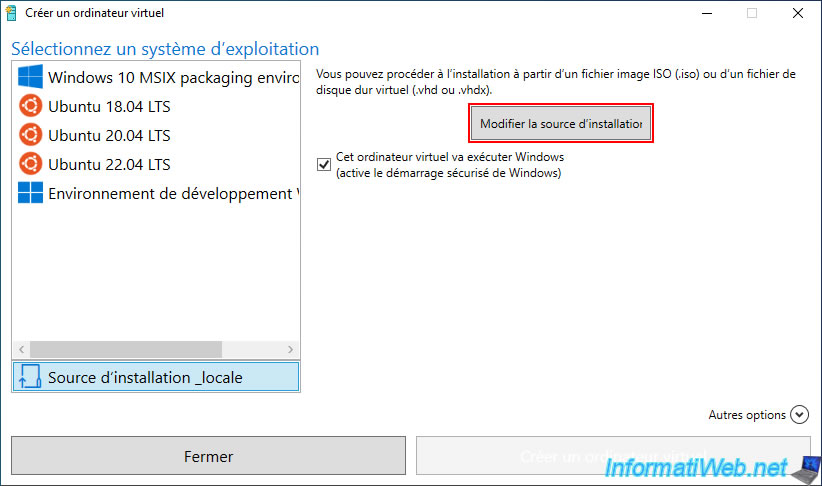
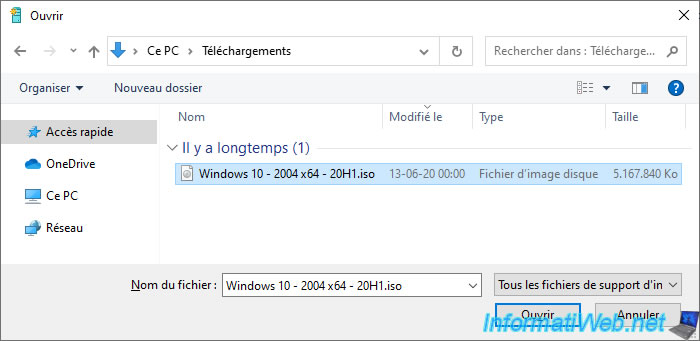
Select the ISO file of the version of Windows you want to virtualize.
In our case, we will create a virtual machine with Windows 10 v2004 (20H1).
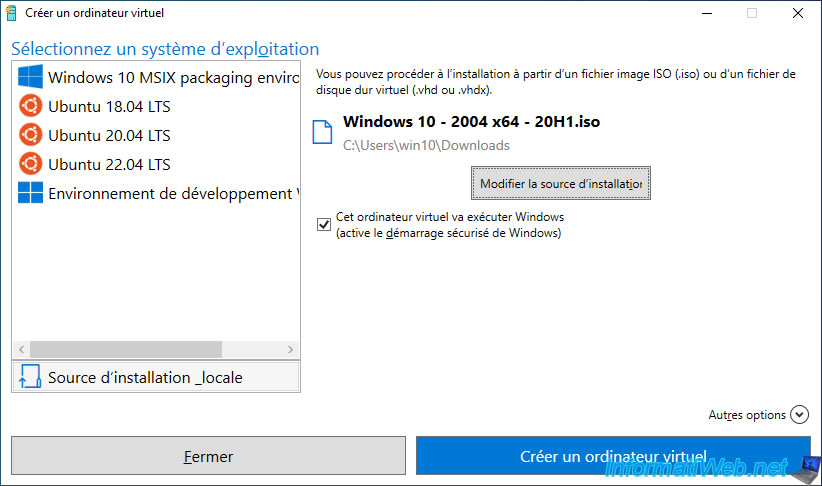
Once the ISO file is selected, leave the box "This virtual machine will run Windows" so that Secure Boot (via EFI firmware) is enabled.
As you will have understood, Hyper-V will create a generation 2 virtual machine with EFI firmware.
Warning : the use of EFI firmware is only possible with the 64-bit (x64) architecture.
Also, Secure Boot is only supported since Windows 8.
Indeed, although Windows 7 supports booting from EFI firmware, this version did not yet support secure boot.
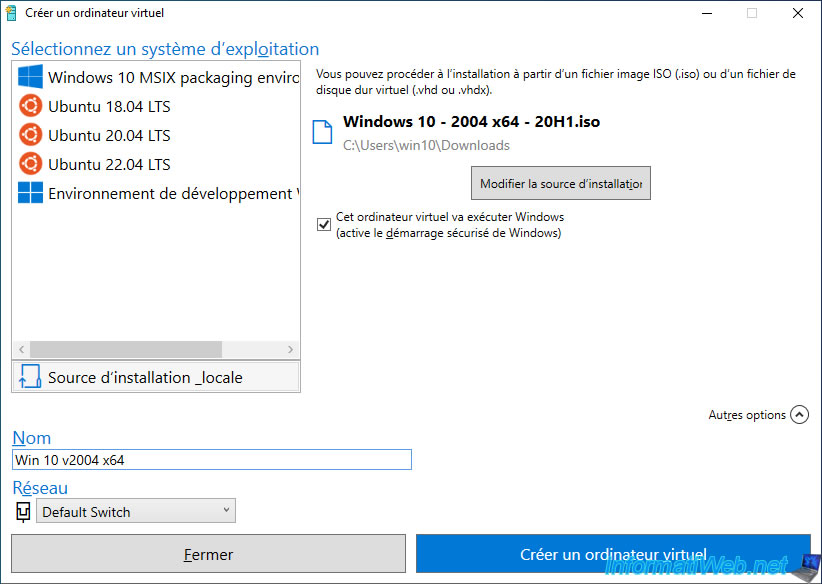
To change the name of your virtual machine, as well as the Hyper-V virtual network on which you want to connect it, you must click on : More options.
Then, click on : Create Virtual Machine.
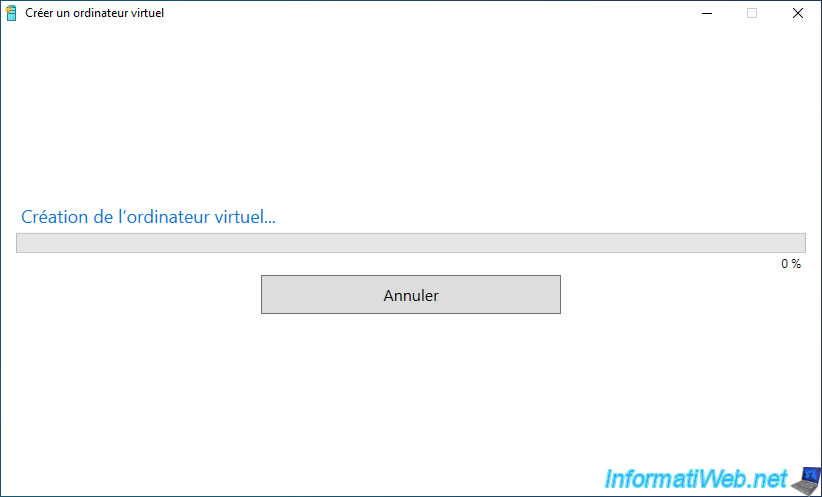
Wait while the virtual machine is created.
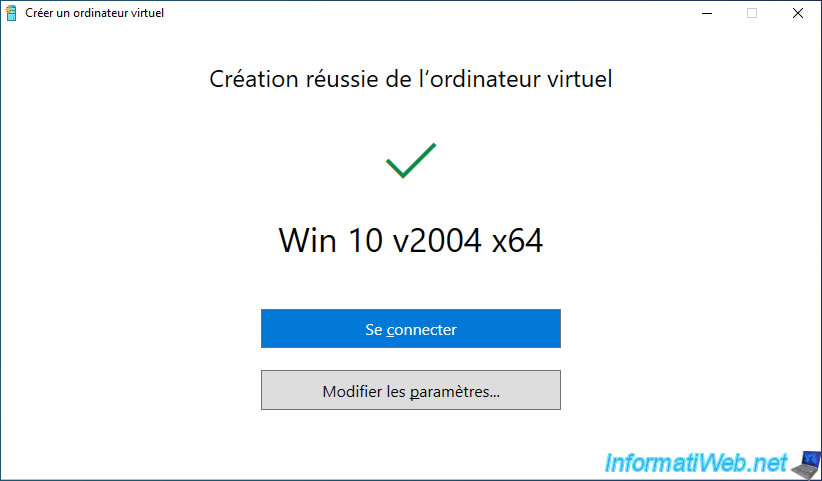
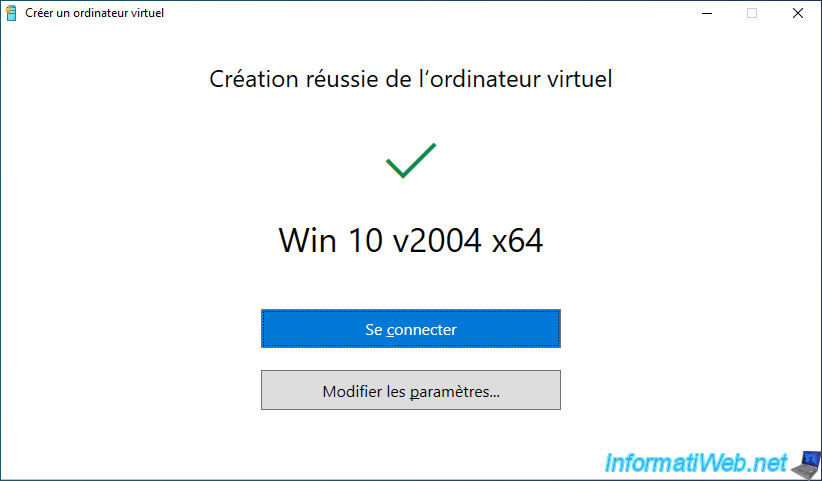
Once the virtual machine is created, the "Virtual machine created successfully" message will appear.
Warning : although this wizard allows you to quickly create a virtual machine, it's not perfect.
Indeed, the amount of RAM allocated may be insufficient or not optimal, as well as the number of processor cores (in the case of Windows 11).
Click on : Edit settings.
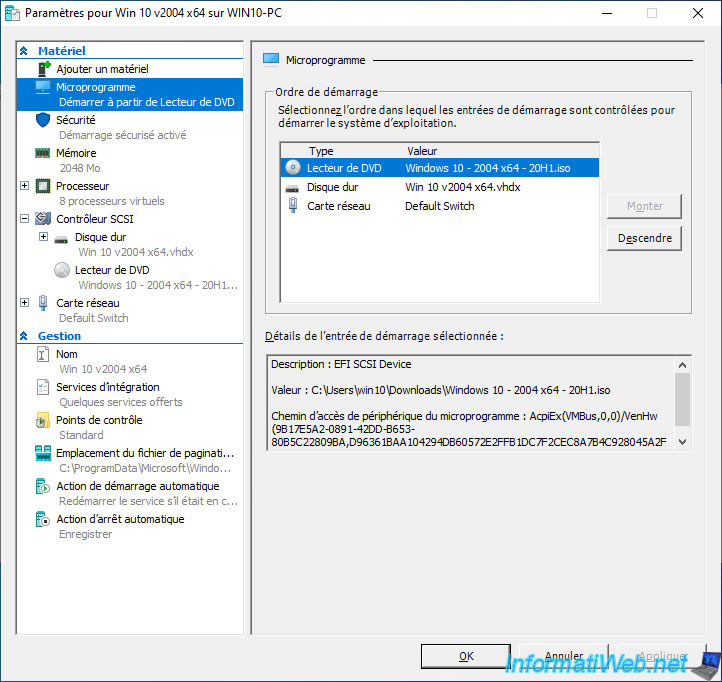
As expected, you see that your virtual machine is using firmware (EFI firmware) and the ISO file is already inserted in its virtual CD/DVD drive.
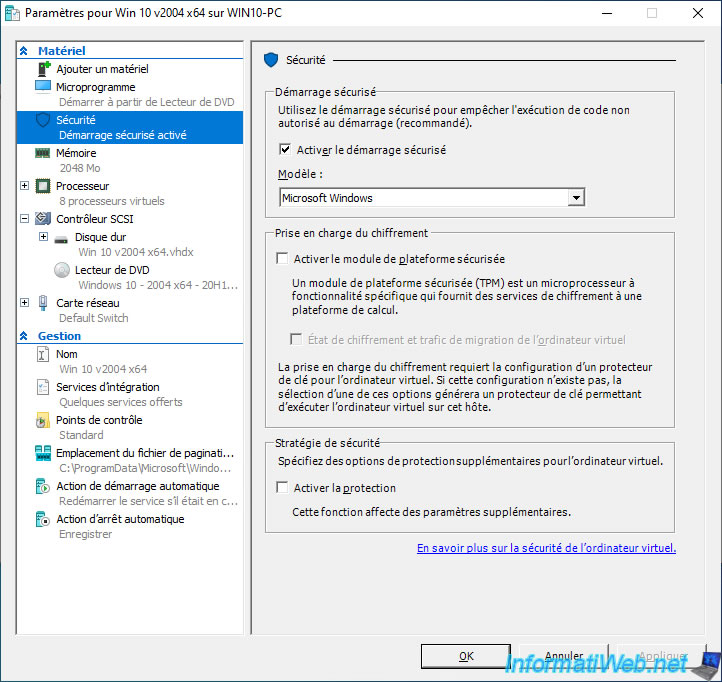
In the "Security" section, you will see that Secure Boot is enabled (if you checked the box "This virtual machine will run Windows" previously).
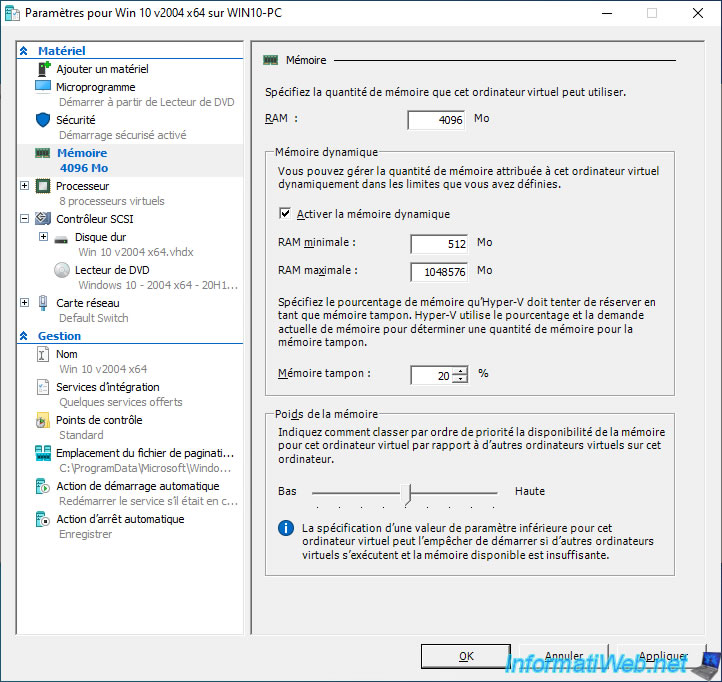
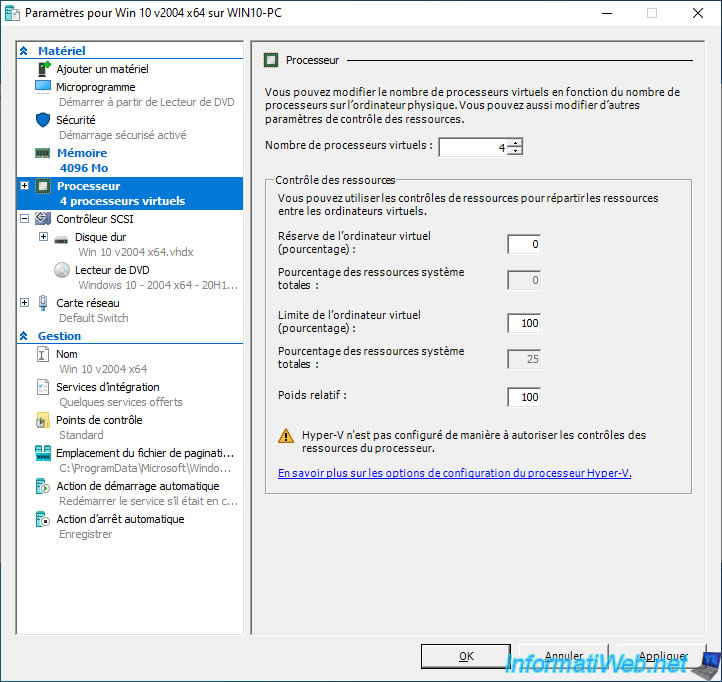
In the "Memory" section, we advise you to allocate at least 4096 MB (4 GB) of RAM to your virtual machine on Windows 10 v2004 x64.
However, it also depends on how much RAM your physical computer has.
For the number of virtual processors, we allocated 4 cores instead of 8 by default (which is exaggerated).
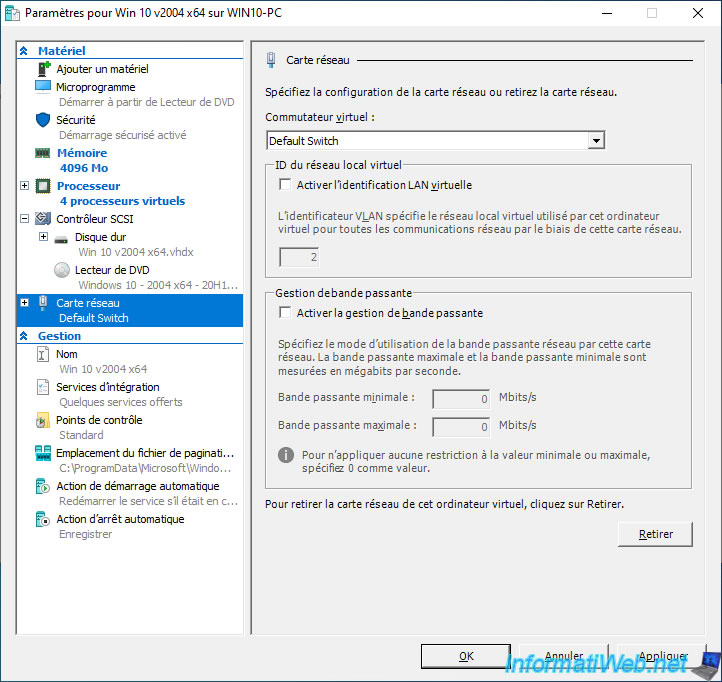
In the "Network Adapter" section, you will see that it's already connected to the network selected at the very beginning of the wizard.
Click OK to save changes.
For more information about your virtual machine settings, see our page : Generation 2 virtual machine settings.
Now, click on : Connect.
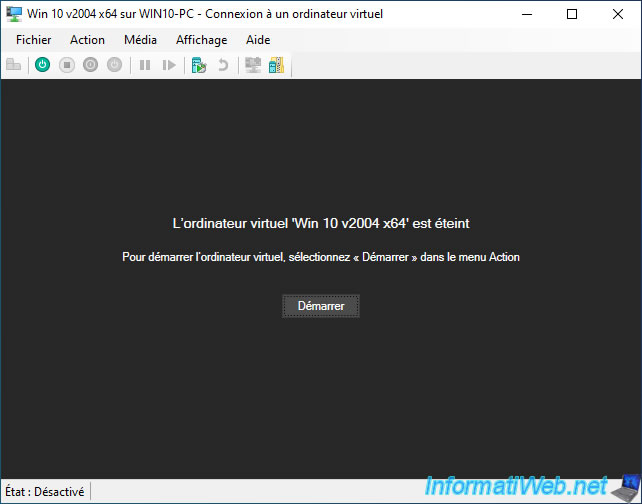
The "... - Virtual Machine Connection" window appears.
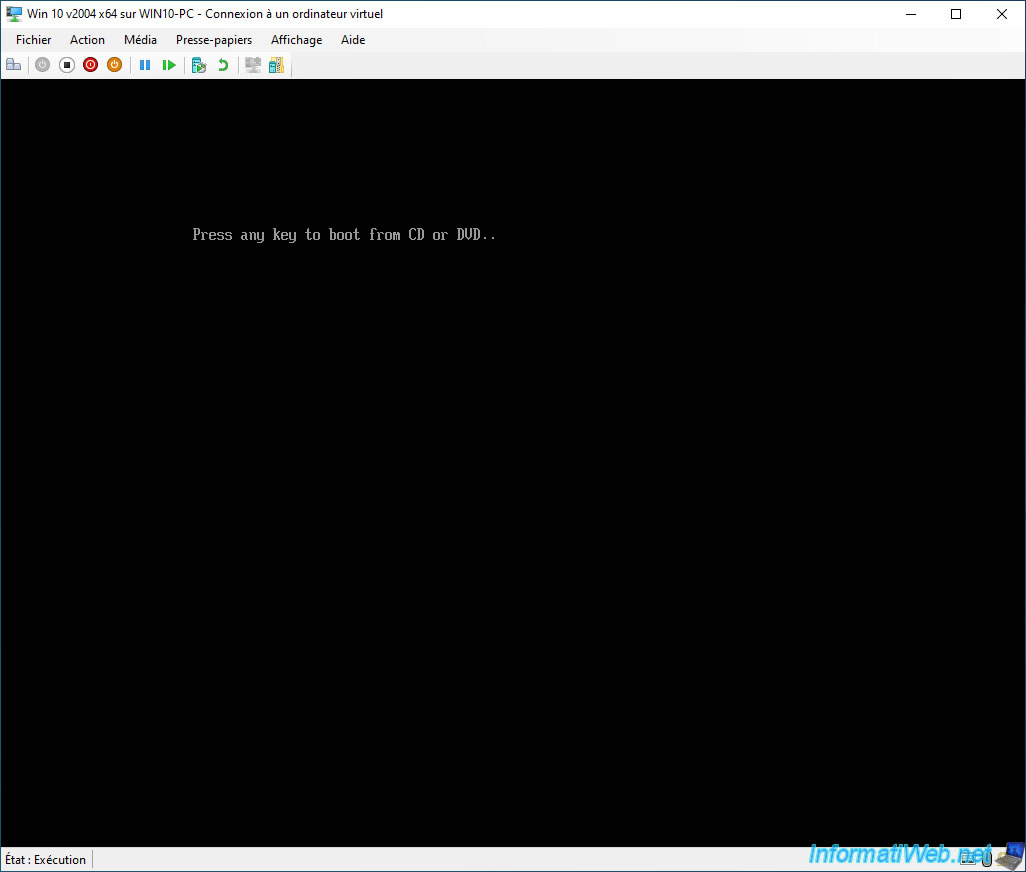
Click on : Start.
If this message appears, press Enter.
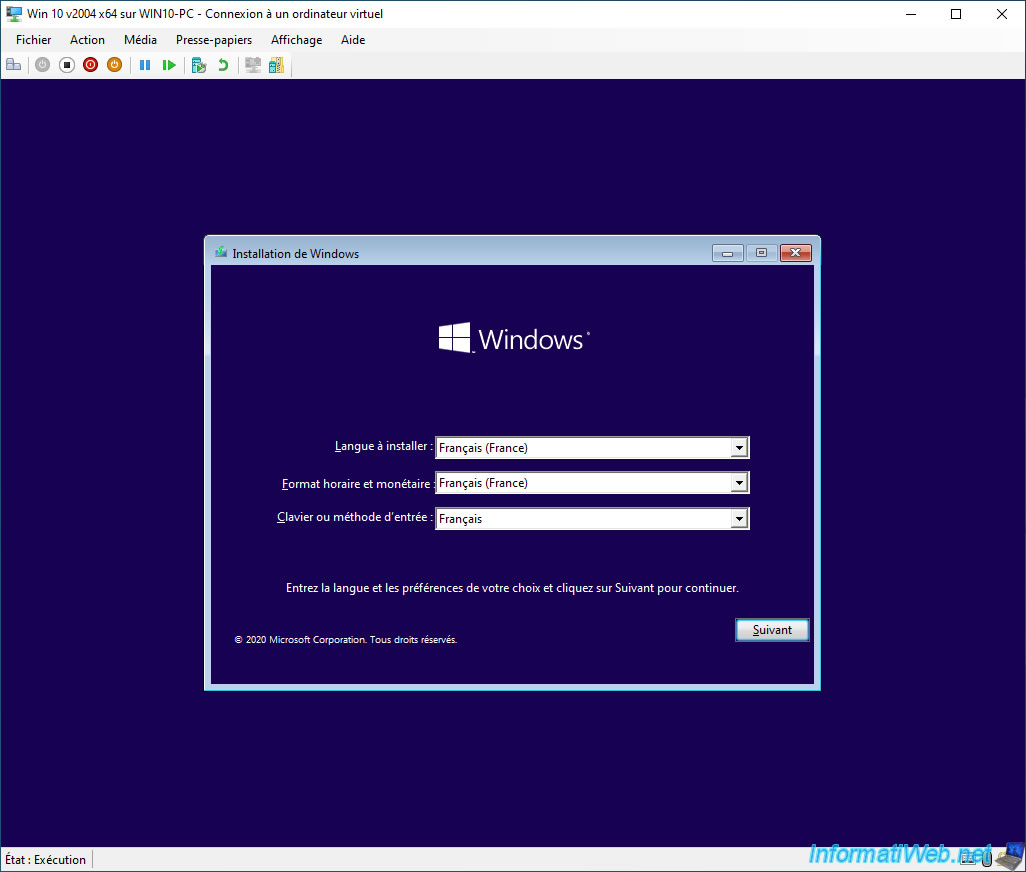
The Windows installation wizard appears.
If necessary, refer to the Windows installation tutorials available on our site by using the "formatting" keyword in the search engine at the top of the site.
For Windows 10, refer to our tutorial : Format your computer and reinstall Windows 10.
Share this tutorial
To see also
-

Windows 8/29/2022
Windows - Install the drivers from the manufacturer's site
-

Windows 9/30/2024
Windows 10 - Disable history in quick access
-
Windows 4/14/2025
Windows 11 / 10 / 8.1 / 8 - Upgrade a storage space (software RAID)
-
Windows 8/9/2022
Windows 7 / 8 / 8.1 / 10 / 11 - Create a virtual Wifi network
You must be logged in to post a comment