- Windows
- Windows 10
- 24 April 2025 at 13:33 UTC
-

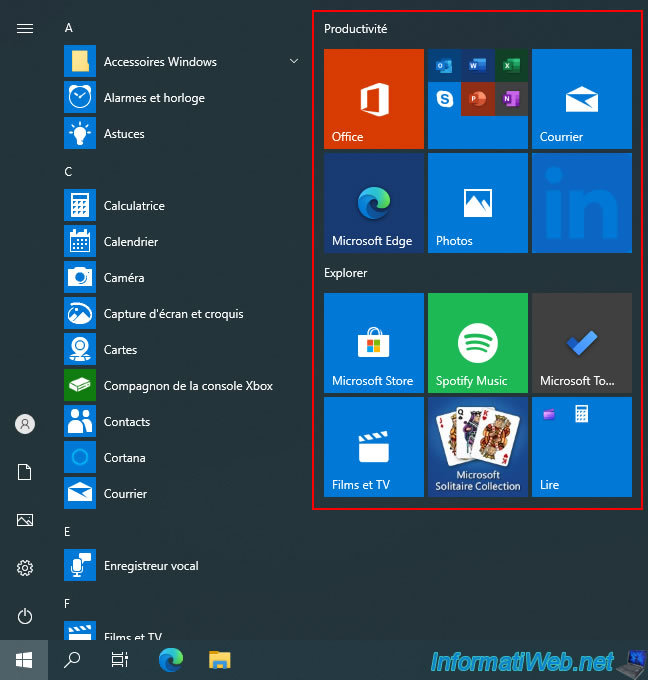
On Windows 10, a series of tiles (icons) is present by default in the start menu.
This allows you to access Microsoft's usual software (by default), such as: Office (Word, Excel, ...) if this software suite is installed, Courier (to manage your emails), the "Edge" web browser (which replaces the old Internet Explorer), ...
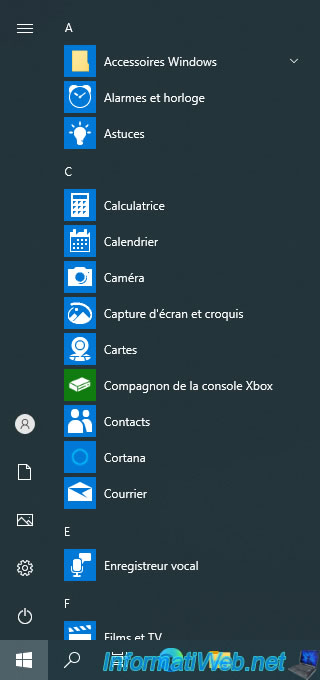
If needed, you can remove some or all of these tiles by following our tutorial: Reduce the size of the Windows 10 start menu.
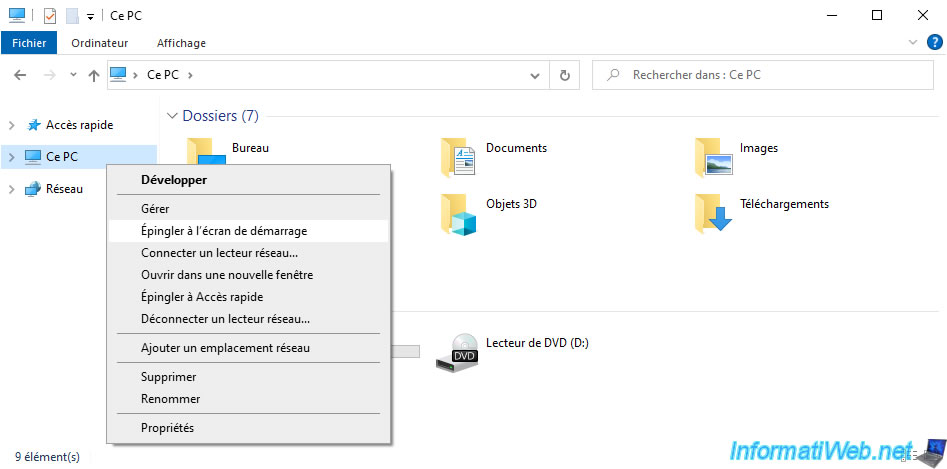
Then, add tiles for the programs, folders, ... you want.
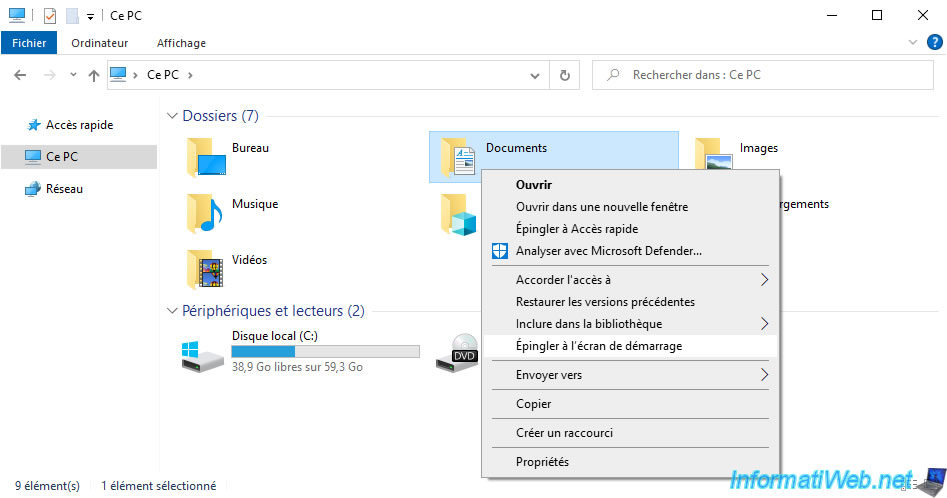
For this, you can for example, right-click "Pin to Start" on "This PC" (in file explorer).
You can also pin another section of File Explorer by right-clicking "Pin to Start" on it again.
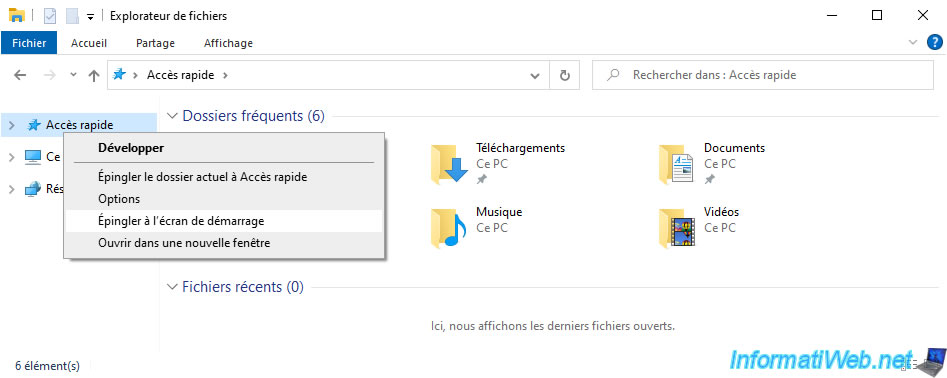
Finally, you can pin any folder displayed in Windows 10 file explorer.
Again, just right-click "Pin to Start" on the desired folder.
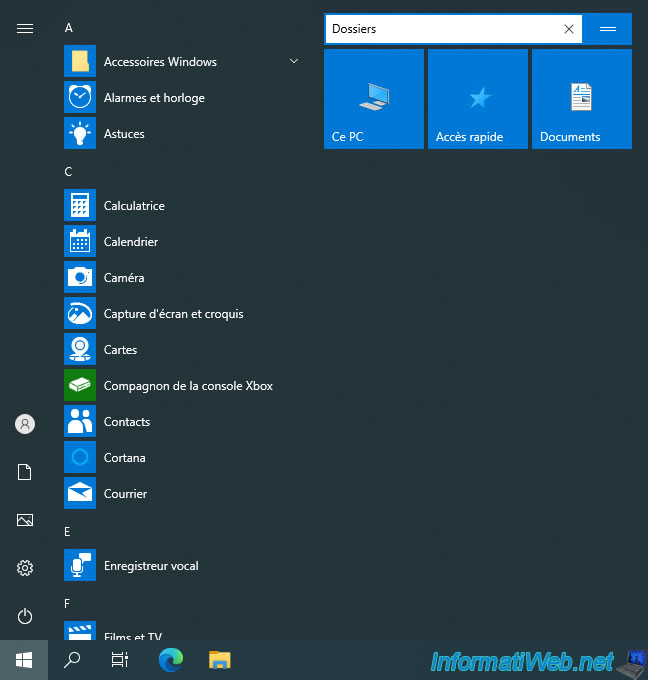
If you open the start menu, you'll see tiles for the items you just pinned to the start screen (aka the right side of the start menu).

Note that you can name a group of tiles (icons) by hovering over the empty area just above these icons.
You will see the text "Name group" and an icon with 2 horizontal lines appear.
Click on this text "Name group" to indicate a name for this group of tiles.

In our case, we named this group "Folders".
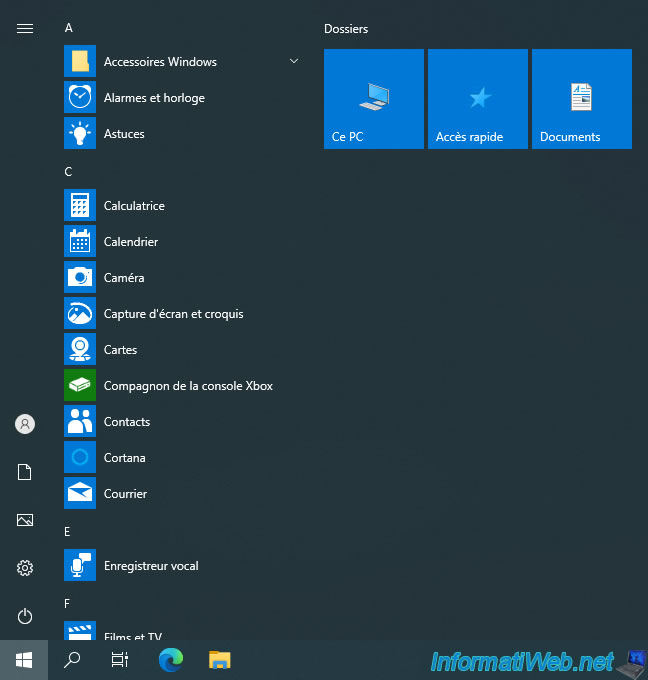
Now, our tile group is called "Folders".
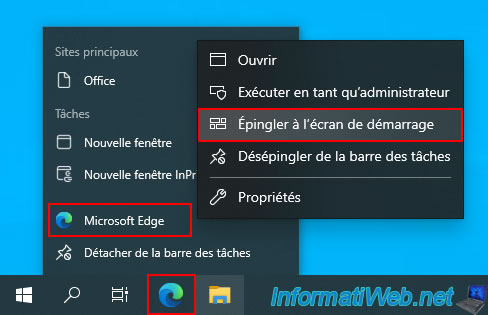
Note that you can also pin applications and games installed on your computer.
For example, for an icon already pinned to the Windows 10 taskbar, hover over this icon (in our case: the blue and green circle), then right-click on the name of the corresponding program (in our case: Microsoft Edge) and click: Pin to Start.
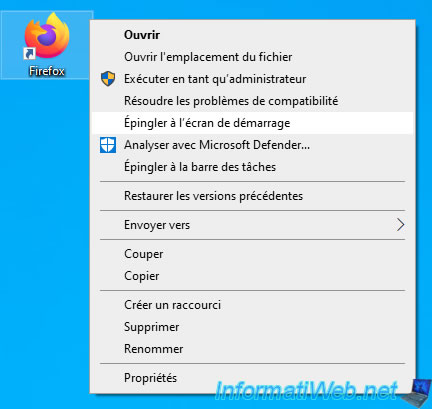
For an icon on your desktop, just right-click "Pin to Start" on it.
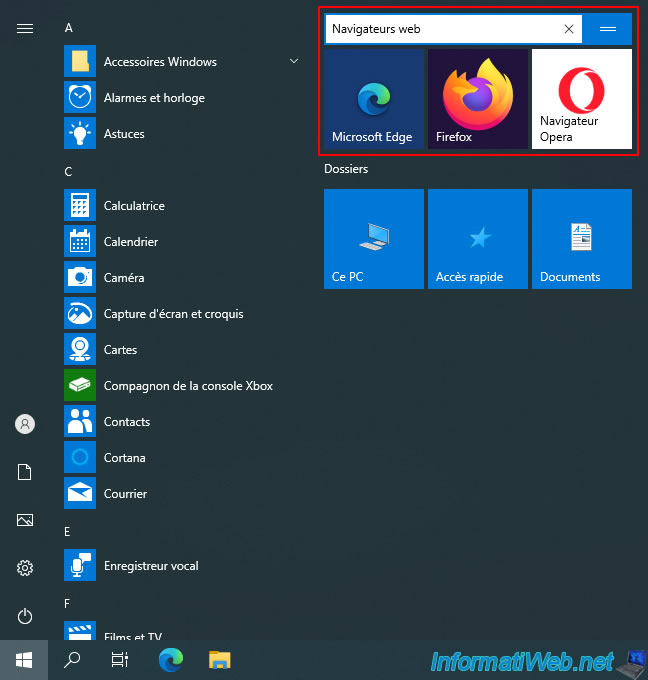
Now the icons of the web browsers we just pinned to our start menu appear.
As before, it is possible to indicate a name for this new group of tiles if you wish.
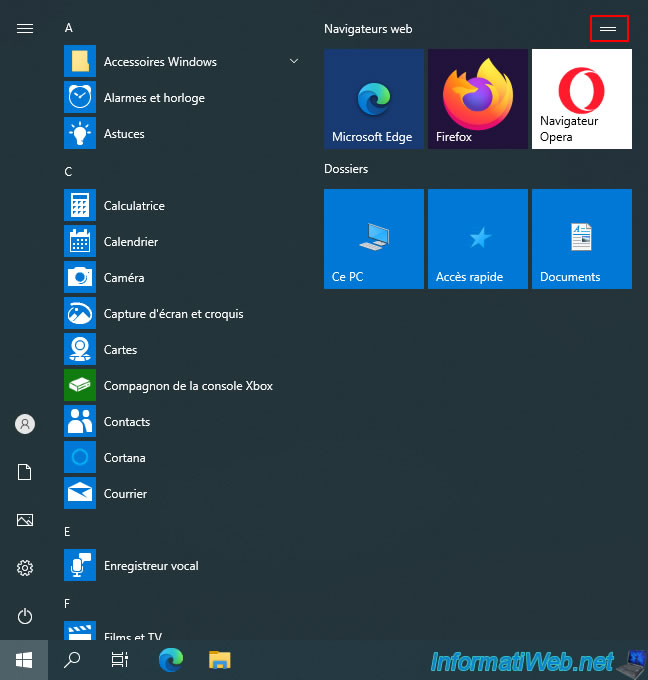
To move a group of tiles to place it above or below another, hover over the space just above your tiles (or to the right of the group name) and you will see an icon with 2 horizontal lines.
Press the left click of your mouse and hold your finger down.
Move your mouse and you will see that a blue bar (with the name of the tile group you are trying to move) will appear.
Move this blue rectangle where you want to display this tile group in your start menu and release the left click of your mouse when it is good.
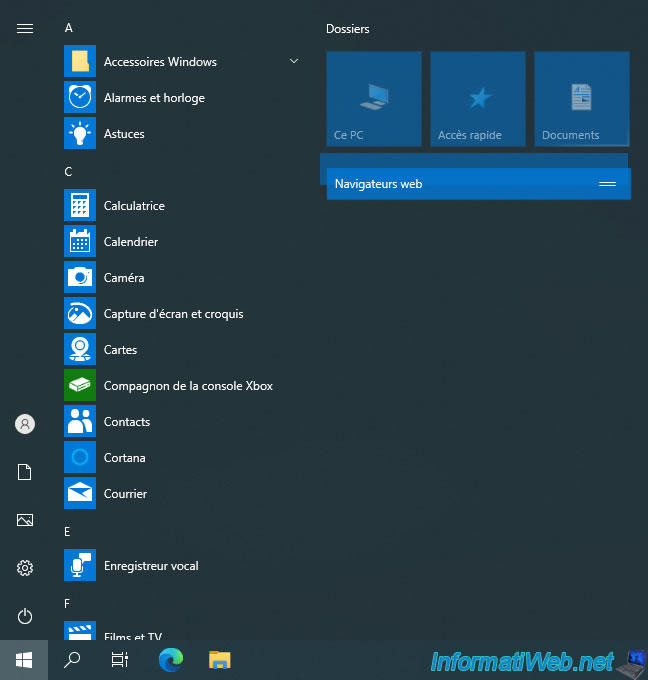
As expected, our "Web browsers" tile group now appears under the "Folders" group.

Share this tutorial
To see also
-

Windows 2/15/2013
Configure the firewall of your computer
-

Windows 10/3/2022
Windows - Create a sandbox to isolate a process
-
Windows 3/20/2023
Windows 10 / 11 - Enable ransomware protection
-
Windows 5/18/2022
Windows 7 / 8 / 8.1 / 10 / 11 - Enable the Administrator account
You must be logged in to post a comment