- MultiBoot
- Windows 10, Windows 7, Syslinux
- 28 May 2017 at 14:24 UTC
-

- 1/6
IT evolves very quickly and when you switch to a new version of Windows (for example), compatibility problems may appear with a specific program or a specific game.
For example : SimCity 4 no longer works under Windows 8.
To solve this compatibility problem and benefit from better security, the simplest solution is to install 2 versions of Windows on your computer.
- the old version will allow to run games that were compatible with this version of Windows
- the new version will allow to run the new programs and the new games, as well as to surf safely (in particular, thanks to the security updates of Windows)
For this tutorial, we will create a multiboot with Windows 7 and Windows 10.
Then, we'll also add an option to access Windows Repair tools (these tools are in the Windows RE environment that is by default in the 100 MB system partition created at Windows installation).
Finally, if you wish, you can also add iso files of Live CDs to be able to start on them in 1 click.
- Why use syslinux to create a multiboot ?
- Configuration used
- Install Windows 7
- Install Windows 10
- Create a multiboot with syslinux
- Add Win RE environments of Windows
- Optional : add live CDs in ISO format
- Protection of syslinux system files
- Final test of the multiboot
1. Why use syslinux to create a multiboot ?
Some users may wonder, because they know that it's very easy to create a multiboot with different versions of Windows.
Indeed, when you want to create a multiboot with different versions of Windows, you simply have to install them on different partitions in their order of release date.
Nevertheless, the purpose of this tutorial is to provide a flexible and totally customized system.
Thanks to syslinux, you can create a menu to boot on partitions, boot managers, Live CDs (in iso format), bootable floppy disks, ...
In short, thanks to this tutorial, you can create a multiboot with :
- Windows 7
- Windows 10
- Windows RE (the Windows Repair Environment provided by Microsoft)
- live CDs in ISO format
- etc.
2. Configuration used
For this tutorial, we used a 500 GB hard disk on which we will create 3 partitions :
- Windows RE : 1 Go
- Windows 7 : 40 Go
- Windows 10 : 40 Go
At the end, you will have an unallocated space that you can partition as you wish.
If necessary, please refer to our tutorial : Windows Vista / 7 / 8 / 8.1 - Partitioning your hard drive
3. Install Windows 7
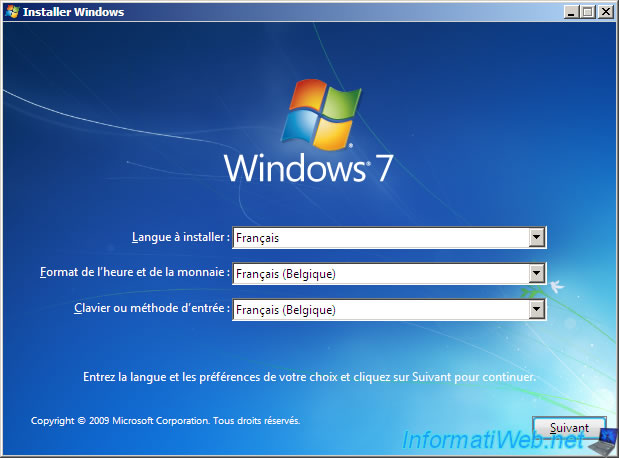
To begin, boot your computer on the Windows 7 installation DVD and select your language.
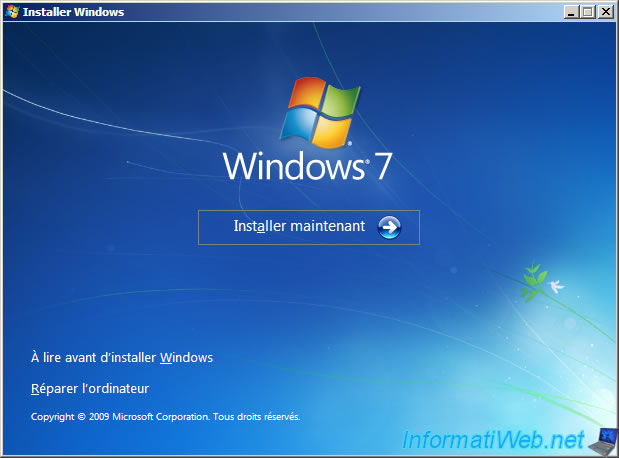
Click : Install now.
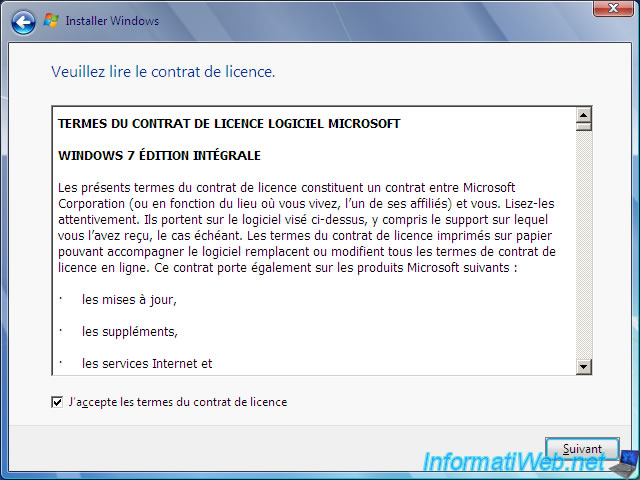
Check the "I agree..." box and click "Next".
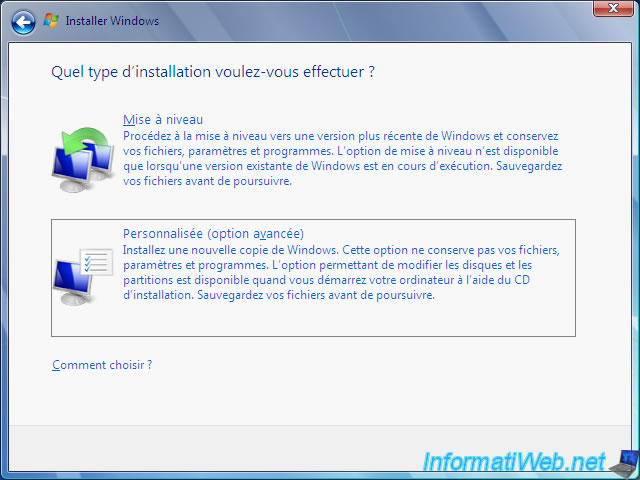
Click : Custom (advanced).
As explained at the beginning of the tutorial, to create our multiboot, we will need 3 partitions (Windows 7, Windows 10 and Windows RE).
Since a hard disk can only have 4 primary partitions (or 3 primary partitions + 1 extended partition with one or more logical drives), we are forced to use only 3 partitions so that you can store data on other partitions (logical partitions in this case).
By default, you will see that Windows will require you to create a system partition of 100 MB. (This is the case only when the hard disk is not yet partitioned)
The problem is that if we leave it, we will already have 4 partitions (Windows 7, 10, RE and the system partition of 100 MB). In other words, you will not be able to create partitions to store your data.
Fortunately, we have found a trick that works for this tutorial and will allow you to use only 3 primary partitions for Windows 7, 10 and RE (Recovery Environment).
To begin, select the unallocated space on the hard drive and click "Drive options (advanced)".
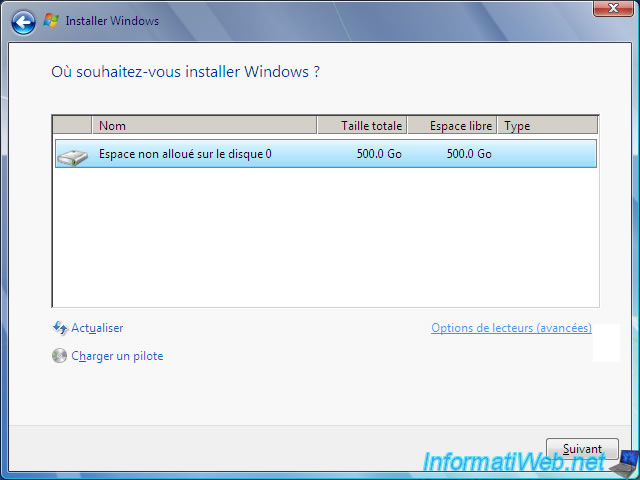
To store the Windows RE environments of Windows 7 and Windows 10, we recommend that you create a 1 GB partition at the beginning of the hard disk.
Since Windows 7 will want to create a 100MB system partition, you must create a partition of 900 MB.
Click New.
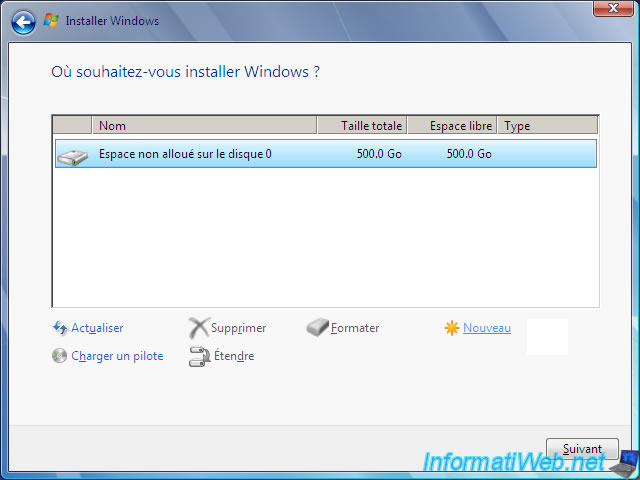
Create a partition of 900 MB.
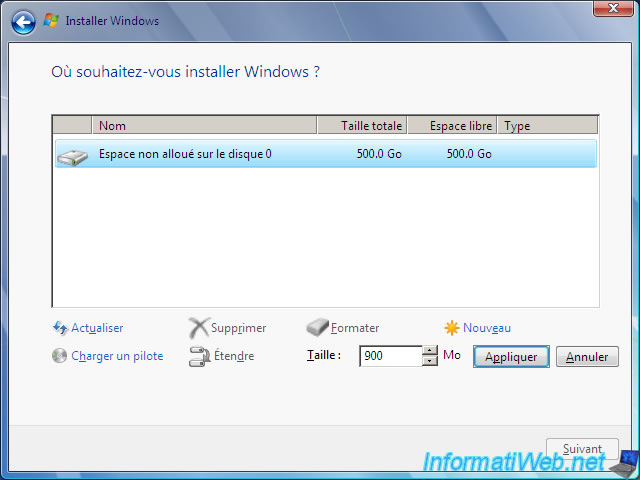
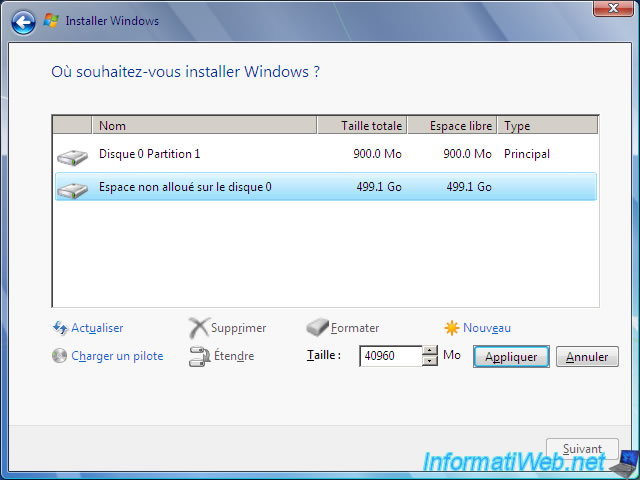
Now we will create a partition for Windows 7 of 40 GB.
To do this, select the unallocated space and click New.
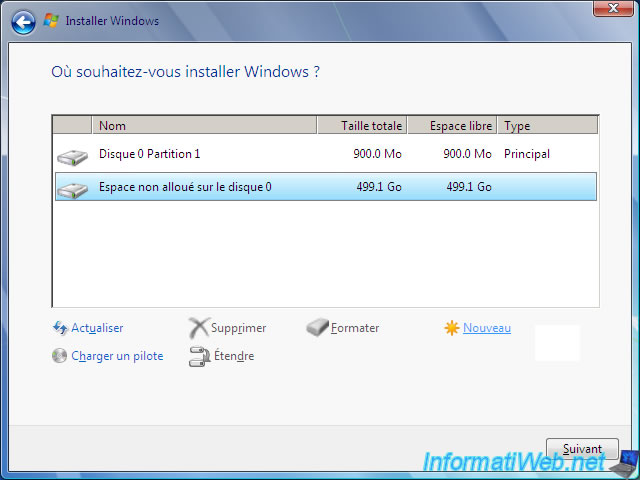
Type : 40960 MB.
Note : 1 GB = 1024 MB. So, 40 GB = 40 * 1024 = 40960
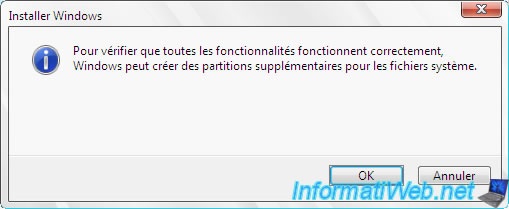
As expected, Windows requires you to create the system partition of 100 MB.
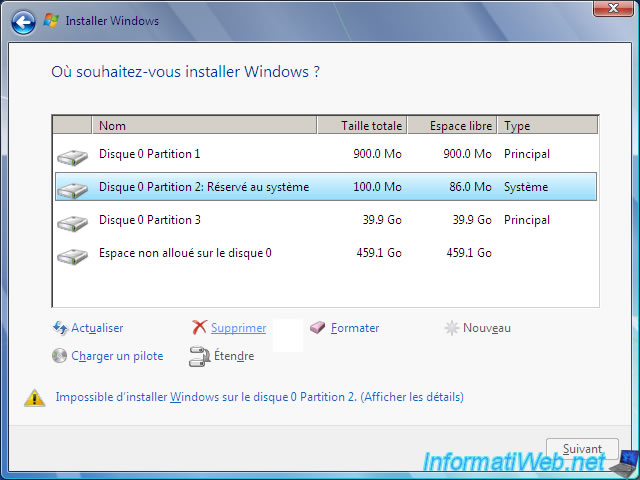
For now, you have :
- the 900 MB partition for Windows RE
- the system partition of Windows 7 (which have a size of 100 MB)
- the 40 GB partition to install Windows 7
Delete the 100MB "System Reserved" partition that Windows just created.
To do this, select it and click "Delete".
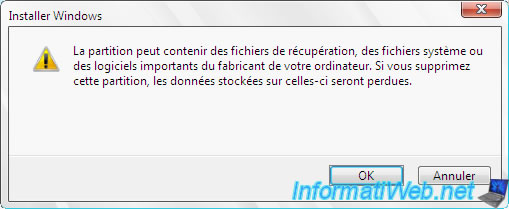
Confirm its deletion by clicking OK.
Finally, extend the 900 MB partition with the unallocated space of 100 MB that has just appeared.
To do this, select it and click Expand.
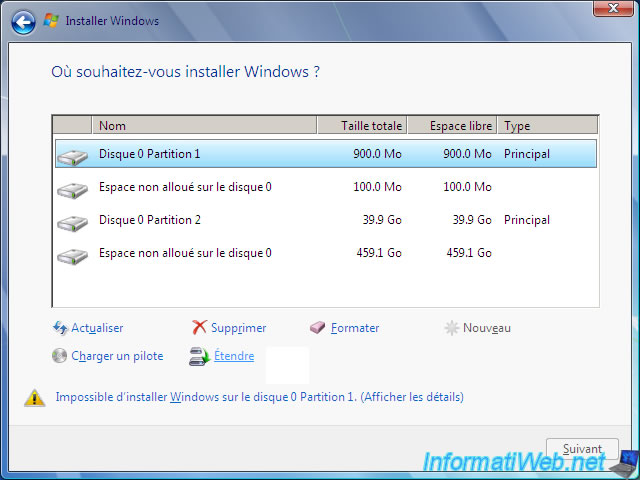
As expected, the size indicated is 1000 MB.
In other words, our partition for Windows RE will have a size of 1 GB.
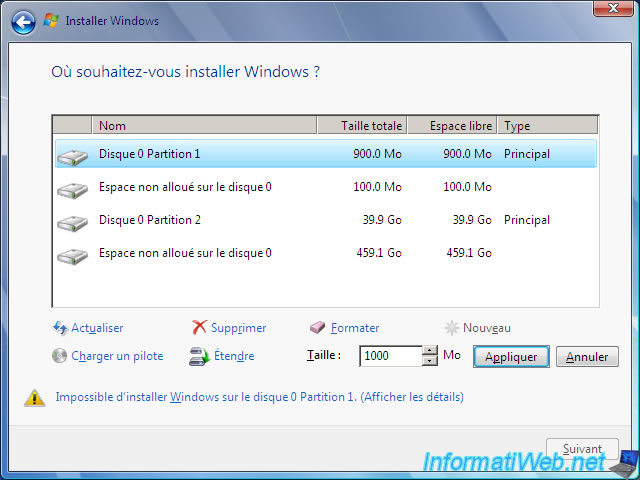
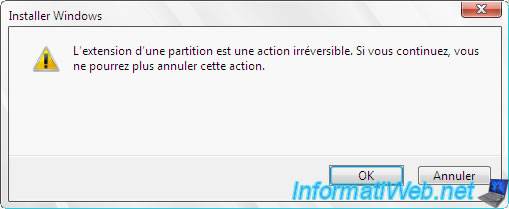
Confirm the extension of the partition by clicking OK.
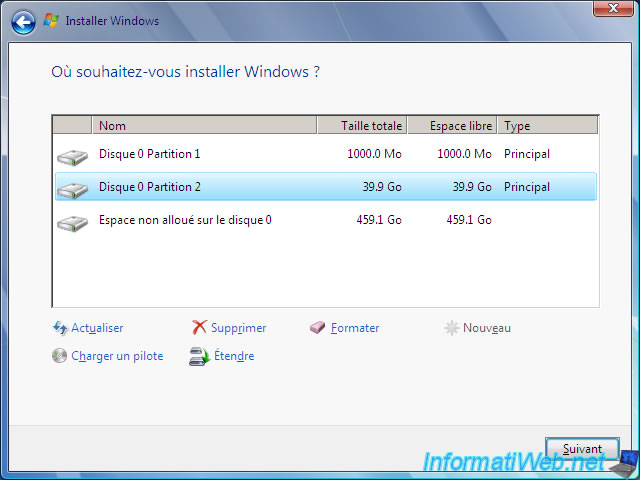
And here are our 2 partitions : 1000 MB for the future Windows RE and 39.9 GB for Windows 7.
Select the 39.9 GB partition and click "Next" to install Windows.
The Windows 7 installation begins.
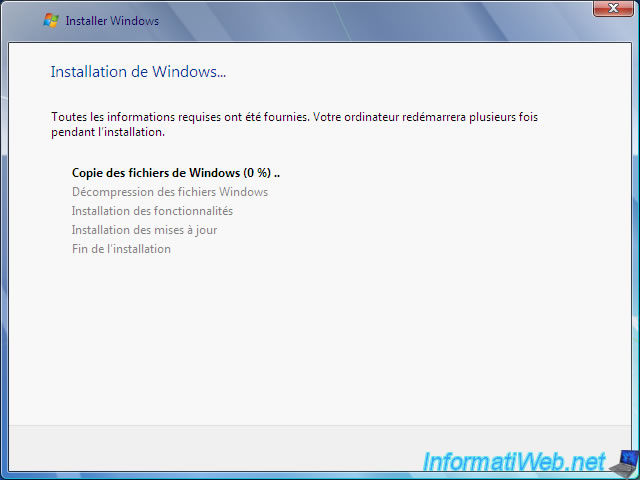
Windows is installed.
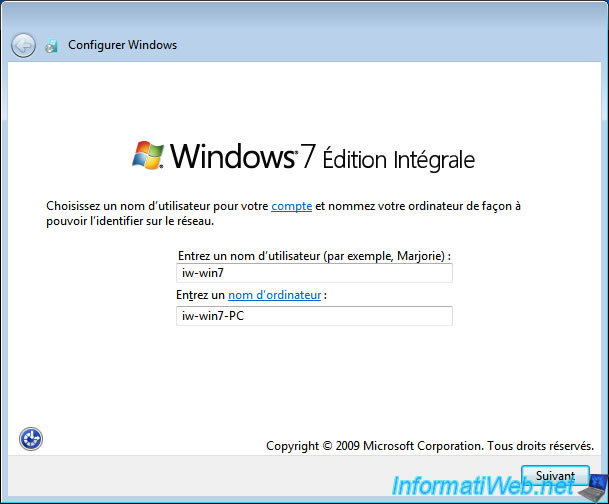
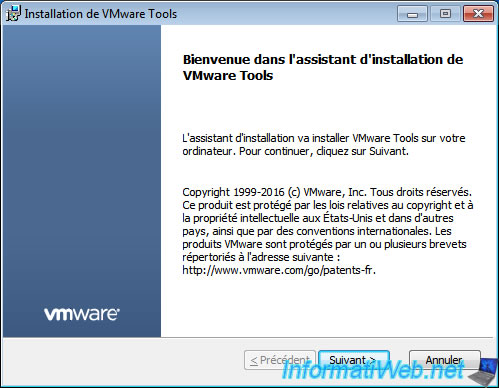
Install the drivers of your computer.
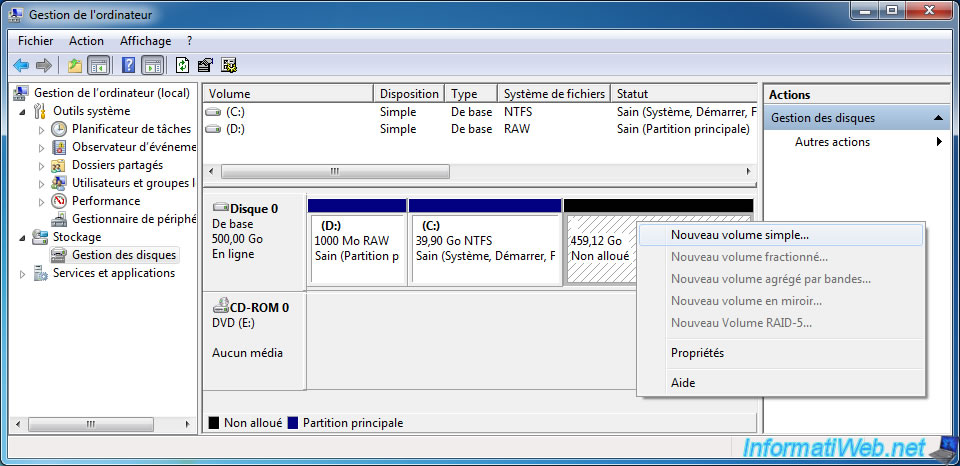
Now that Windows and your drivers are installed, go to the Start menu and right click "Manage" on Computer.
Then, go to : Disk Management.
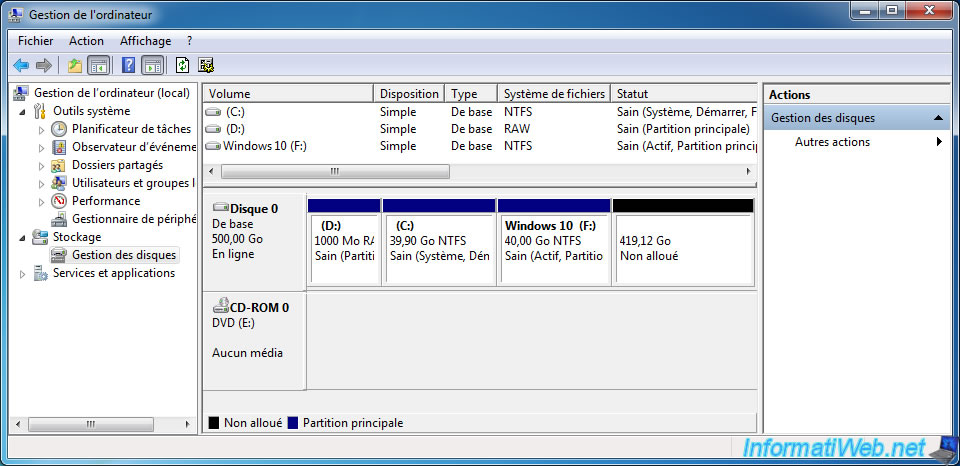
As you can see, we only have our 1 GB partition (which is empty at the moment, hence RAW) and the 40 GB partition where Windows 7 is installed.
Therefore, the system partition of 100 MB was not created by Windows.
Before installing Windows 10, we will first create a new partition.
To do this, right-click in the unallocated space and click on "New Simple Volume".
The wizard to create a simple volume appears.
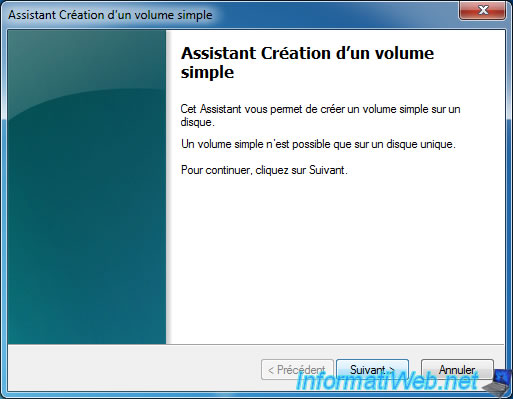
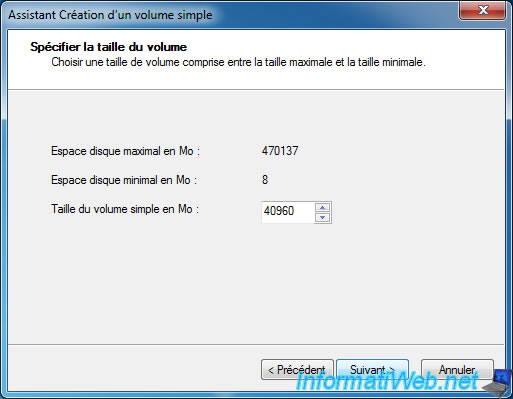
Specify 40960 to create a 40 GB partition for Windows 10.
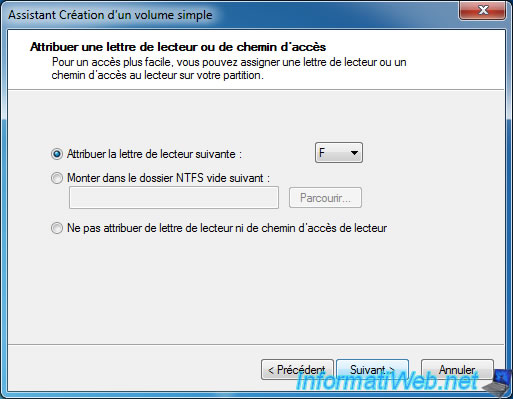
Click Next.
Note : the choice of the letter does not matter, but it is necessary to be able to access the partition of Windows 10 from Windows 7. Especially to retrieve its Win RE (as explained later in the tutorial).
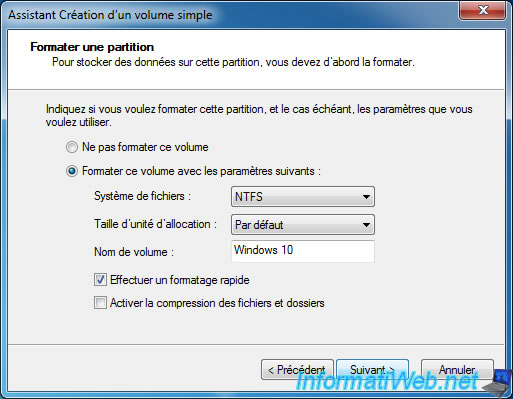
Specify "Windows 10" for the partition name.
The partition was created.
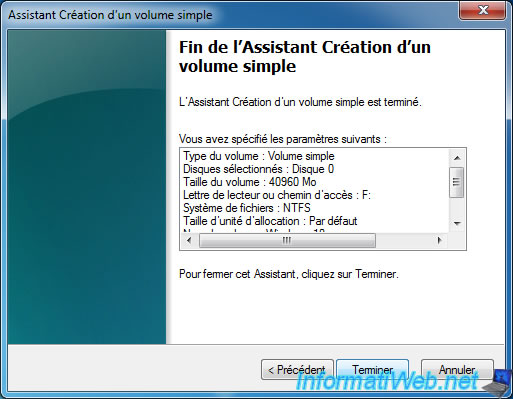
Wait while formatting the partition.
After formatting, you will see that there is a new partition "Windows 10" in NTFS.
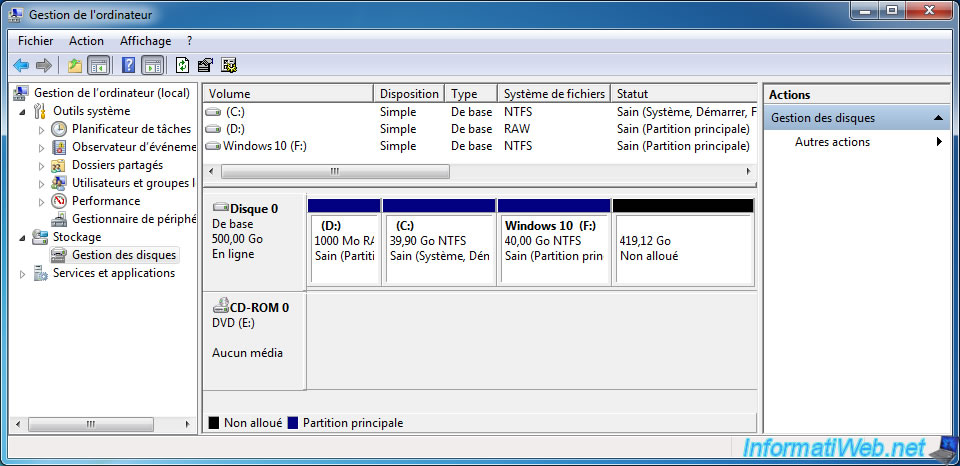
Before installing Windows 10 on this partition, it's important to mark its partition as active.
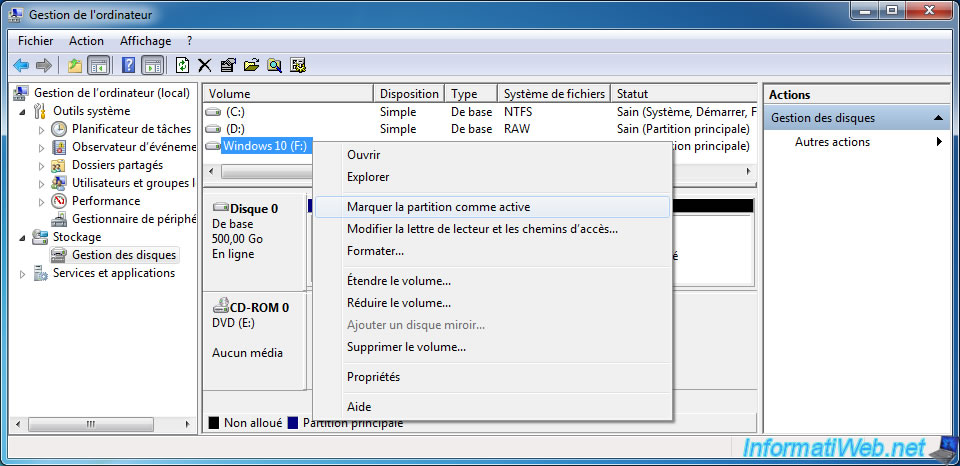
This will prevent Windows 10 from creating a Microsoft multiboot (which would have prevented you from creating a multiboot with syslinux) and it also makes sure that the boot sector of Windows 10 will be on this partition.
To mark the "Windows 10" partition as active, right-click on it and click "Mark Partition as Active".
Confirm by clicking Yes.
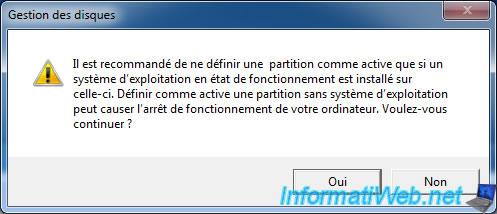
Now the status of the partition "Windows 10" will contain the word "Active".
Share this tutorial
To see also
-

Windows 7/10/2023
Windows 10 - Translate Windows using language packs (MUI)
-

Windows 12/11/2023
Windows 10 / 11 - Share encrypted data with EFS
-
Windows 12/19/2020
Windows 7 - Installation on an USB support
-
Windows 6/16/2018
Windows 7 / 8 / 8.1 - File sharing
You must be logged in to post a comment